Create and attach a load balancer
Load balancers distribute incoming network traffic across multiple instances to improve the availability and reliability of your applications. This page describes how to create a load balancer and configure its forwarding rules. Load balancers can be used to load balance between existing instances or used with ASG to dynamically respond to workload changes.
Before you begin
- If you are load balancing VM workloads, Launch instance.
- If you are load balancing ASG workloads, Create Auto Scaling Groups.
- Determine the forwarding rules required for the load balancer
A load balancer can only attach to a private network. To allow external access to the load balancer, attach a Floating IP.
Create and attach load balancer to VM or ASG workloads
-
In the CubeCMP management console, go to Networking.
-
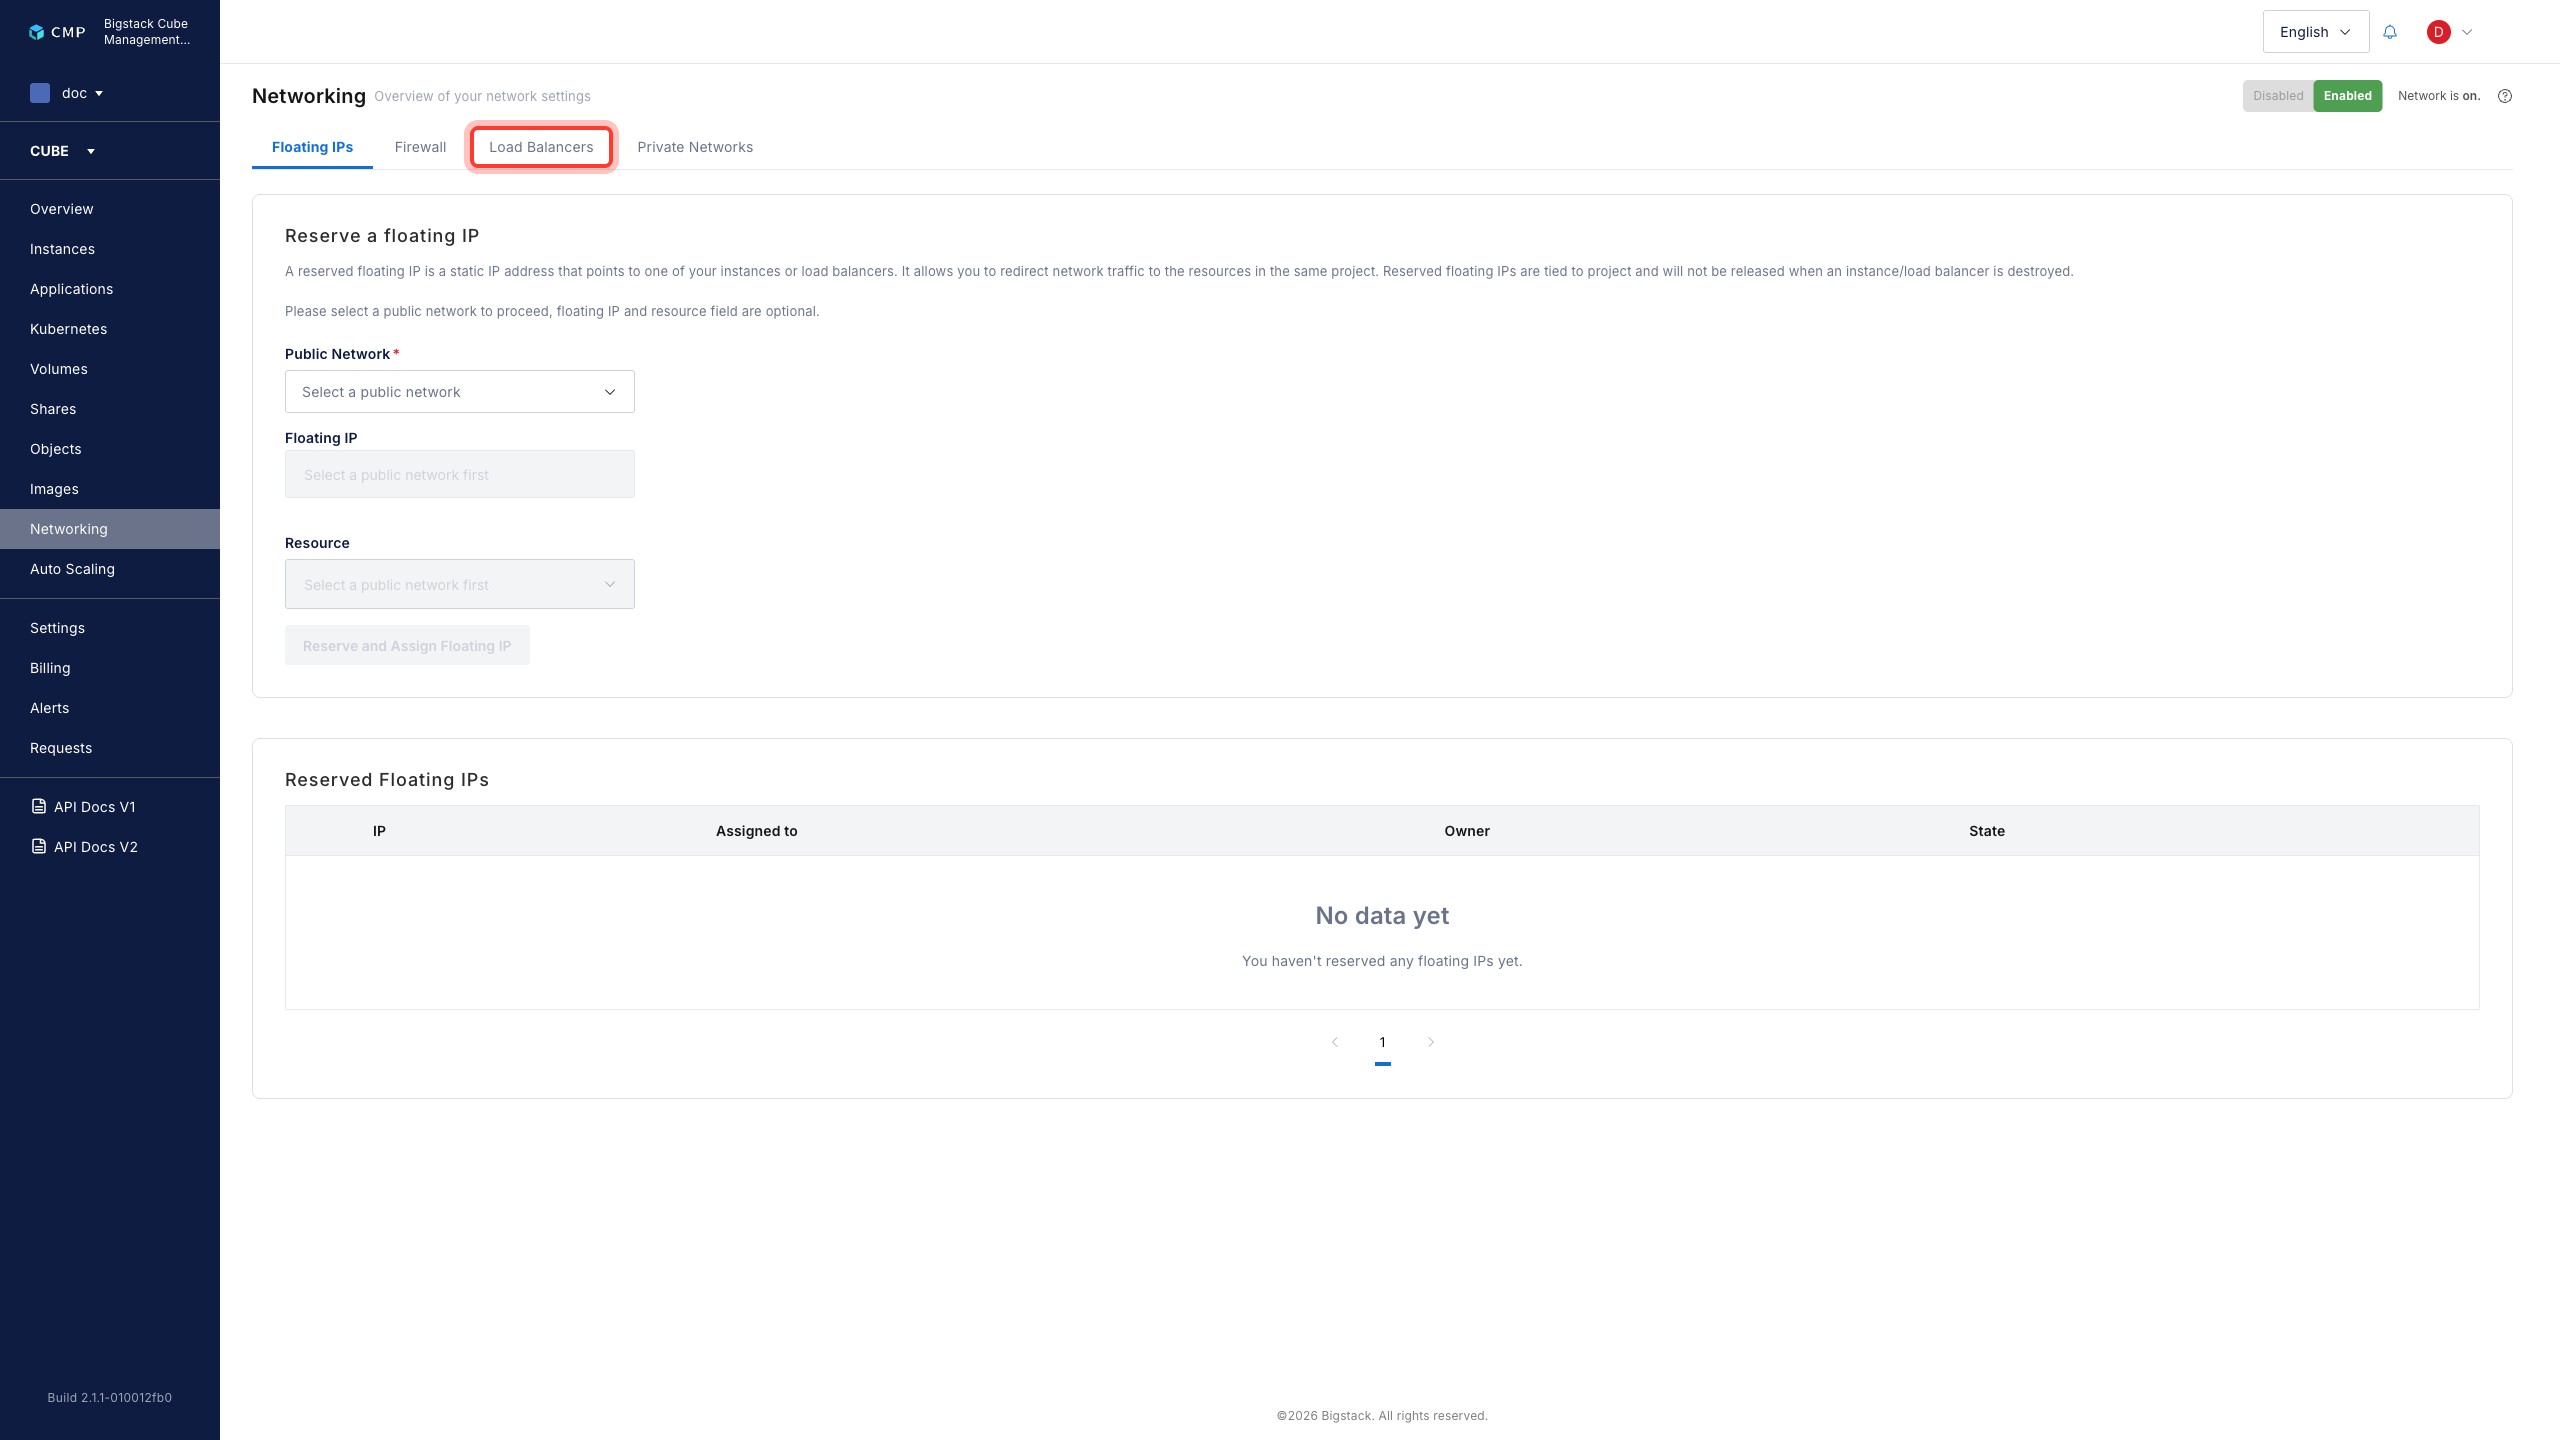
Click the Load Balancers tab.
-
Click Add Load Balancer.
-
Select a VPC Network.
A Virtual Private Cloud (VPC) network provides a logical security boundary for your resources. The load balancer operates within this network boundary to manage traffic.
-
Select a Flavor.
The flavor determines the capacity and performance scale of the load balancer. The available flavors are:
Flavor CPU Memory Supported QPS Default 1 1024 15,000 - 20,000 Small 2 2048 30,000 - 45,000 Medium 4 4096 70,000 - 90,000 Large 8 8192 120,000 - 150,000 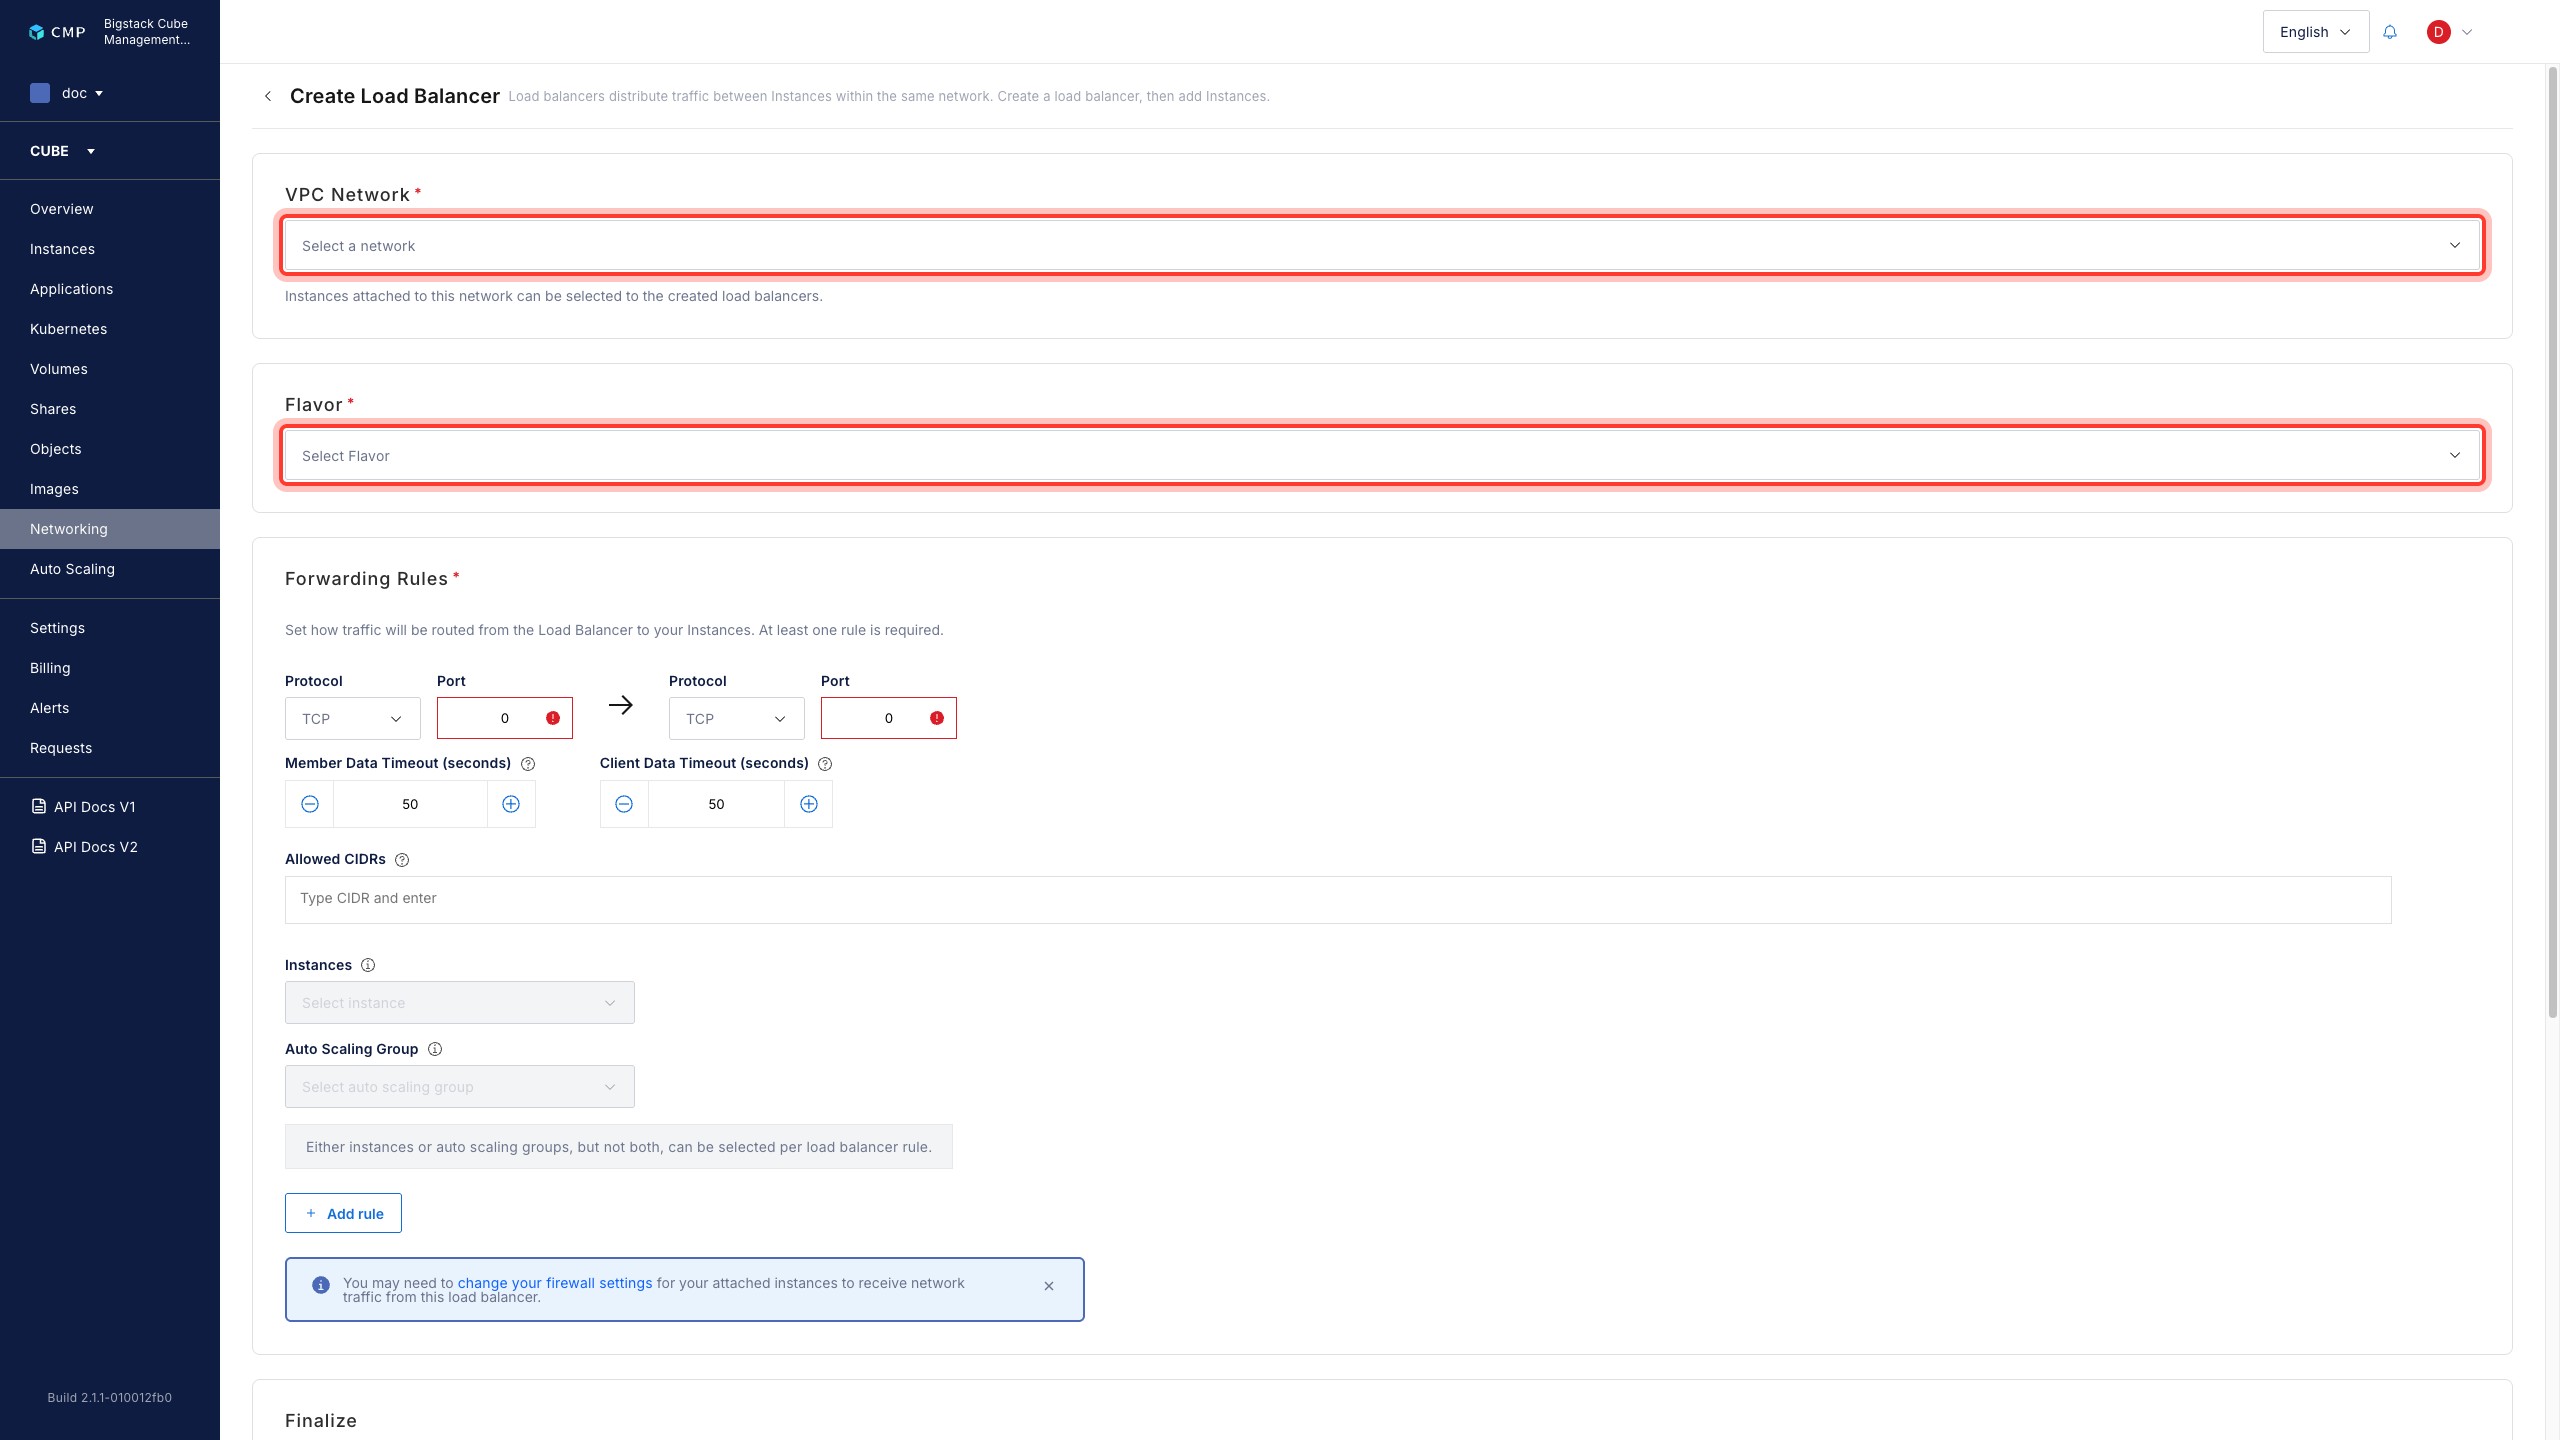
-
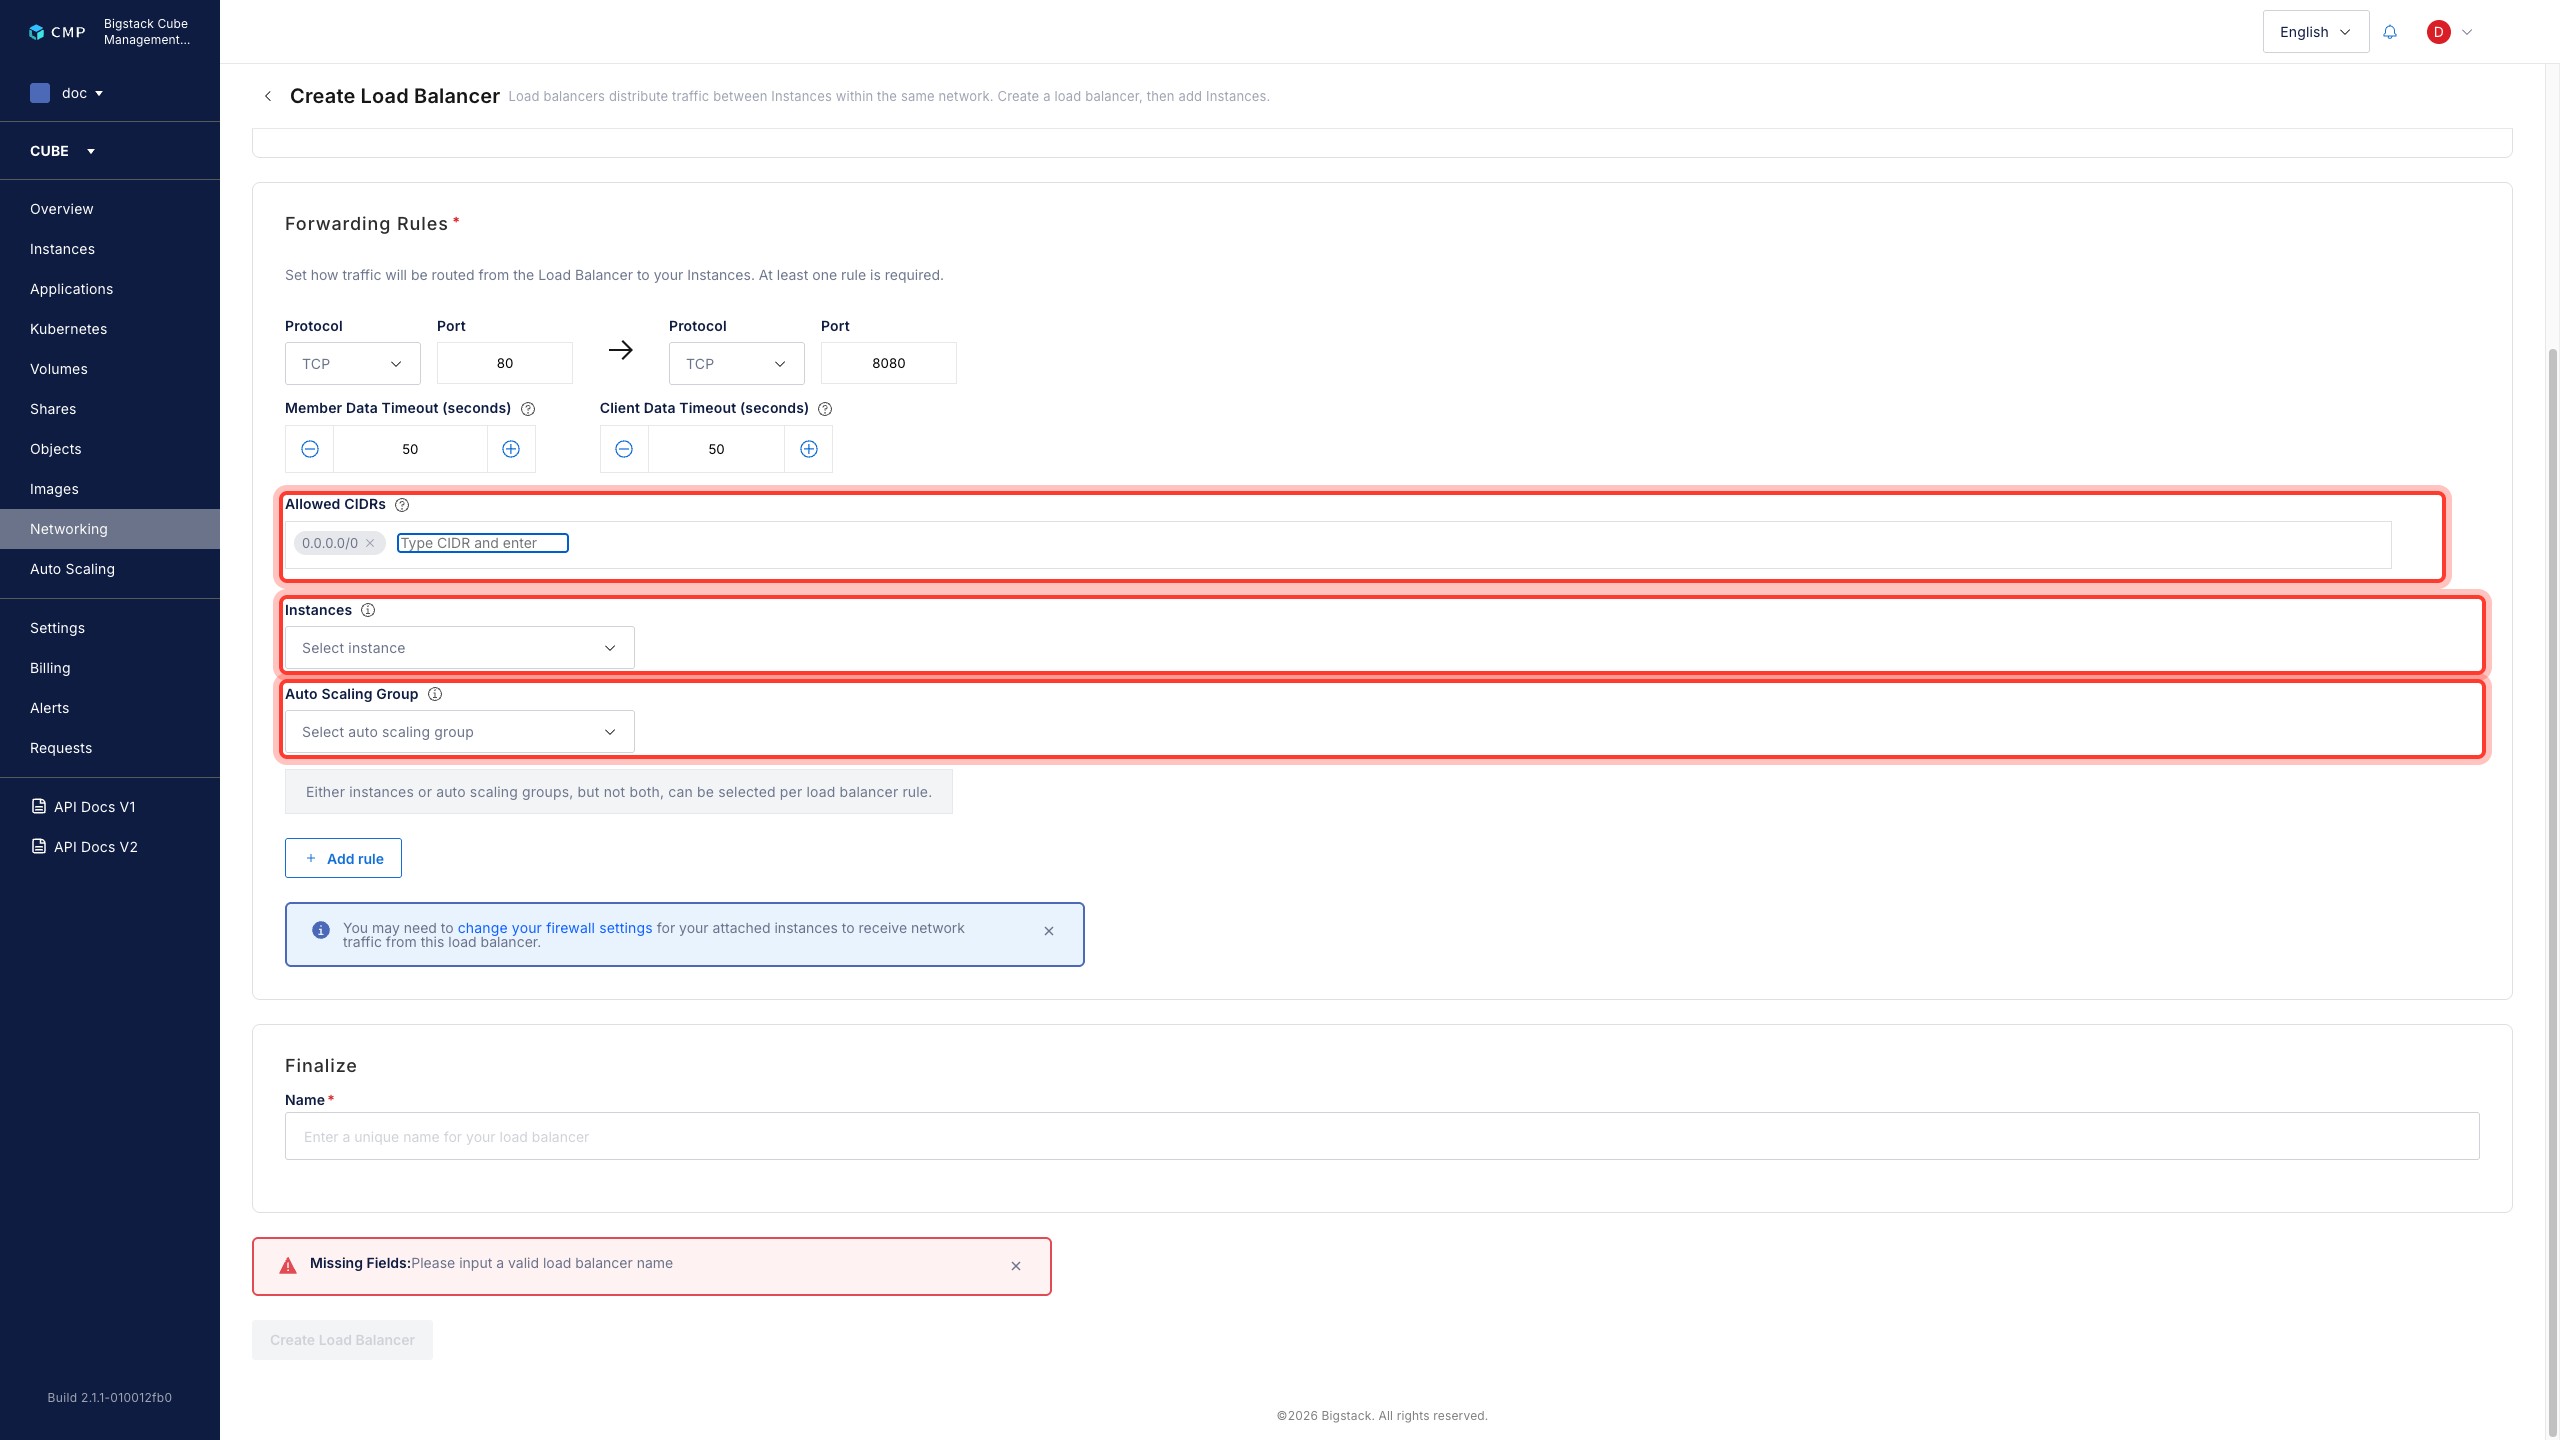
Configure the forwarding rules. Forwarding rules define how the load balancer routes traffic to your instances.
-
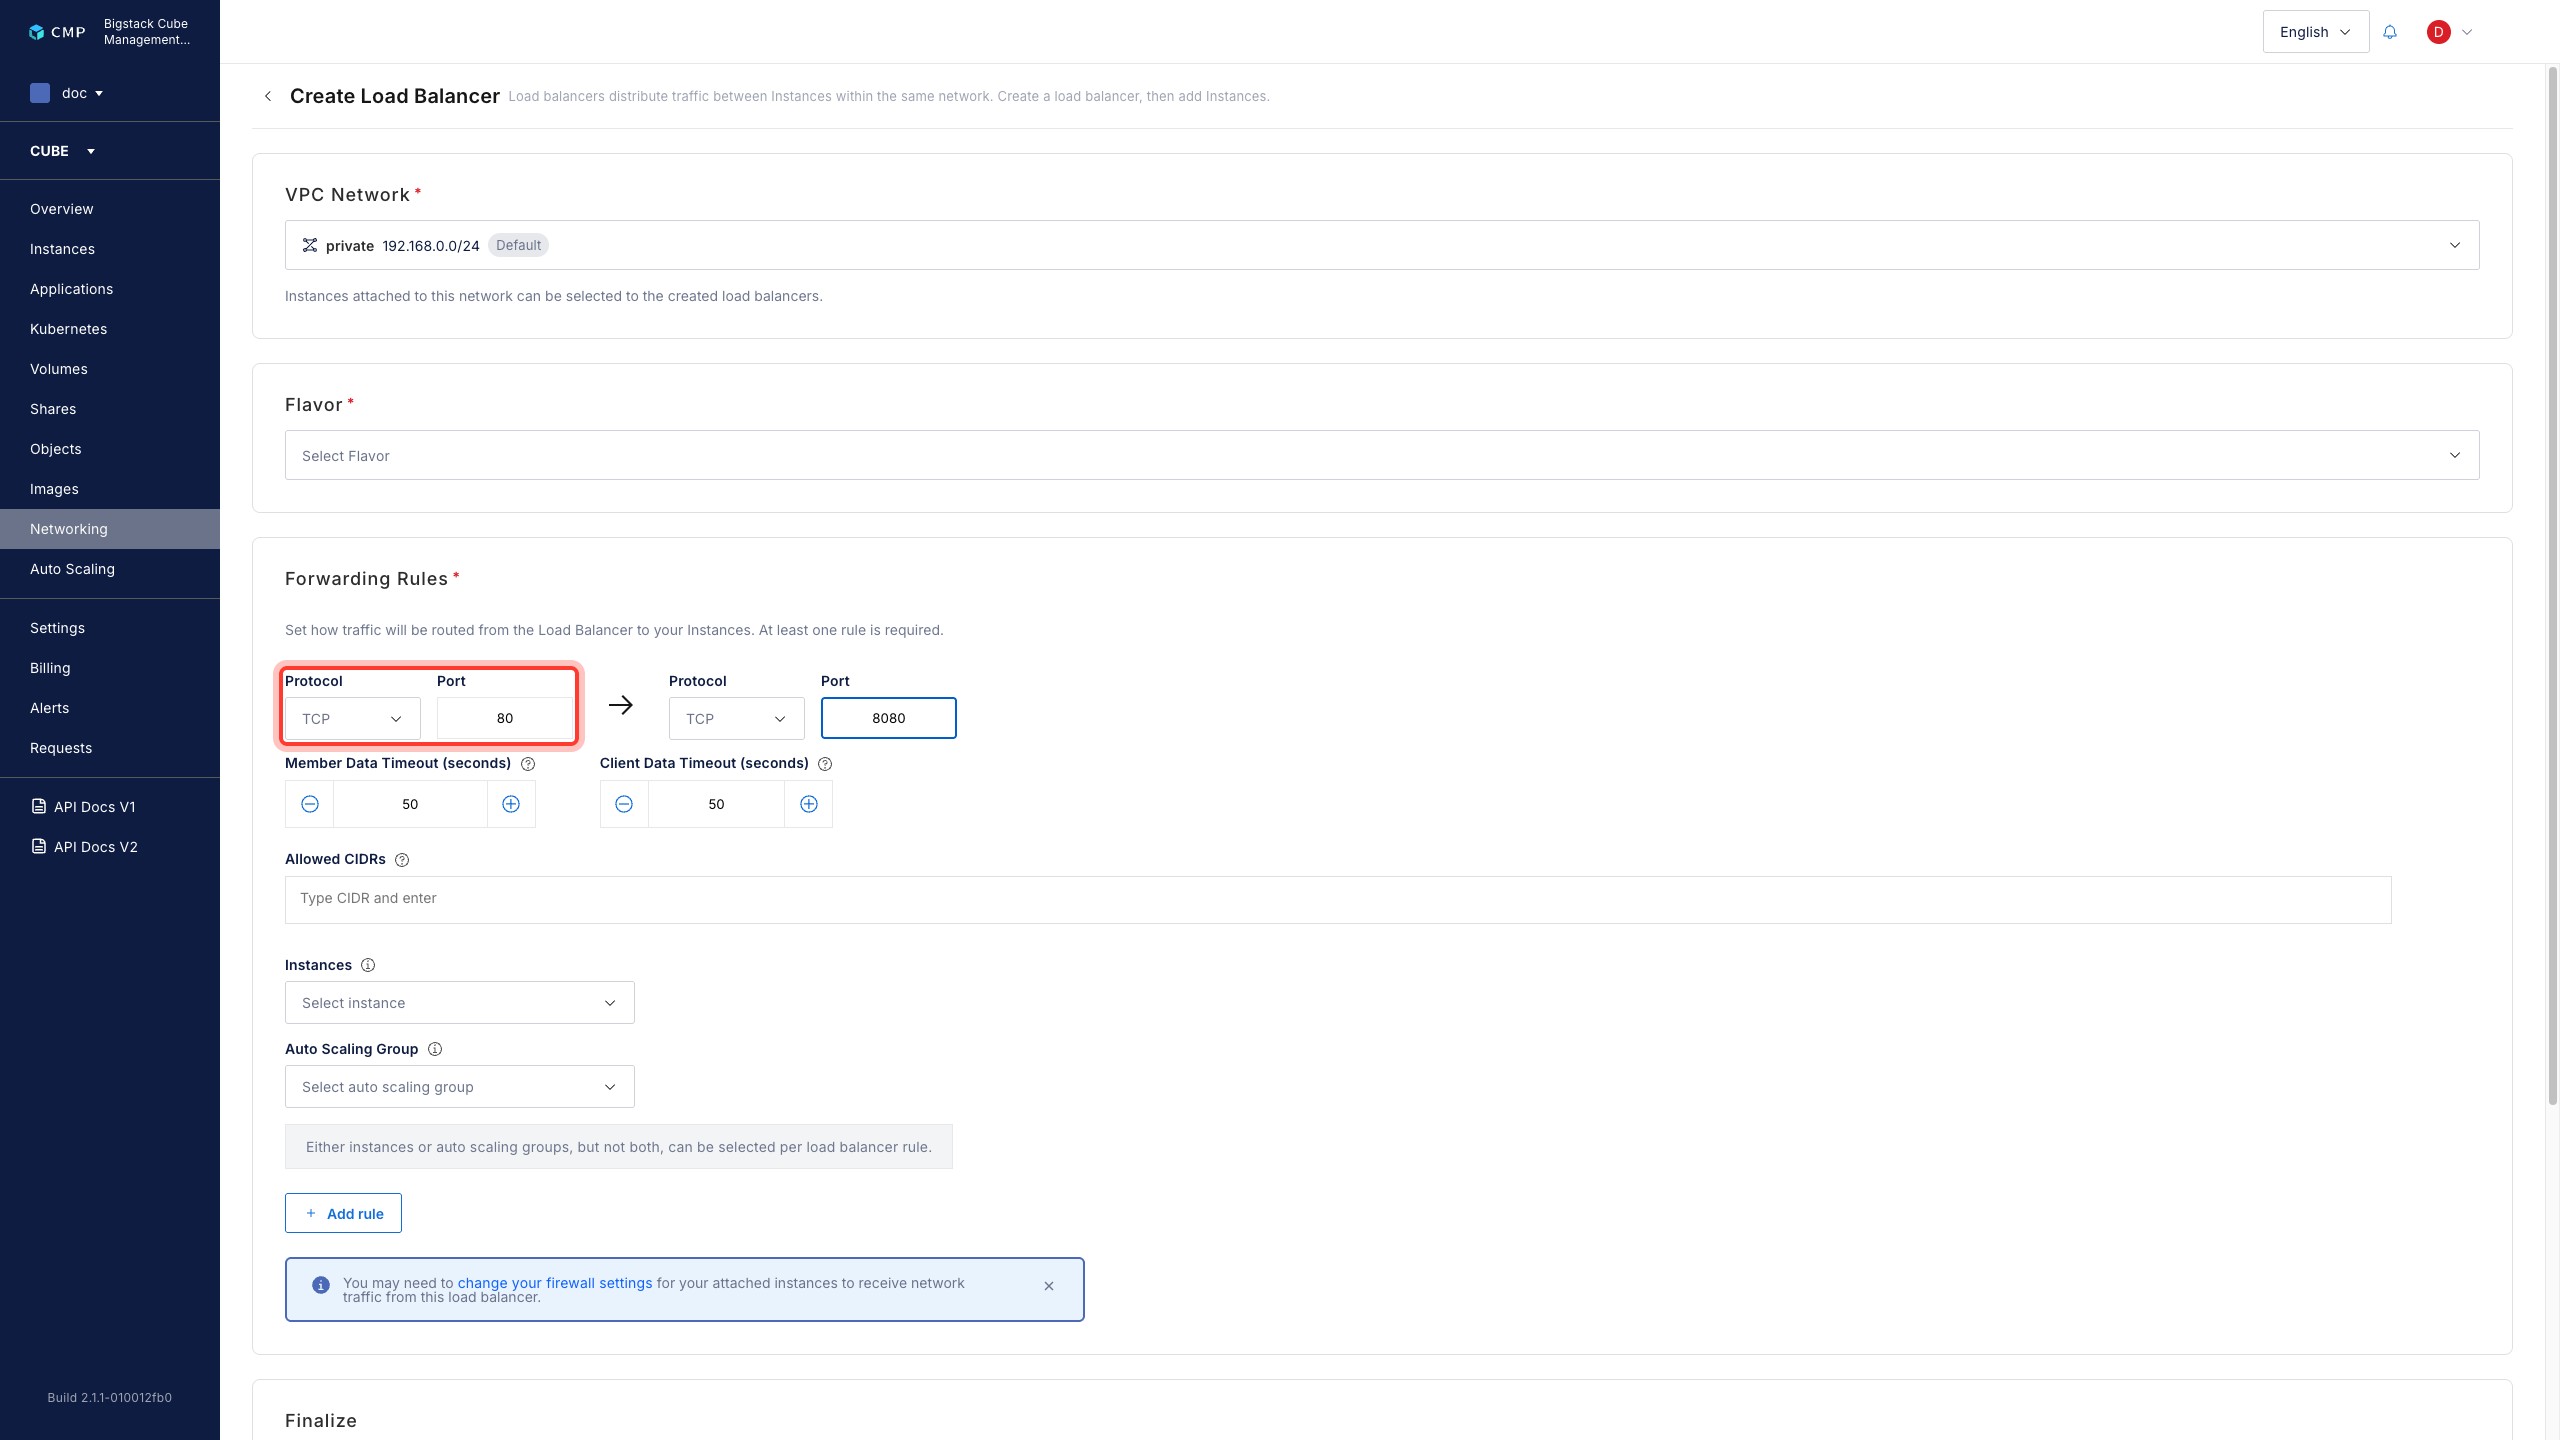
Select a Protocol and enter a Port for the load balancer.
-
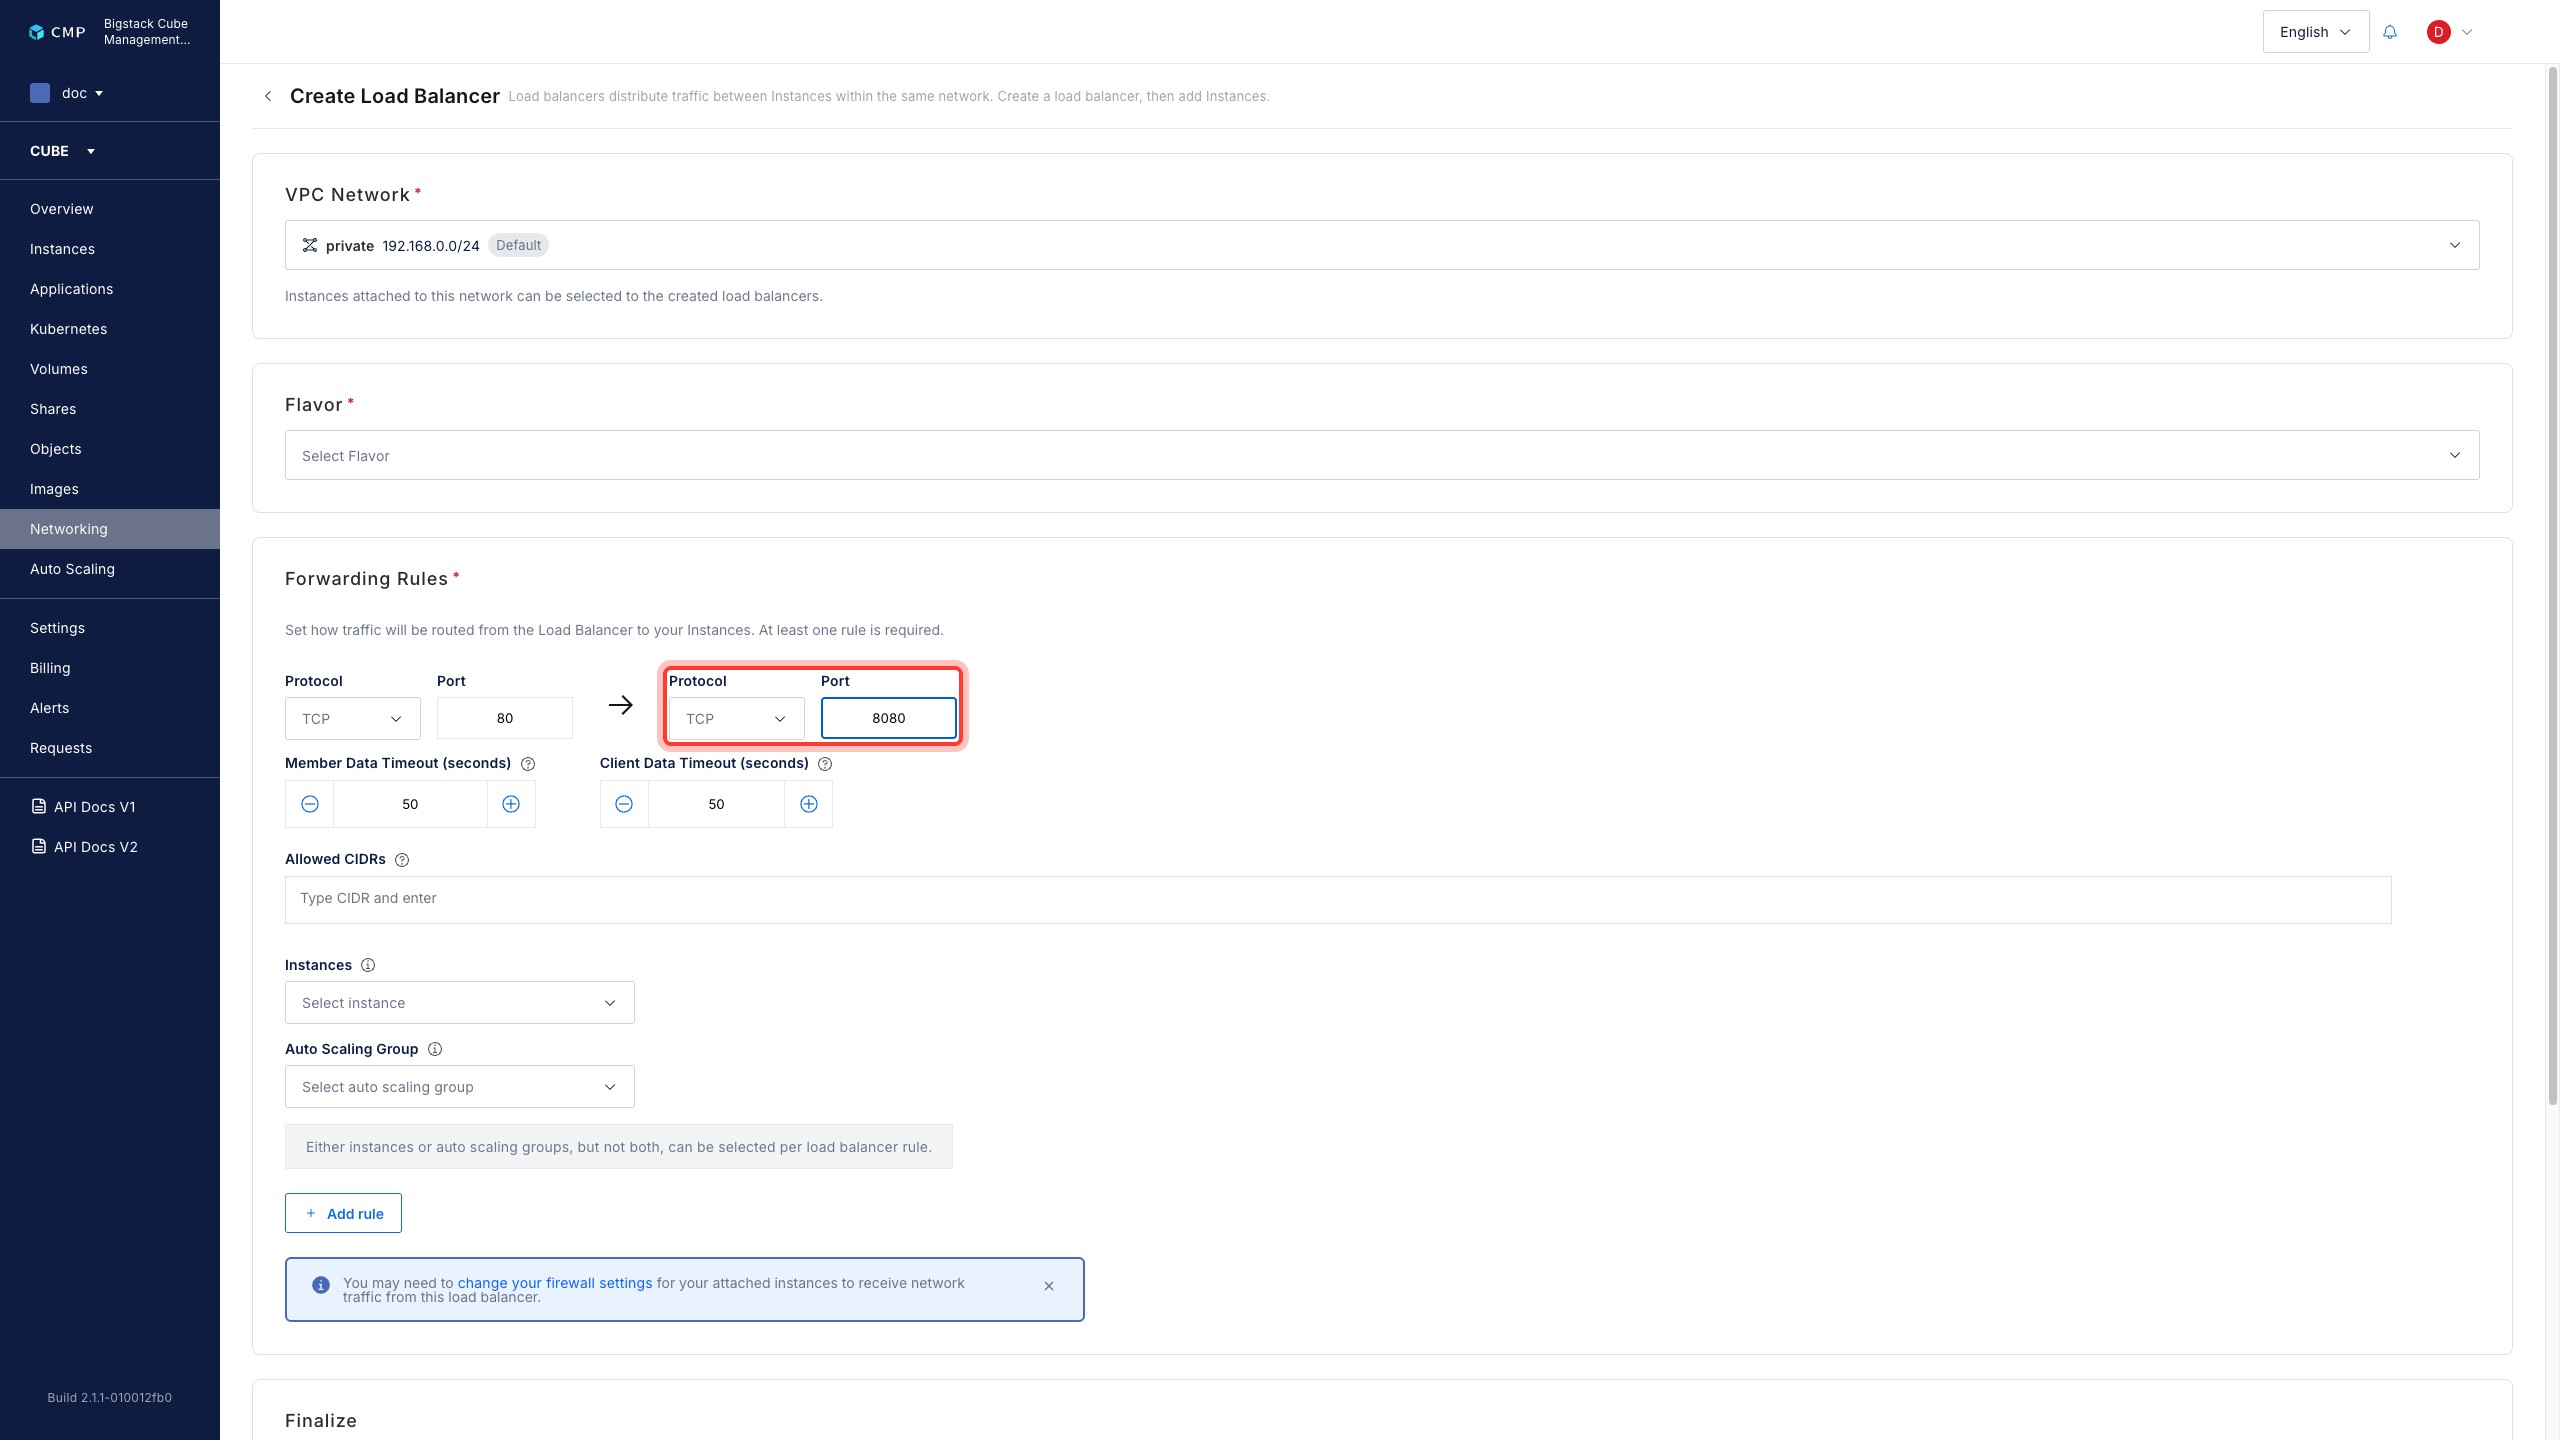
Select a Protocol and enter a Port for your instances.
-
In the Member Data Timeout field, enter the maximum time, in seconds, that the load balancer waits for a response from a member after it forwards a request.
-
In the Client Data Timeout field, enter the maximum time, in seconds, that the load balancer waits for a response from a client after it forwards a request.
-
In the Allowed CIDRs field, enter the CIDR ranges that can access the load balancer.
warningEntering
0.0.0.0/0allows all network traffic to access the load balancer. -
To attach resources to the load balancer, select Instances or Auto Scaling Group, and then add the resources.
-
To add another forwarding rule, click Add Rule and repeat these steps.
-
-
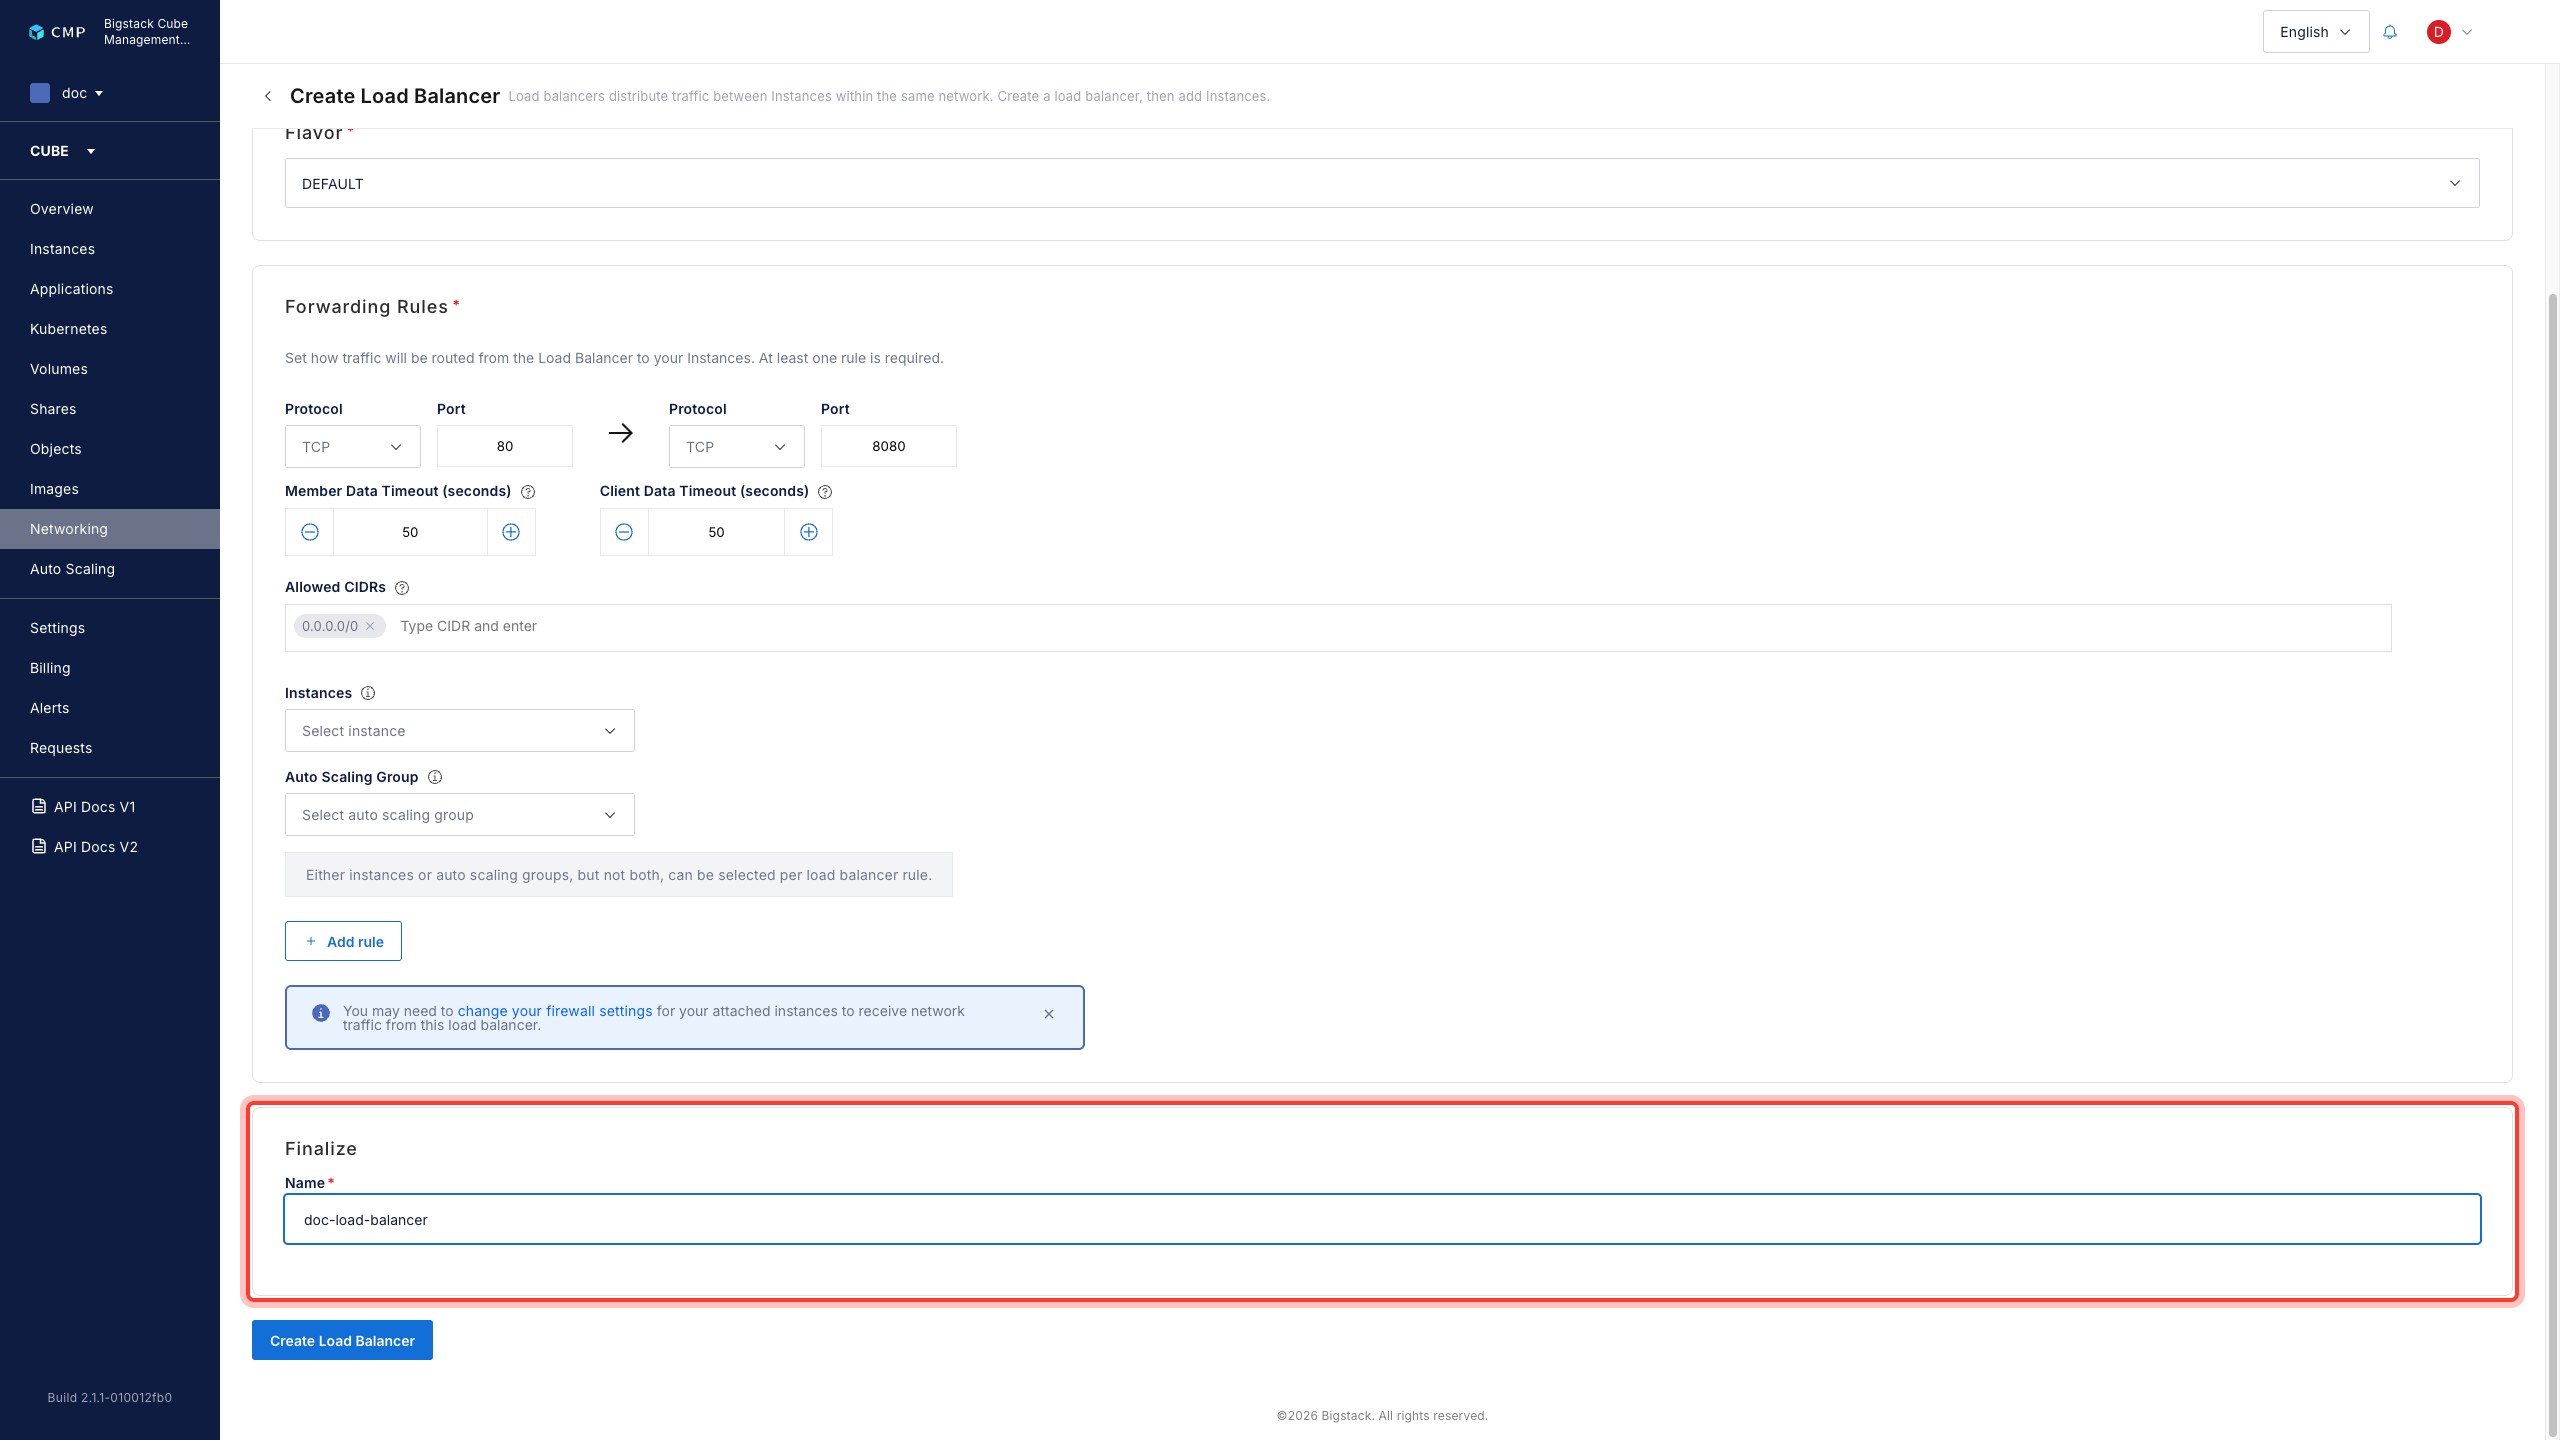
Enter the following details for the load balancer:
- Name: A name for the load balancer.
- Project: The project that the load balancer belongs to.
-
Click Create Load Balancer.