Delete projects
Delete a project
-
Navigate to
https://<your-portal-ip>/portaland login with a user with administrative privileges. -
Switch to the DEFAULT menu.
-
To view the list of created projects, go to
Projectstab.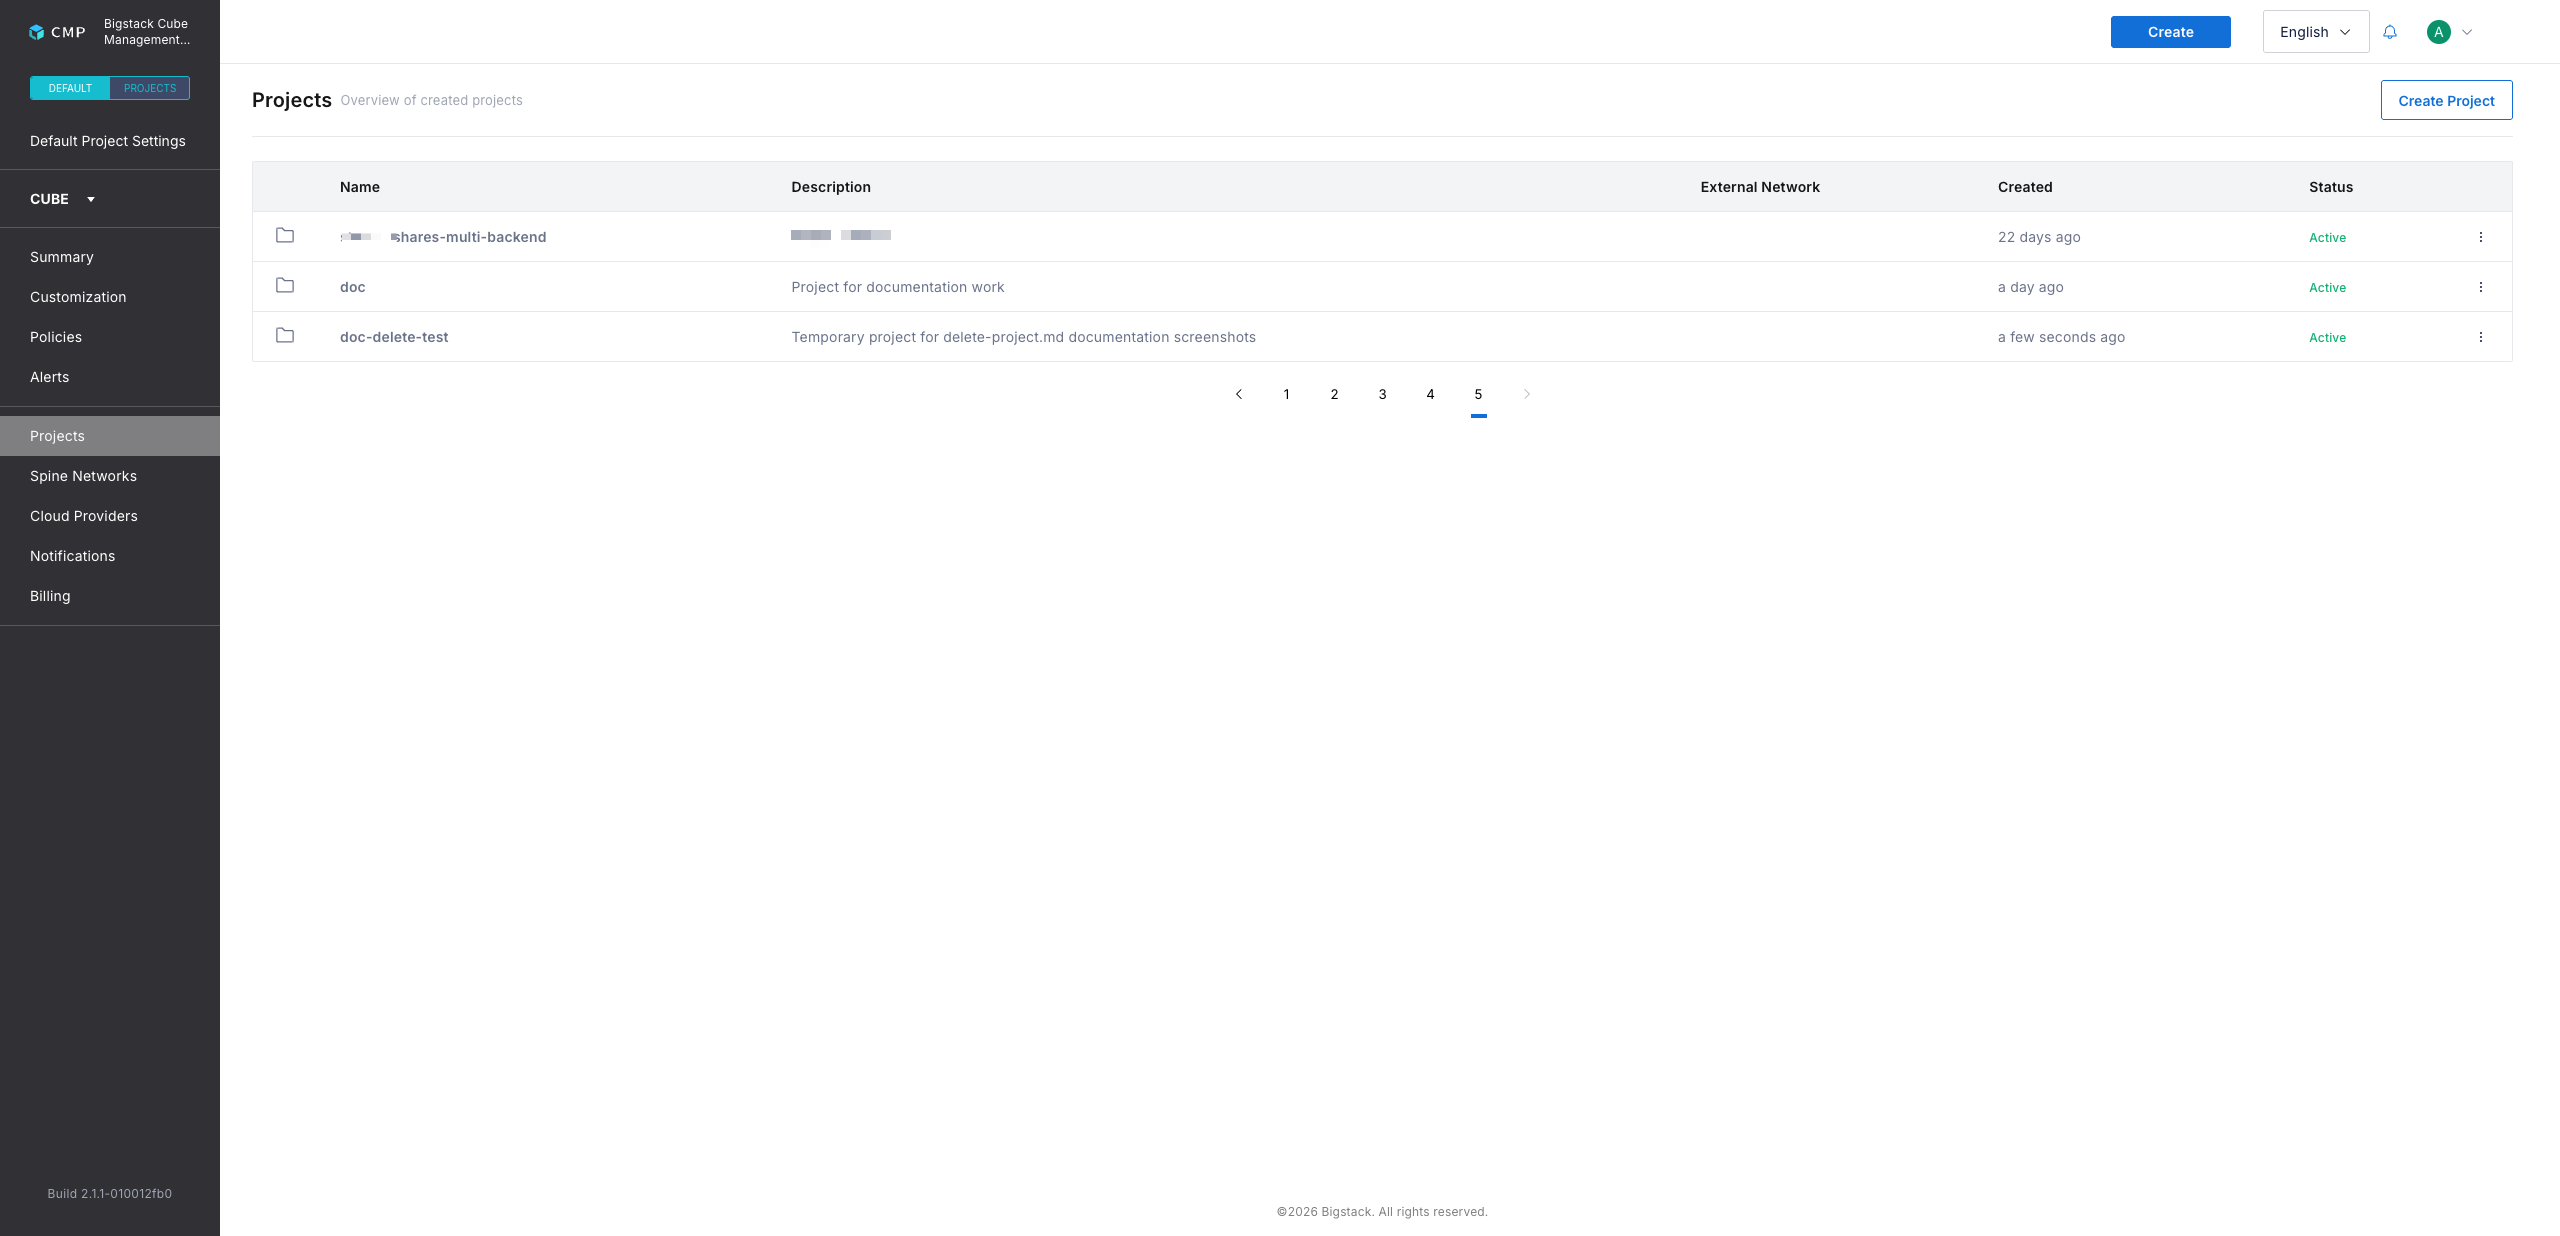
-
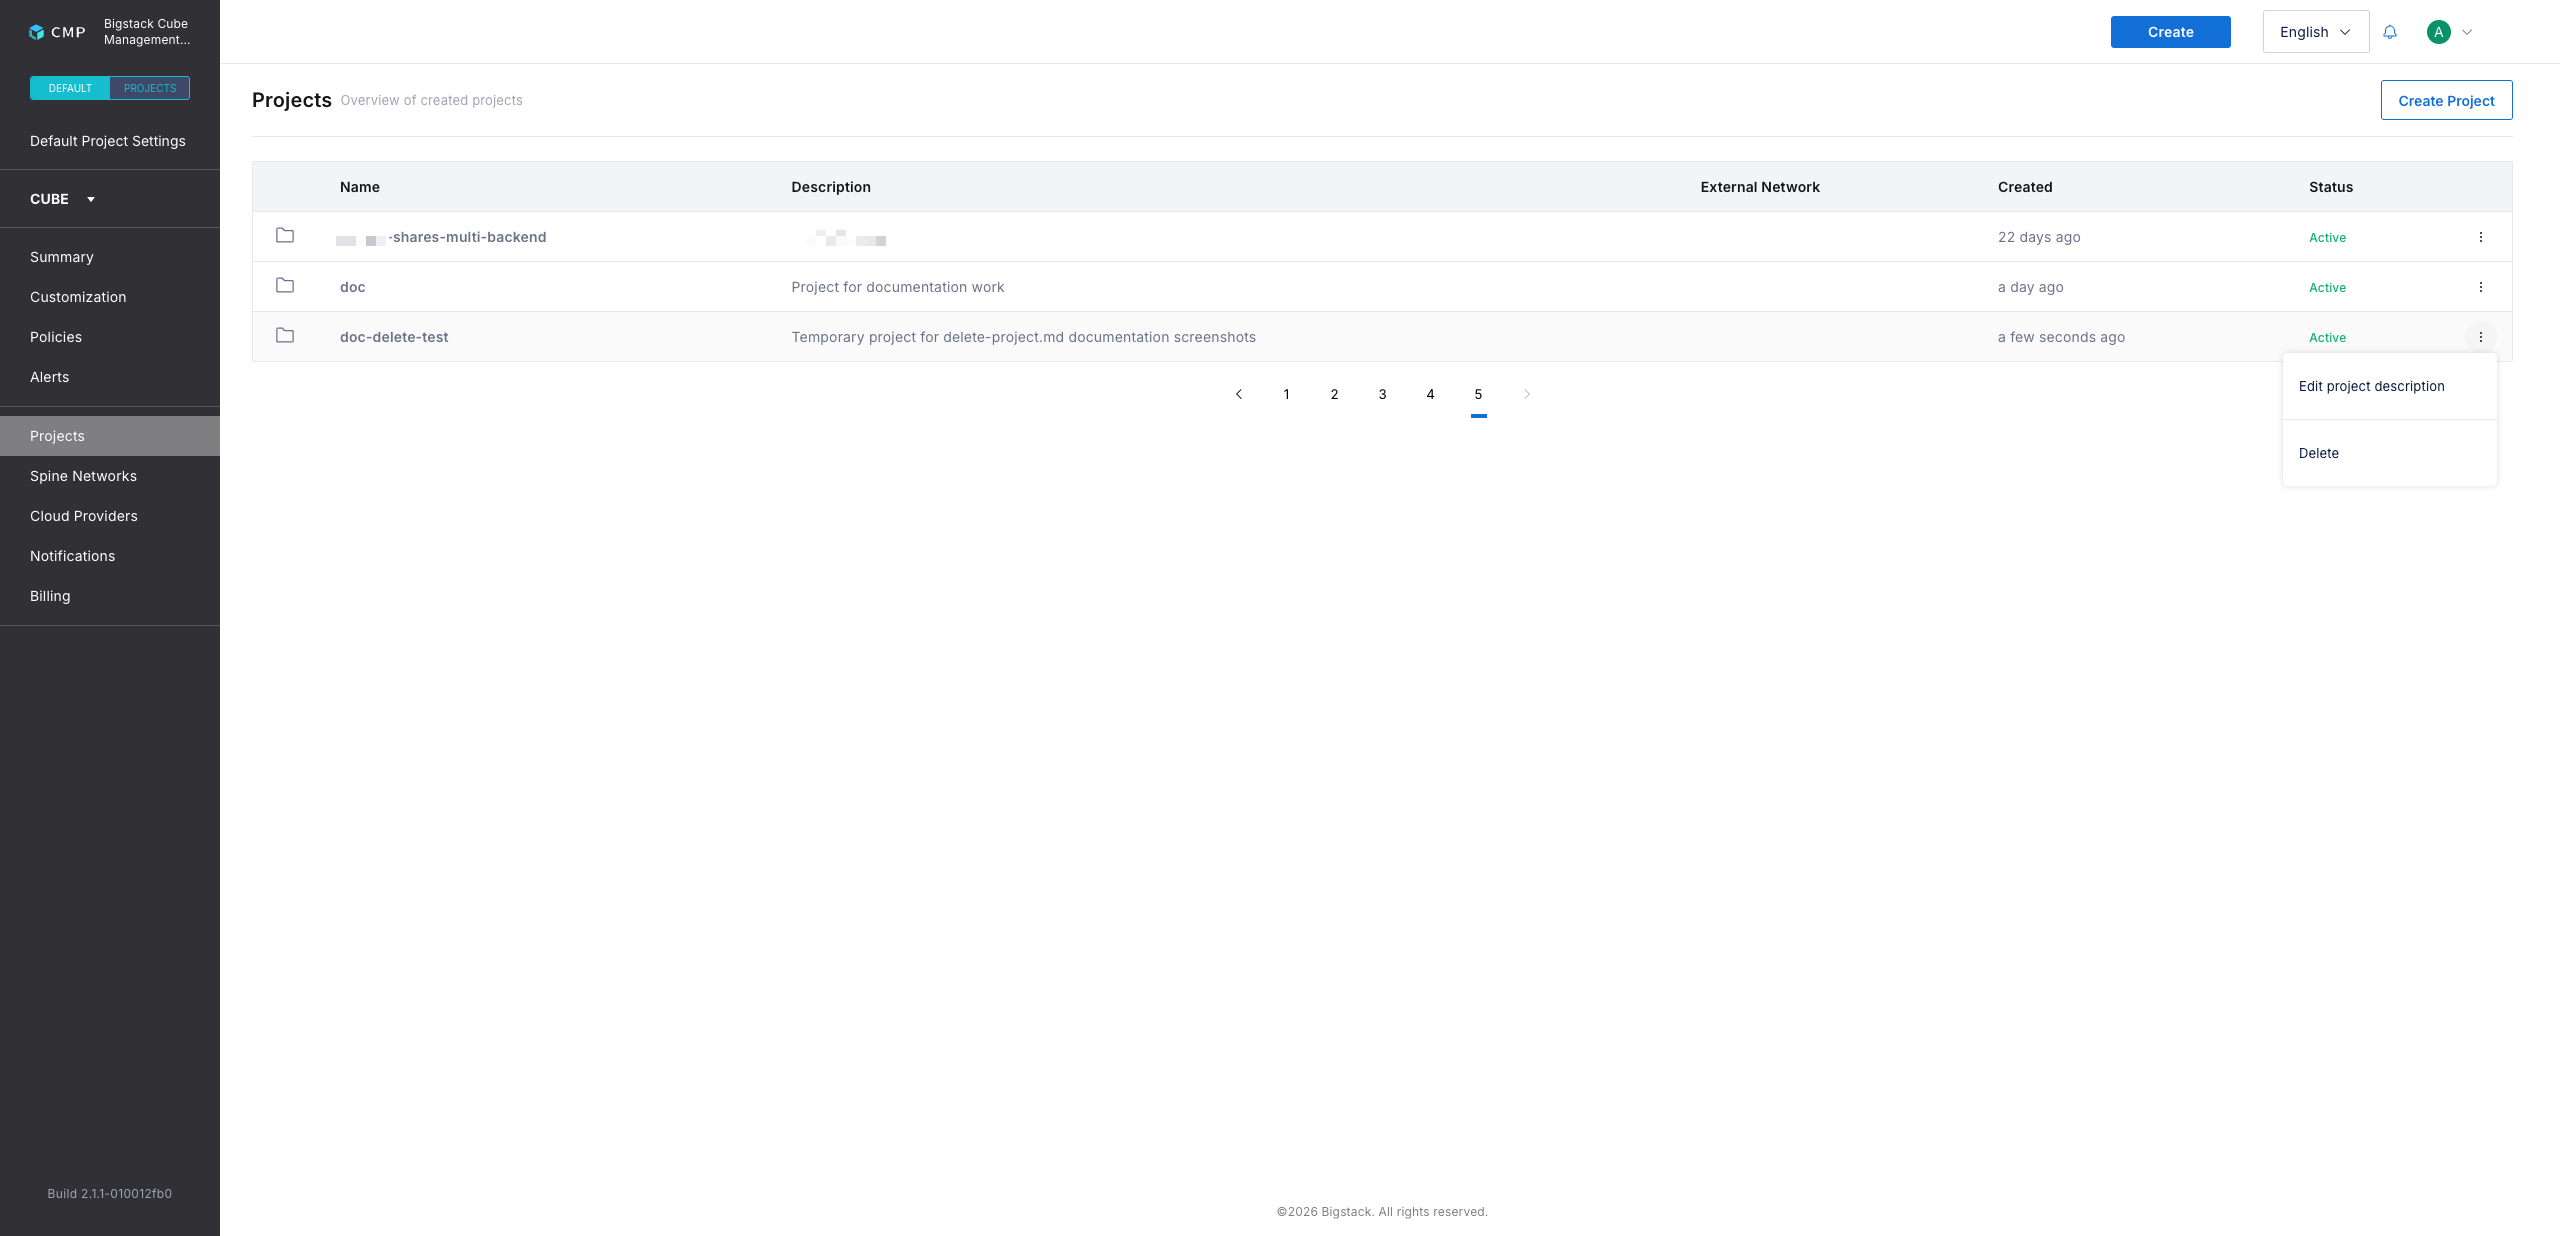
Go to the project you want to delete, click the right-side menu, and select Delete.
-
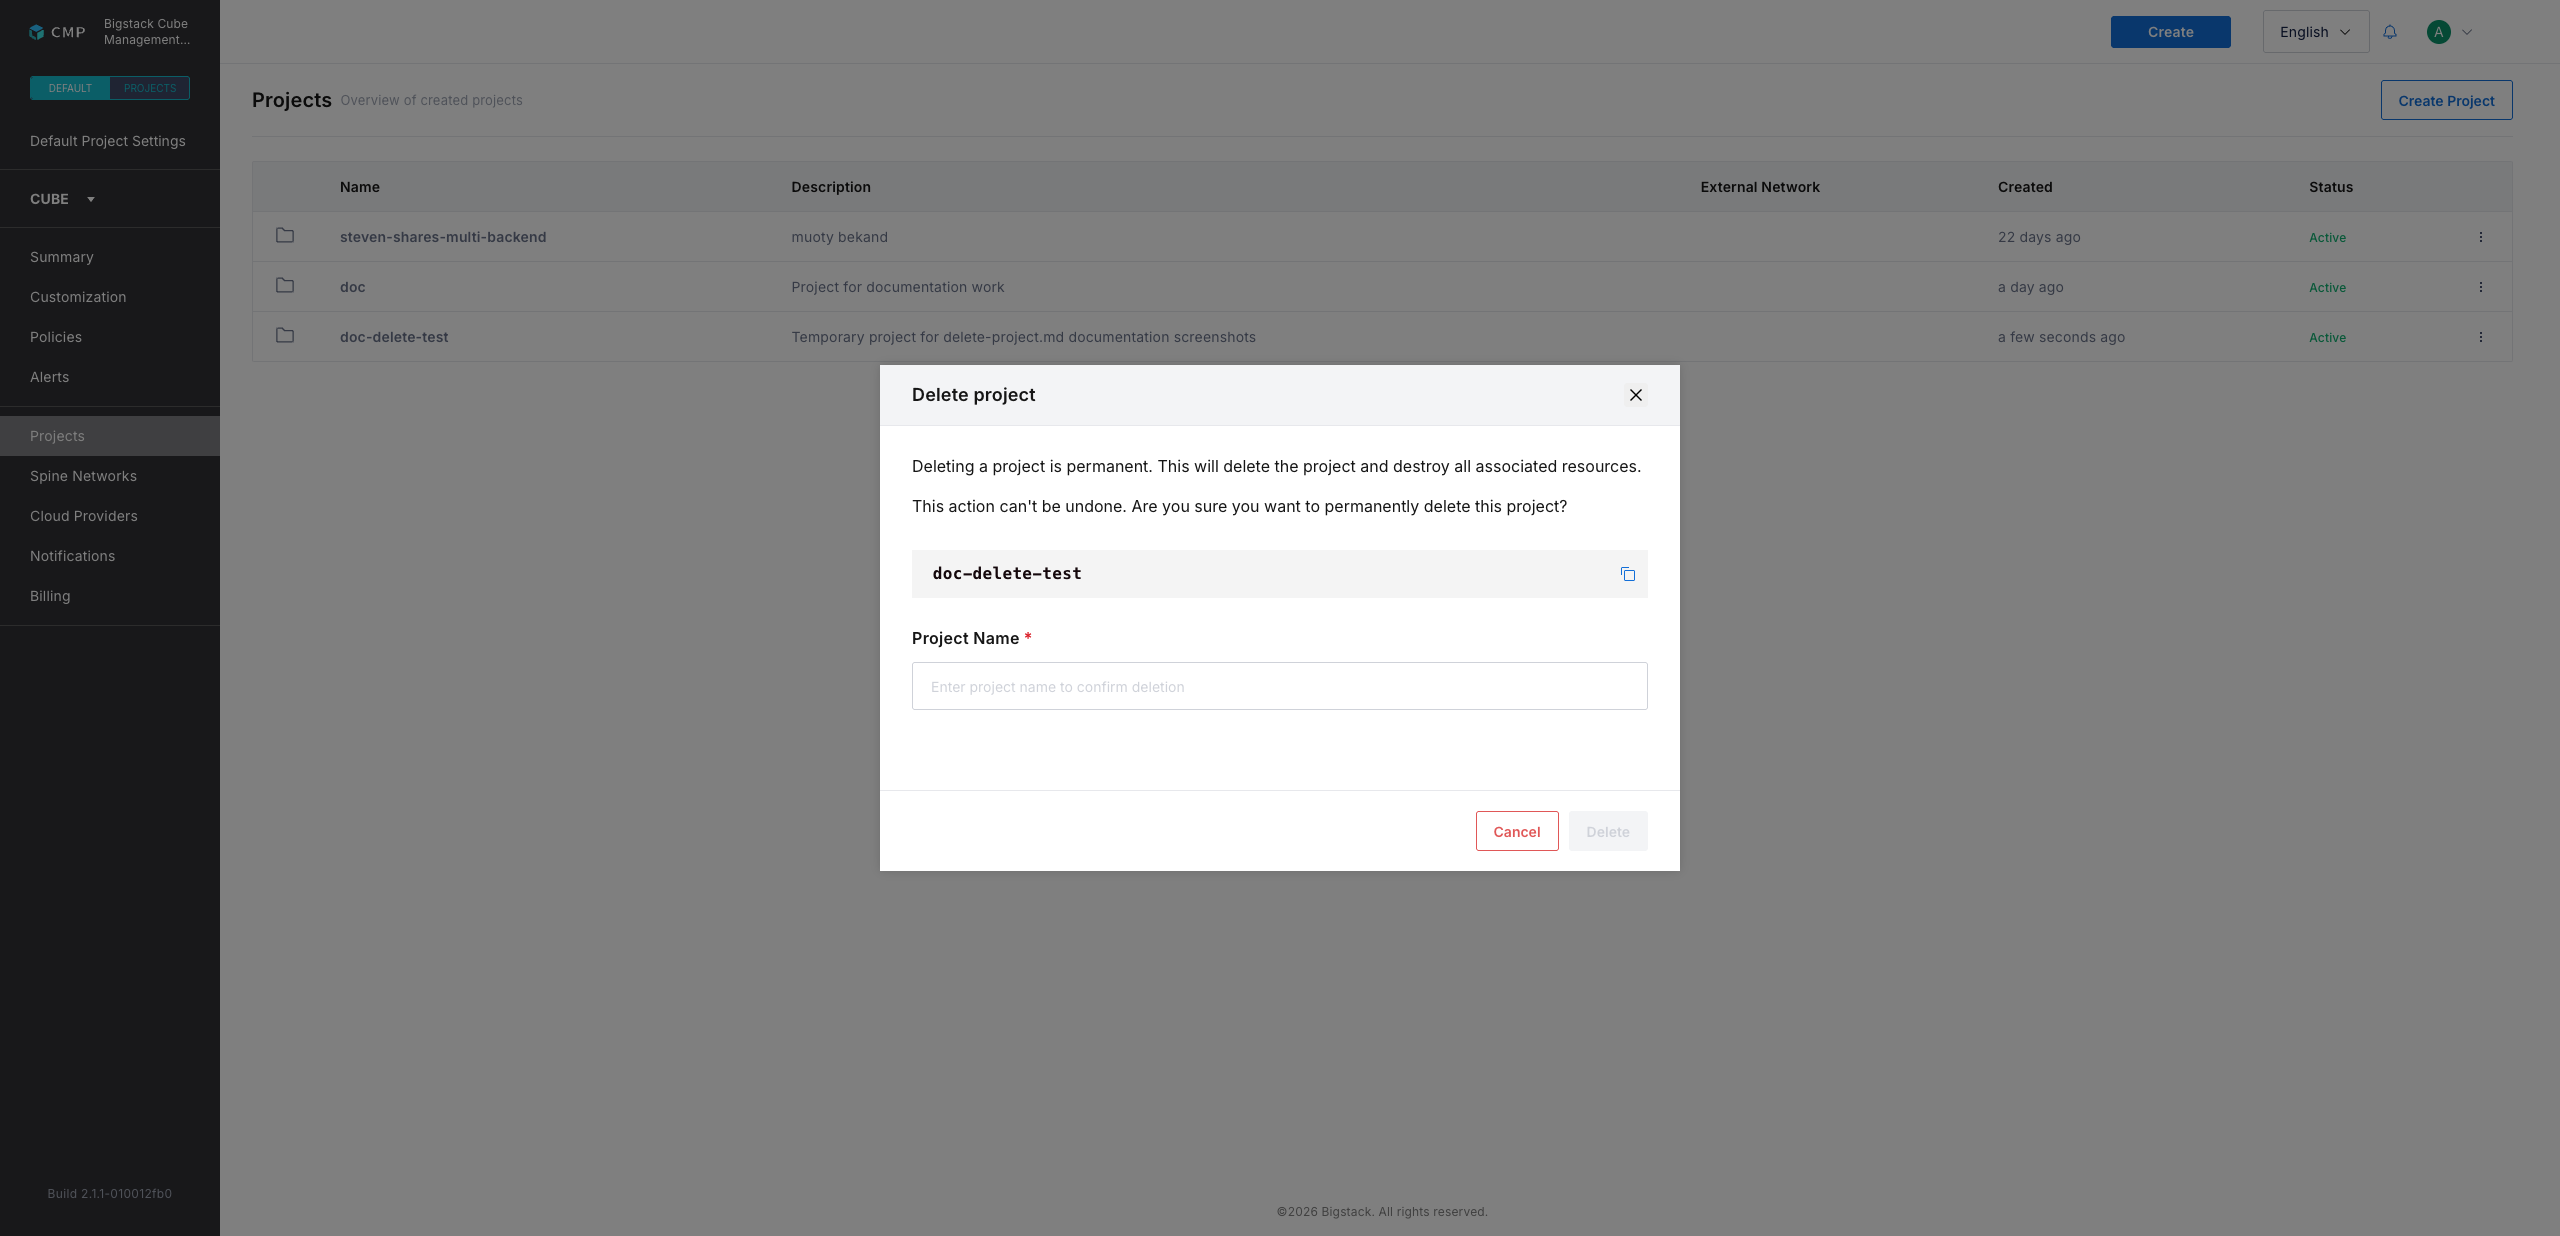
Confirm deletion by entering the project's name in the confirmation dialog and clicking Delete. This removes all project-related resources, such as virtual hosts, disks, and networks.
-
Verify resource removal via the CubeCOS platform.
-
Confirm project deletion under Infrastructure > Identity.
Optional tasks to verify resource removal
- Sign in to the CubeCOS management interface at
https://<your-cluster-vip>with admin credentials:- Username: admin
- Password: Your default or set password
- Go to Integration and click Connect on OpenStack to open the infrastructure management interface.
- Click Login to sign in with your Cube account.
- Switch to the Administrator View. For details, see How to navigate to the CubeCOS Administrator view.
- Go to Compute > Instances. Click Project to reorder and check for instances not associated with any project.
- Go to Network > Networks. Click Project ID/Name to reorder and check for networks not associated with any project.
- Go to Storage > Volumes. Click Project to reorder and check for volumes not associated with any project.