Build Windows Image
Preparation
Obtain the followoing files before attempting to create a new Windows cloud image.
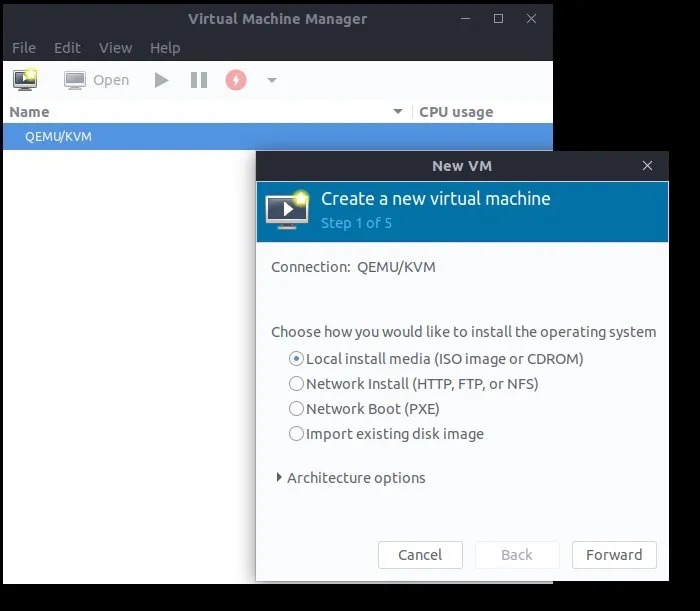
Virtual Machine Manager
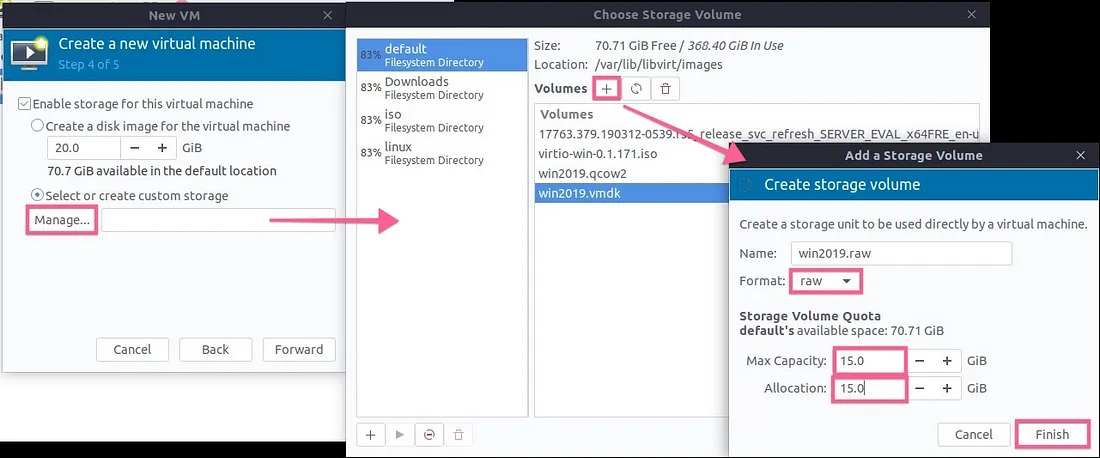
Create New Virtual Machine
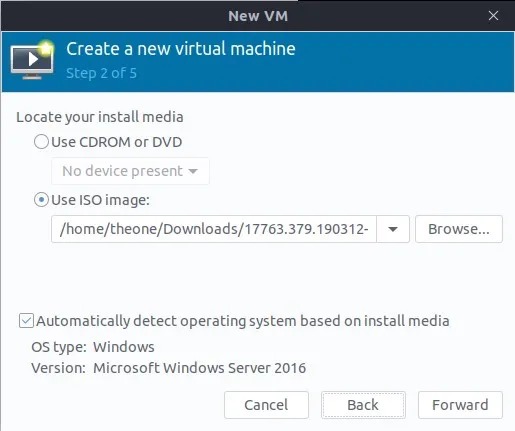
Choose your downloaded Windows installation iso
Configure your VM

Create a disk with raw format

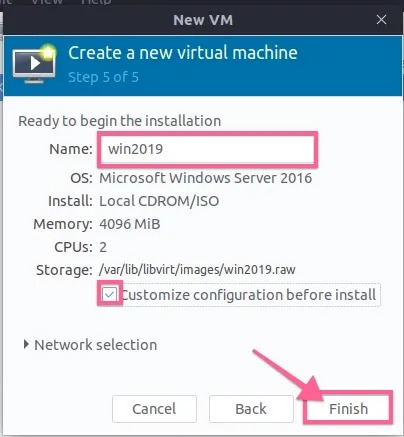
Customize VM
Check Customize configuration before install
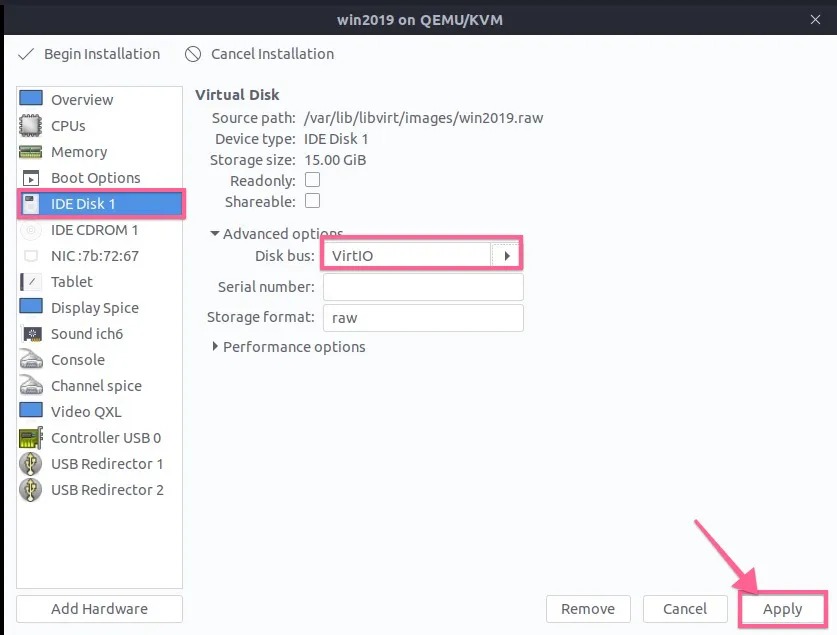
[Disk] Change the Disk bus using virtIO
[Disk] Create another Disk using scsi (for driver attachment)

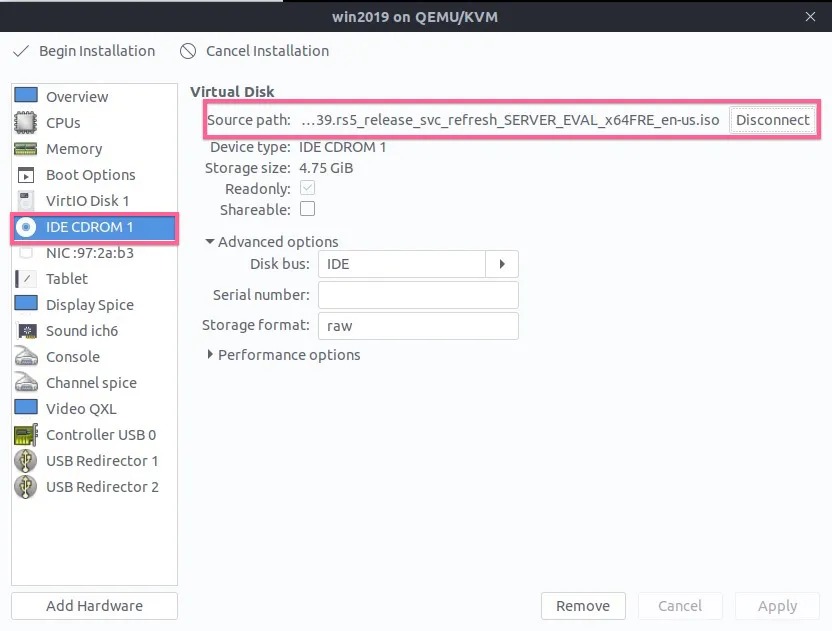
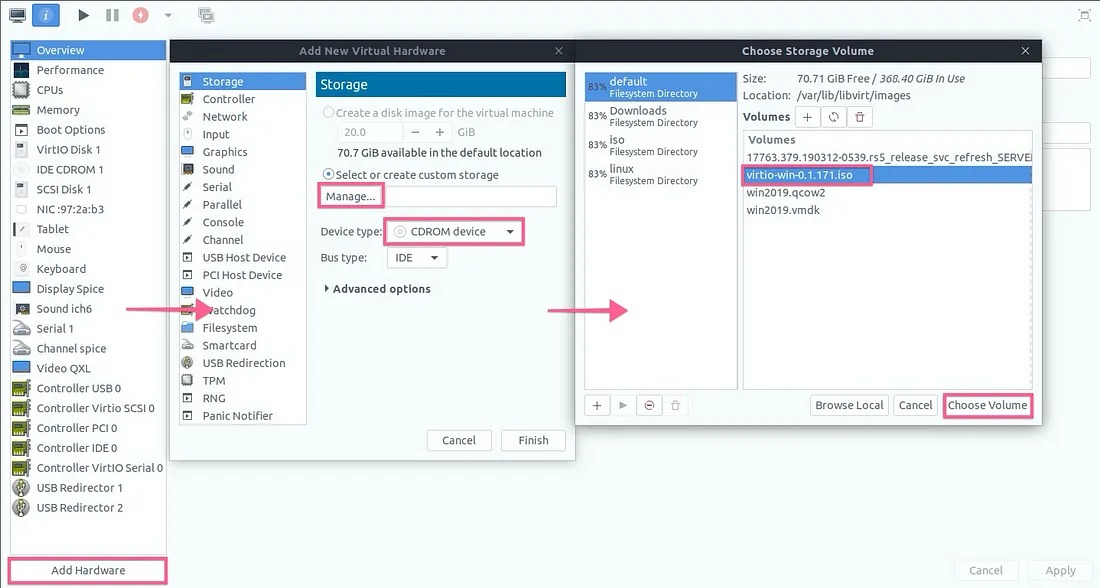
[CDROM] Make sure CDROM is loaded with Windows installation iso
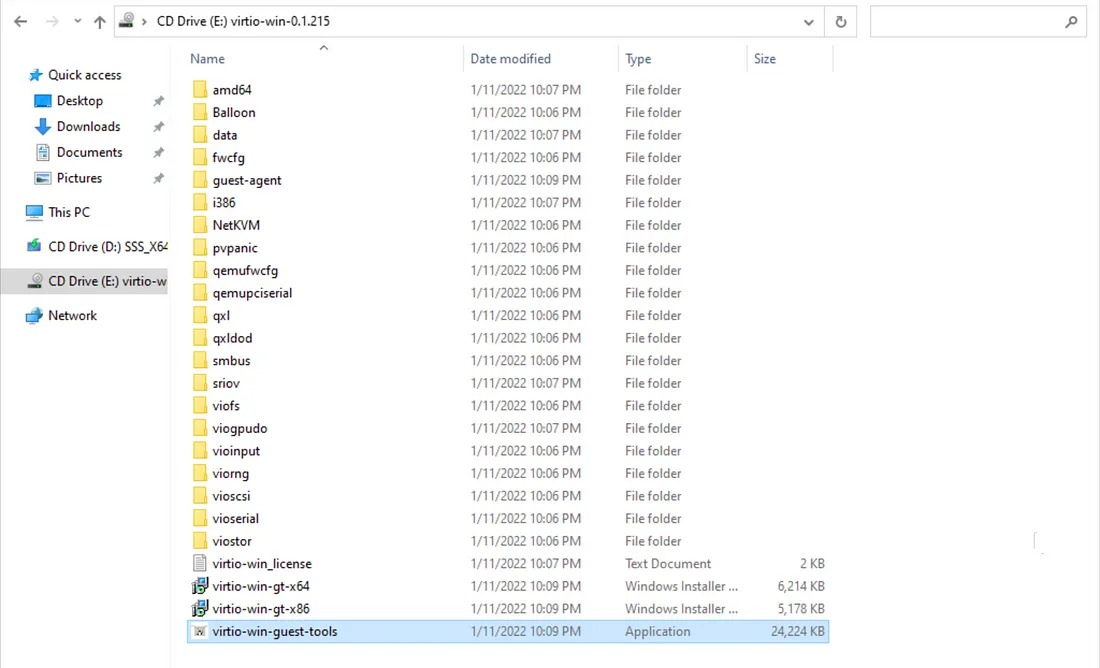
[CDROM] Create another CDROM and loaded with virtIO driver iso
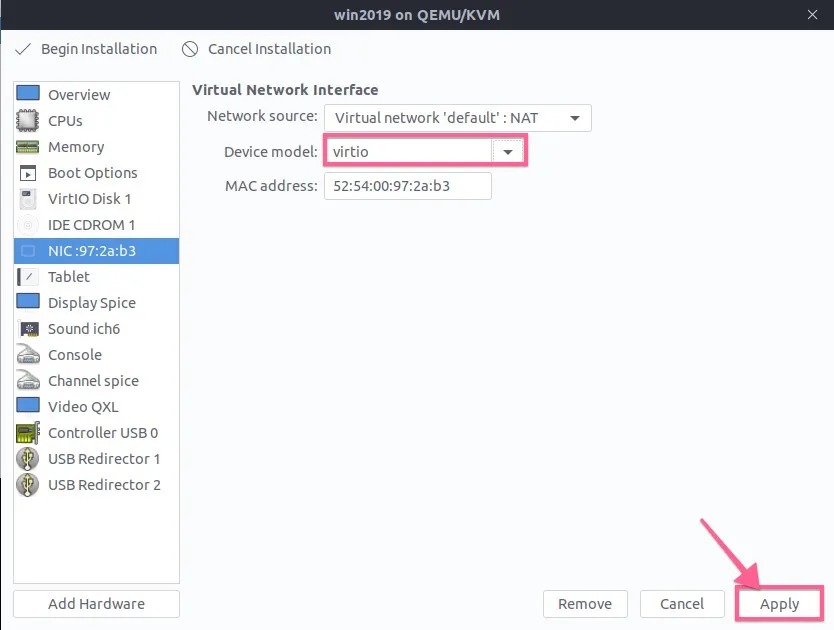
[Network] Change the network interface using virtio
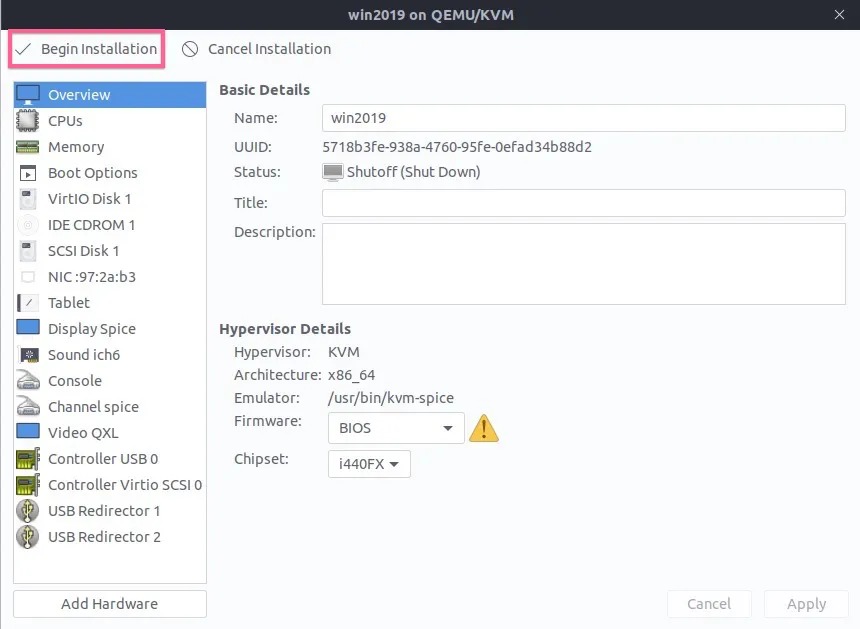
All done, Let begin installation
Windows Server Installation
Select Custom: Install Windows only (advanced)

Load Network Driver, Choose your CDROM look for Drivers\NetKVM
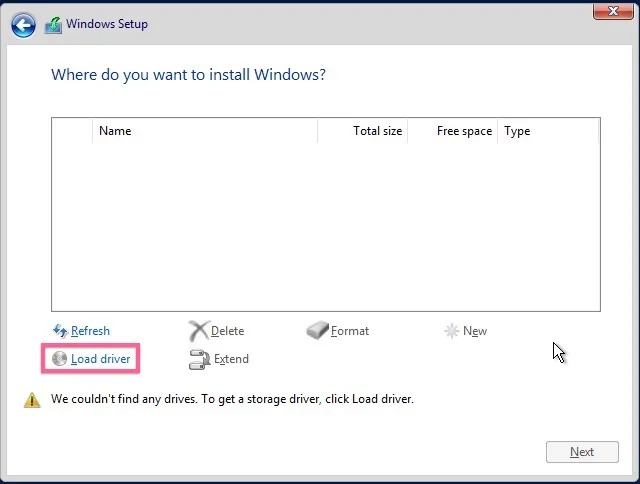

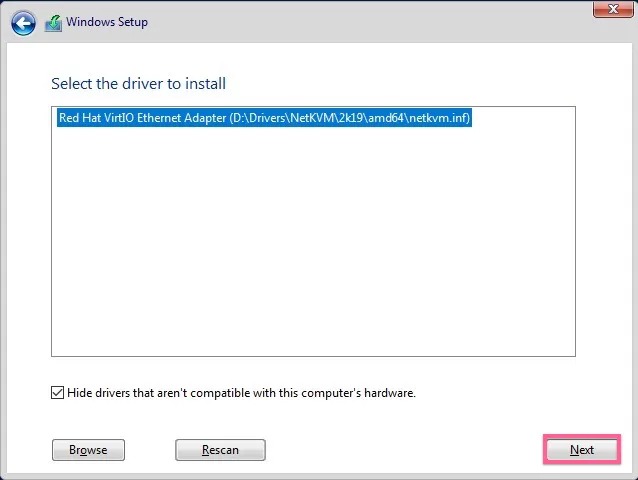
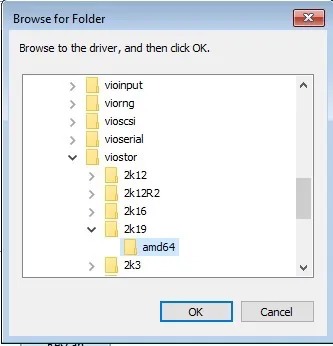
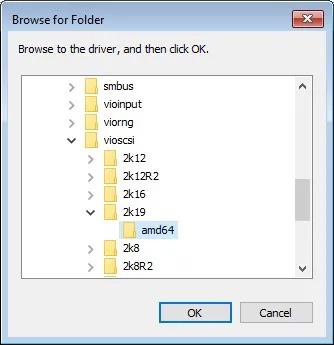
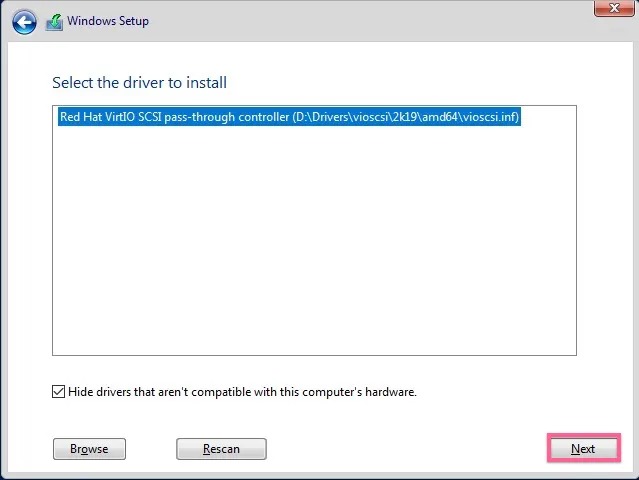
Then, VirtIO disk driver
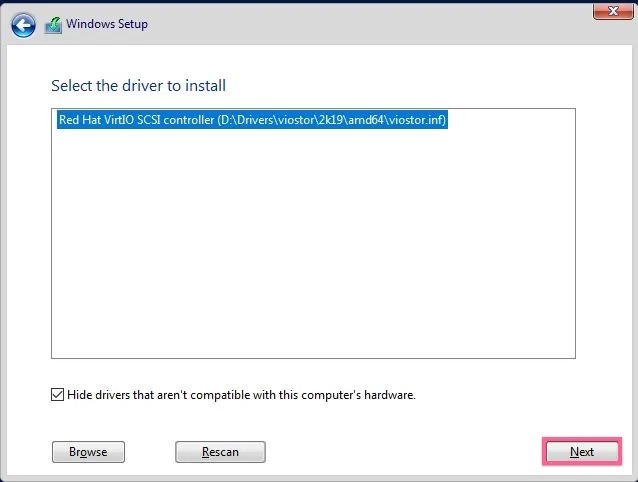
The VirtIO disk is shown
Install Scsi Disk Driver (to make sure scsi drive is supported as well)
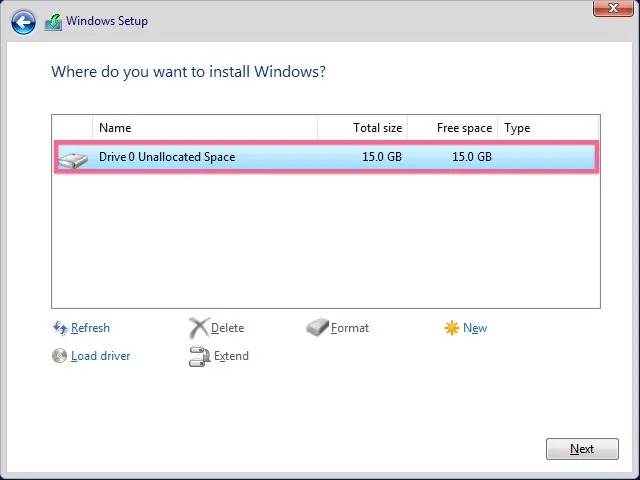
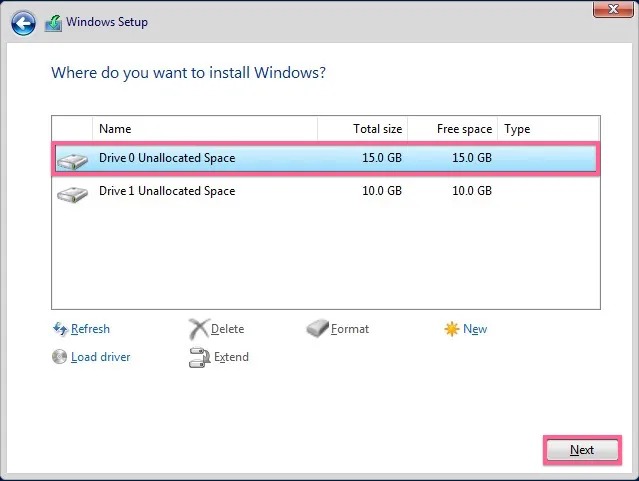
Disk Sumary

Let’s start the Windows installation on Drive 0
- continue Windows installation step by step until finish
Windows Remote Desktop(RDP) setting
- Allow RDP from the firewall, open PowerShell as Administrator and run:
Enable-NetFirewallRule -name RemoteDesktop-UserMode-In-TCP
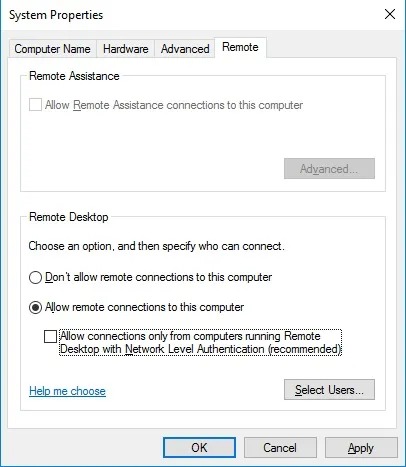
- Click on Start > Settings, and search for remote desktop, now choose allow remote desktop access to your computer.
- In the popup choose for Allow remote connections to this computer, Click OK to close the popup.
- uncheck - NLA (Network Level Authentication)
- Click on Apply and OK.
Cloudbase initialization permission
- To be able to use Cloud-Init (we need this to, for example, be able to set an admin passphrase when deploying) we have to configure this
- Open PowerShell as Administrator and run:
Set-ExecutionPolicy Unrestricted
Driver Installation


Install Qemu-guest-agent

Delete recovery partition
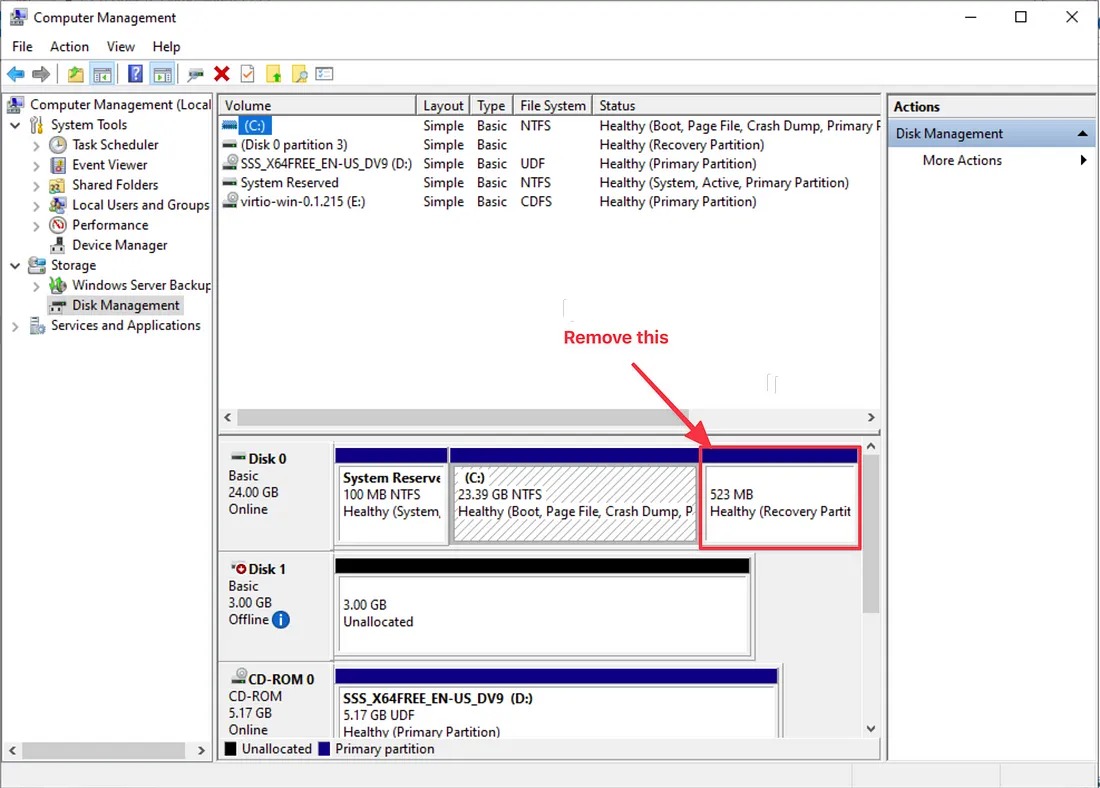
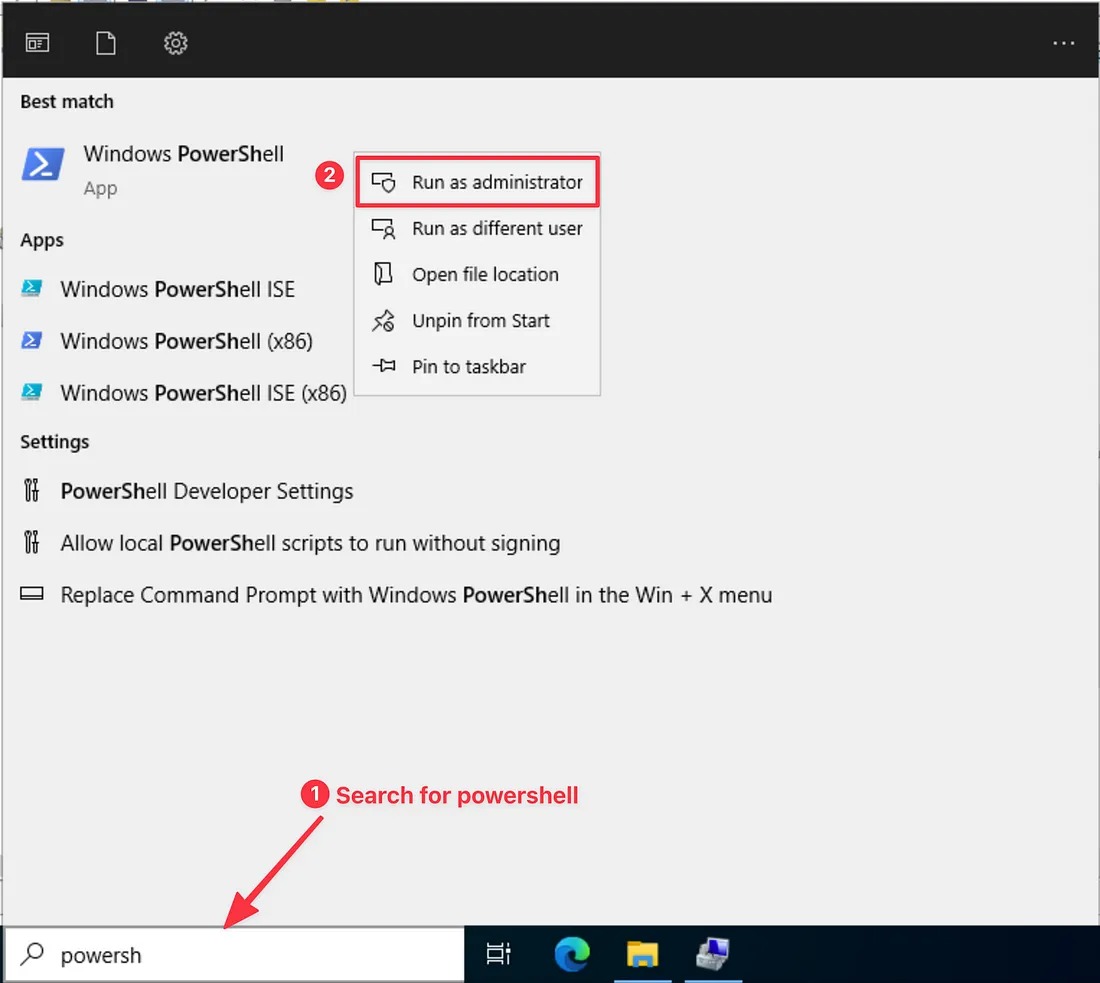
Run powershell as administrator
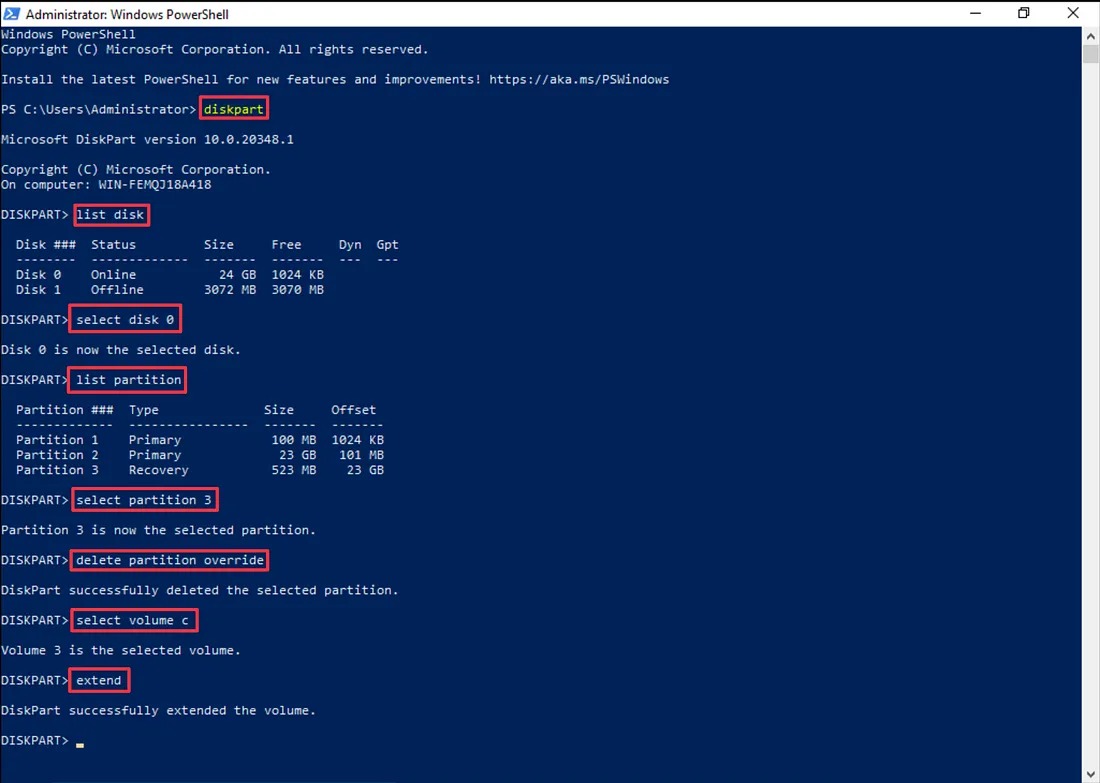
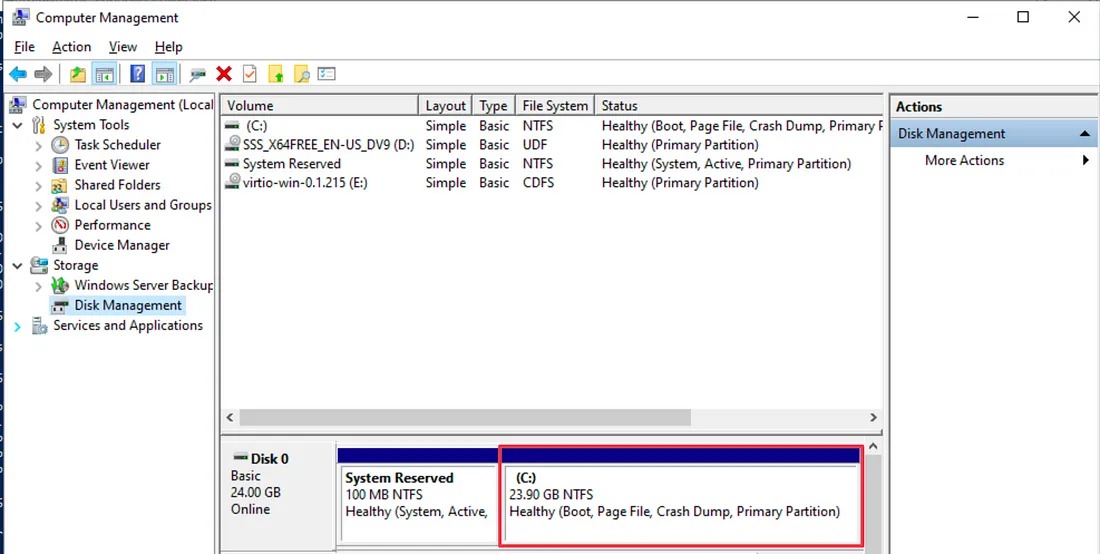
Use diskpart to remove the partition
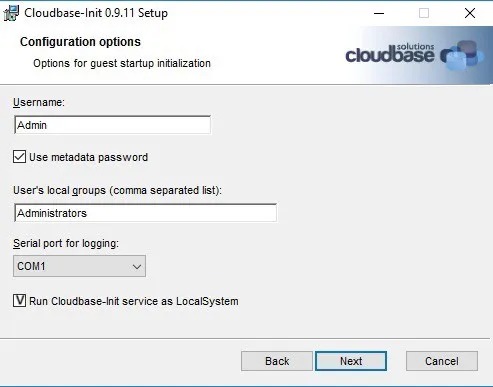
Download Cloudbase-init installer & run the setup
-
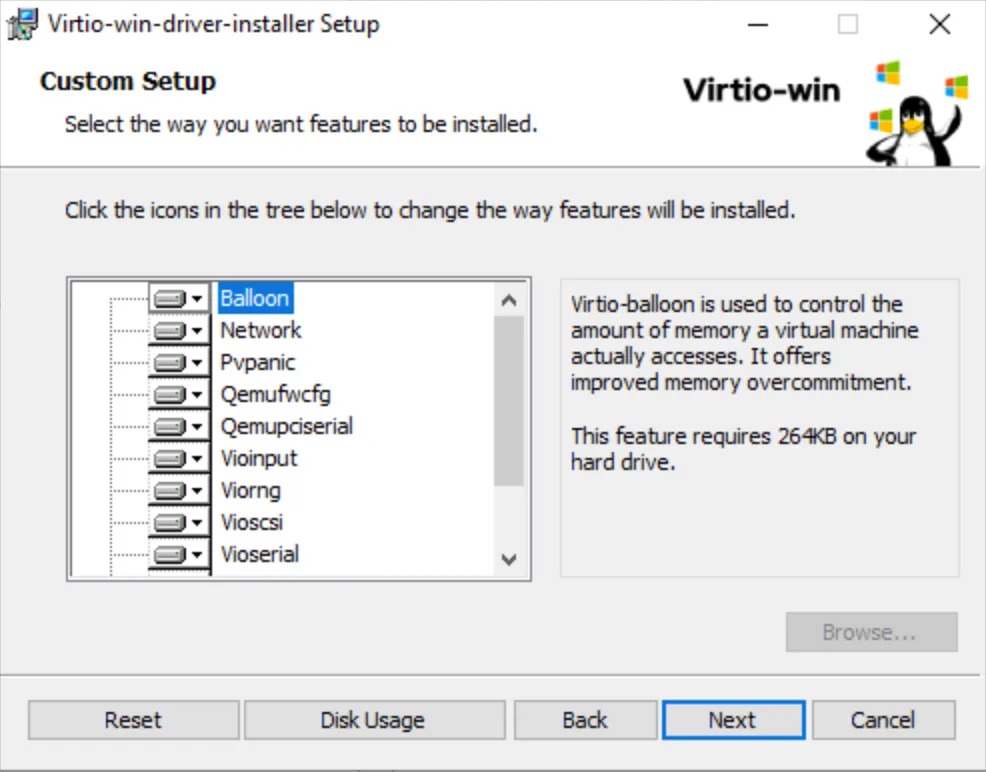
The default settings will be fine, again click Next
-
Check everything be except for the Serial port for logging, set that to COM1
-
In my case, the username has set to Admin , Openstack password retriever(private key) will work on this account
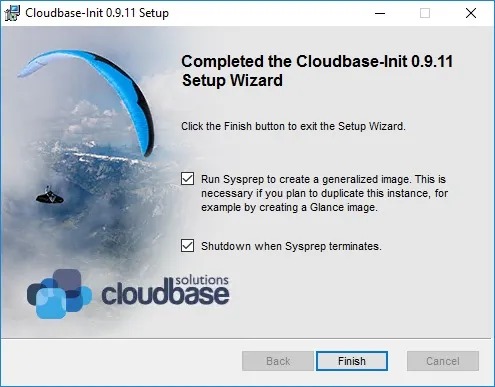
-
The default account Administrator require setting a new password before using it, you must use the horizon compute console to change the password