Create virtual machines from ISO images
Create virtual machine from ISO image overview
When a cloud image isn't available for your guest operating system, you can install it manually by booting from a guest ISO file. This guide covers ISO-based virtual machine installation for the Windows guest operating system.
The installation process requires preparing and uploading the right images, running a CLI command to configure the virtual hardware, and converting the finished installation into a reusable Glance image template. Once complete, you can use the template to deploy new virtual machines without repeating the installation process.
What you'll do
- Obtain the prerequisite images: Download the Windows installation ISO and any required driver images. For Windows guests, this typically includes the VirtIO driver ISO to ensure proper hardware compatibility.
- Upload and configure the images: Add your ISO files to the environment and attach them to a new virtual machine. This step configures the virtual hardware so the VM can boot from the installation media.
- Install the operating system: Boot the VM from the ISO and complete the Windows installation. This mirrors a standard OS installation, with a few guest-specific steps for driver setup.
- Convert the VM to a template: Once installation is complete, generalize the installed volume and save it as a reusable image template in Glance. This is the master image your future VMs will be built from.
- Deploy VMs from the template: Use the saved template to launch new Windows VMs on demand.
Prerequisites
To create a virtual machine using an ISO image, you need the following files:
- ISO images: Download a bootable ISO of your guest operating system using official sources or repositories.
- VirtIO driver pack: For optimal compatibility and performance on CubeCOS, install the VirtIO drivers for Windows operating systems.
Upload prerequisite ISO images to the CubeCOS image store
Upload custom ISO images
-
On your local machine, download the required ISO image from the official operating system vendor or a verified repository.
-
Open a terminal session.
-
Upload the ISO images to the CubeCOS image store with the
scpcommand from a computer with management access to your cluster VIP.Replace the image name and cluster IP in the following command:
scp replace-with-your-image-name.iso root@<your-cluster-vip>:/mnt/cephfs/glance/ -
Wait for the upload to complete. The time required depends on the image size and network bandwidth.
Upload VirtIO driver packs
-
Download the VirtIO driver pack from the stable VirtIO download page.
-
Open a terminal session.
-
Upload the ISO images to the CubeCOS image store with the
scpcommand from a computer with management access to your cluster VIP.Replace the image name and cluster IP in the following command:
scp virtio-win.iso root@<your-cluster-vip>:/mnt/cephfs/glance/ -
Wait for the upload to complete. The time required depends on the image size and network bandwidth.
Prepare installation volumes for virtual machine installation
The ISO image and the driver packs have to be imported as image before they can be attached as volumes during virtual machine installation.
Before proceeding, repeat the process for the following:
- The operating system installation ISO.
- If applicable, the driver pack.
-
Open a terminal session.
-
Connect to the cluster VIP via SSH and login as the
rootuserssh root@<your-cluster-vip> -
Verify that your ISO was uploaded successfully to the image directory.
ls /mnt/cephfs/glance/ -
Create the bootable volume uploaded image.
- For Windows, use the Windows OS tab to include the extra OS specification required for Windows systems.
- For Linux and other installation media (including VirtIO driver packs), use the Linux and other OS tab.
- Windows OS
- Linux and other OS
openstack image create \--disk-format iso \--container-format bare \--public \--property hw_firmware_type=uefi \--property hw_machine_type=q35 \--property hw_disk_bus=virtio \--property os_secure_boot='optional' \--property os_type=windows \--file <replace-with-full-path-to-iso-image>.iso \<replace-with-imported-image-name>.isoopenstack image create \--disk-format iso \--container-format bare \--public \--property hw_firmware_type=uefi \--property hw_machine_type=q35 \--property hw_scsi_model=virtio-scsi \--property hw_disk_bus=virtio \--property os_secure_boot='optional' \--file <replace-with-full-path-to-iso-image>.iso \<replace-with-imported-image-name>.iso
Create the template virtual machine
Creating ISO-based virtual machines requires manual interaction through the Nova command-line interface (CLI).
Create the ISO-based virtual machine via the CLI
-
Open a terminal prompt with SSH.
-
Connect to the cluster VIP via SSH and login as the
rootuserssh root@<your-cluster-vip> -
To create a template virtual machine, execute the command after replacing the following parameters.
- Virtual machine name: Enter the display name for the virtual machine.
- Flavor: Enter the flavor detail to allocate the resources to the virtual machine.
- Network: Obtain the ID of the network by going to Network > Networks, and copy the network ID for the virtual machine to use.
- Boot image UUID: Navigate to Compute > Images, and copy the image ID for the ISO boot media.
- (Applicable only to Windows machines) Virtio driver UUID: Navigate to Compute > Images, and copy the image ID for the VirtIO driver media.
- Size of boot volume: The desired size of the boot volume in GB.
- Windows OS
- Linux and other OS
openstack server create <replace-with-virtual-machine-name> \--flavor <replace-with-flavor-size> \--network <replace-with-network-uuid> \--block-device source_type=image,uuid=<replace-with-boot-media-id>,destination_type=volume,volume_size=10,disk_bus=sata,device_type=cdrom,boot_index=0 \--block-device source_type=image,uuid=<replace-with-virtio-media-id>,destination_type=volume,volume_size=10,disk_bus=sata,device_type=cdrom,boot_index=1 \--block-device source_type=blank,destination_type=volume,volume_size=<replace-with-size-of-boot-volume>,disk_bus=virtio,device_type=disk,boot_index=2openstack server create <replace-with-virtual-machine-name> \--flavor <replace-with-flavor-size> \--network <replace-with-network-uuid> \--block-device source_type=image,uuid=<replace-with-boot-media-id>,destination_type=volume,volume_size=10,disk_bus=sata,device_type=cdrom,boot_index=0 \--block-device source_type=blank,destination_type=volume,volume_size=<replace-with-size-of-boot-volume>,disk_bus=virtio,device_type=disk,boot_index=2 -
Open the CubeCOS web-based management UI and verify that the instance is successfully created and in the
ActiveorBuildstate.
Install ISO-based virtual machines
Install a Windows guest OS using the virtual console
With the VM booted from the Windows installation ISO, install the required VirtIO drivers before completing OS setup. These drivers enable Windows to recognize the virtual network interface and storage disk provided by CubeCOS. Without them, the installer will not detect the boot disk, and network connectivity will be unavailable during and after installation.
-
When prompted,
Press any key to boot from CD or DVD.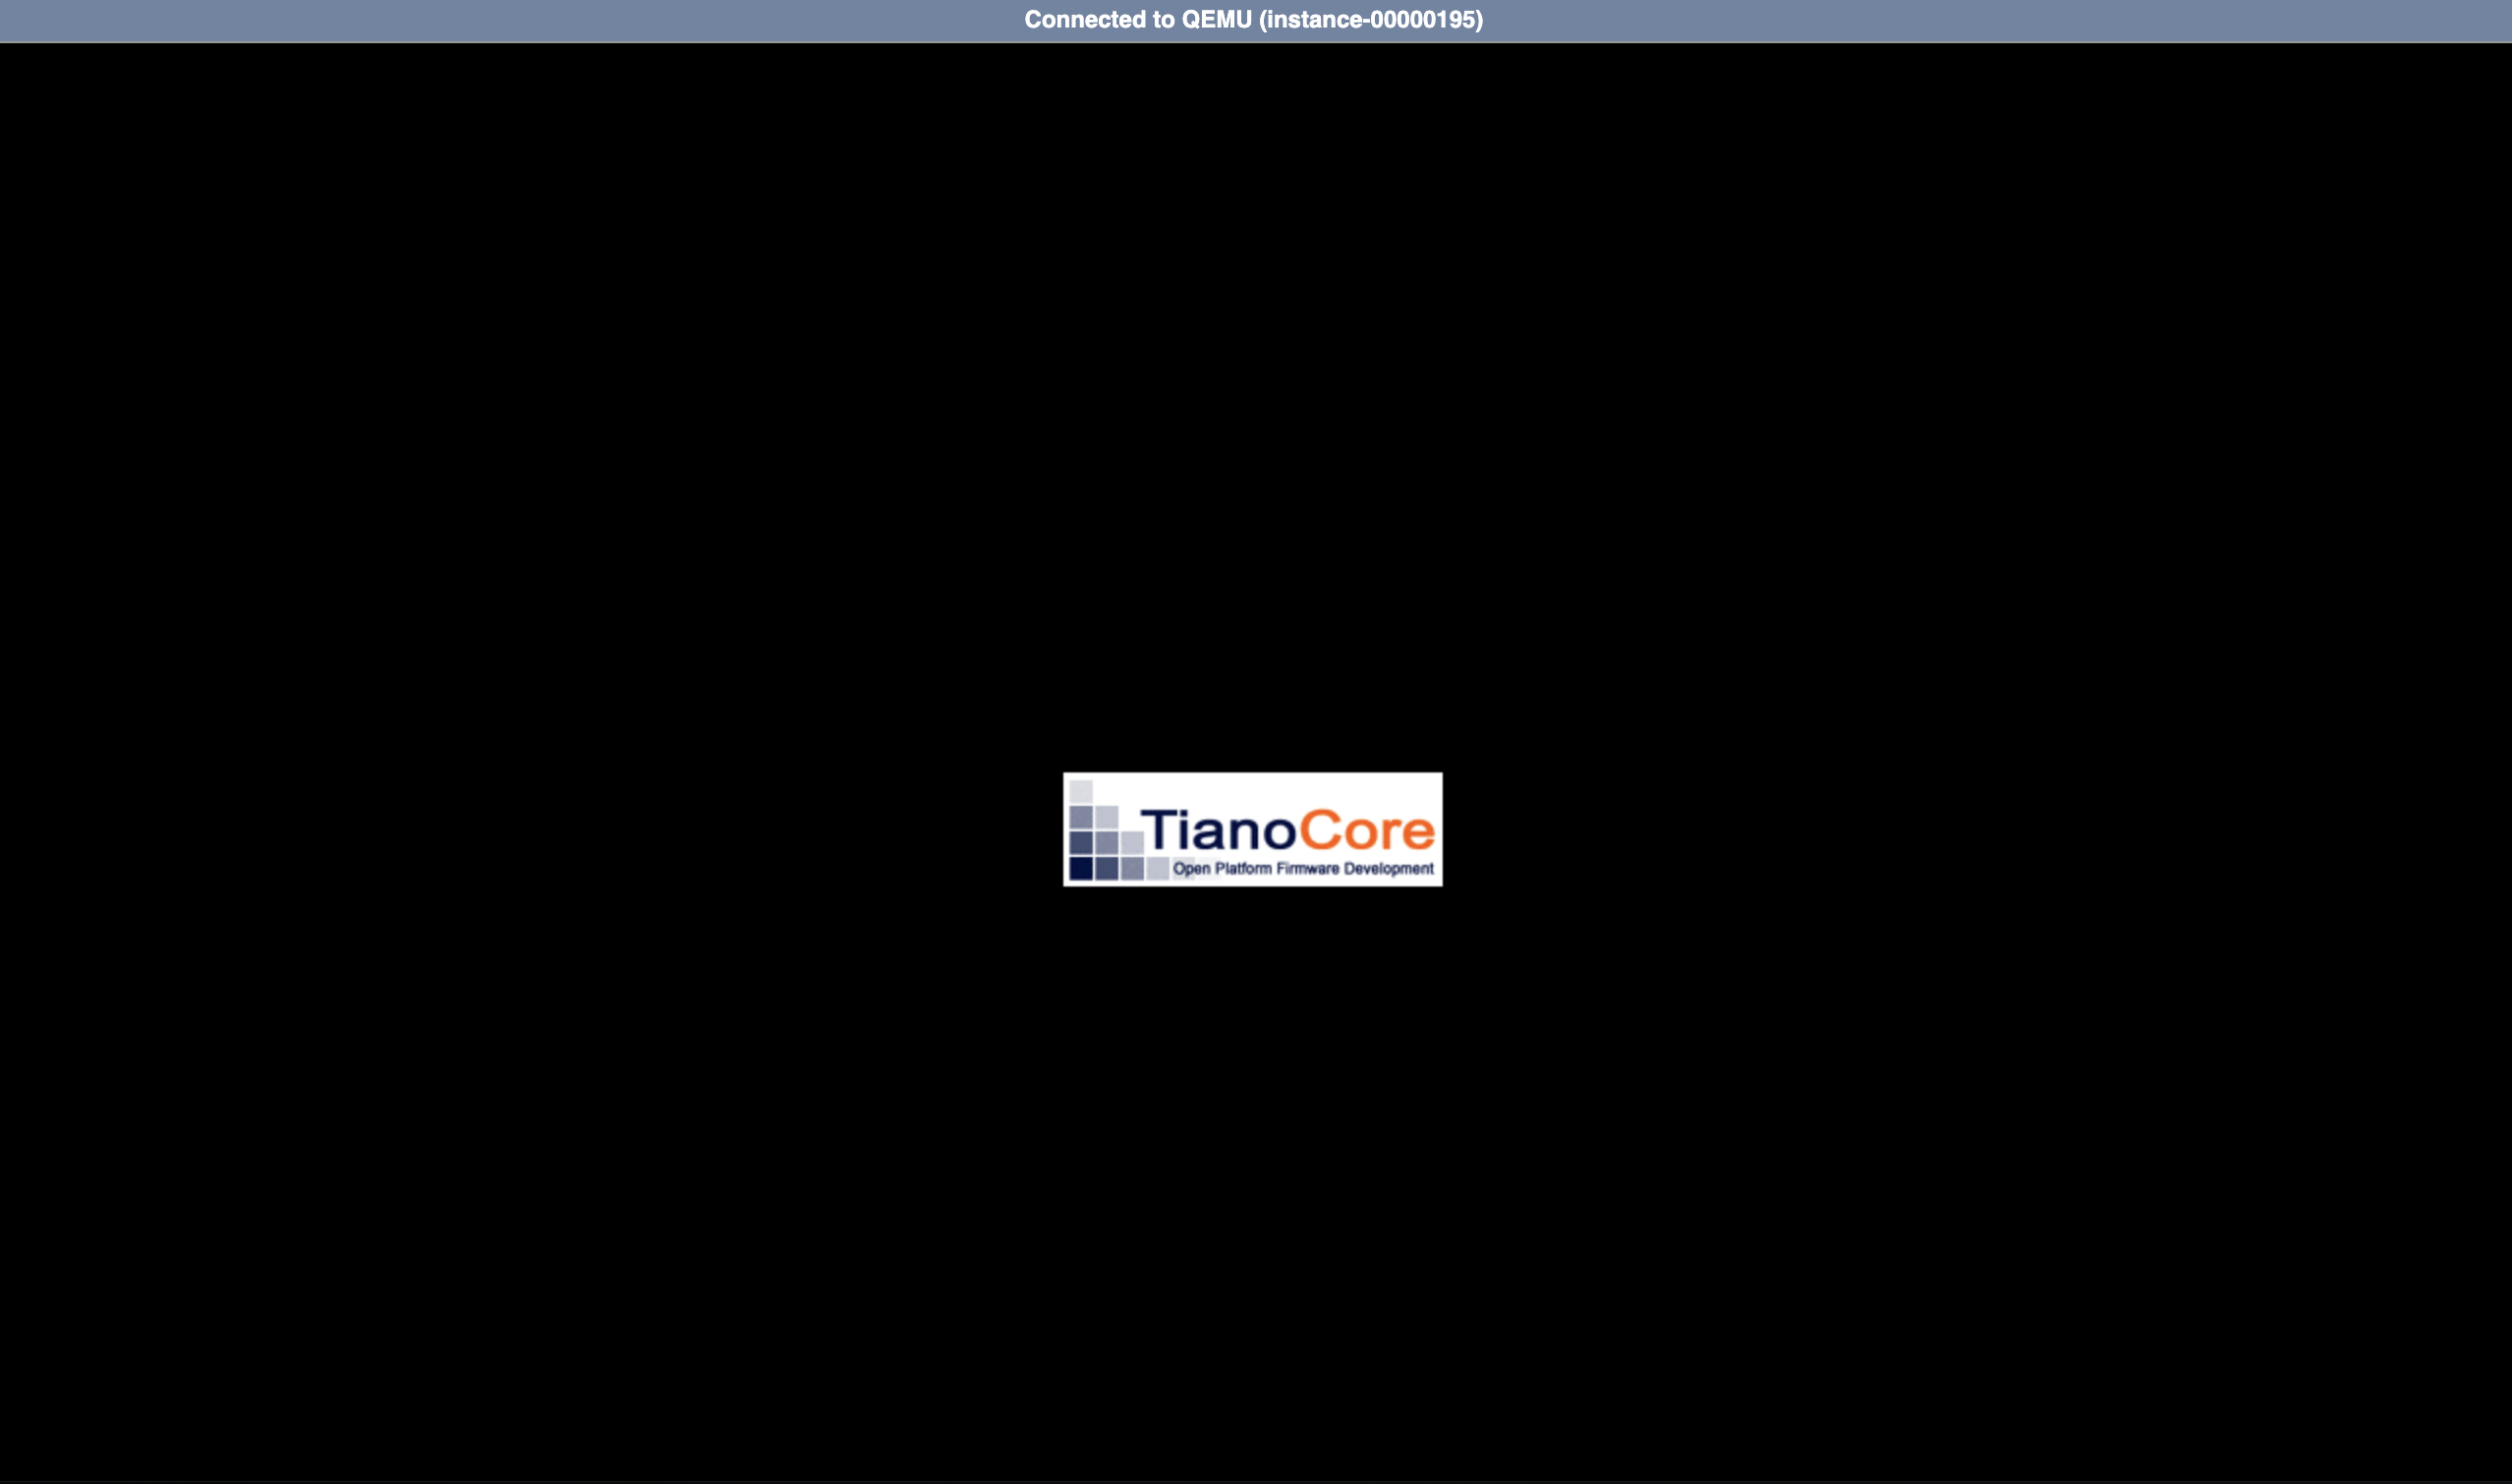
-
To browse the required drivers from the VirtIO driver pack, select
Load Driverto browse the directories.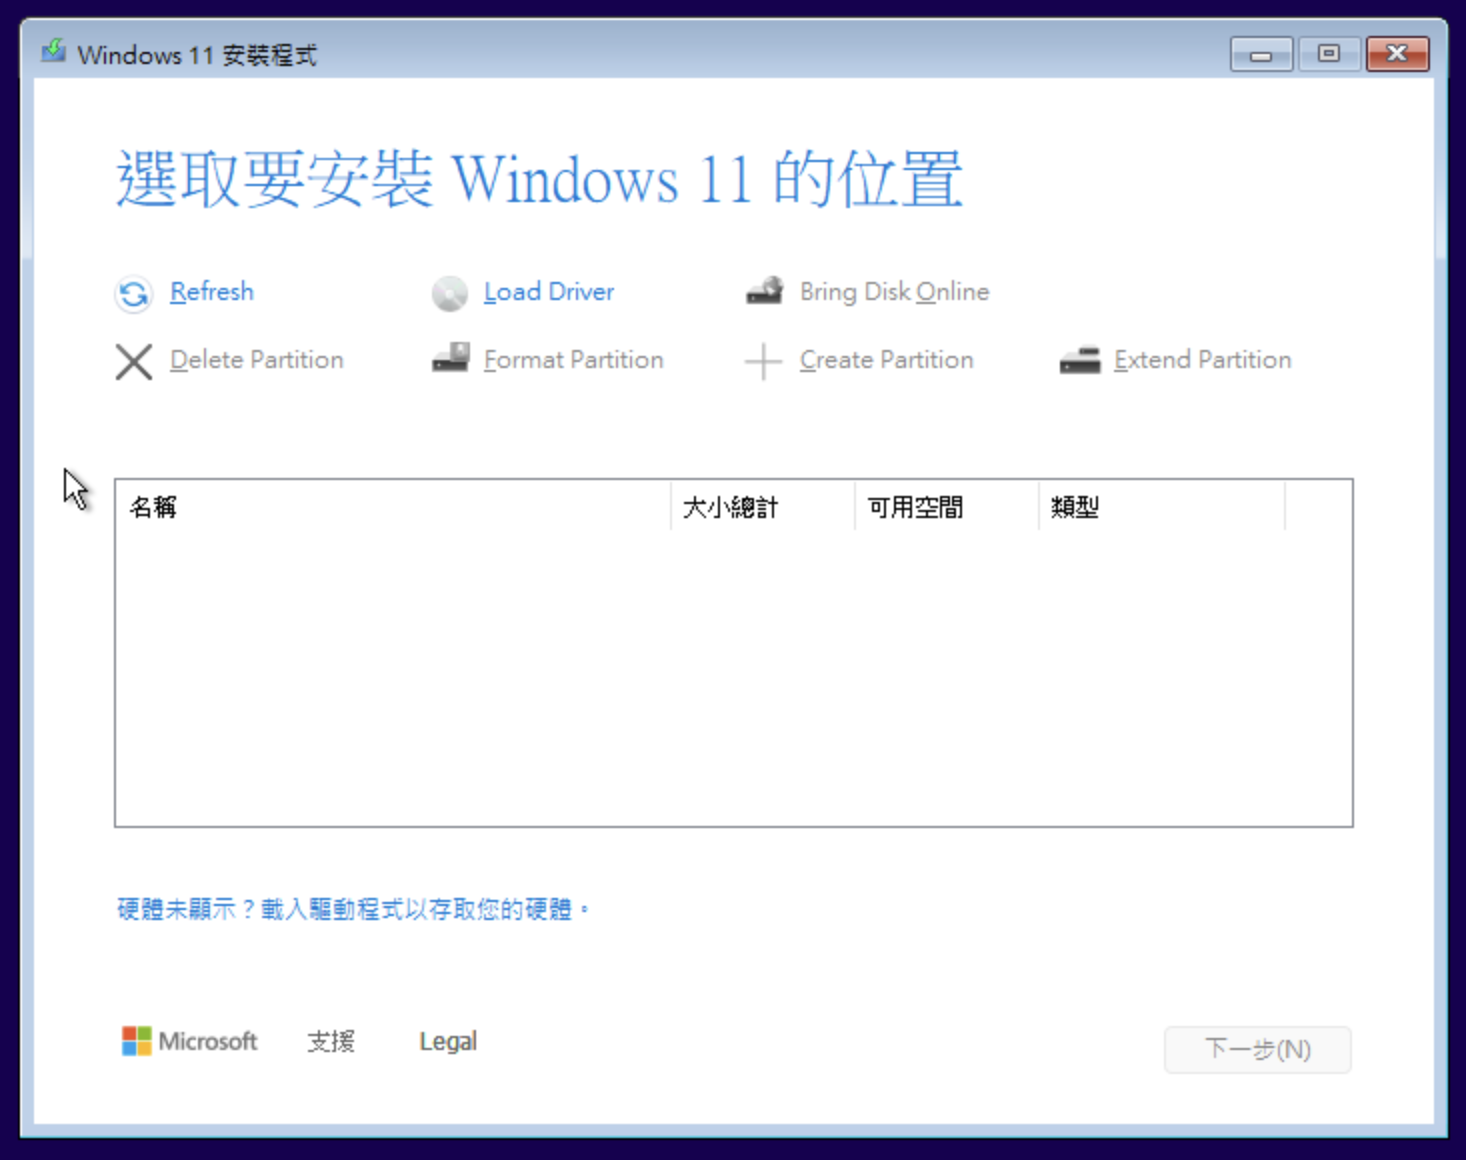
-
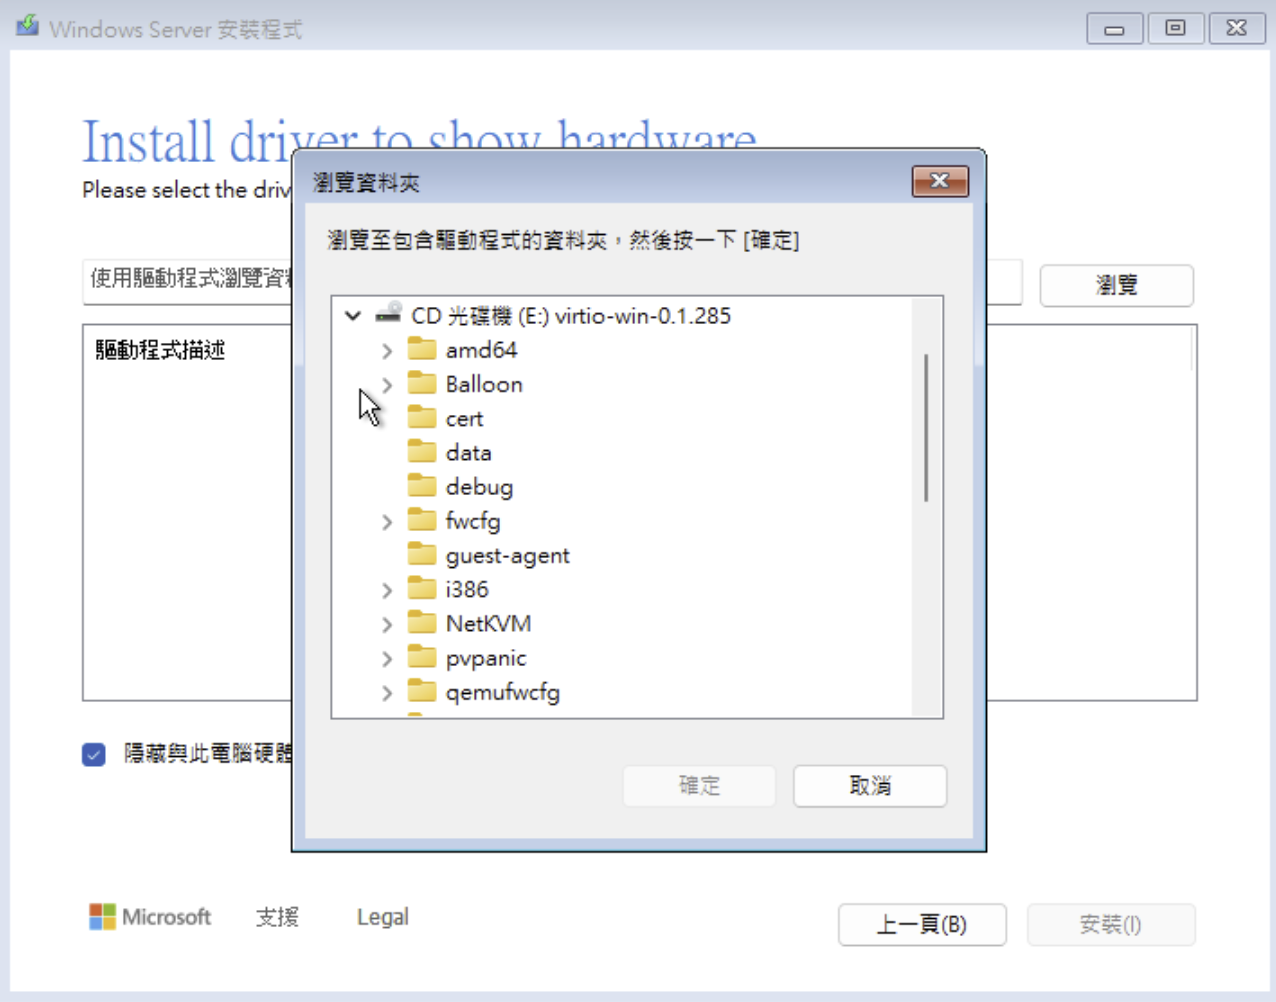
Select the
virtio-win-<version>disk and install the following required drivers:NetKVM: The network driver to support network during installation and for post-installation processes.- Open the
NetKVMfolder. - Select the folder that corresponds to your Windows version.
- To scan the folder for drivers, select the
amd64folder, then click scan. - Click next to install the driver.
- Open the
viostor: Storage driver required to detect thevirtiodisk attached by CubeCOS.- Open the
viostorfolder. - Select the folder that corresponds to your Windows version.
- To scan the folder for drivers, select the
amd64folder, then click scan. - Click next to install the driver.
- Open the
-
Select the disk for install and complete the guest OS installation.
-
After the operating system reboots, login with the default credentials.
-
Navigate to the mounted
virtio-win-<version>folder. -
Install the following packages in order with adminsitrator privilege:
virtio-win-gt-x64.msi: This installs all the relevant drivers for the guest OS to function correctly on CubeCOS.virtio-win-guest-tool.exe: The guest tools provides performance monitoring and required for snapshot protection support in the virtual guests.
Convert the installed virtual machine to image template
Once the guest OS installation is complete, convert the VM's boot volume to a Glance image. The resulting image serves as a reusable deployment template for future virtual machines of the same configuration.
-
Navigate to
Storage > Volumesand locate the Windows guest OS volume. -
Select the
Moredropdown on the Windows guest OS volume, go toData Protection > Create Image.
-
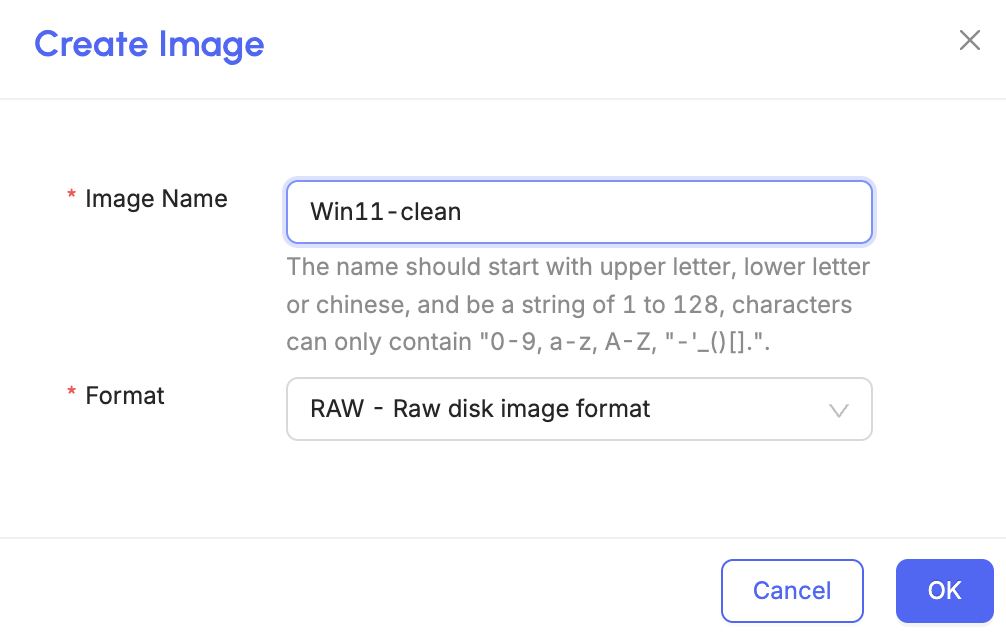
On the
Create Imagedialog, enter:- Image Name: Set your Windows guest OS template name.
- Format: Set the
RAWdisk format.
-
The image begins uploading and shows the
Uploadingstatus.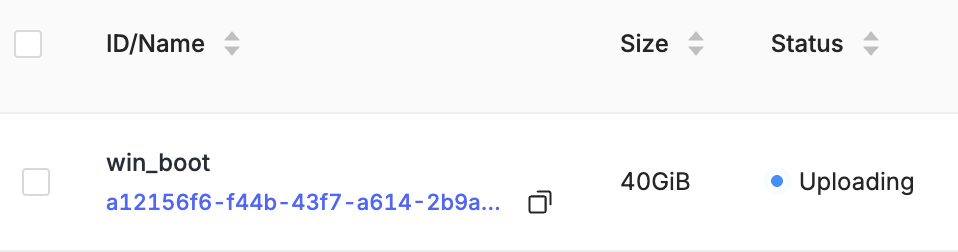
-
Go to
Compute > Imagesand check the status of the newly created image. It showsSavingwhile the image is being created. -
The upload finishes once the status displays
Active.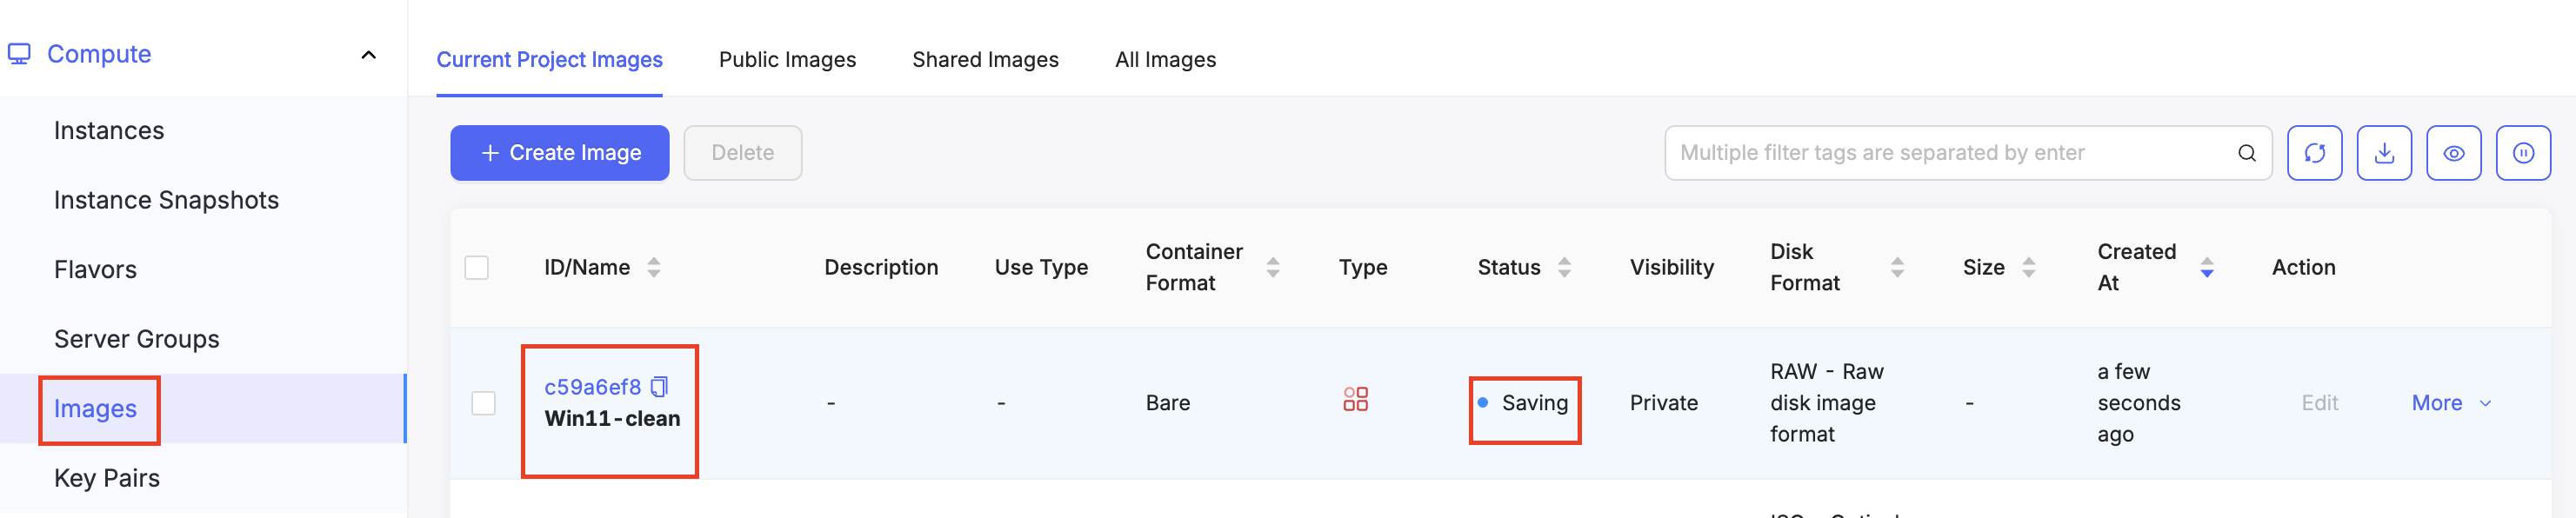
Add metadata to the image you just uploaded
The uploaded image requires hardware and OS metadata to deploy correctly as a virtual machine template. These properties tell the hypervisor how to configure firmware, disk bus, and security features for the guest OS. Set the metadata via the administrator view in the CubeCOS management UI.
-
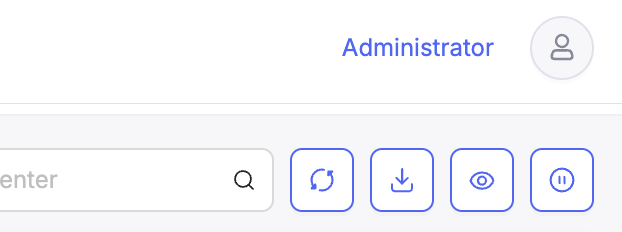
For how to switch to administrator view by clicking Administrator in the top-right corner, see Access the administrator view.
-
Select
Compute > Imageand locate the image you just uploaded. -
To edit the metadata required, select the drop down for
More > Manage Metadata.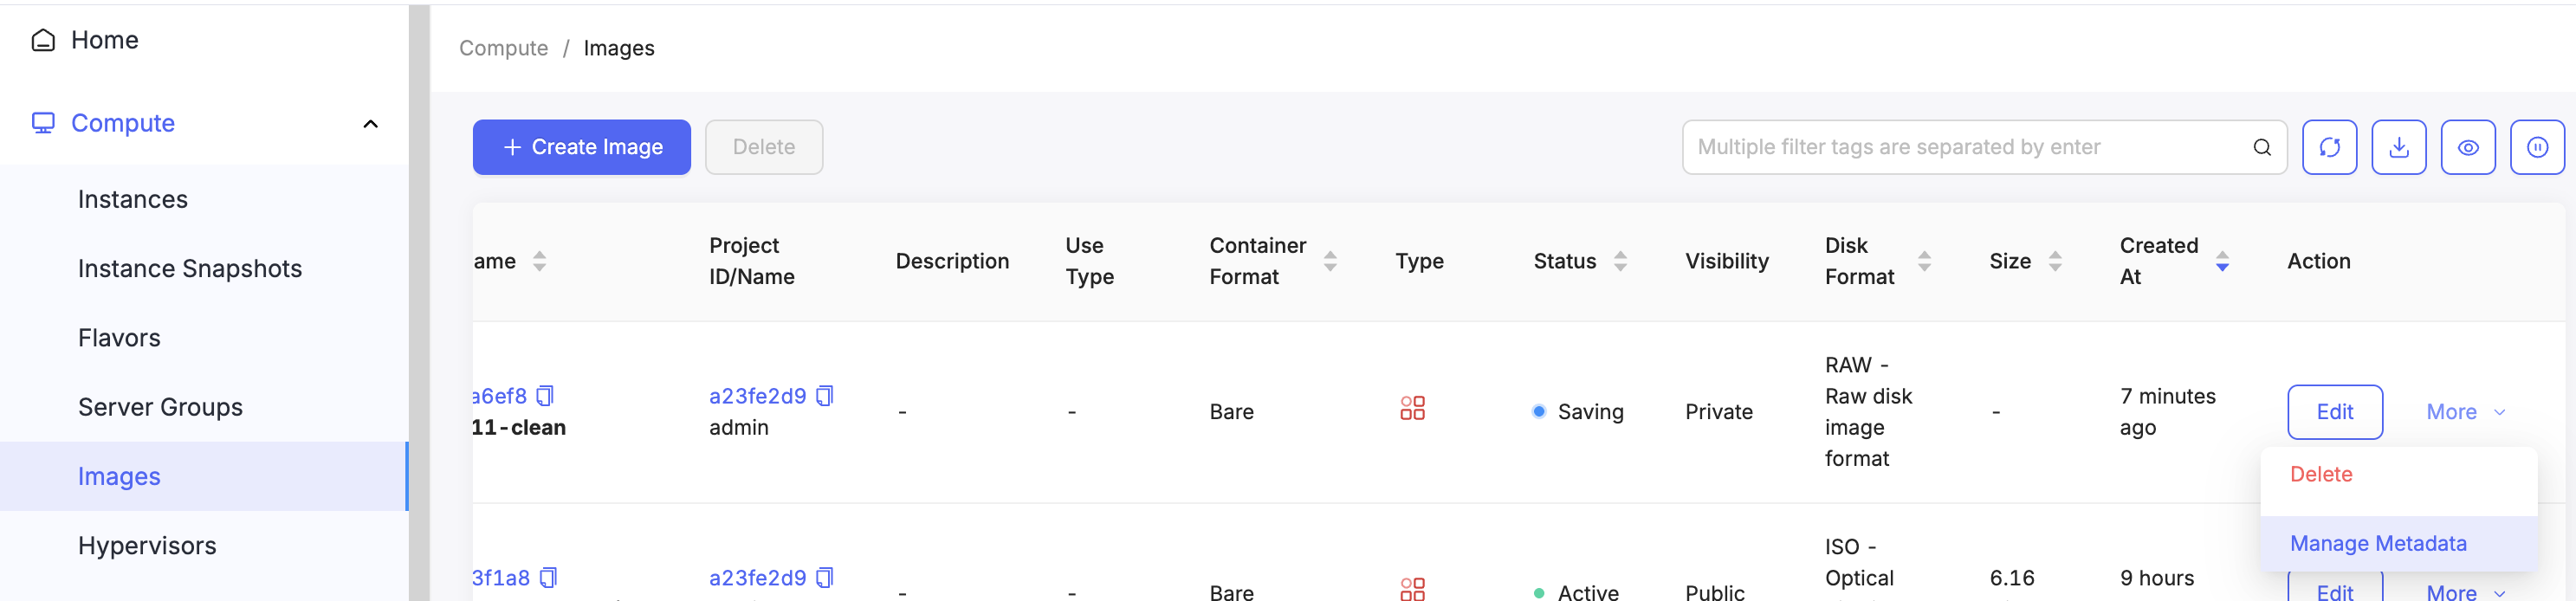
-
Add the following
metadatafields to the image.Always match vTPM requirements for the guest OSThe following two items only need to be added if required by the Guest OS.
- hw_tpm_version = 2.0
- hw_tpm_model = tpm-crb
For Windows guest OSYou must set:
- os_type=windows
- Windows OS
- Linux and other OS
Metadata field Value hw_firmware_type uefi hw_disk_bus virtio hw_machine_type q35 os_secure_boot optional hw_tpm_version 2.0 hw_tpm_model tpm-crb os_type windows 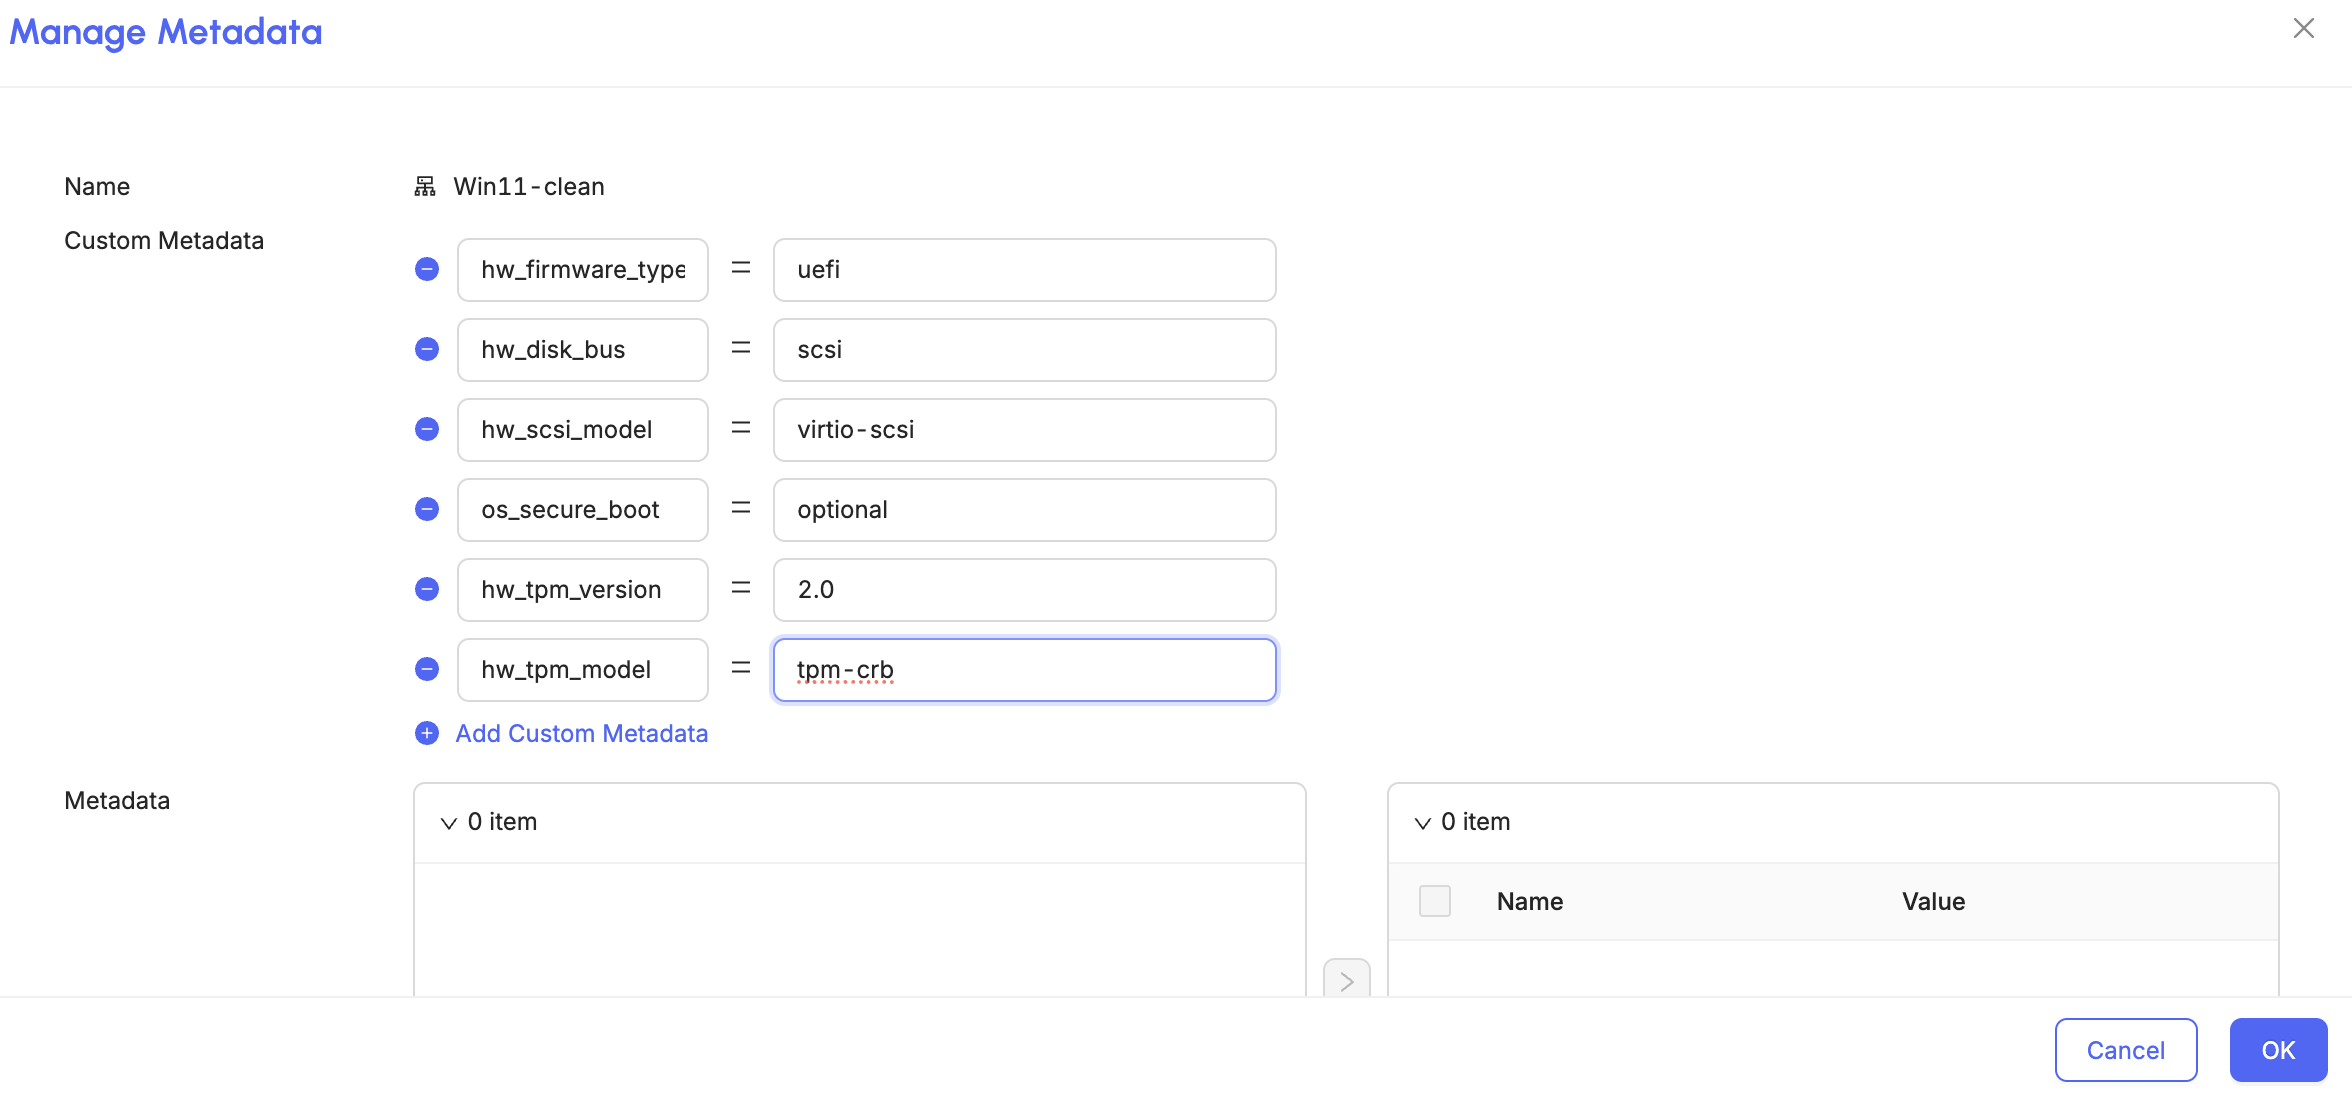
Metadata field Value hw_firmware_type uefi hw_disk_bus virtio hw_machine_type q35 hw_scsi_model virtio-scsi os_secure_boot optional -
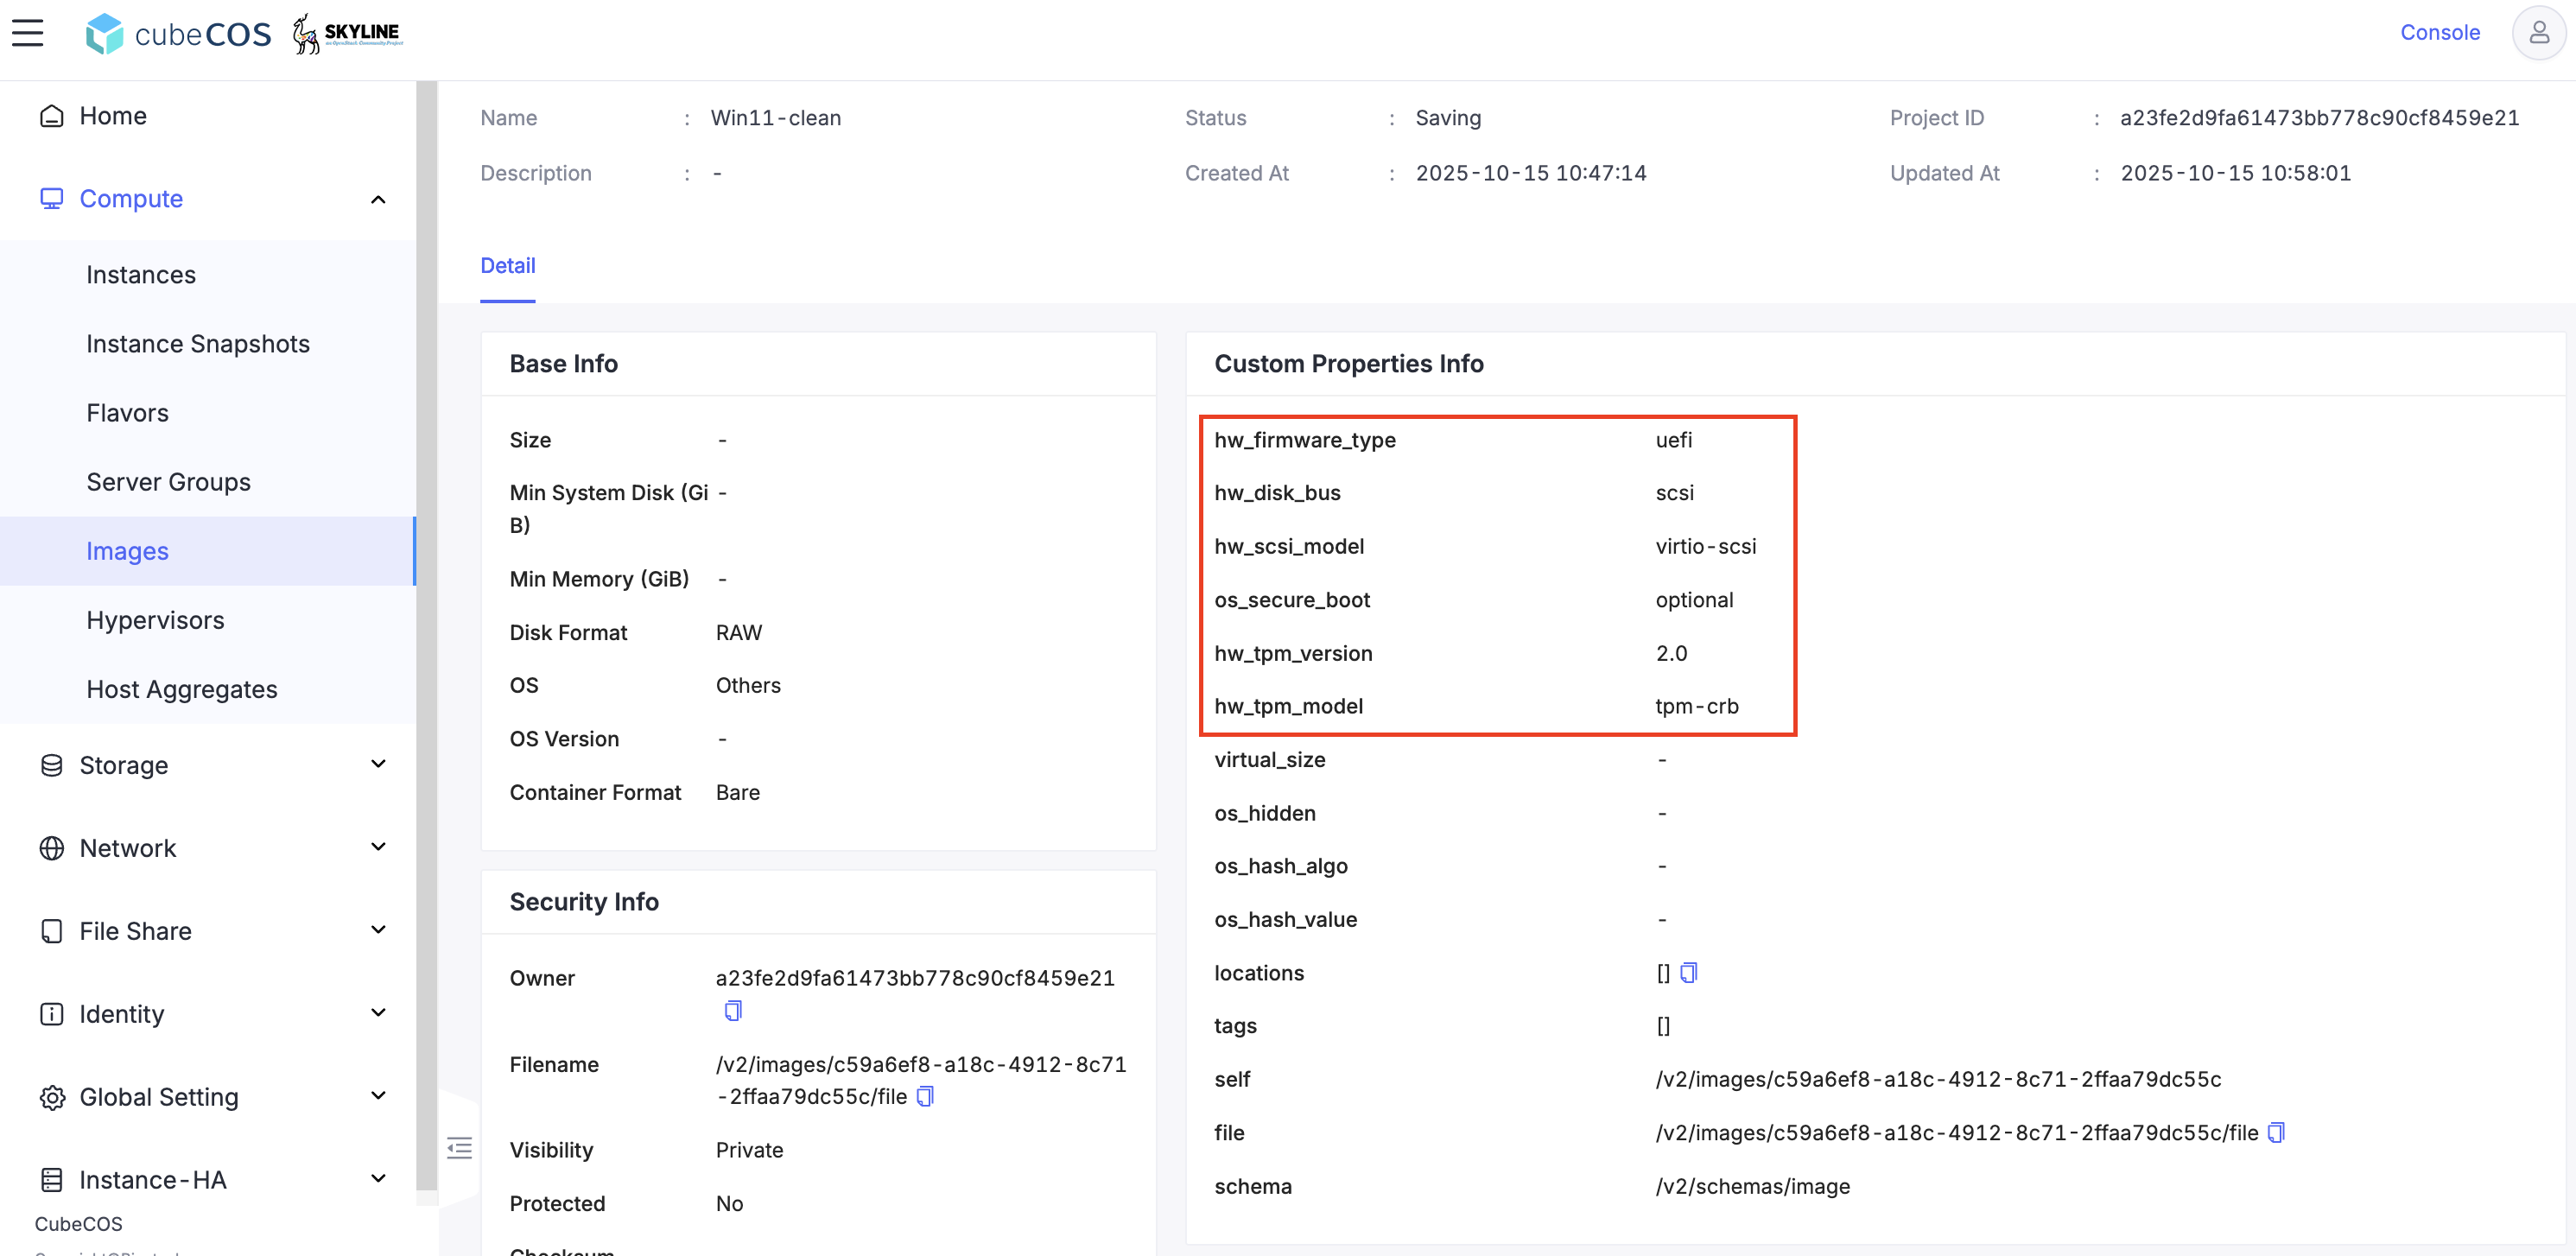
Select the image name to open its details and verify that all metadata has been applied correctly.
-
Once confirmed, you can create new virtual machines using this template.