How to create Single Sign-On (SSO) users on CubeCOS
Single sign-on users overview
This guide explains how to create users through Single-Sign-On (SSO) integration using Keycloak as the identity provider. SSO user creation allows centralized authentication management and seamless access across multiple systems.
When to use SSO User Creation:
- When integrating with existing enterprise identity systems
- For environments requiring centralized authentication
- When you want users to use the same credentials across multiple services
- For organizations with established LDAP/Active Directory infrastructure
Explore differences between SSO and local users
| Feature | SSO (Keycloak) | Local User Creation |
|---|---|---|
| Authentication | Centralized through Keycloak | Managed within CubeCOS |
| User Management | External identity provider | Direct CubeCOS administration |
| Password Policy | Managed by Keycloak | Managed by CubeCOS |
| Integration | Requires Keycloak setup | No external dependencies |
| Scalability | Excellent for large organizations | Suitable for smaller deployments |
| Security | Enterprise-grade SSO | Local password management |
| User Experience | Single login for multiple services | Separate login for CubeCOS |
Prerequisites
- Keycloak server configured and accessible
- Administrator access to Keycloak management console
- Understanding of SSO authentication flow
Create SSO users
-
Log into the CubeCOS management interface at
https://<your-cluster-ip-address>. -
Navigate to
Keycloak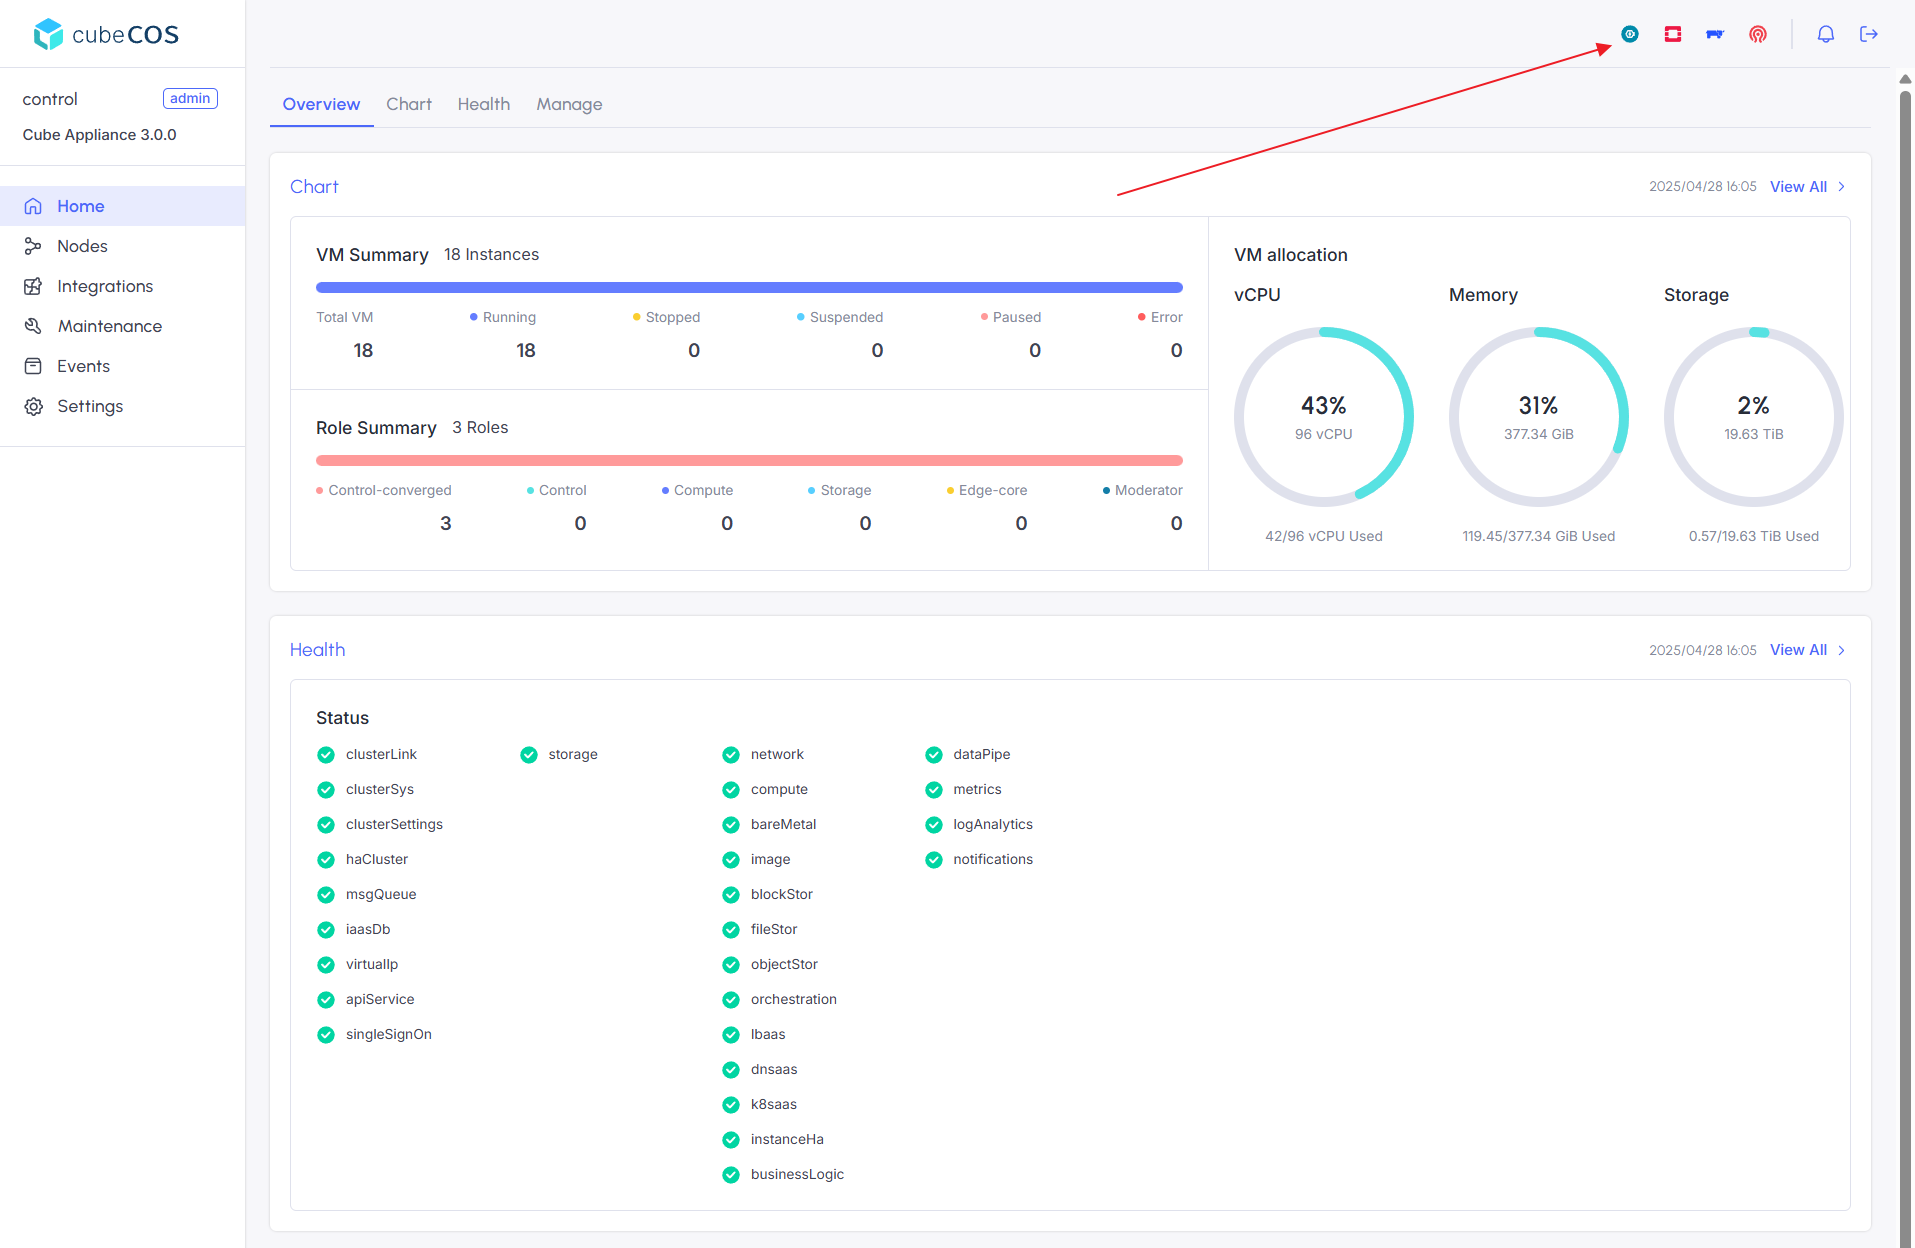
-
On the sidebar, look for
Manage > Usersand click onAdd user
-
Enter a new username
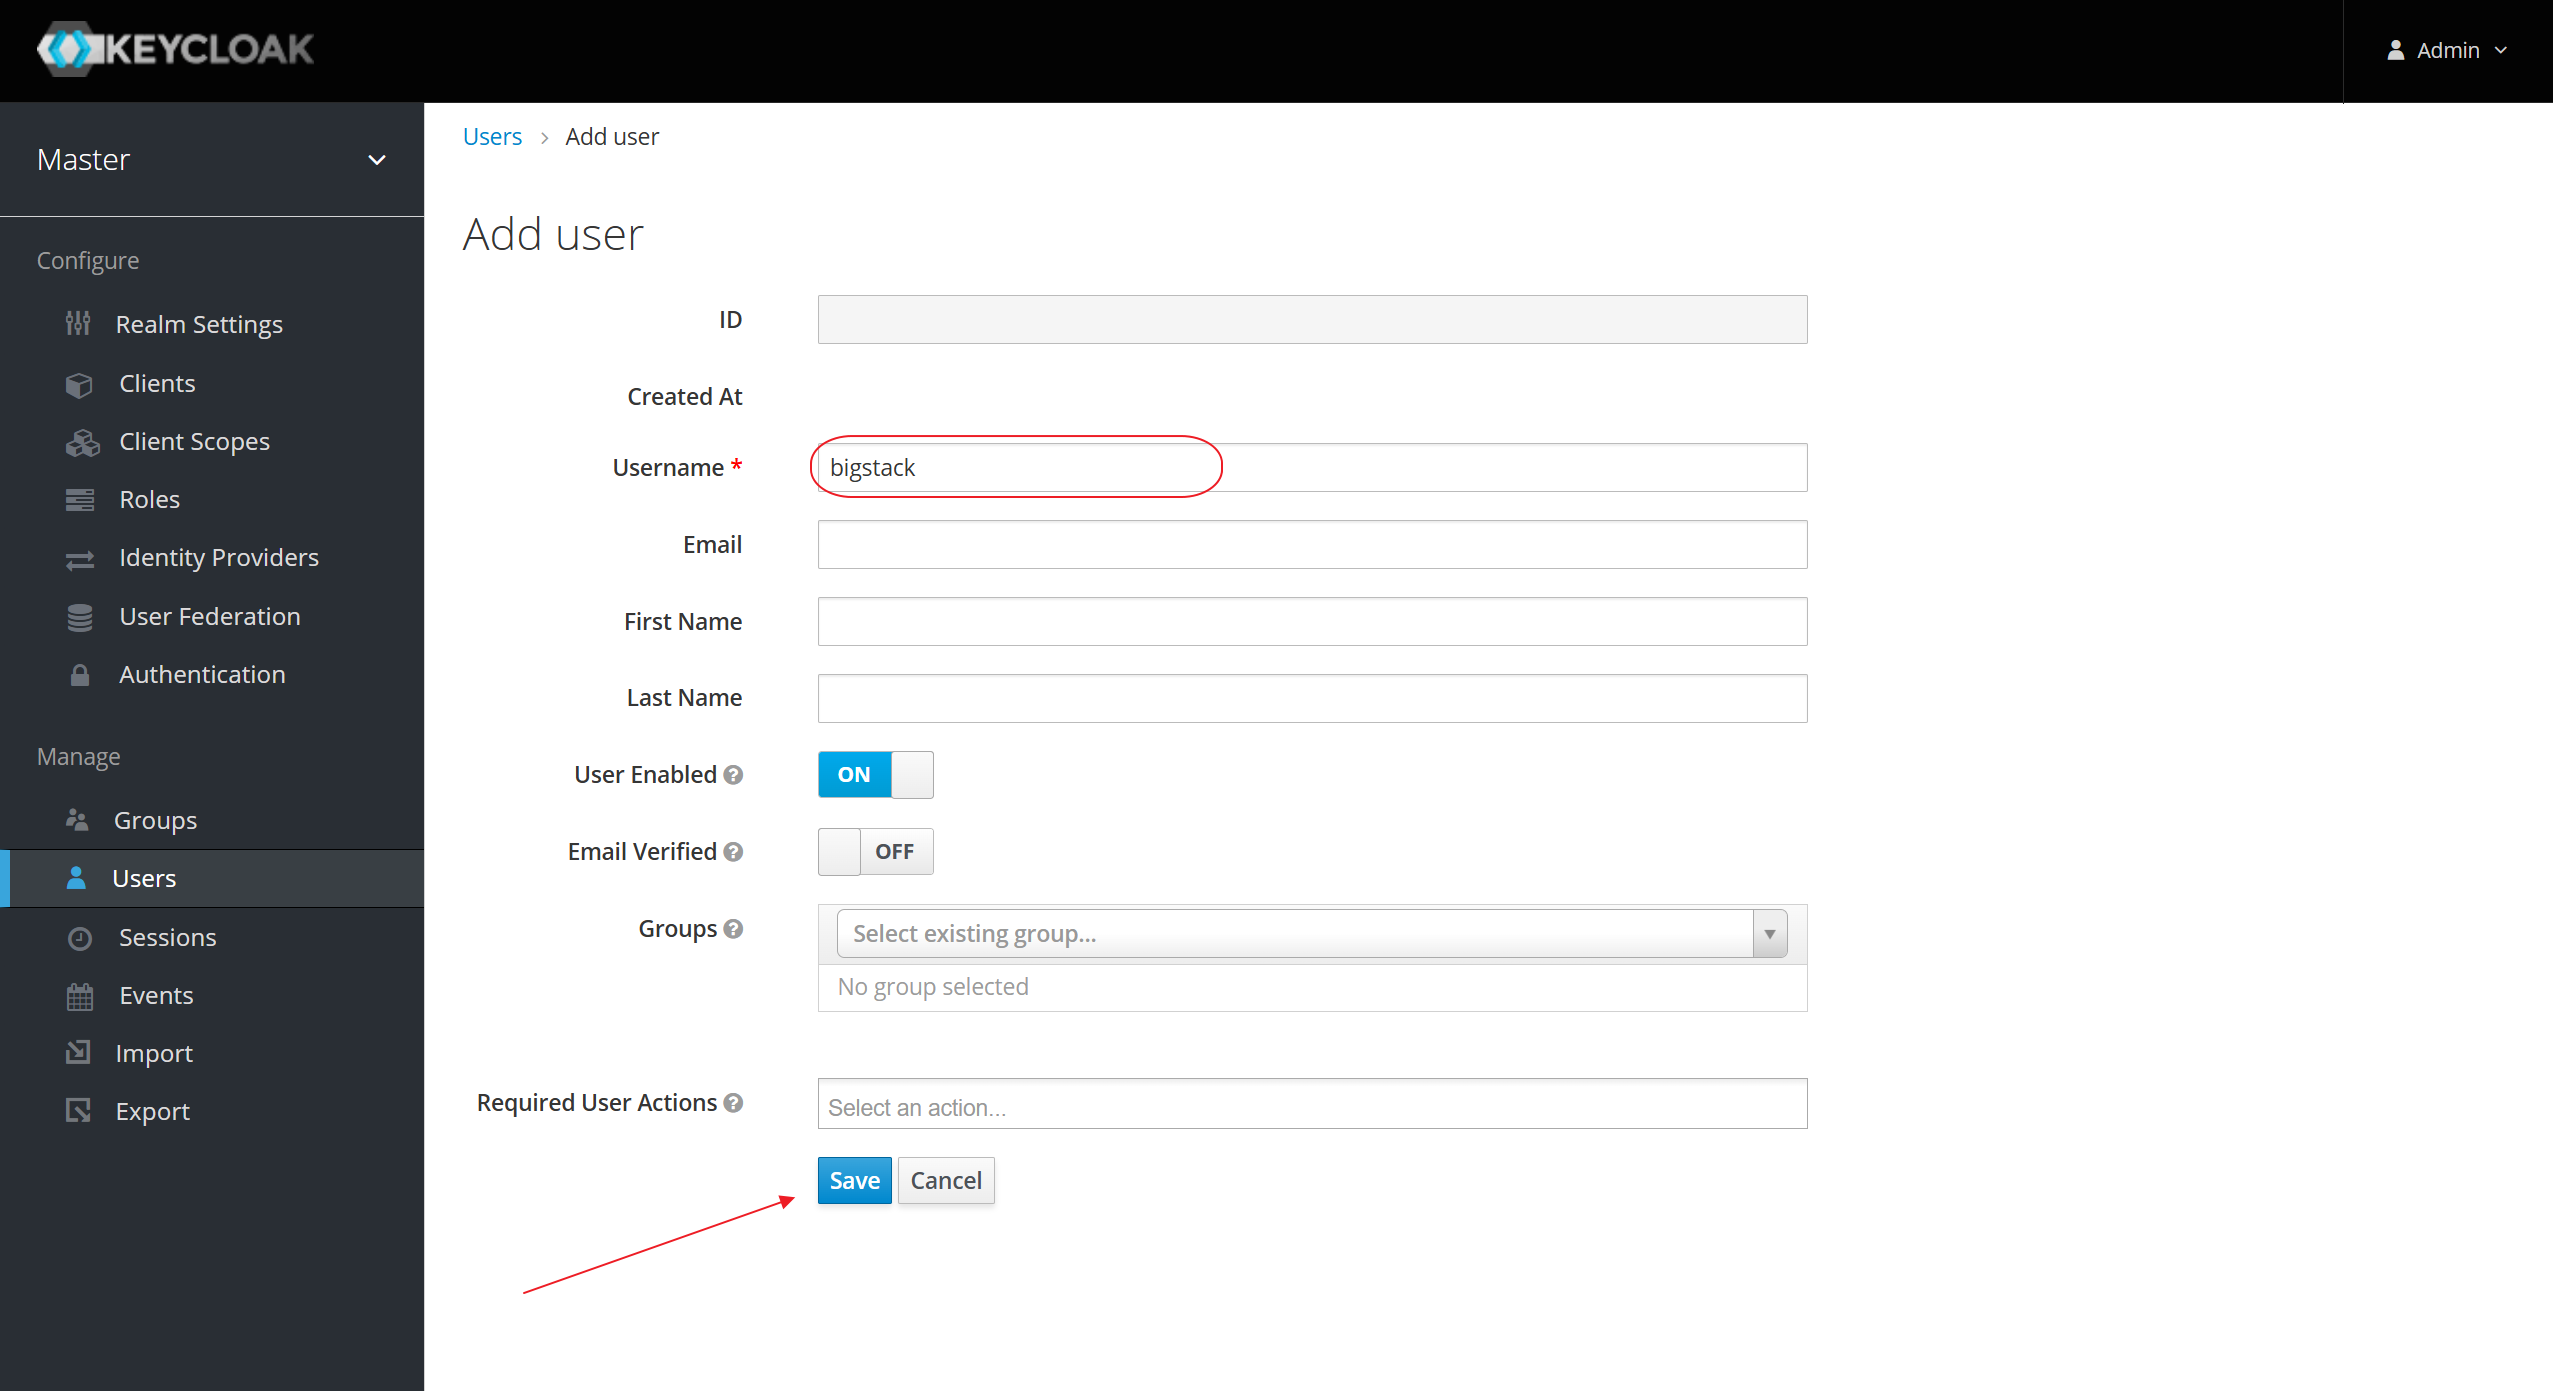
-
Set the password

-
(Optional) Add user to
cube-adminsgroup
Assign permissions to SSO users
Follow 7-Assign users to project to assign SSO user to the appropriate project.
Login as SSO users
-
Navigate to the CubeCOS management interface at
https://<your-cluster-ip-address>. -
Enter your SSO user credentials and click login.
-
Navigate to
Integration > OpenStackto enter OpenStack management.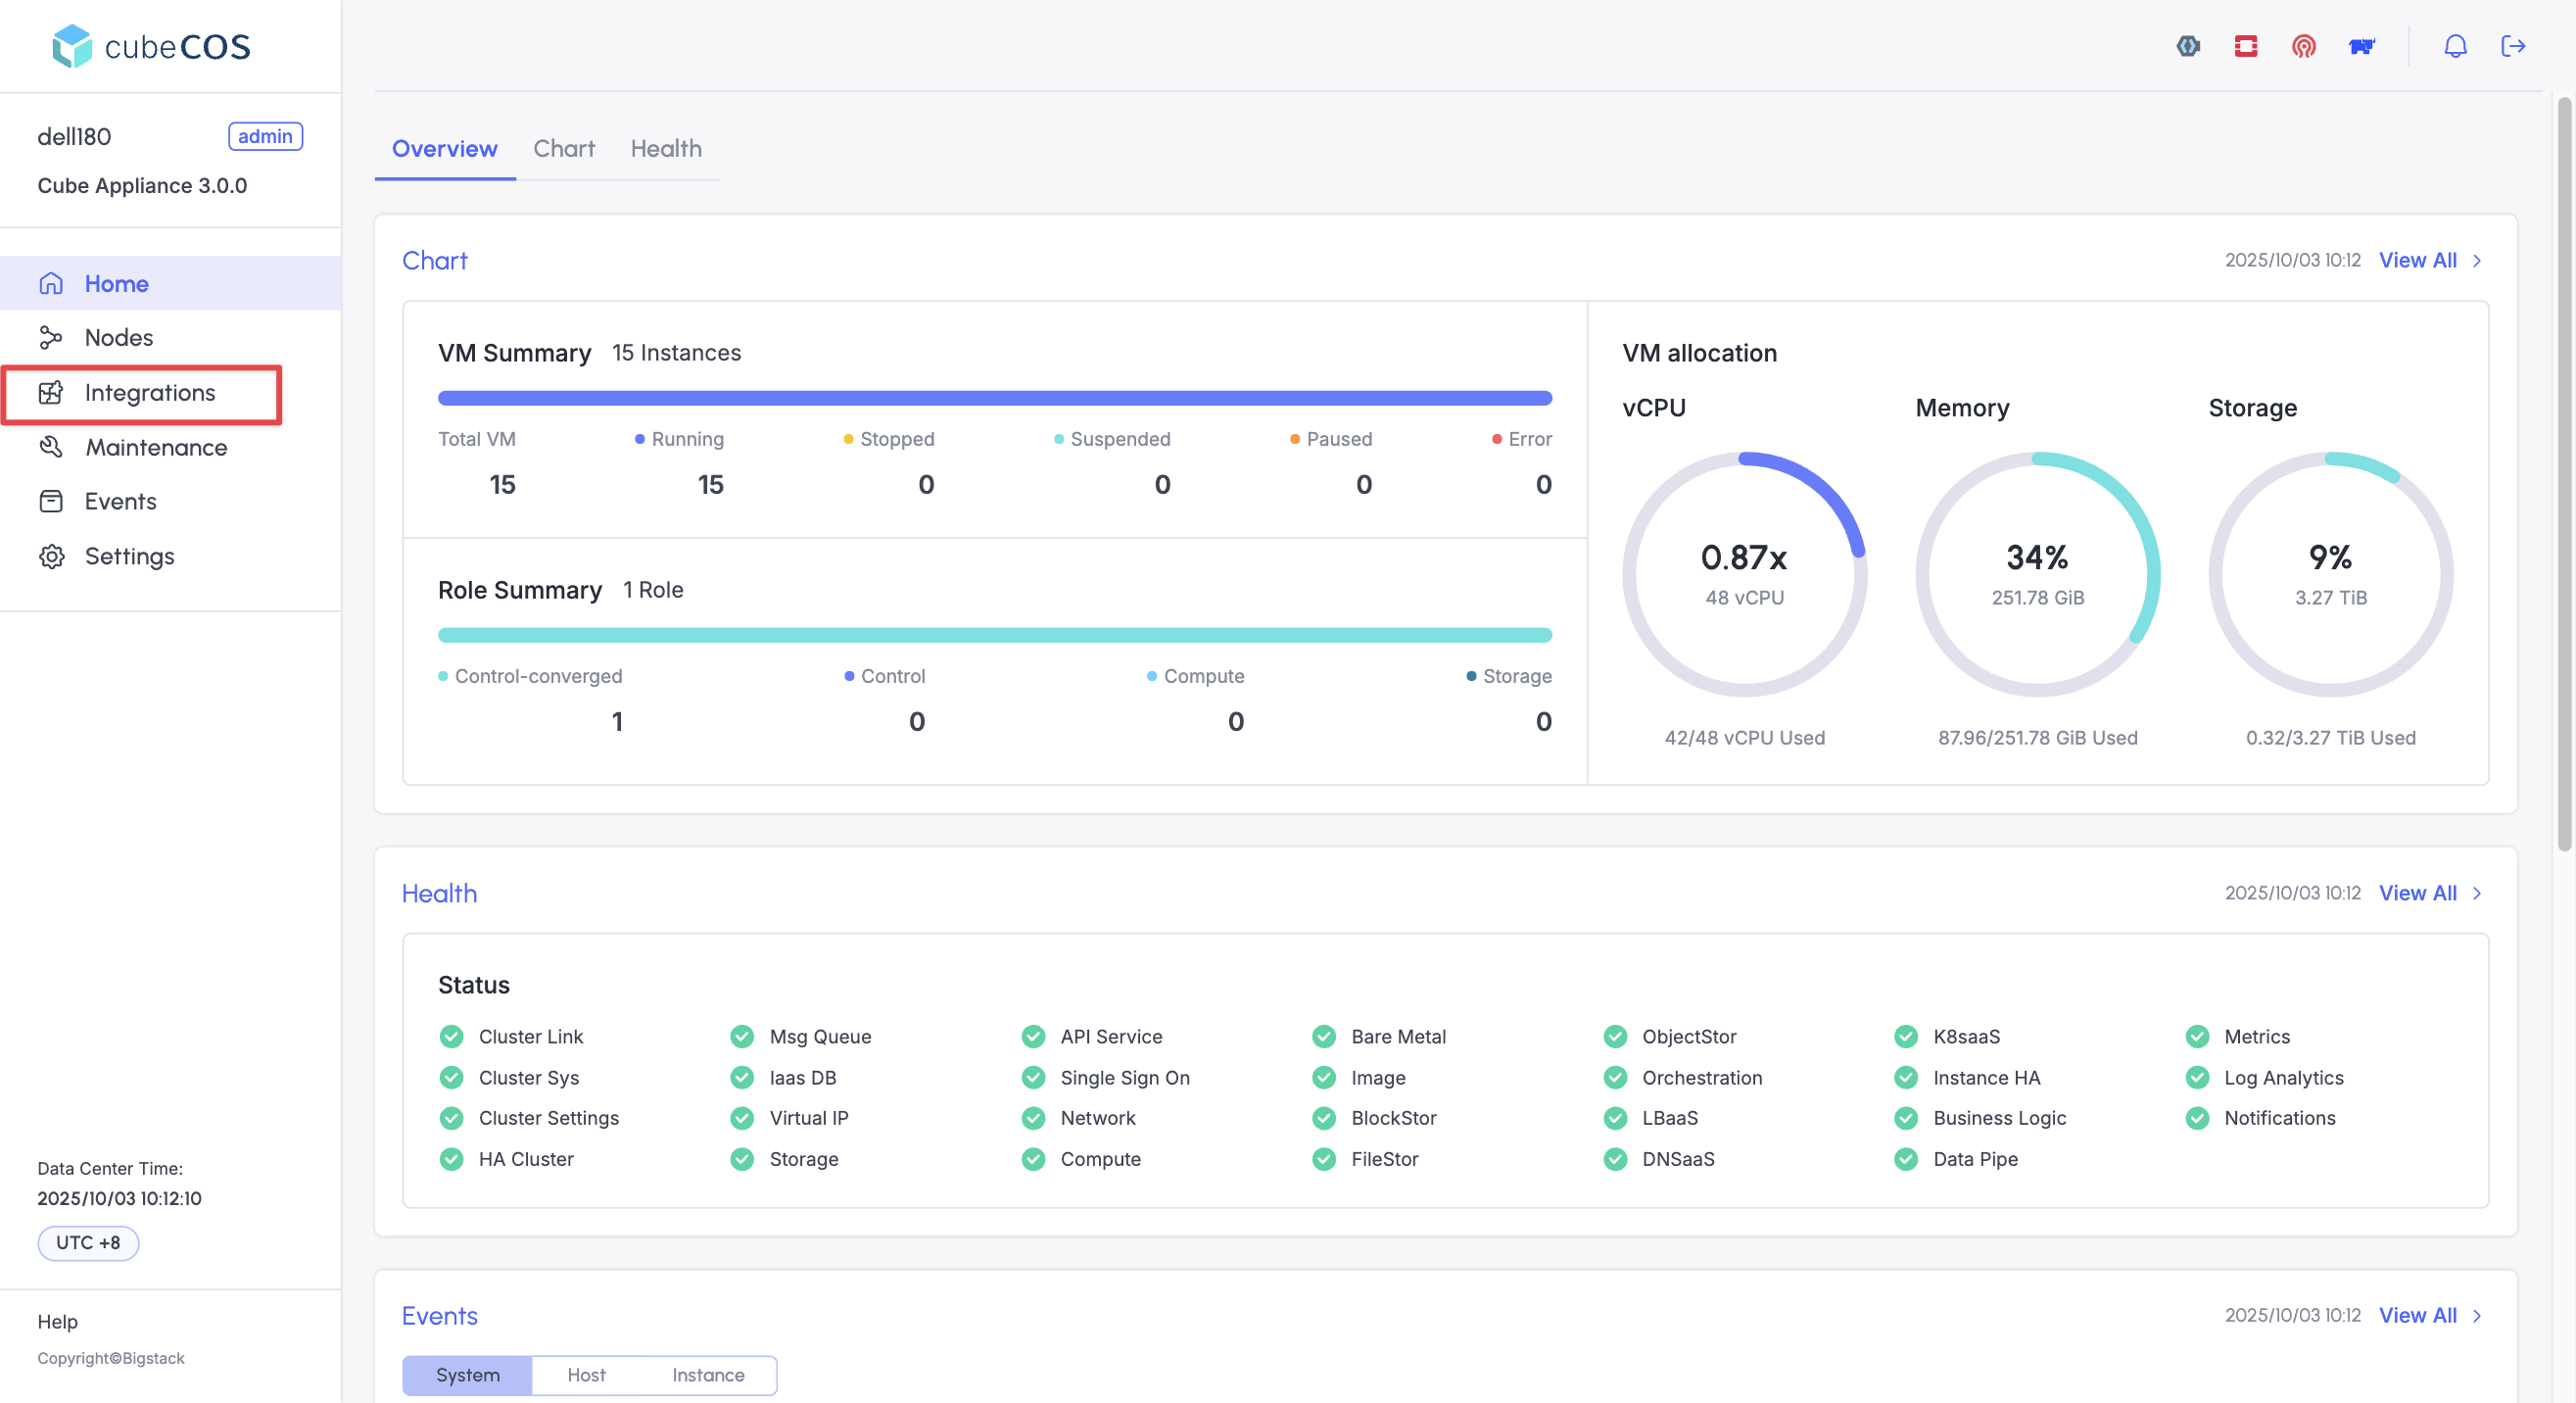
-
Click on
Connectfor the OpenStack integration.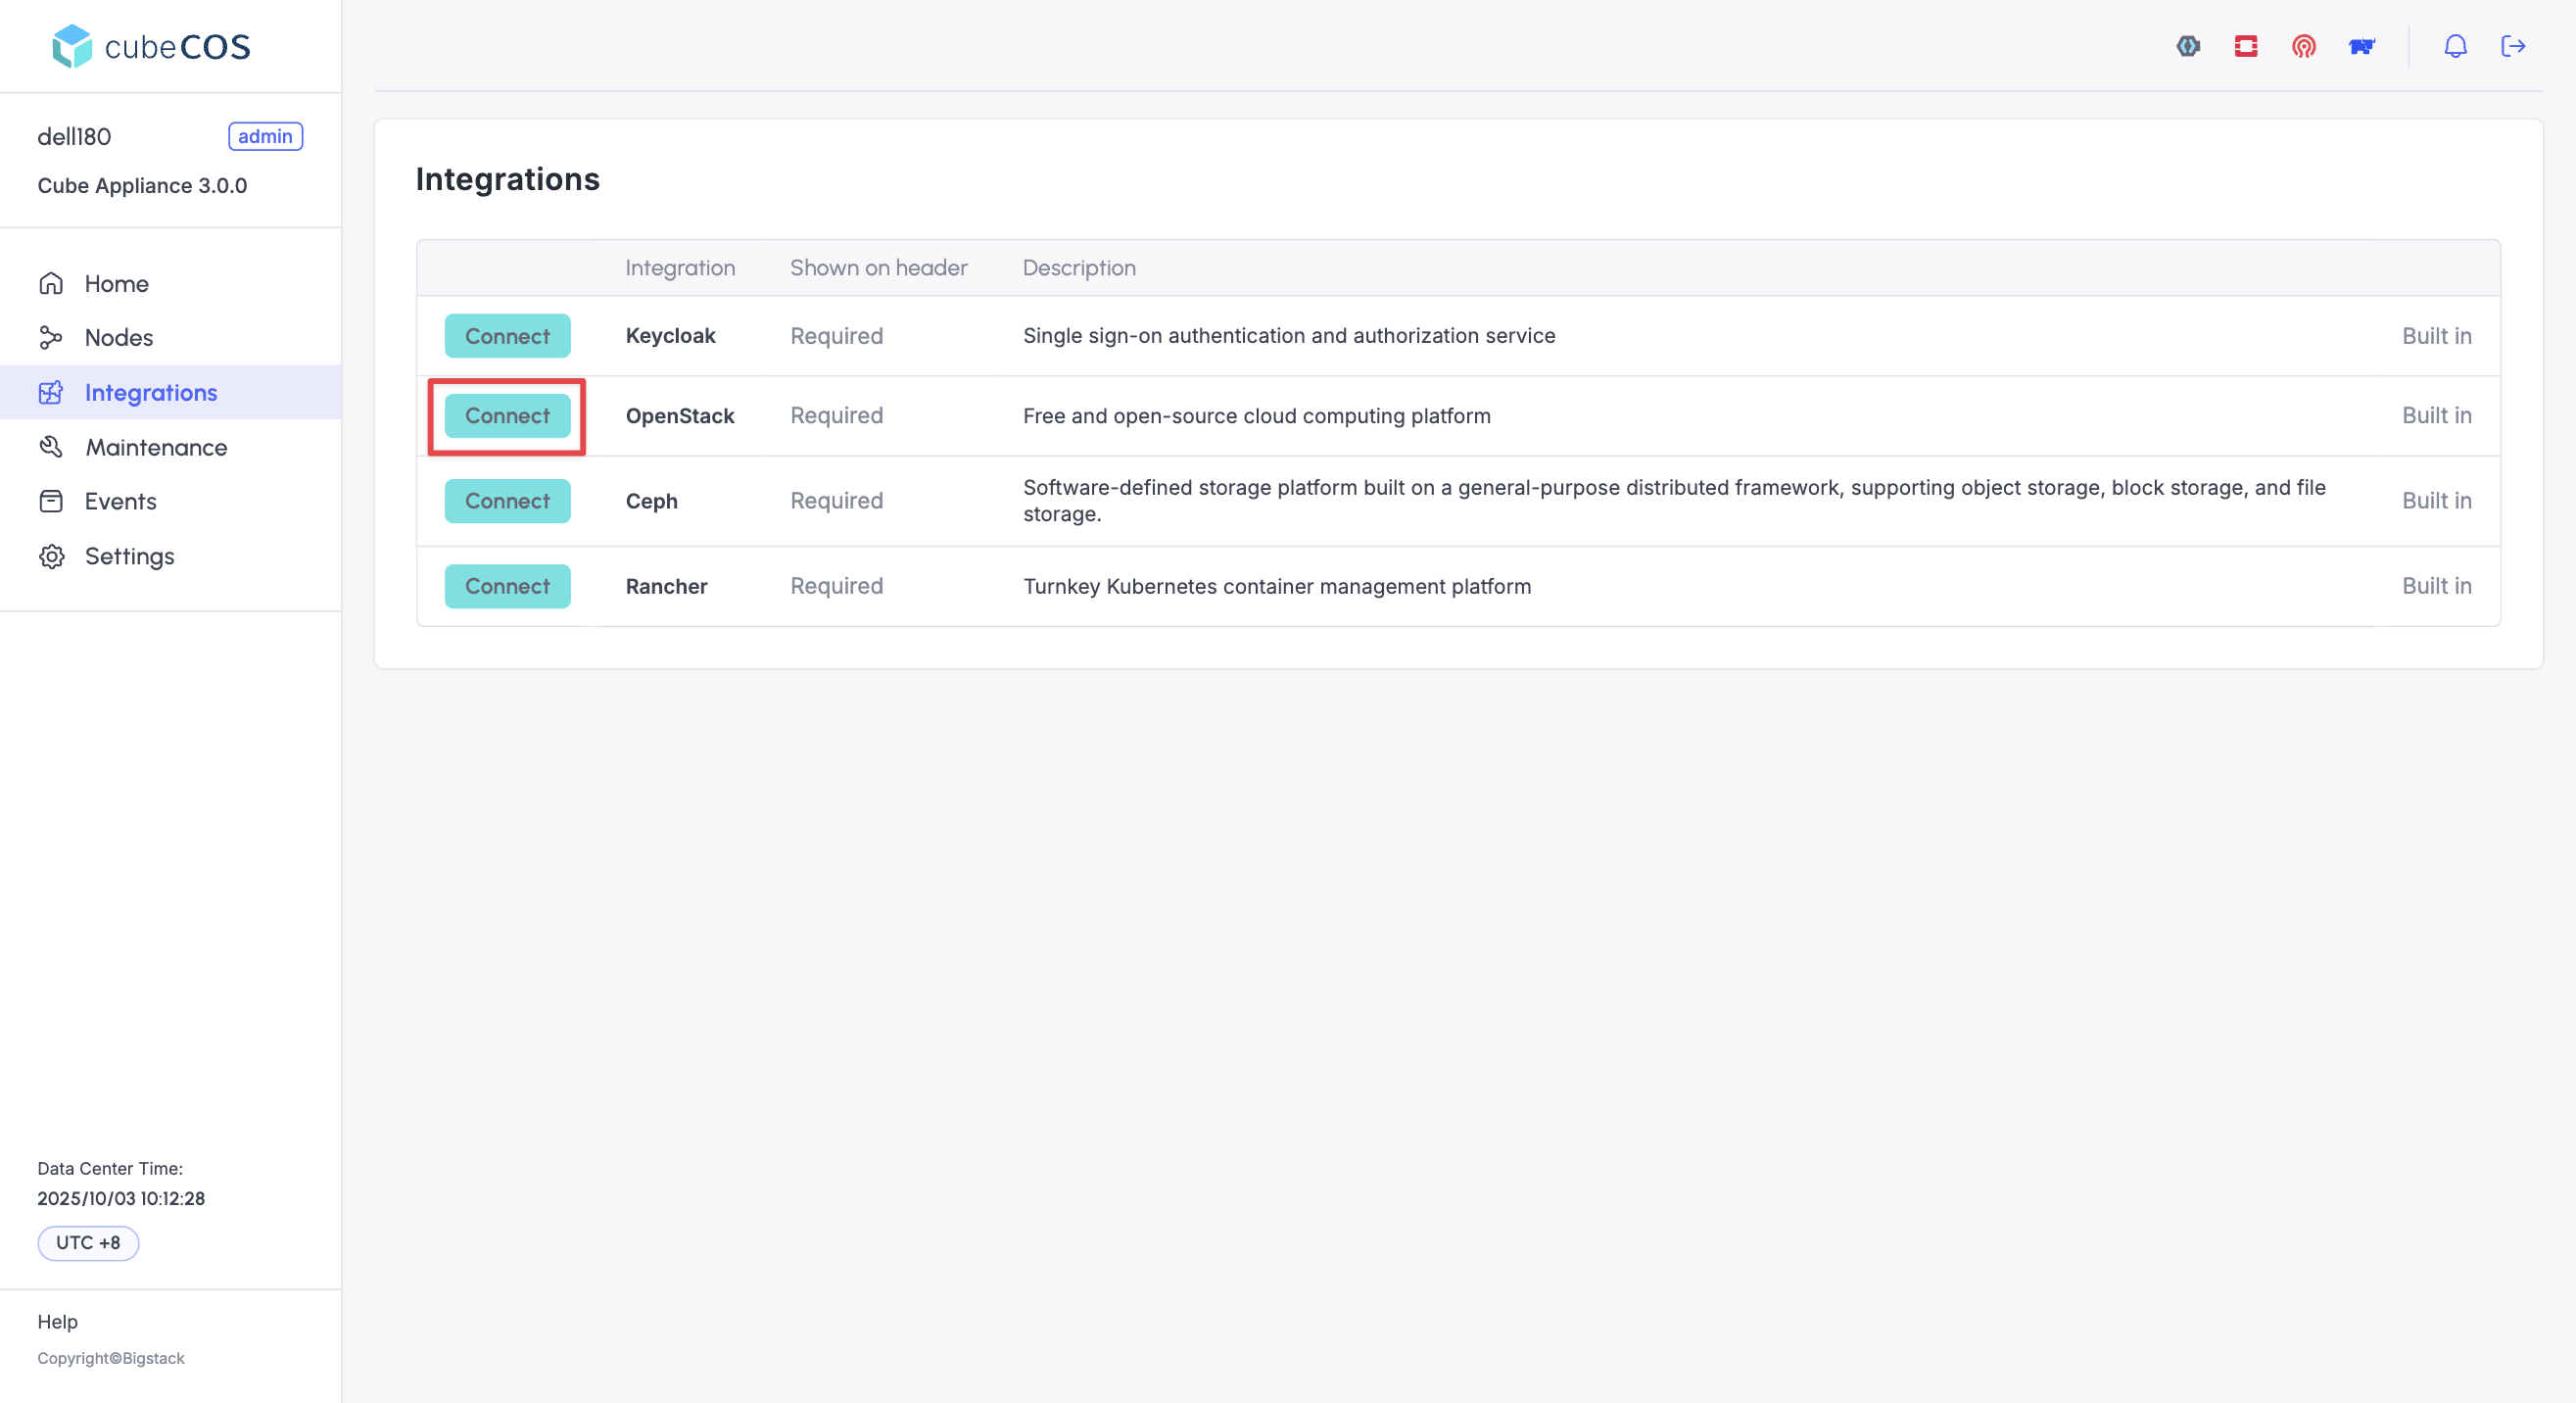
-
A new management interface will open in a new tab, click on
Loginwhen prompted.
-
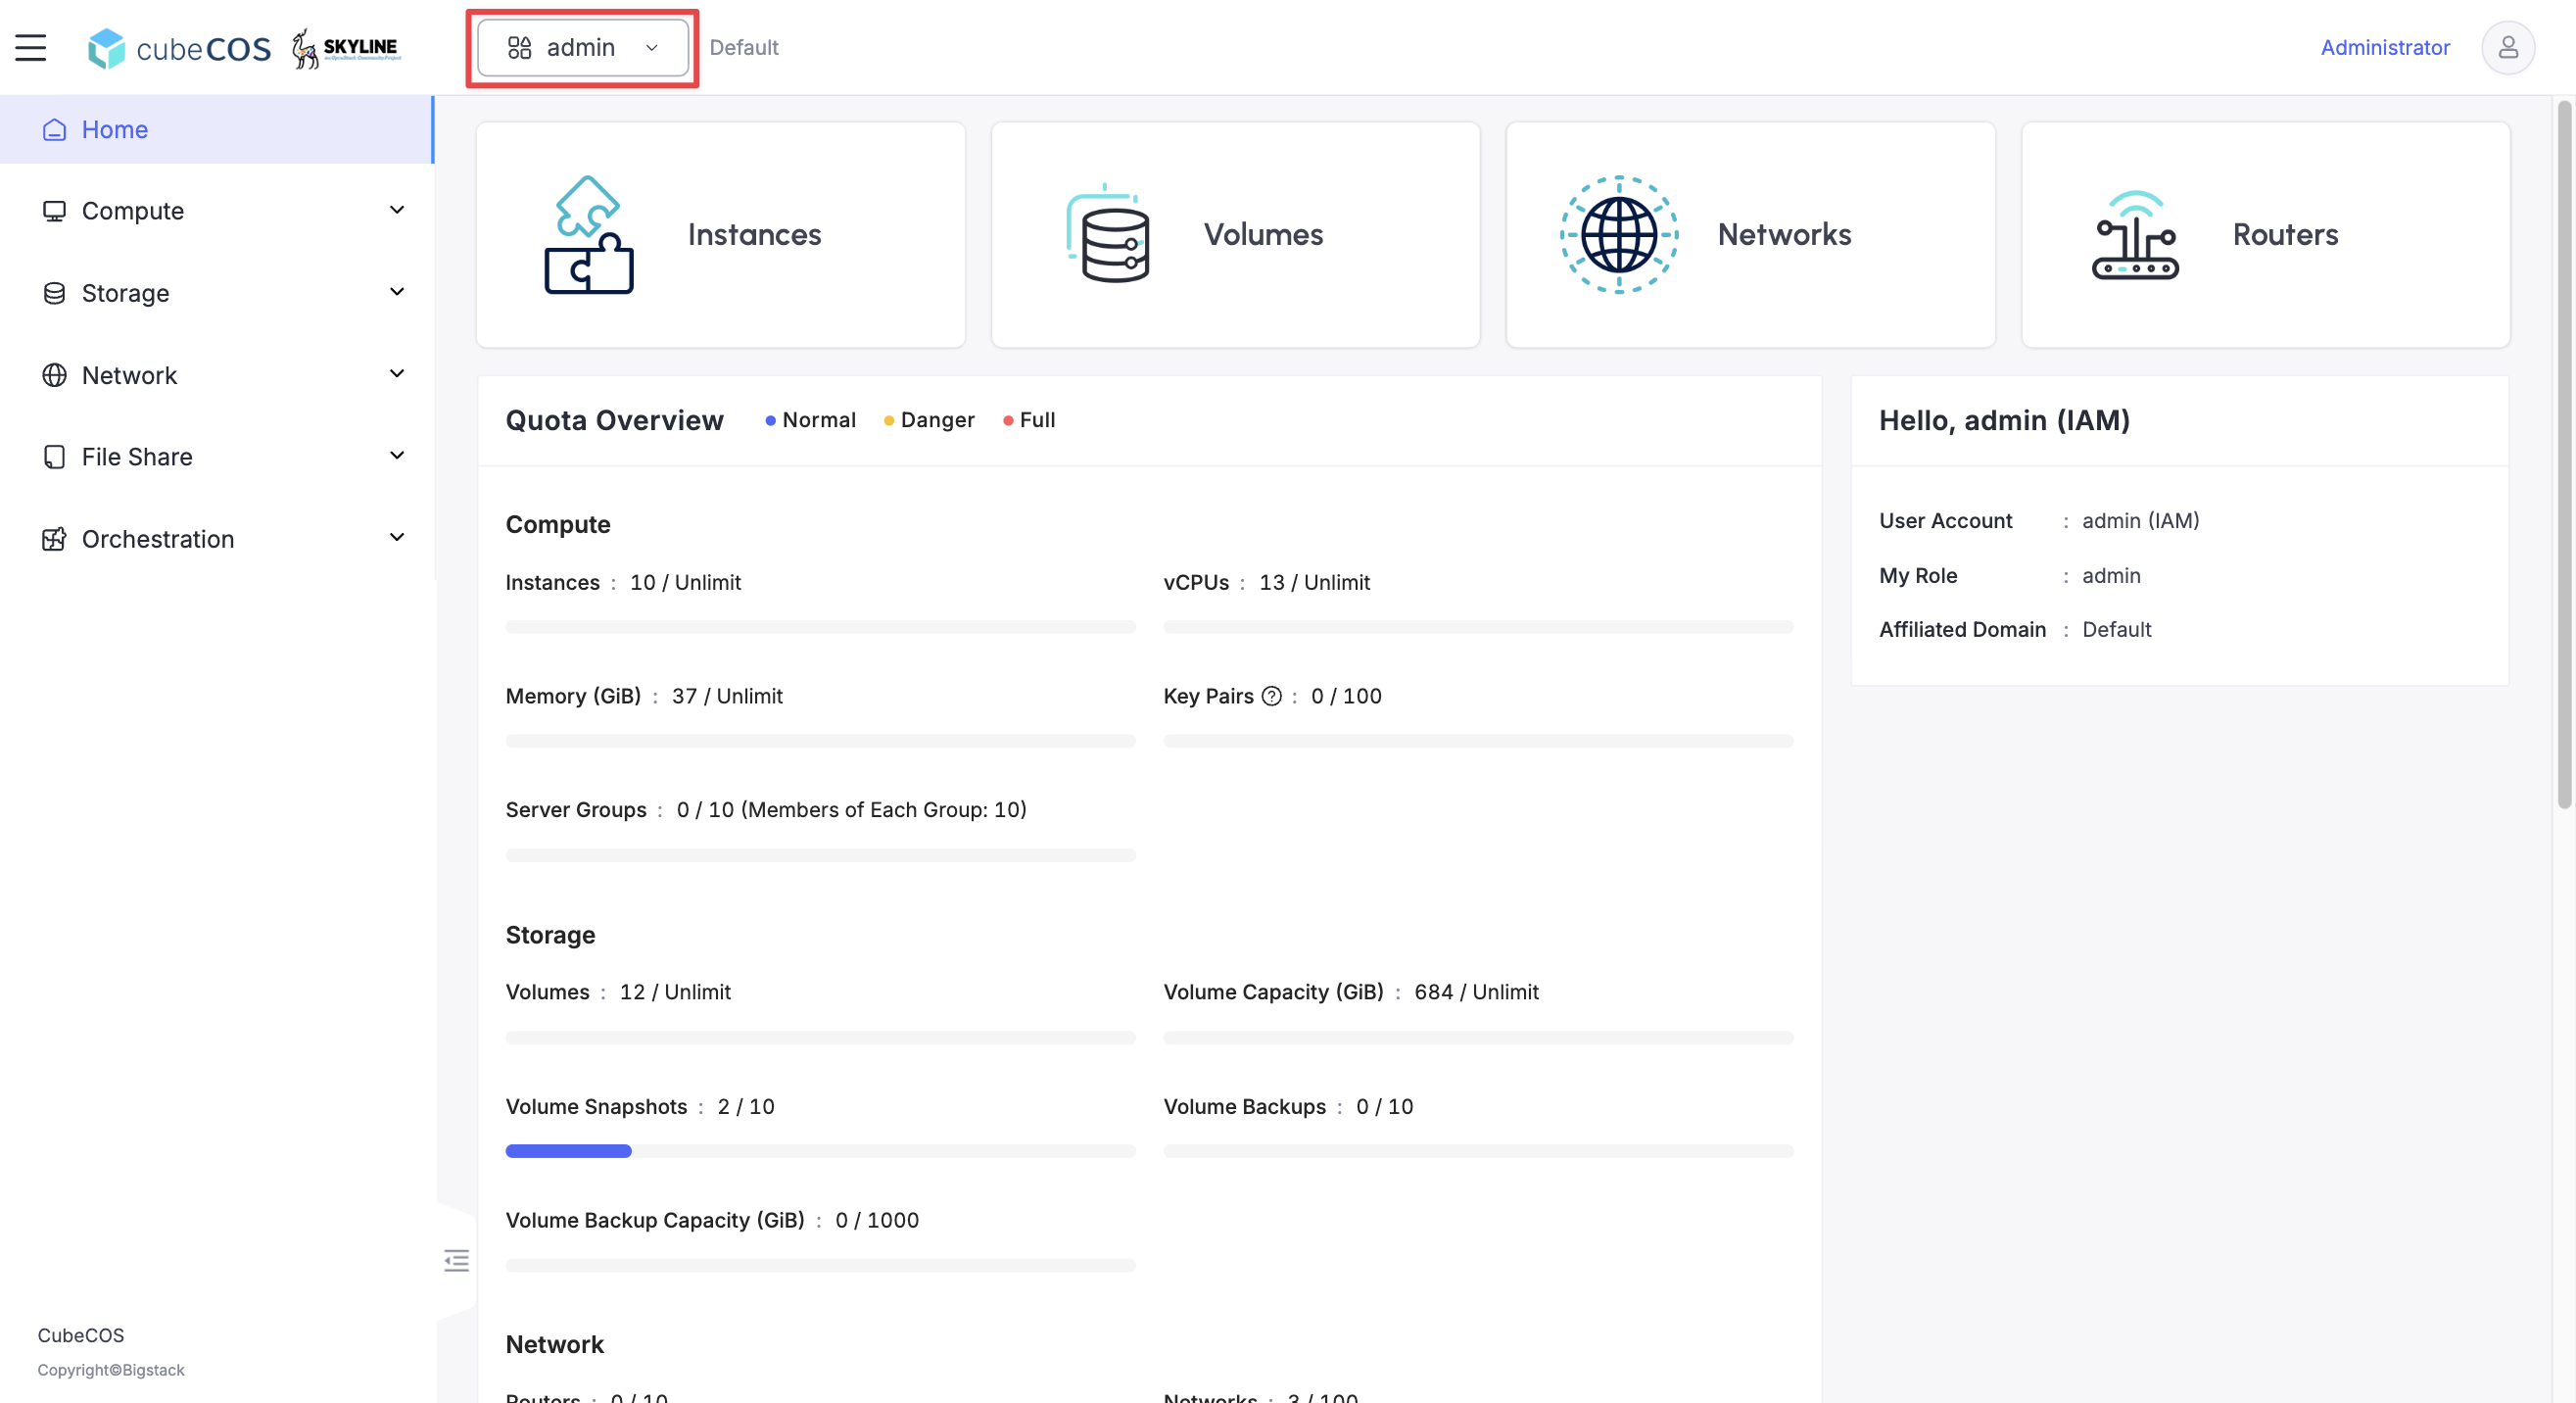
Verify that login is successful and the project switcher shows the correct project the user is assigned to.
-
You have completed creating a new SSO user, assigning the user to a project, and verifying user access to the project.