Create a cluster
USB storage devices are blocked by default. If you need to access USB devices, set the tuning option cubesys.probeusb to true using CLI > tuning > configure after logging in as admin.
Prerequisites
User bigstack-k8s and project bigstack-k8s will be used during this demonstration.
-
A project for Kubernetes has been created, and your Kubernetes permissions have been set to Administrator. See Create a project.
-
An Amphora image has been imported.
- Download the Amphora image: amphora-x64-haproxy_yoga.
- Use
scpto upload the downloaded image to the Glance image directory/mnt/cephfs/glance.- From a computer with management access to your cluster VIP, run:
scp amphora-x64-haproxy_yoga.qcow2 root@<cluster-vip>:/mnt/cephfs/glance/
- From a computer with management access to your cluster VIP, run:
- Log in to the admin shell.
- Run the following command to import the load balancer image:
cc1> iaas image import_lb
1: usb
2: local
Enter index: 2
1: amphora-x64-haproxy_yoga.qcow2
Enter index: 1
Importing...
[16:25:04] Converting image to RAW format ...
    (100.00/100%)
[16:25:11] Creating image amphora-x64-haproxy ...
[=============================>] 100%
aa93010b-eb36-4357-b1cf-fea46958908f
[16:26:07] Finished creating image amphora-x64-haproxy
Importing  complete. It is safe to remove the local image file.
- A Linux image has been imported and is ready for use in deployments.
For this demonstration, you'll use the ubuntu2404.qcow2 image as the base system image.
- Visit the CubeCOS Downloads page to obtain a supported image (for example,
ubuntu2404.qcow2). - Use
scpto transfer the image to the Glance image store at/mnt/cephfs/glance.- From a workstation or jump host with network access to your cluster VIP, run:
scp ubuntu2404.qcow2 root@<cluster-vip>:/mnt/cephfs/glance/
- From a workstation or jump host with network access to your cluster VIP, run:
- Log in to the admin shell.
- Run the following command to import the image:
cc1> iaas image import
1: usb
2: local
Enter index: 2
1: amphora-x64-haproxy_yoga.qcow2
2: ubuntu2404.qcow2
Enter index: 2
Specify image name: ubuntu_2404
Select domain:
1: default
Enter index: 1
Select tenant:
1: admin
2: bigstack-k8s
Enter index: 1
Bootable image or volume:
1: glance-images
2: cinder-volumes
Enter index: 1
Visibility:
1: public
2: private
Enter index: 1
Importing...
[16:29:57] Converting image to RAW format ...
    (100.00/100%)
[16:30:09] Creating image ubuntu_2404 ...
[=============================>] 100%
ebfa199b-12d2-4a7c-8a8e-aef452f71750
[16:31:39] Finished creating image ubuntu_2404
Importing ubuntu_2404 complete. It is safe to remove the local image file.
Configure the OpenStack driver and cloud credential
-
Log in to Rancher with the keycloak user
bigstack-k8s.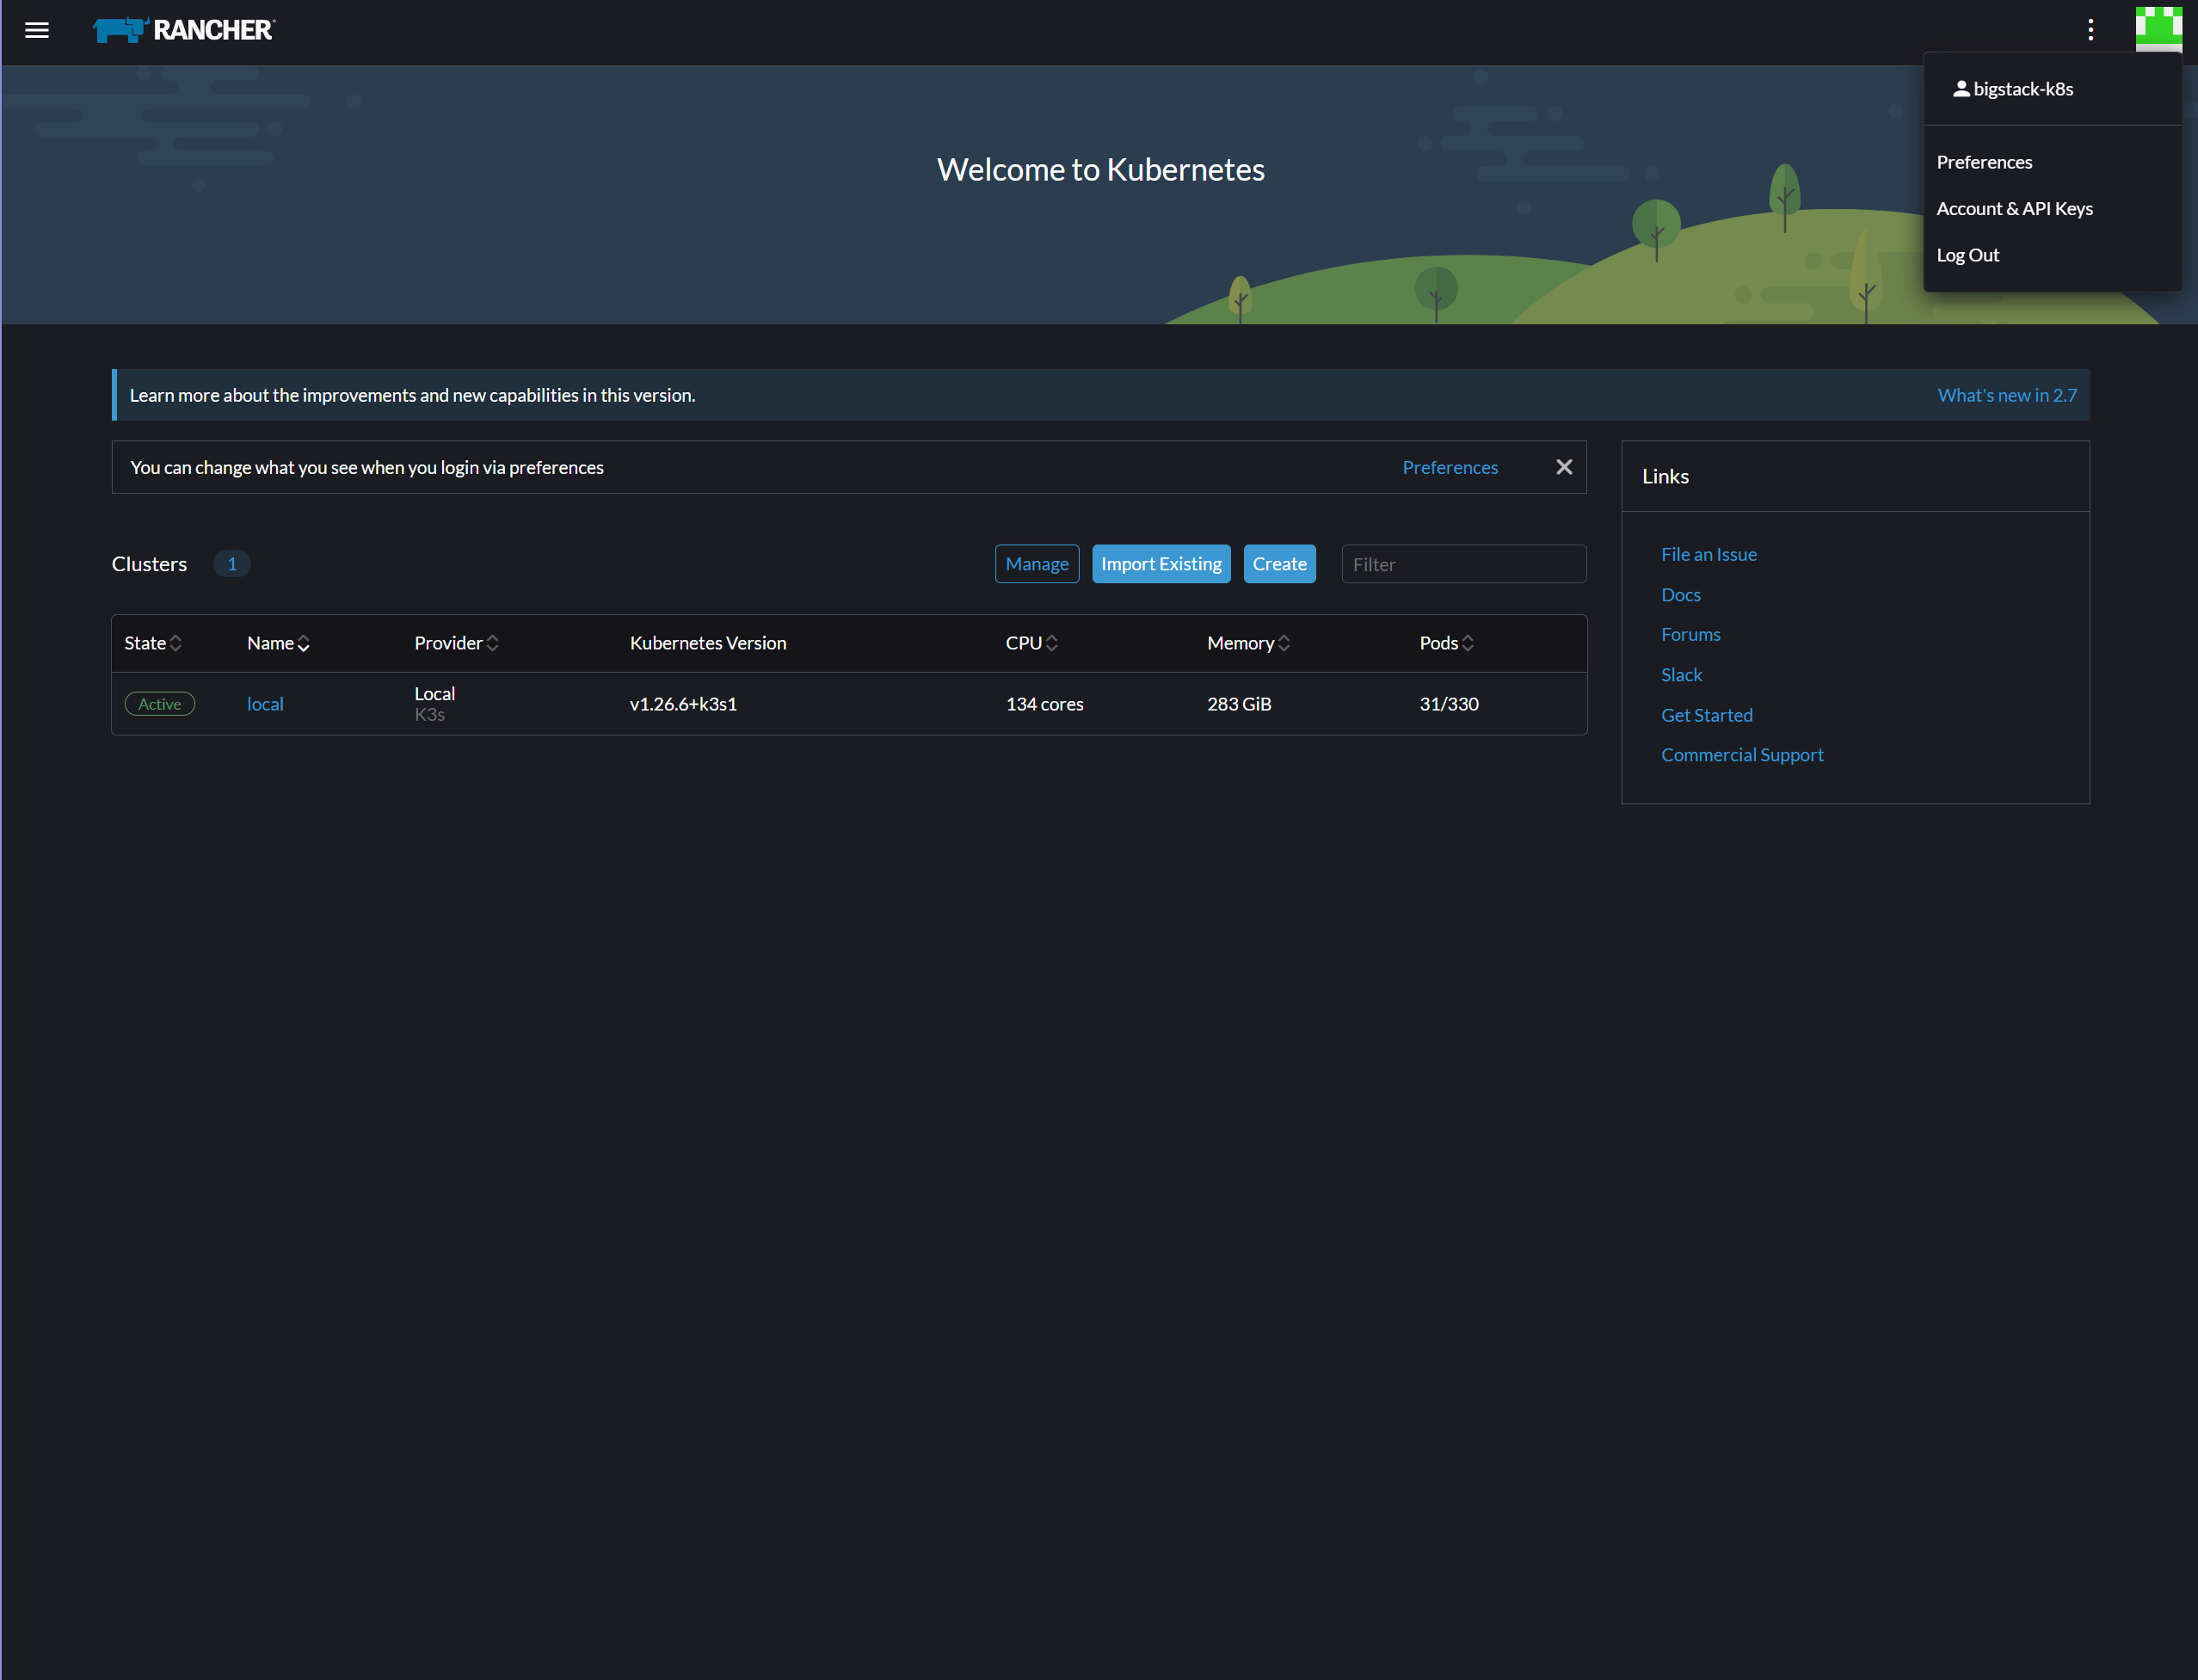
-
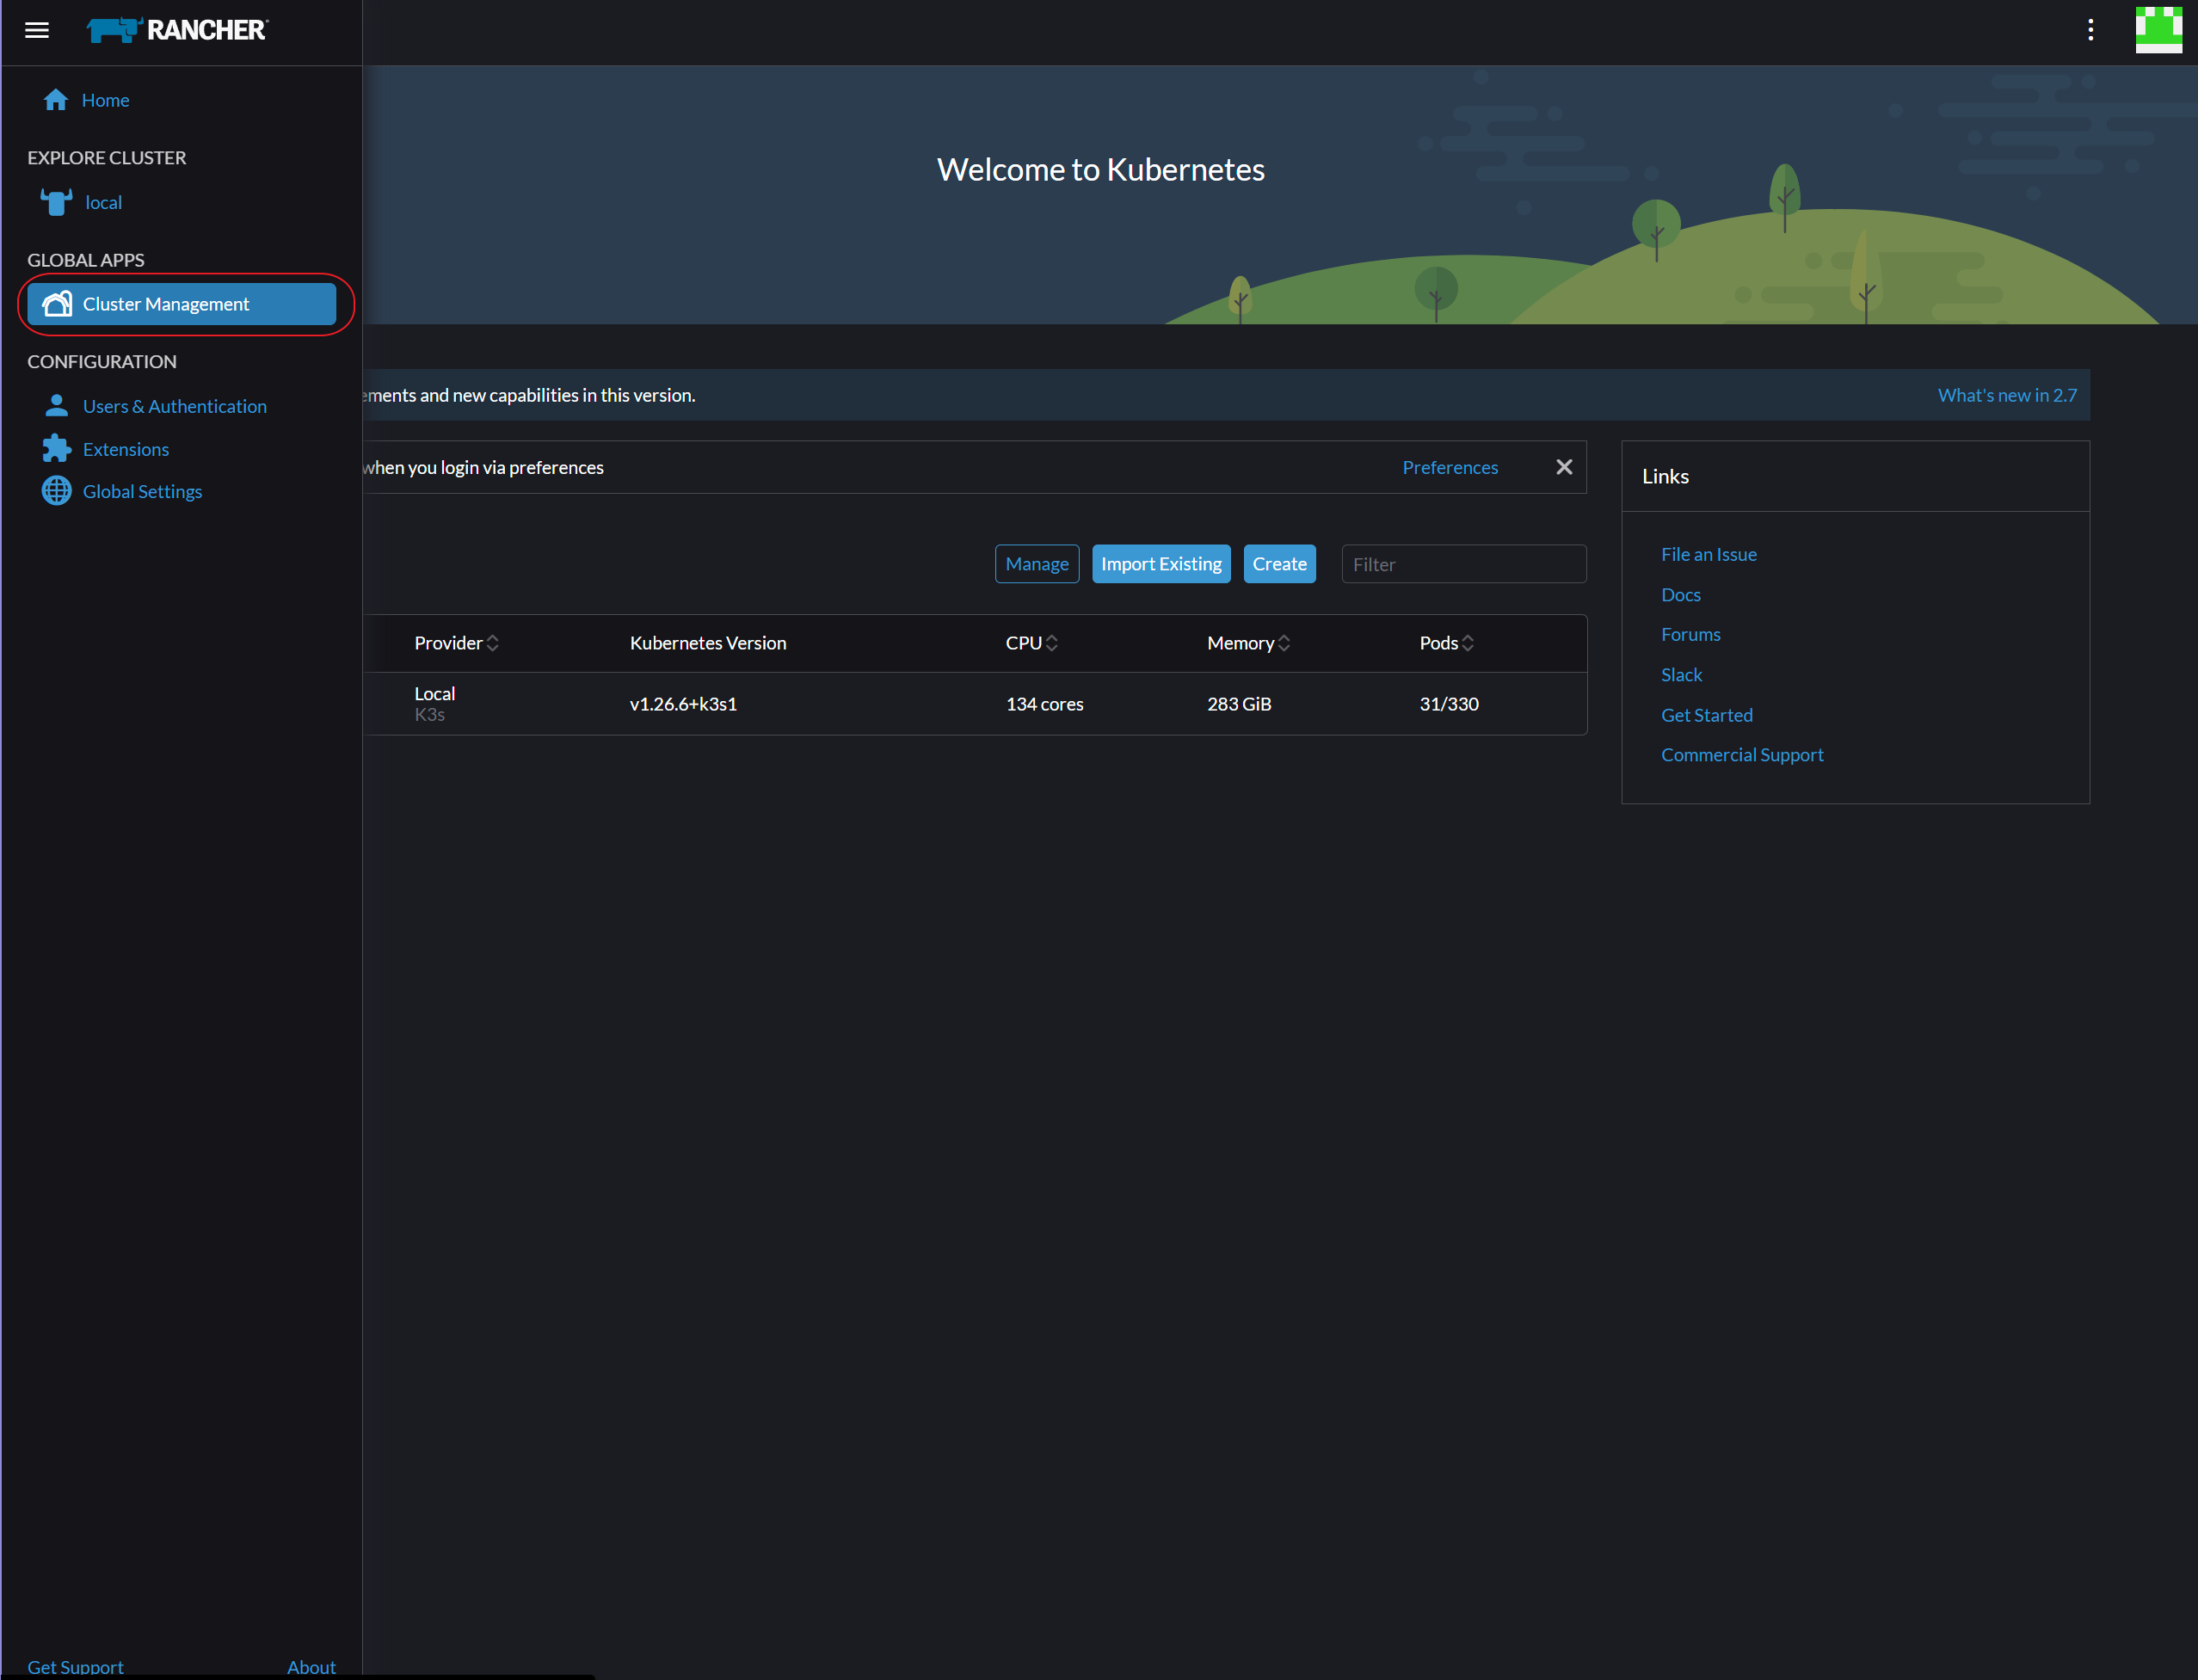
Go to Cluster Management.
-
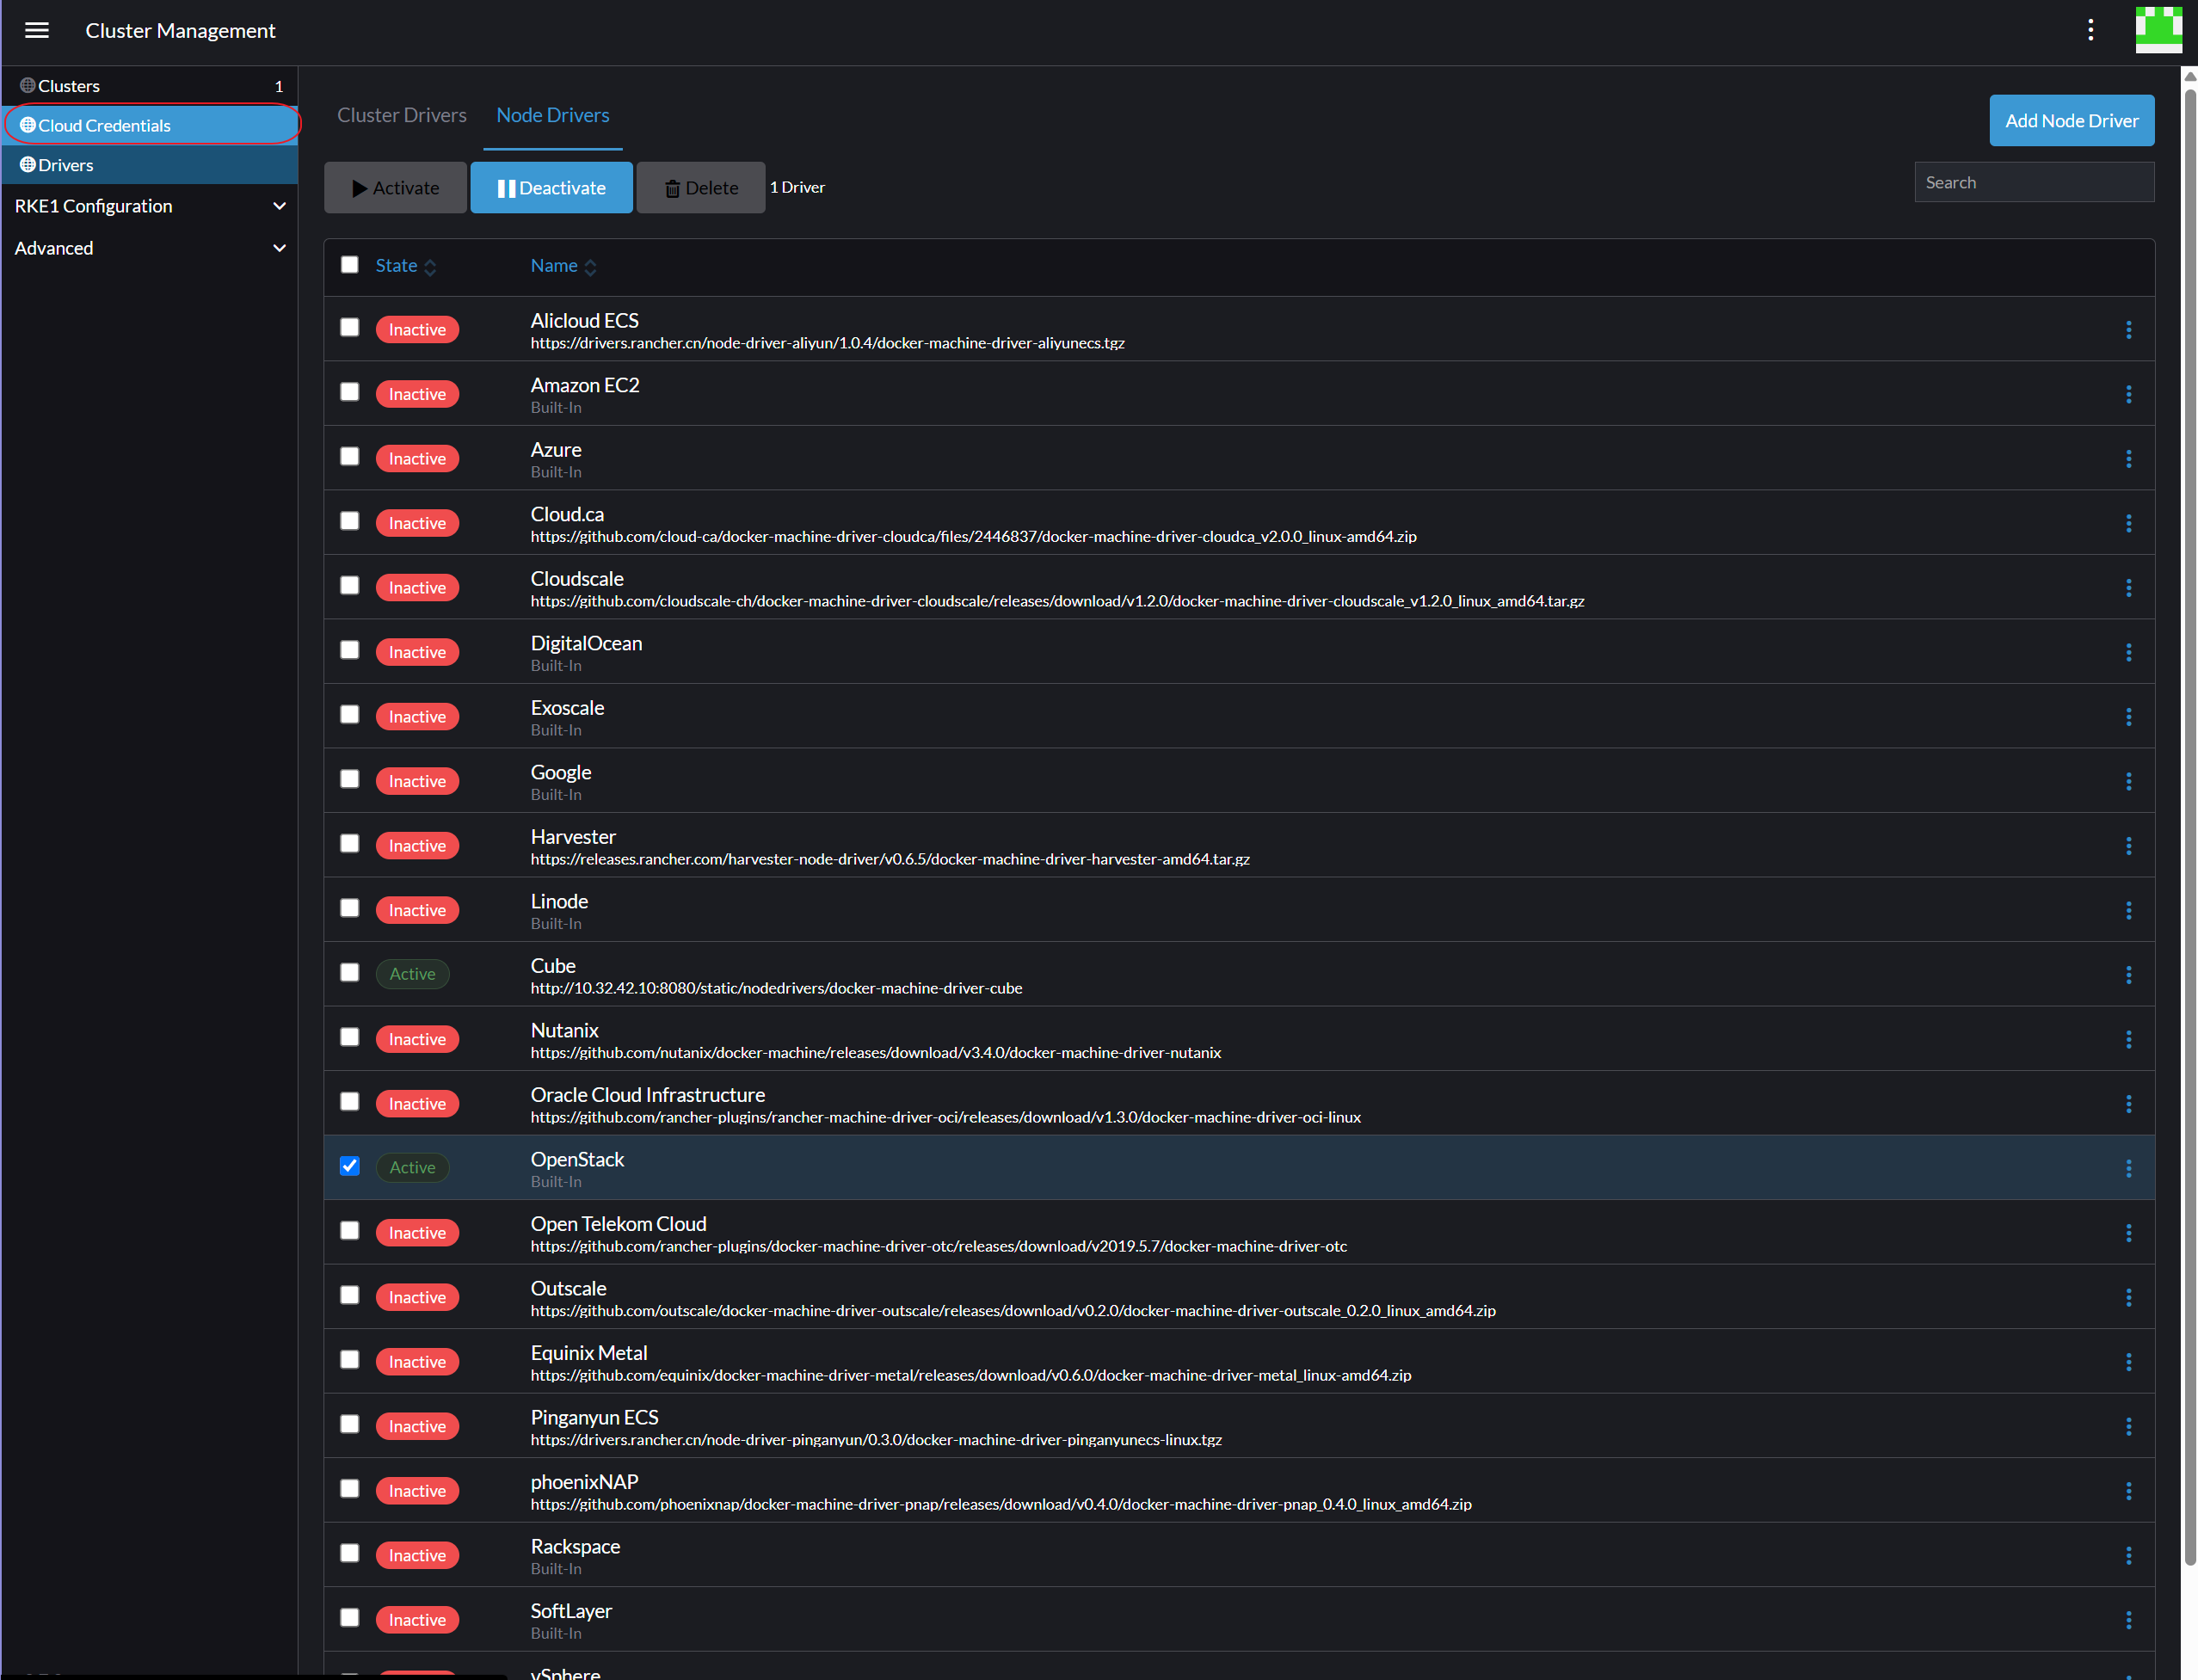
Go to Drivers.
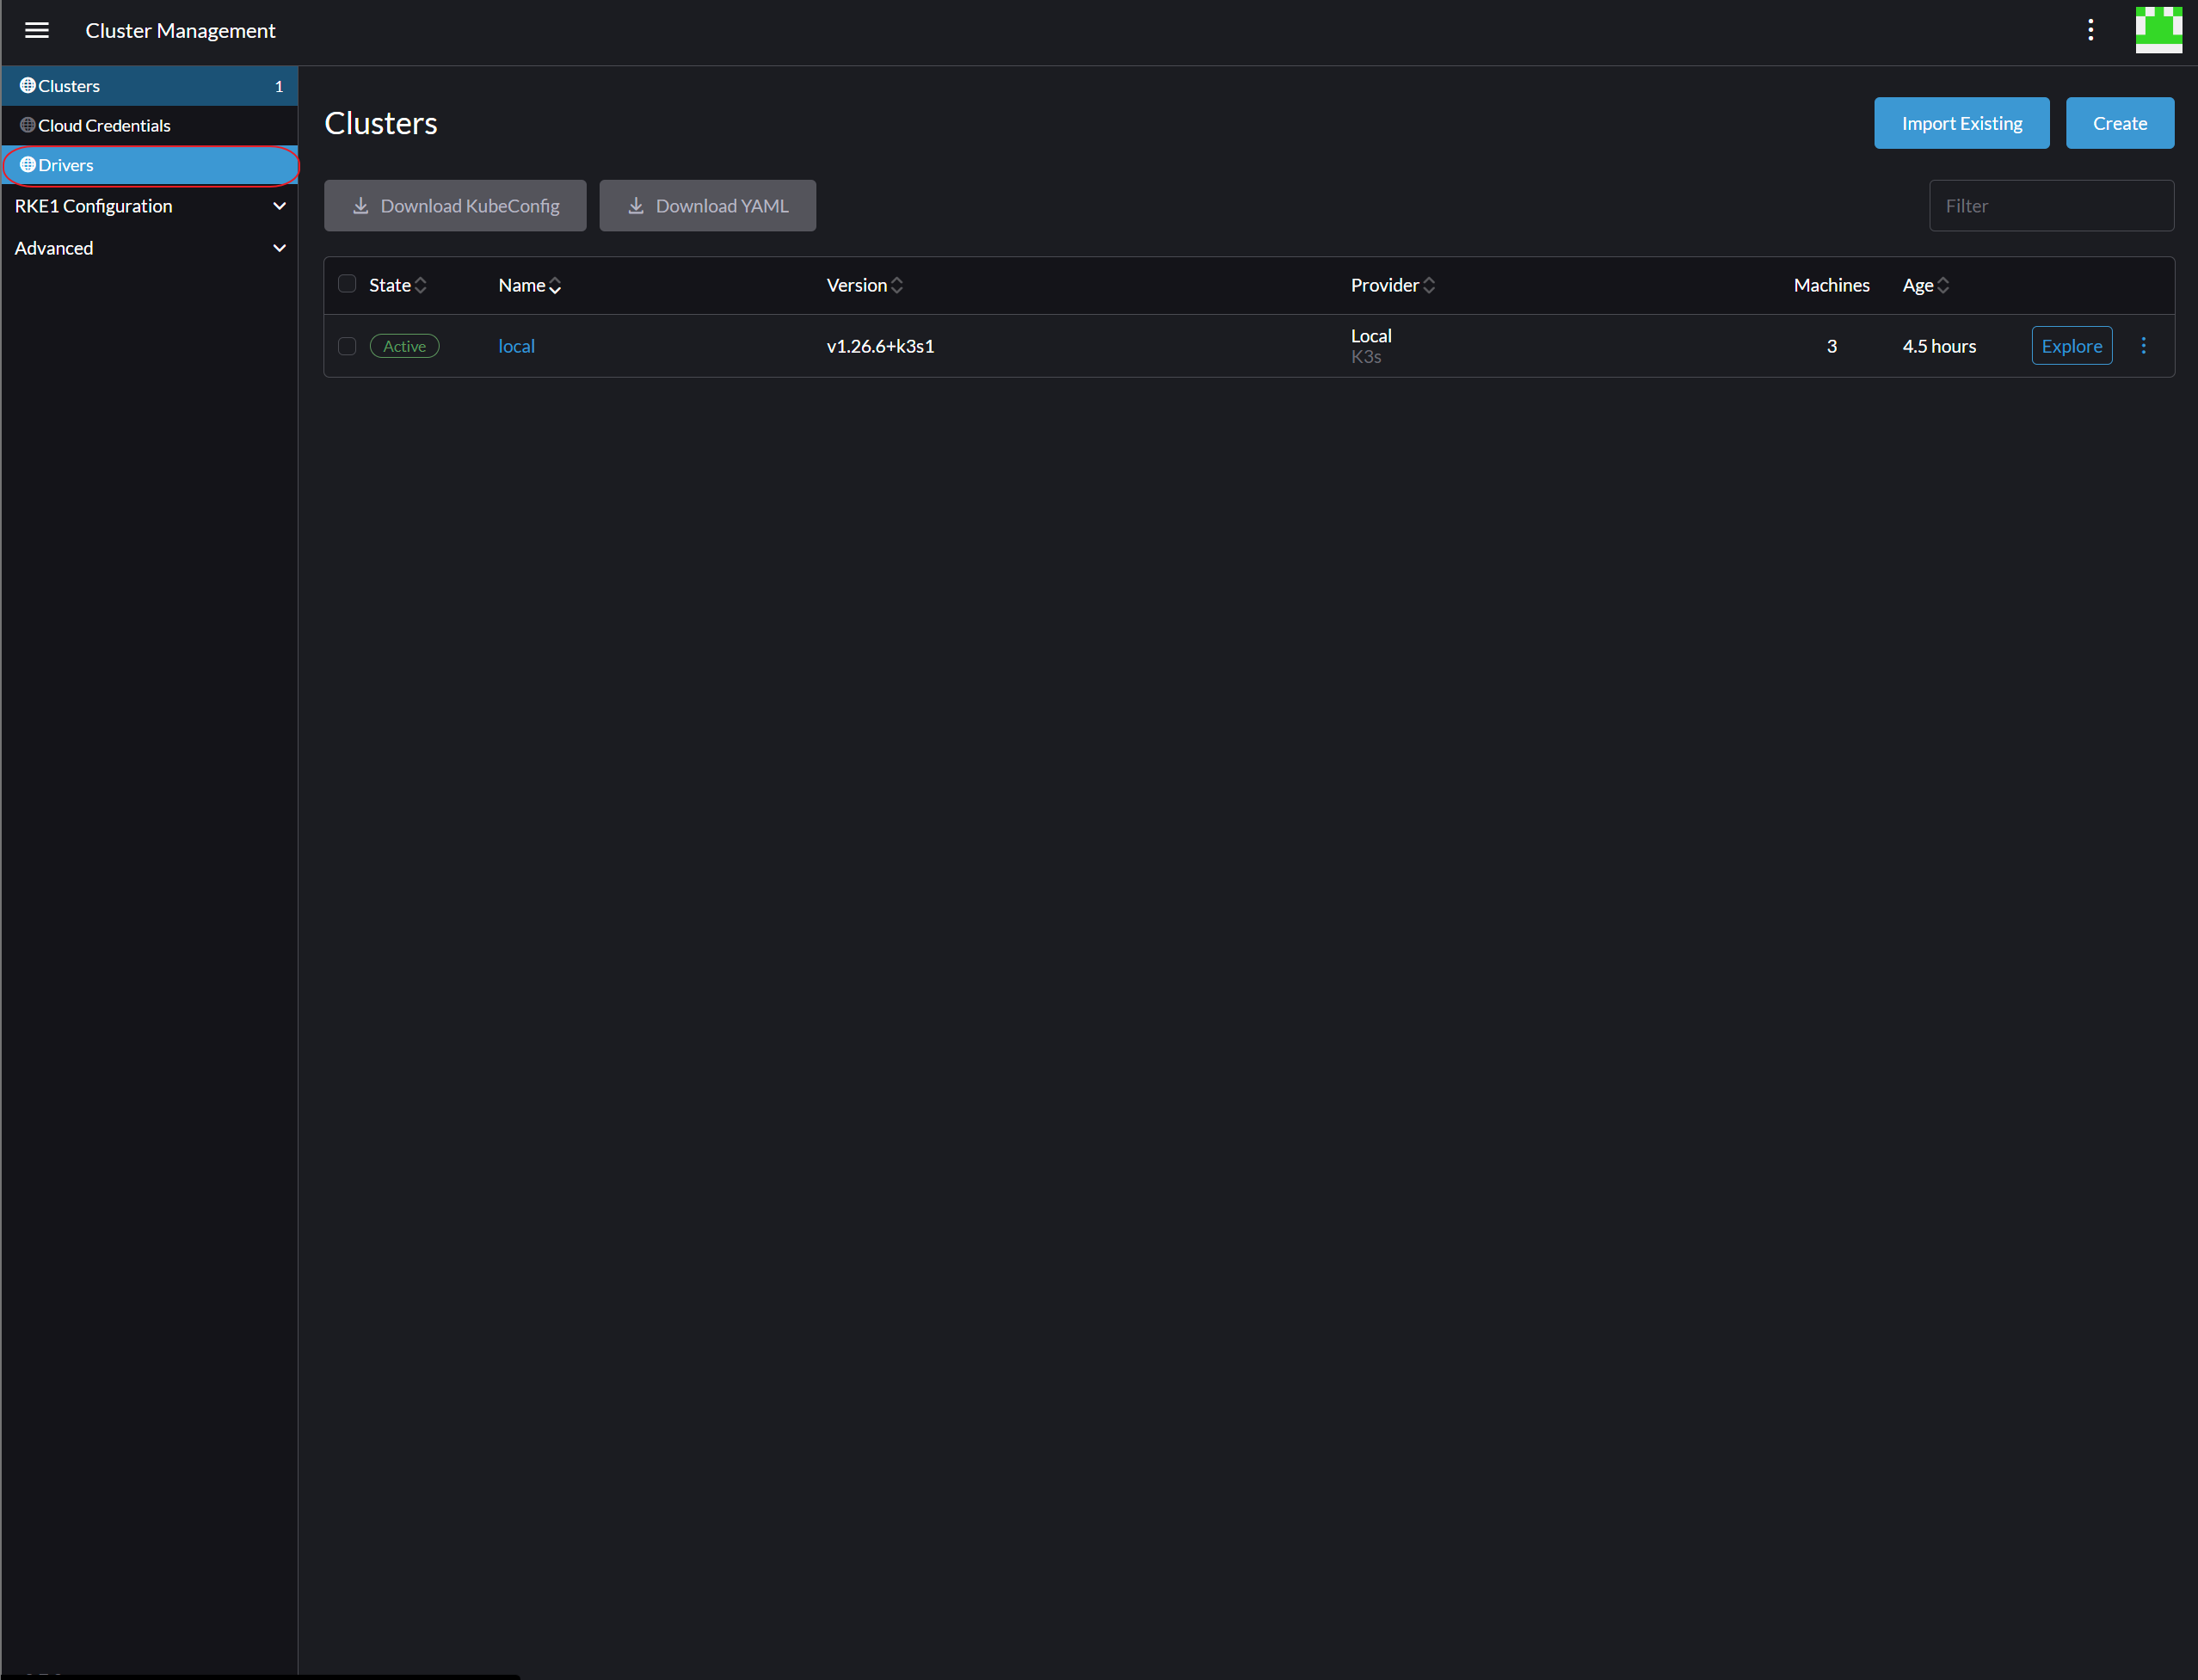
-
Switch to the Node Drivers tab.
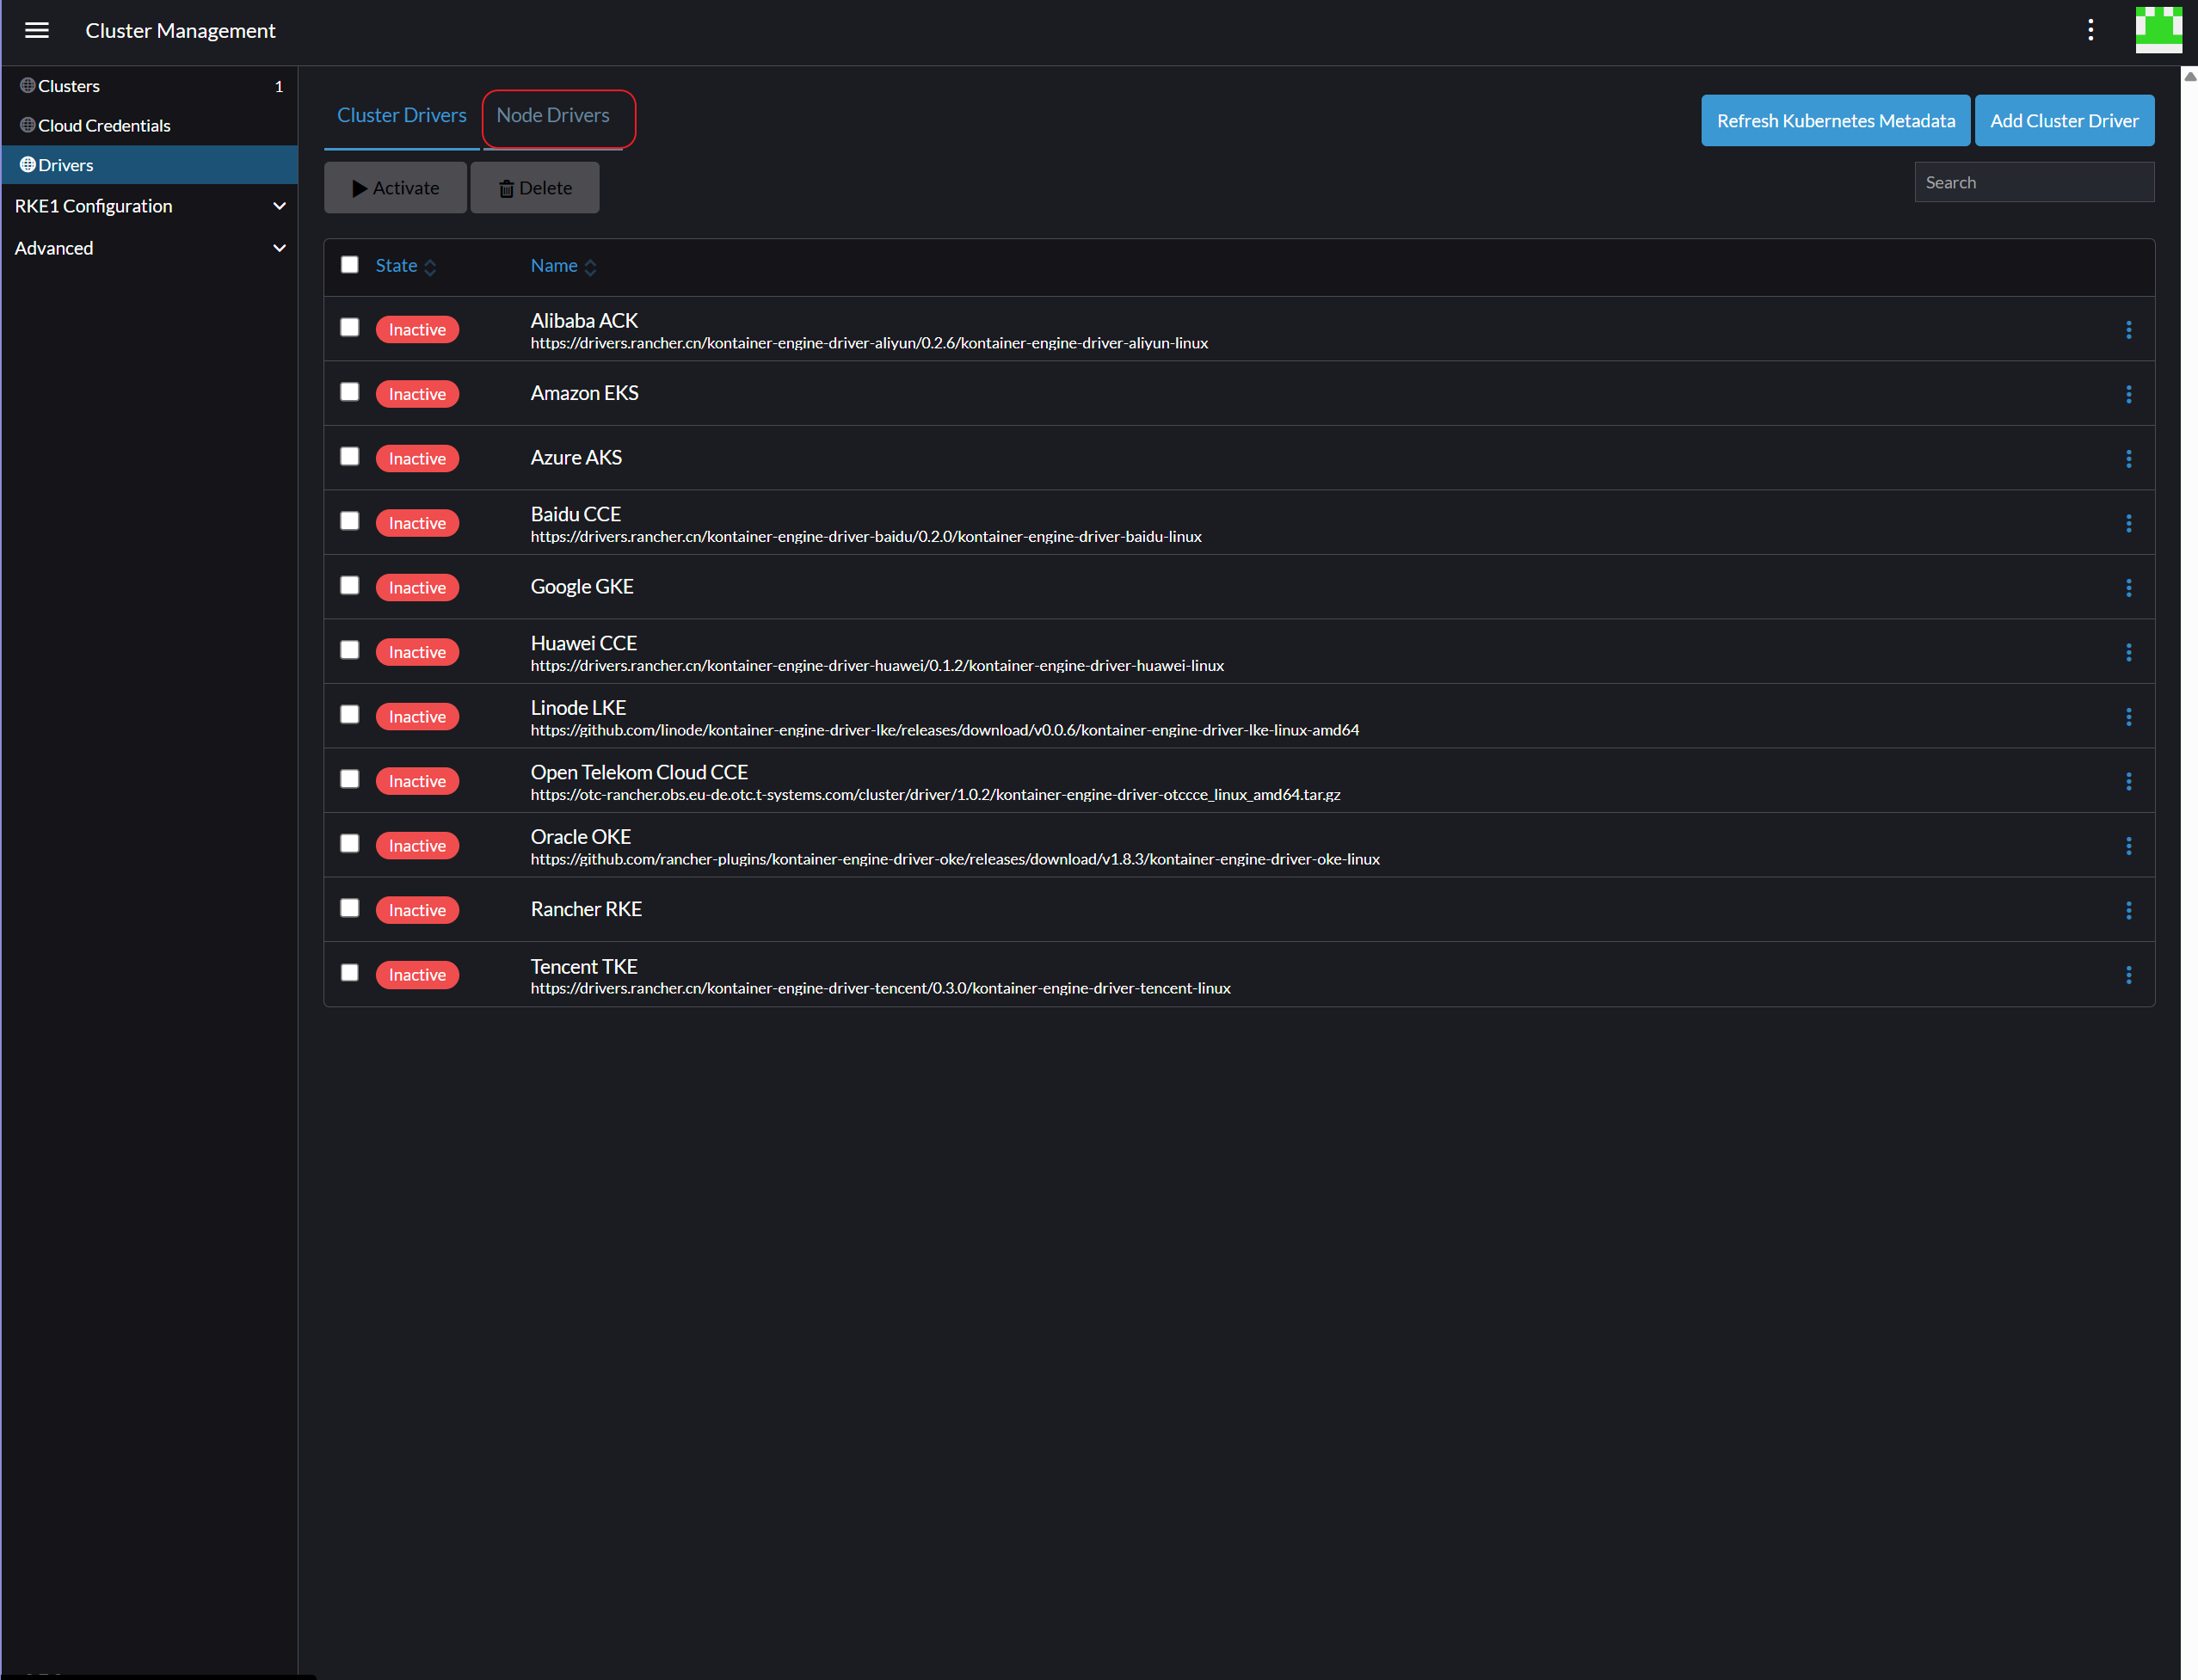
-
Select OpenStack and choose Active from its action options.
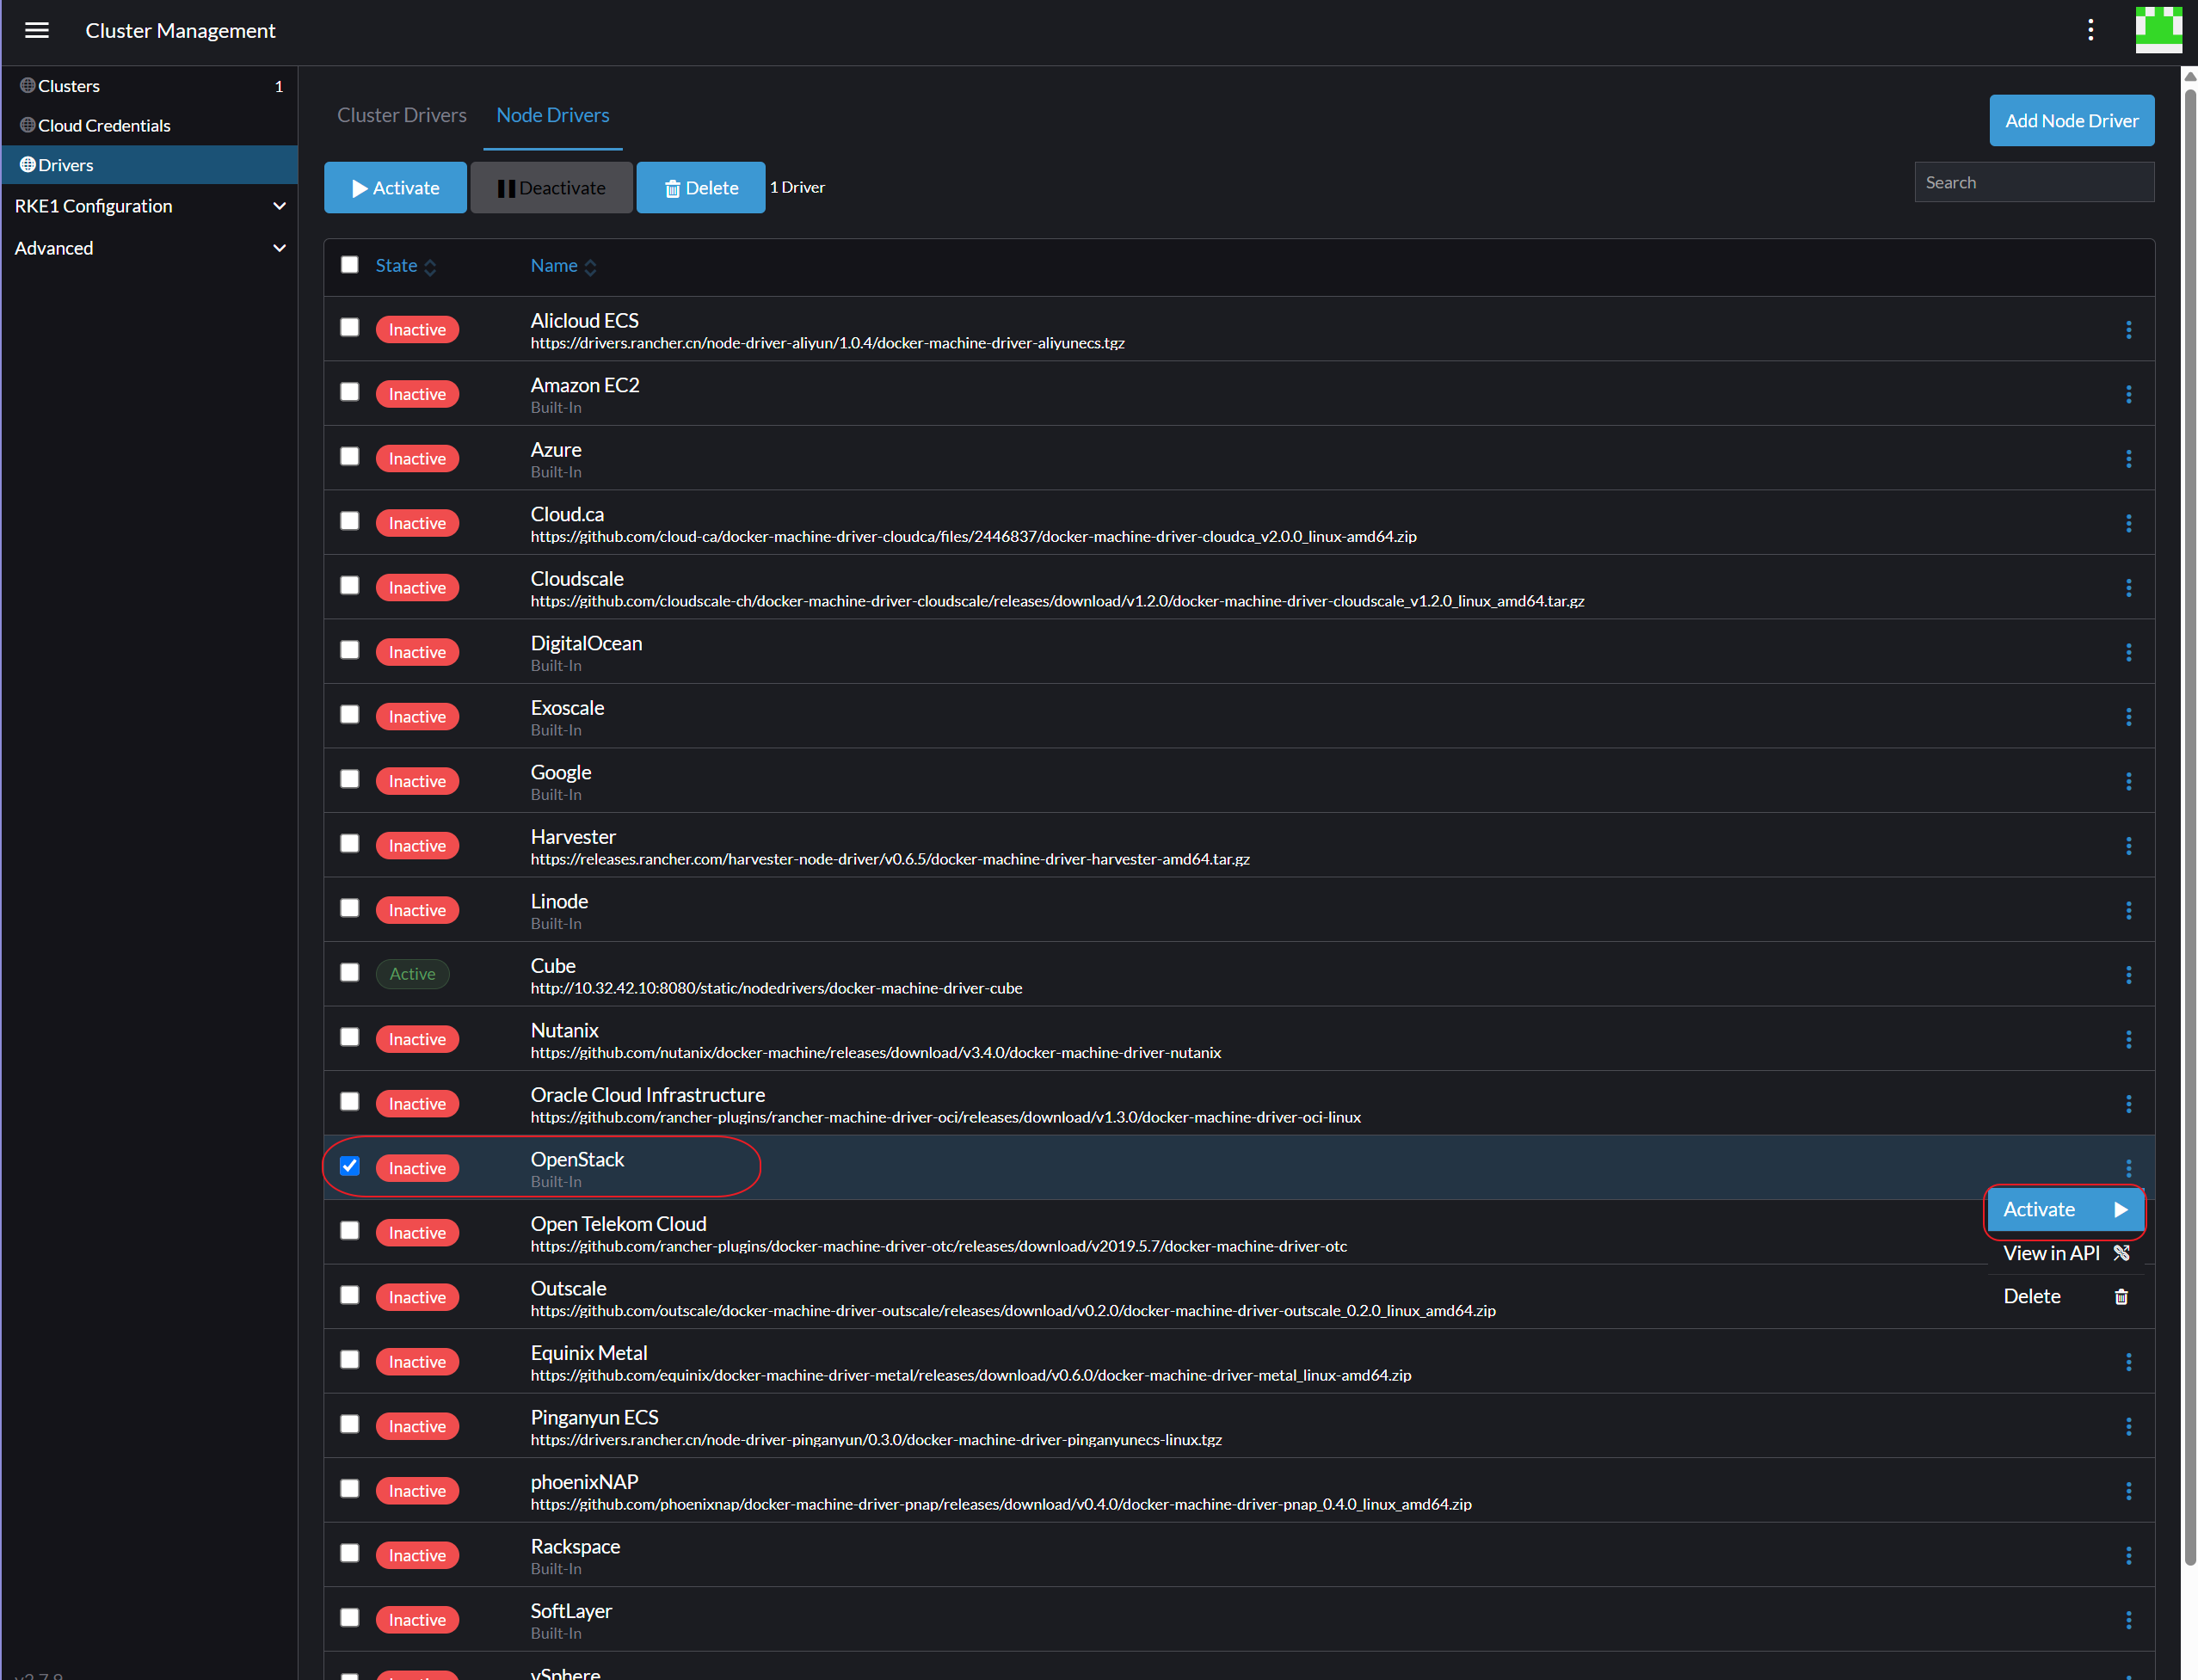
-
Confirm the State column shows Active.
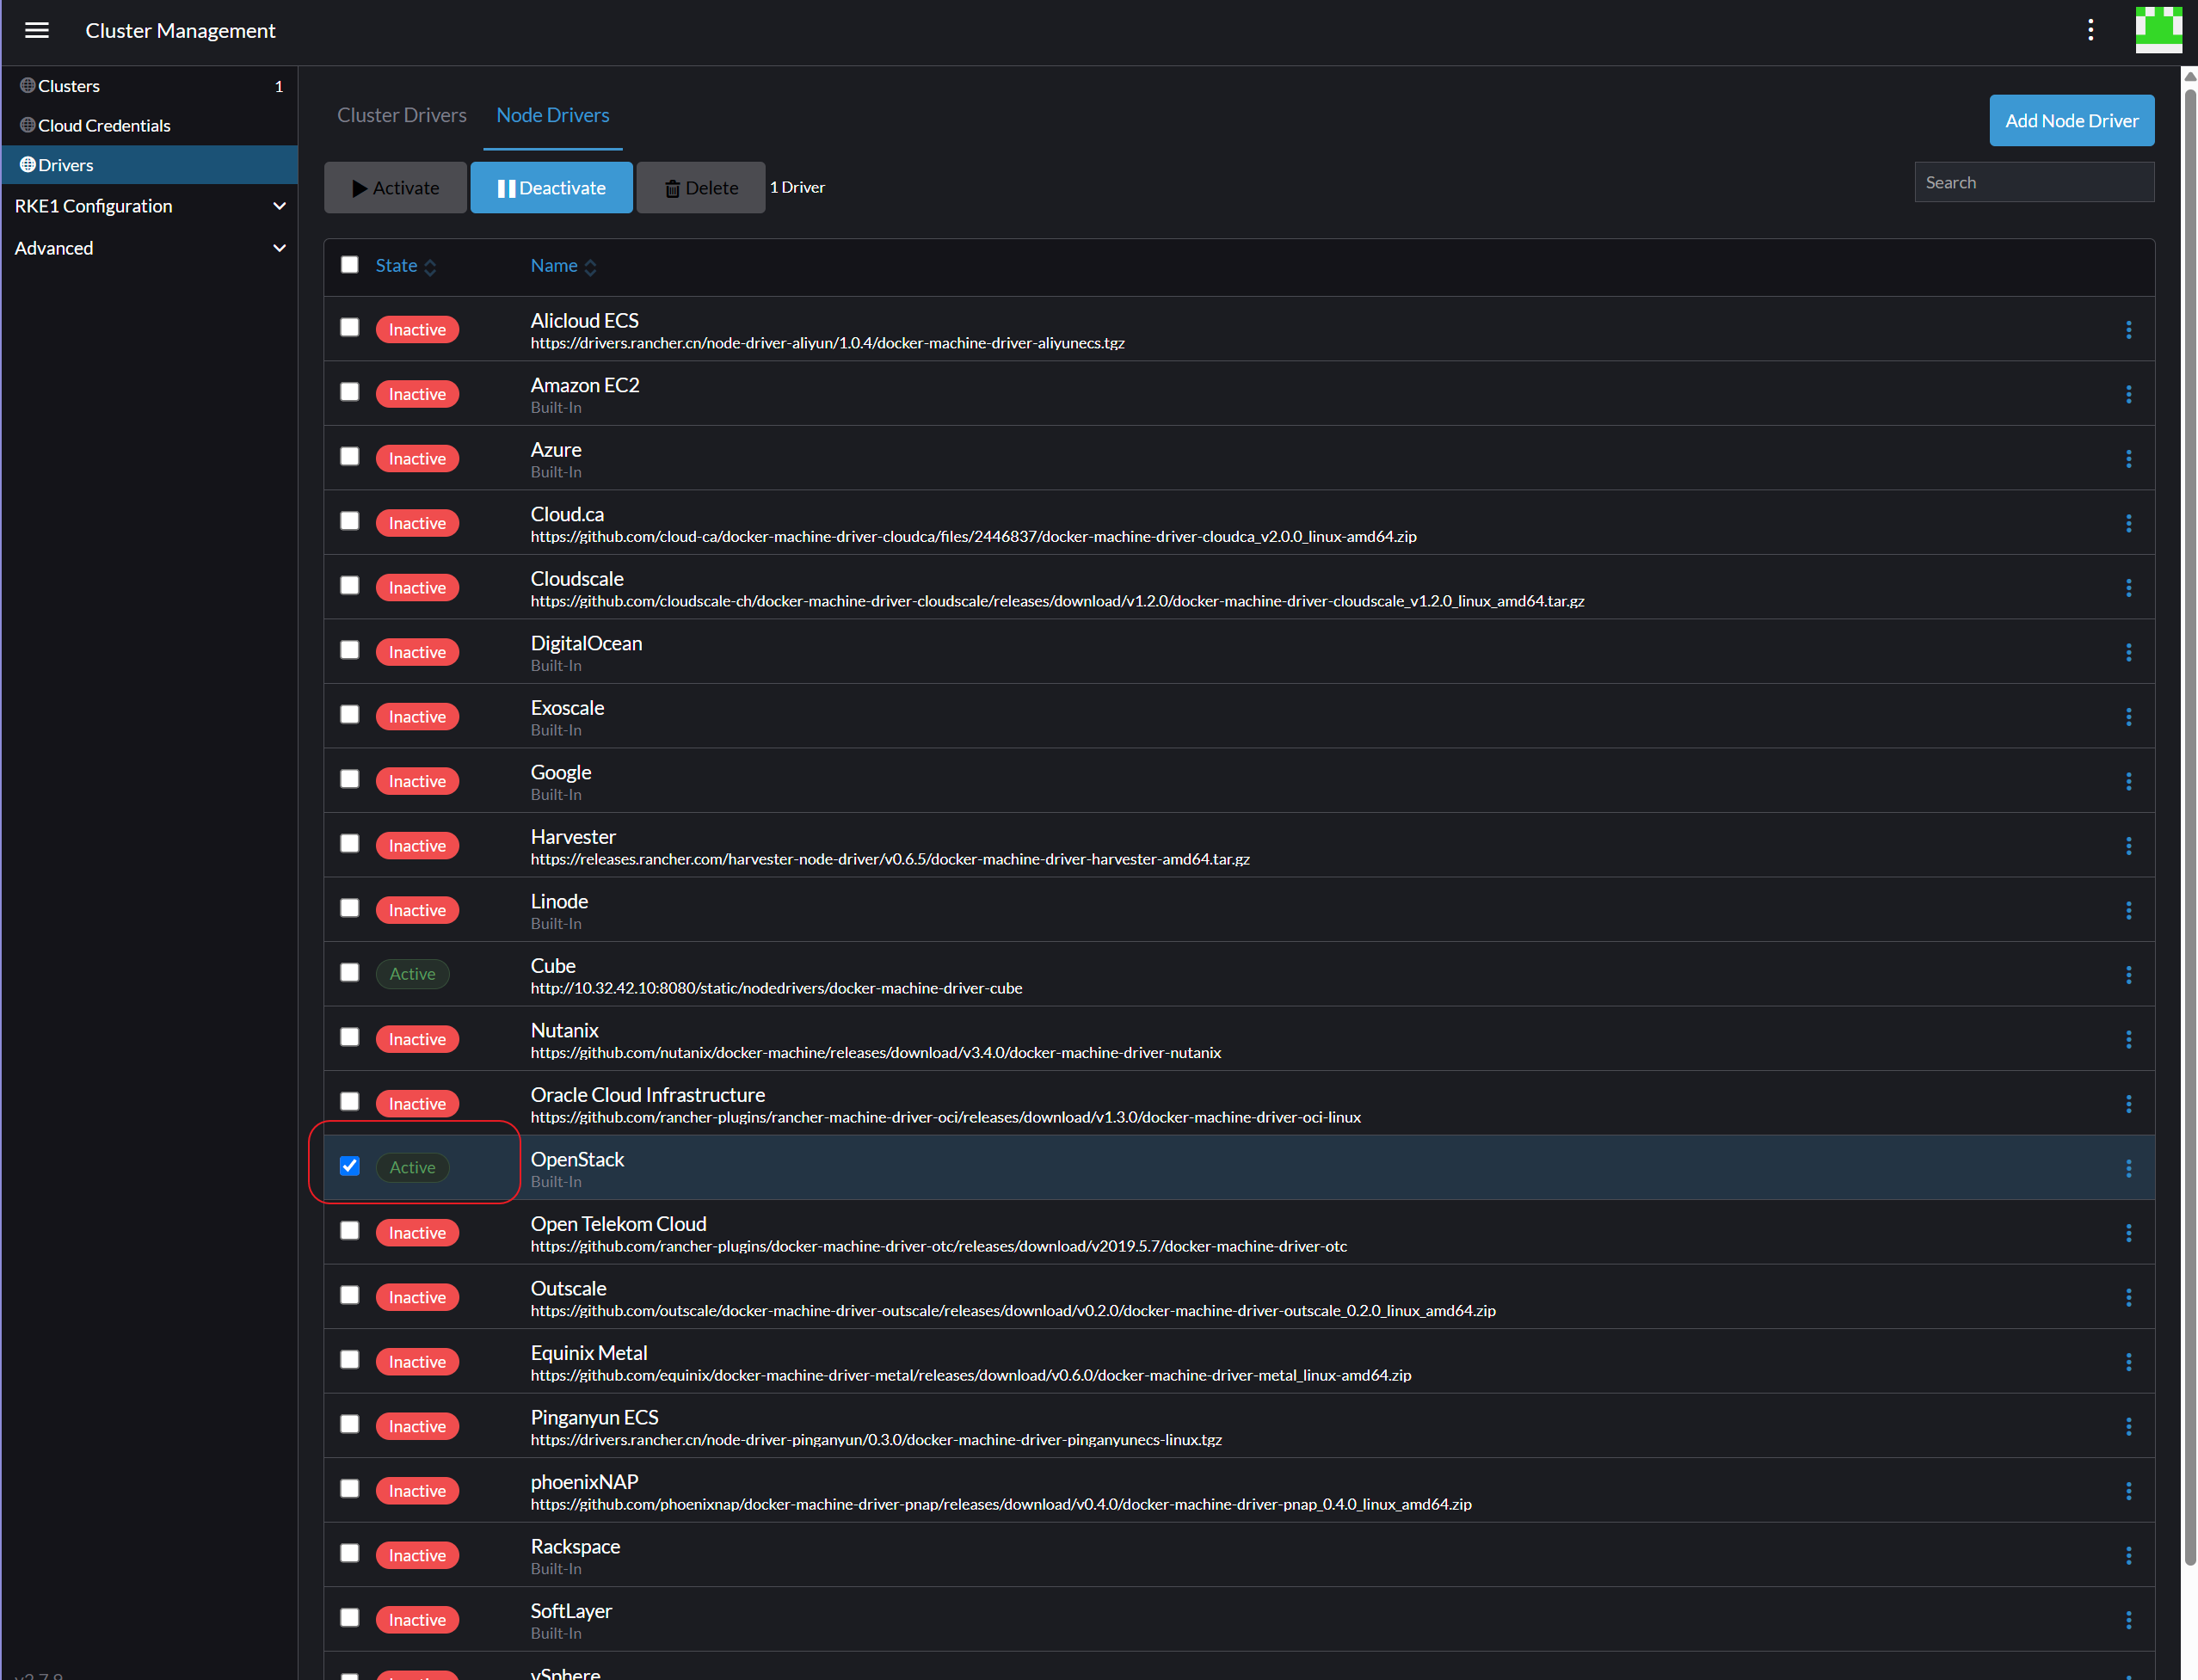
-
Go to Cloud Credentials.
-
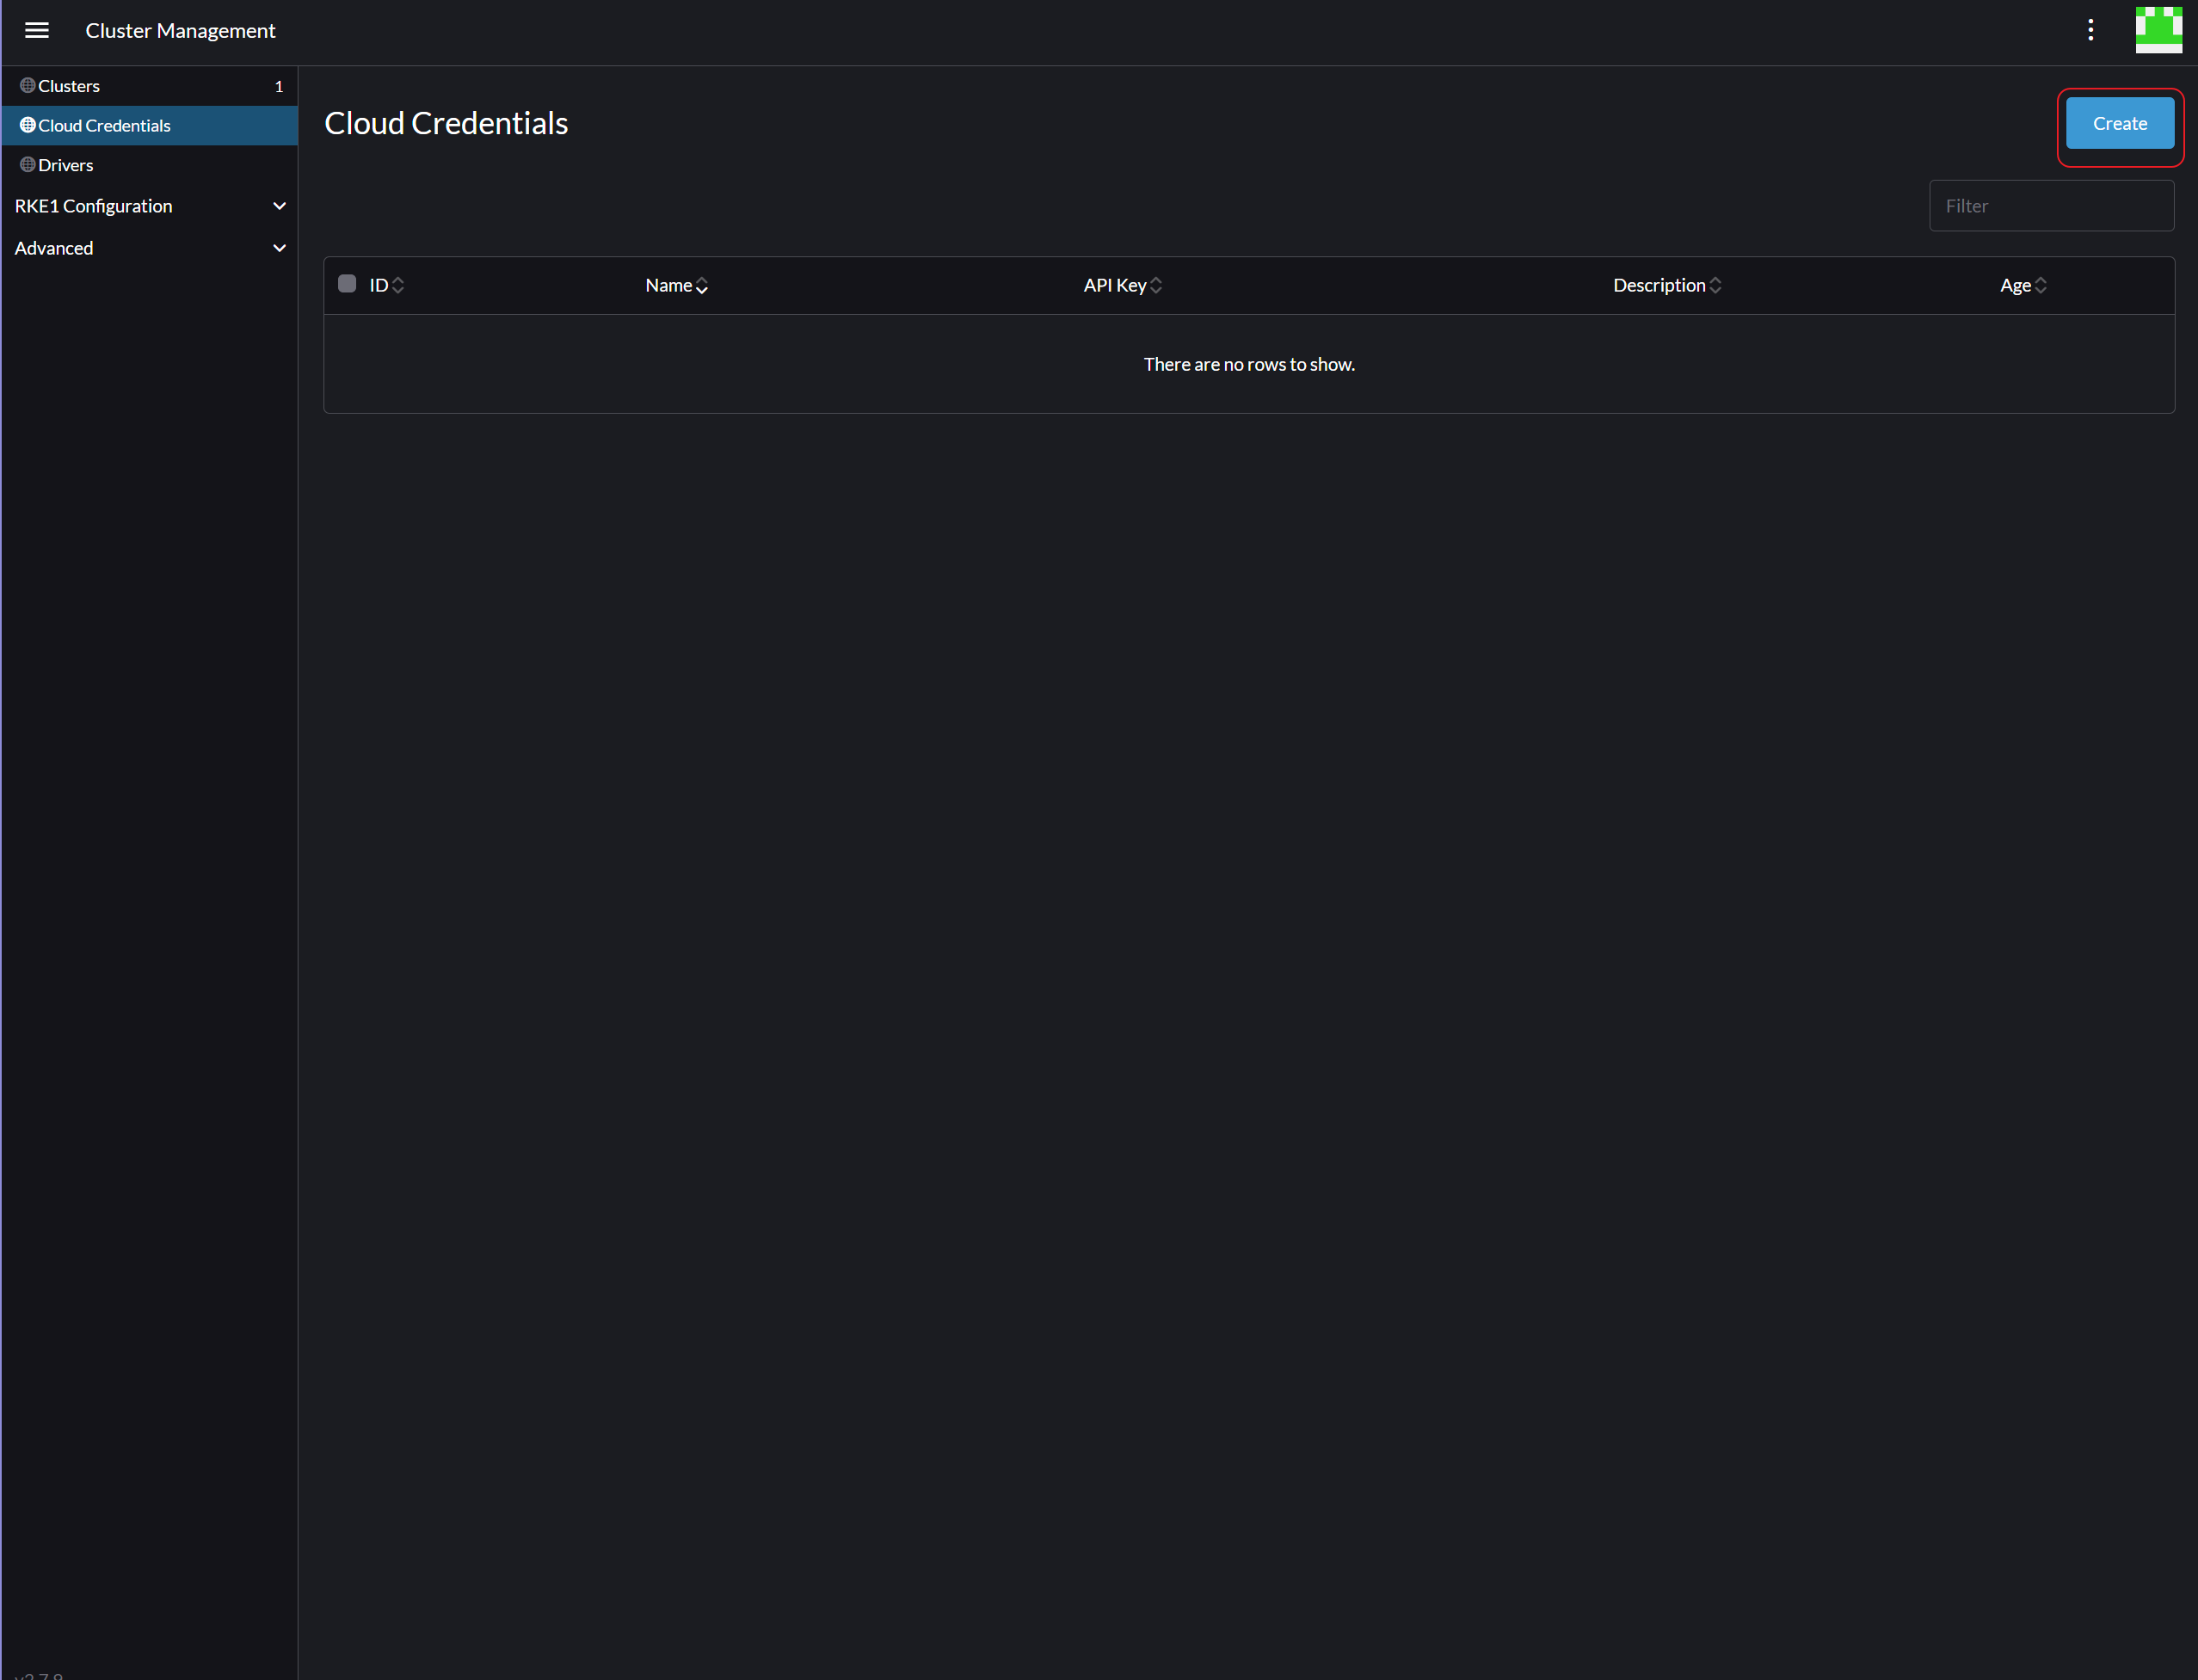
In the top right corner, click Create.
-
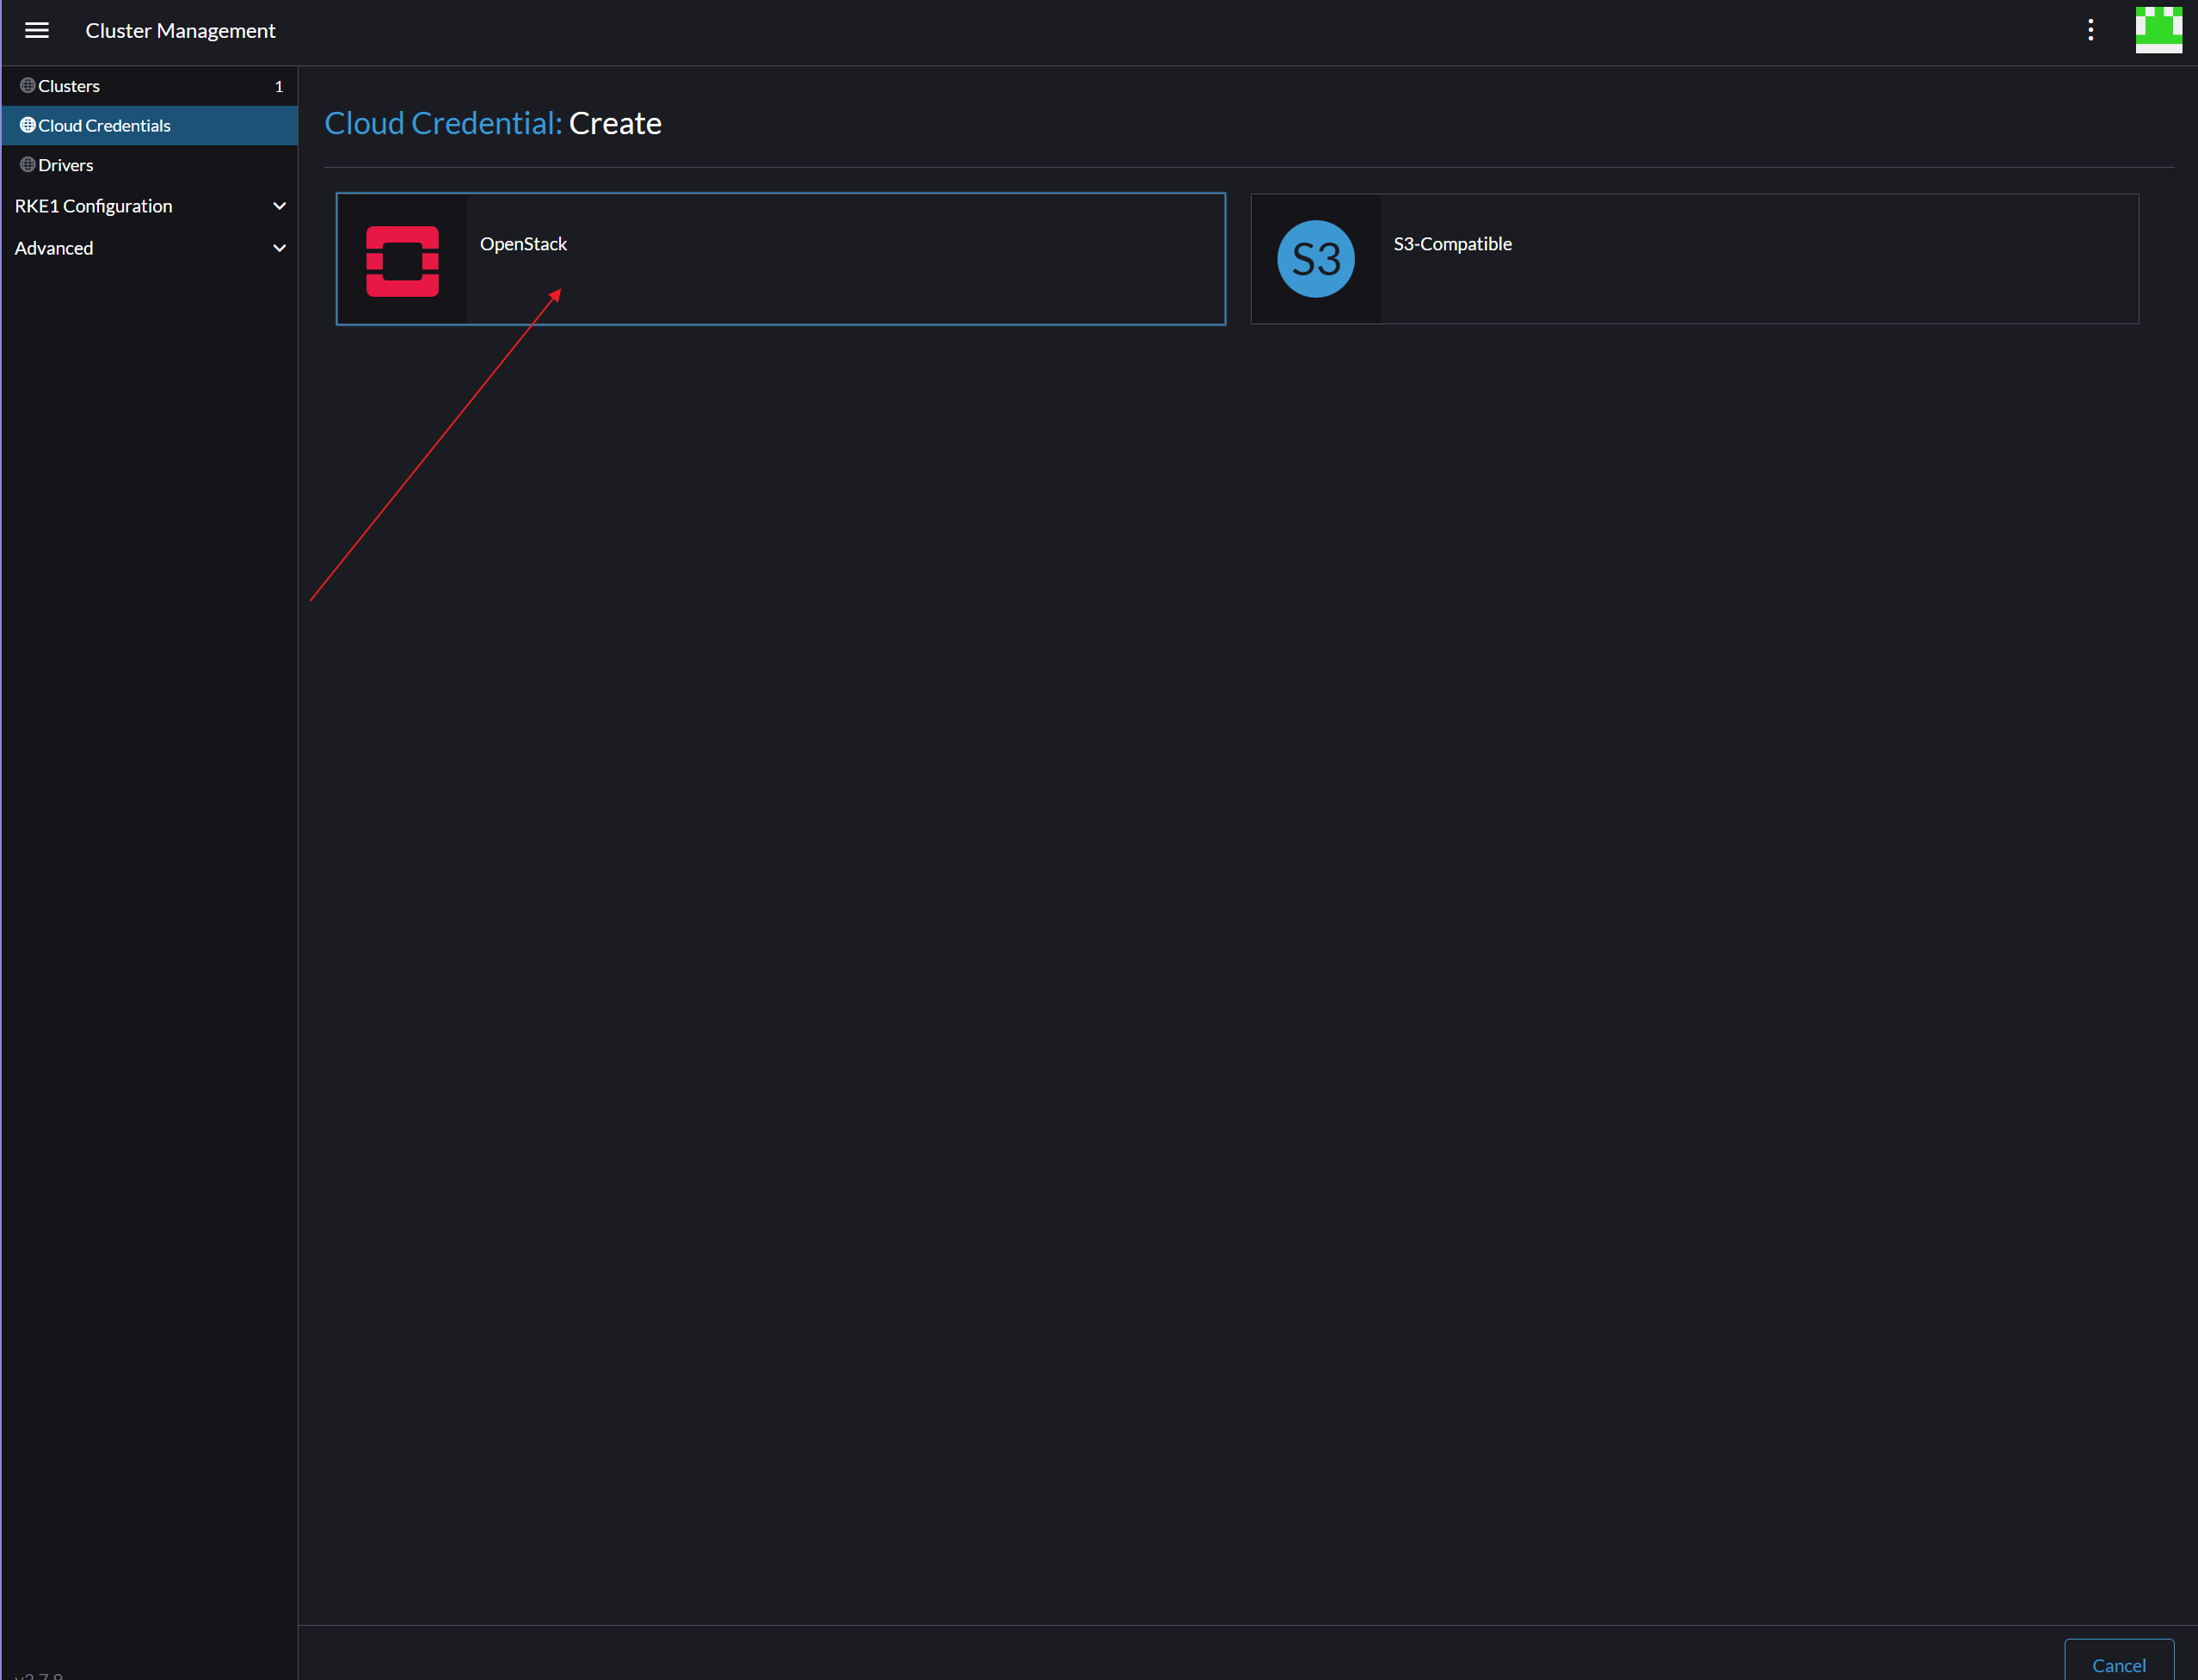
Choose OpenStack as the cloud credential template.
-
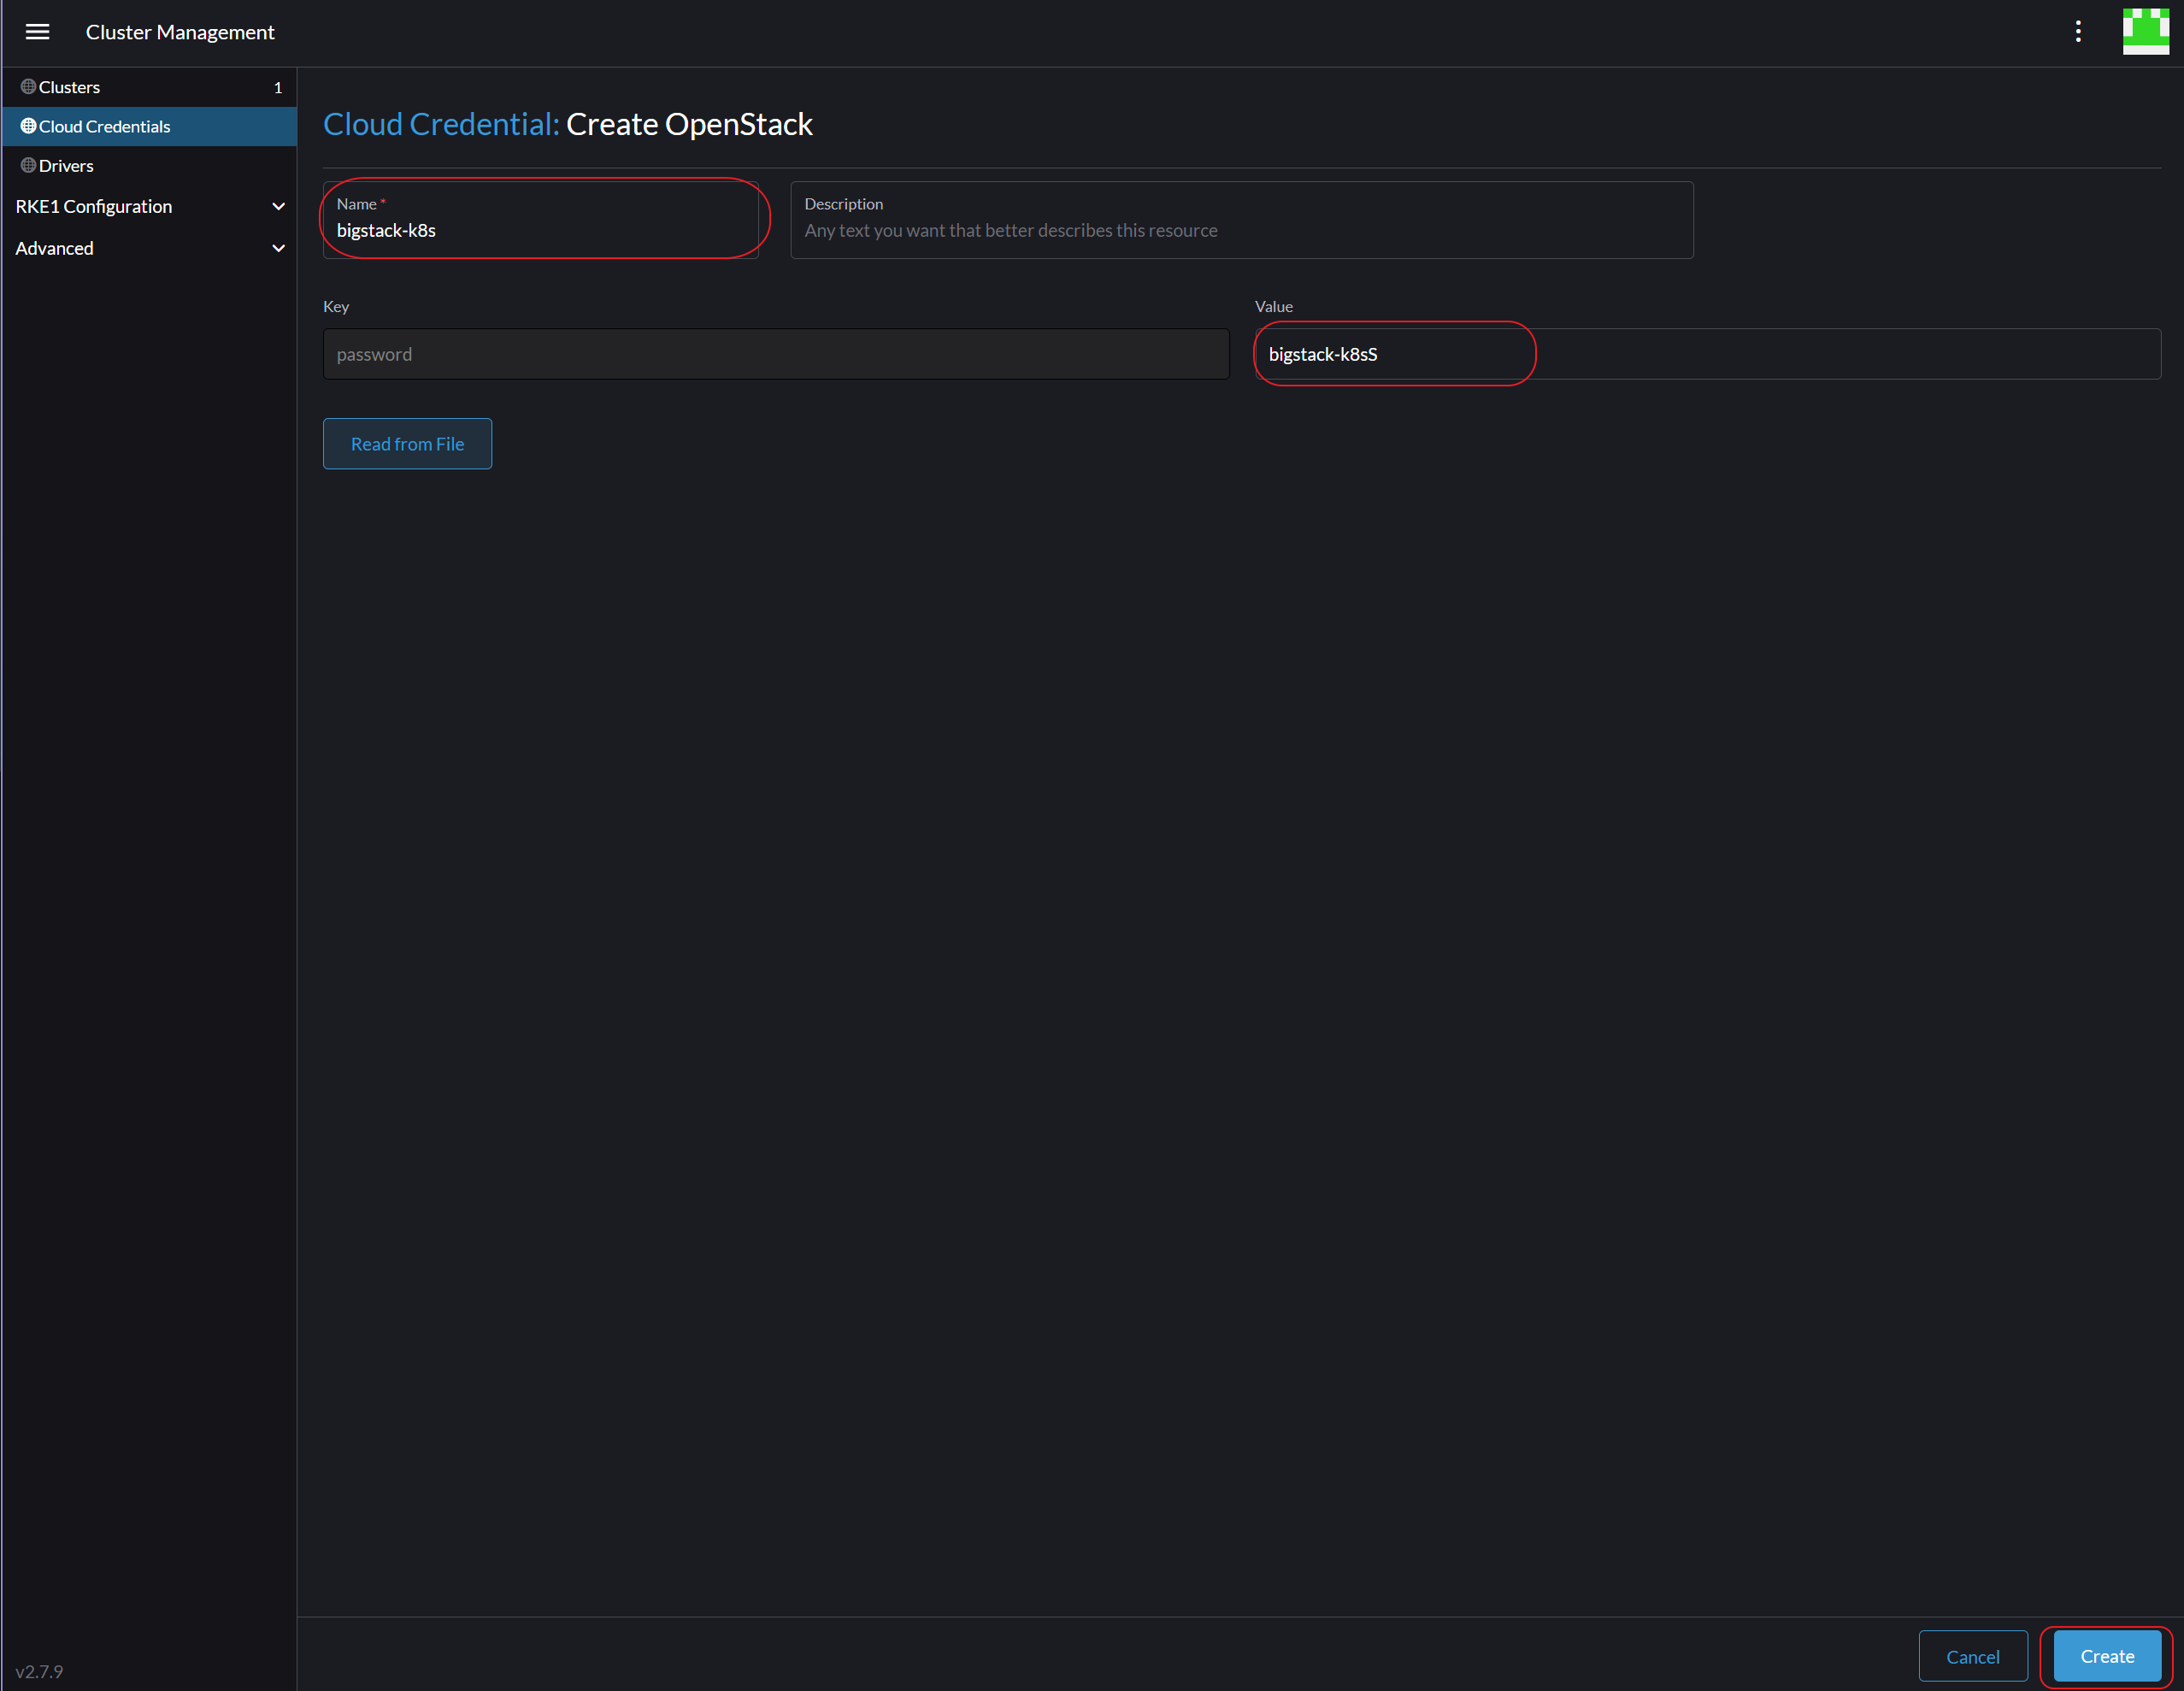
Fill in the username as Cloud Credential Name and the user password as the password value, then click Create.
Create the cluster
-
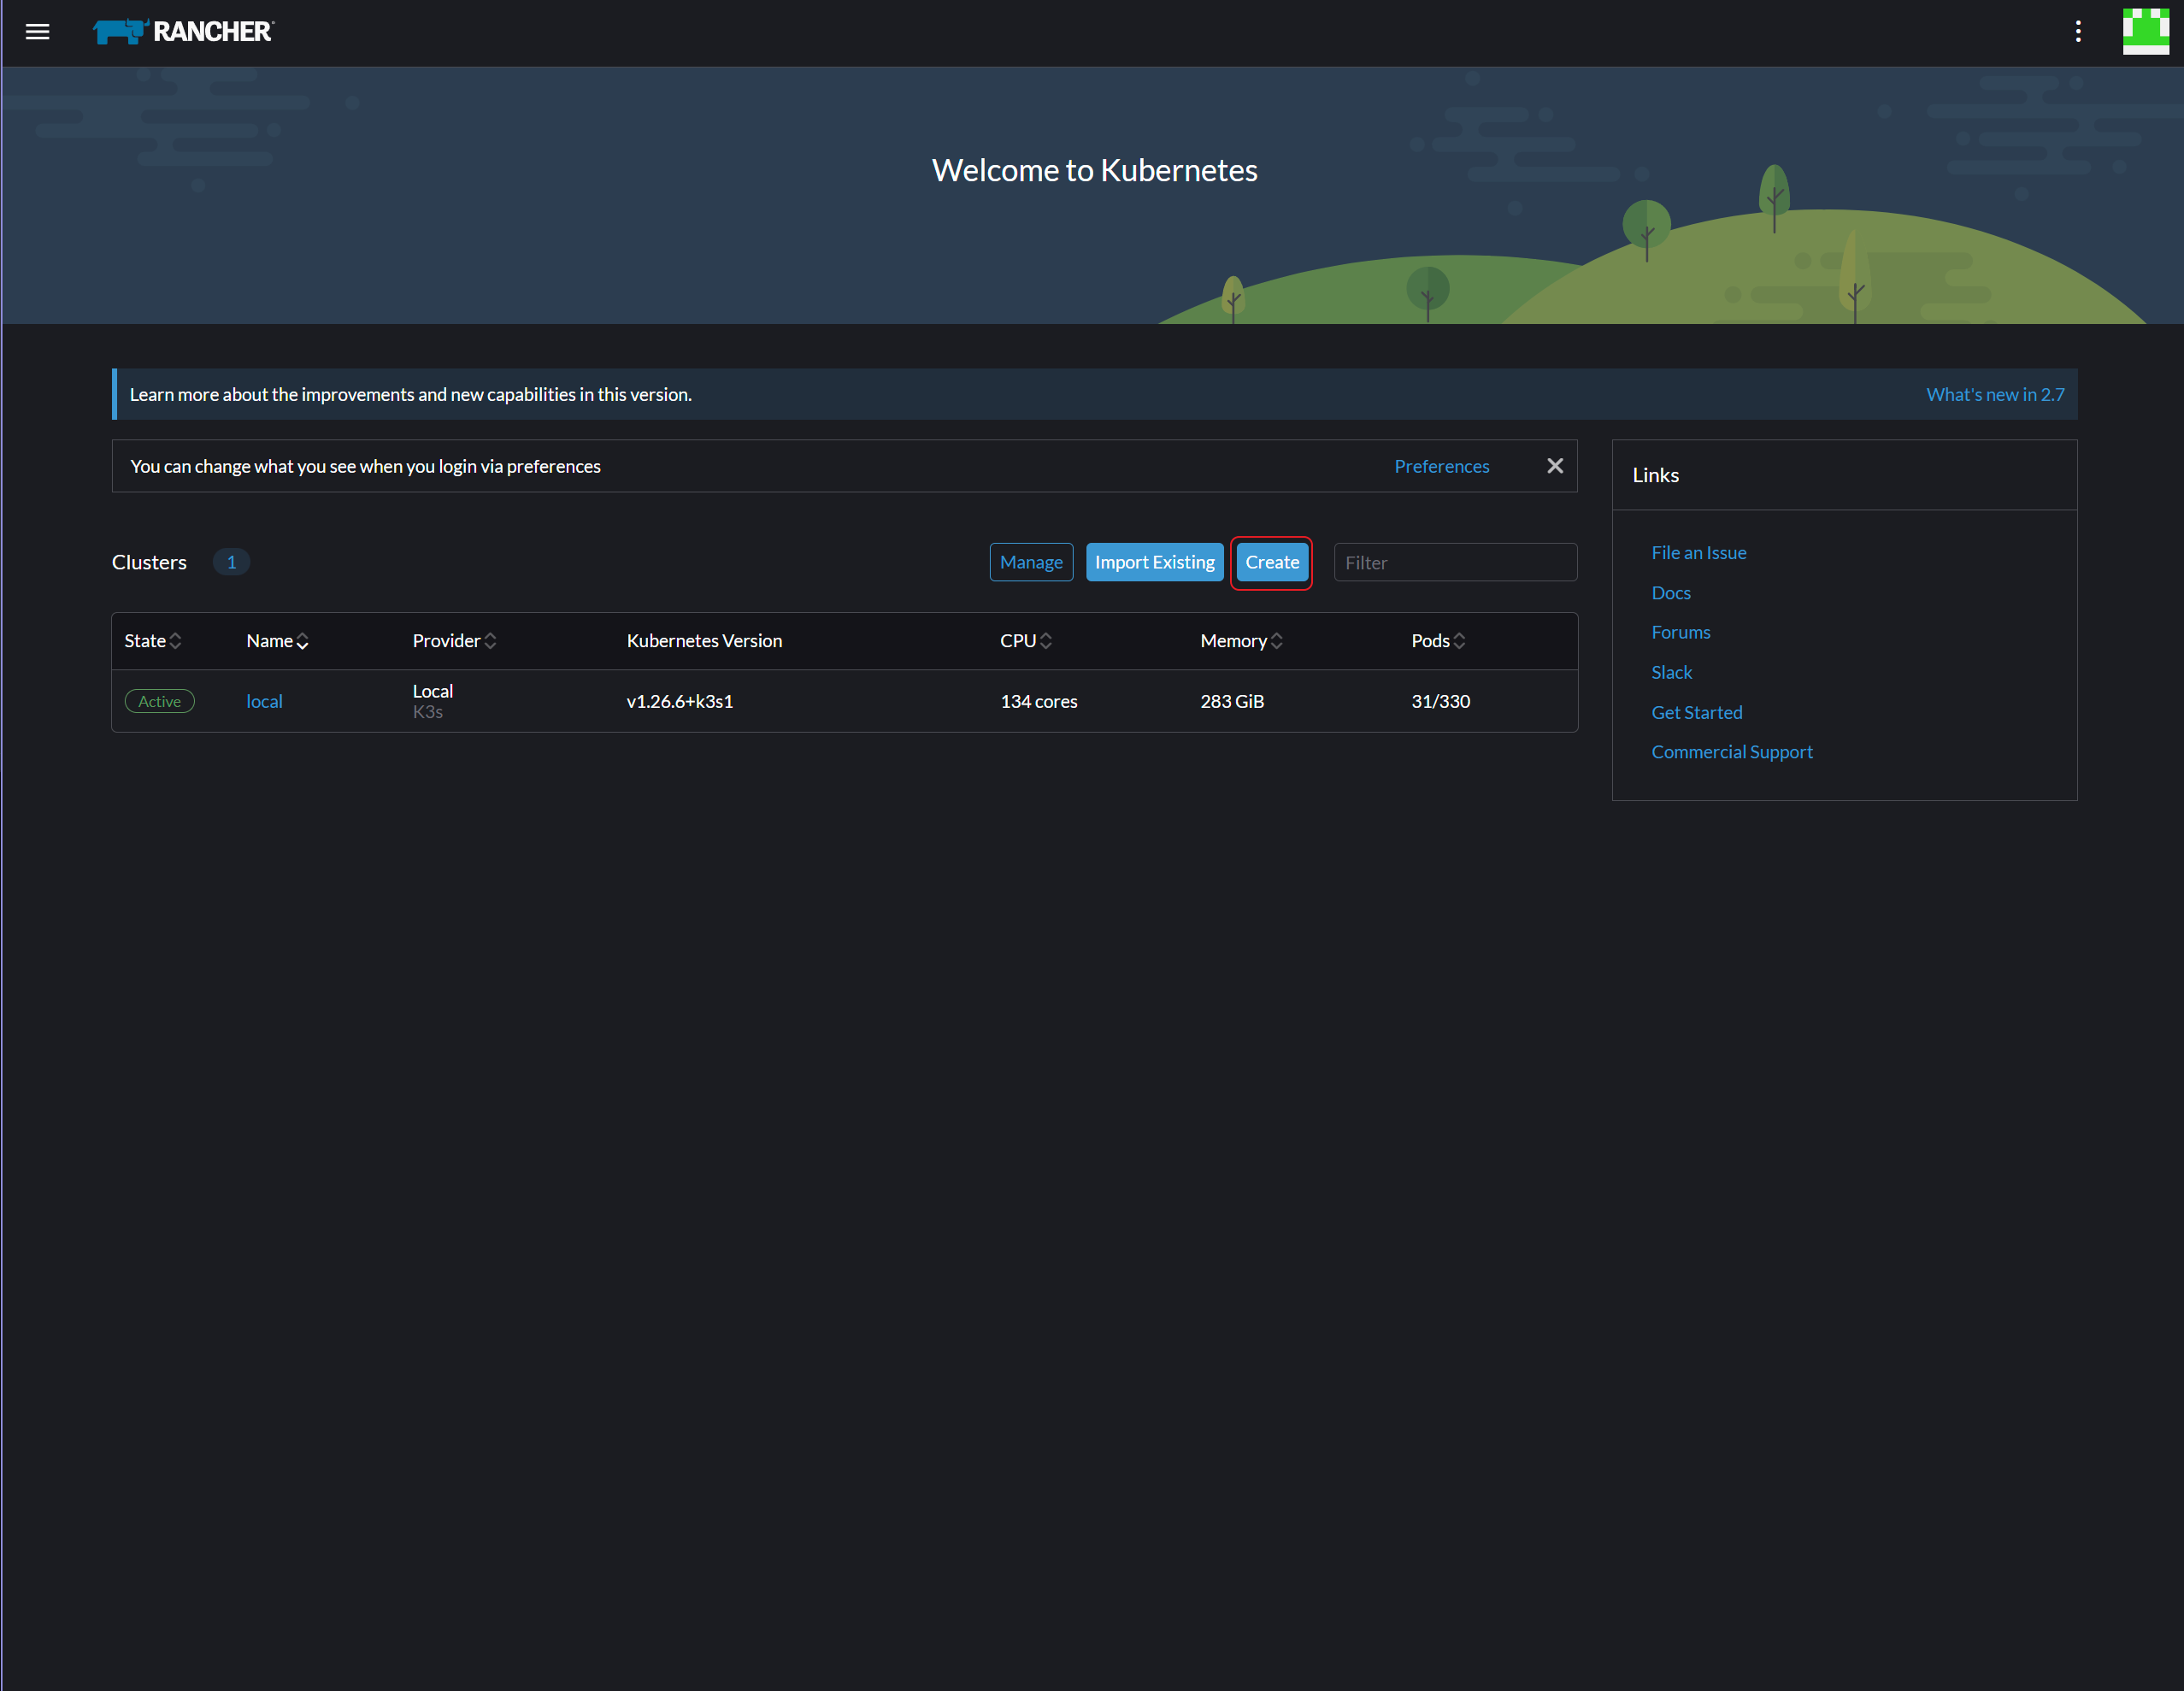
Return to the Rancher home page and click Create.
-
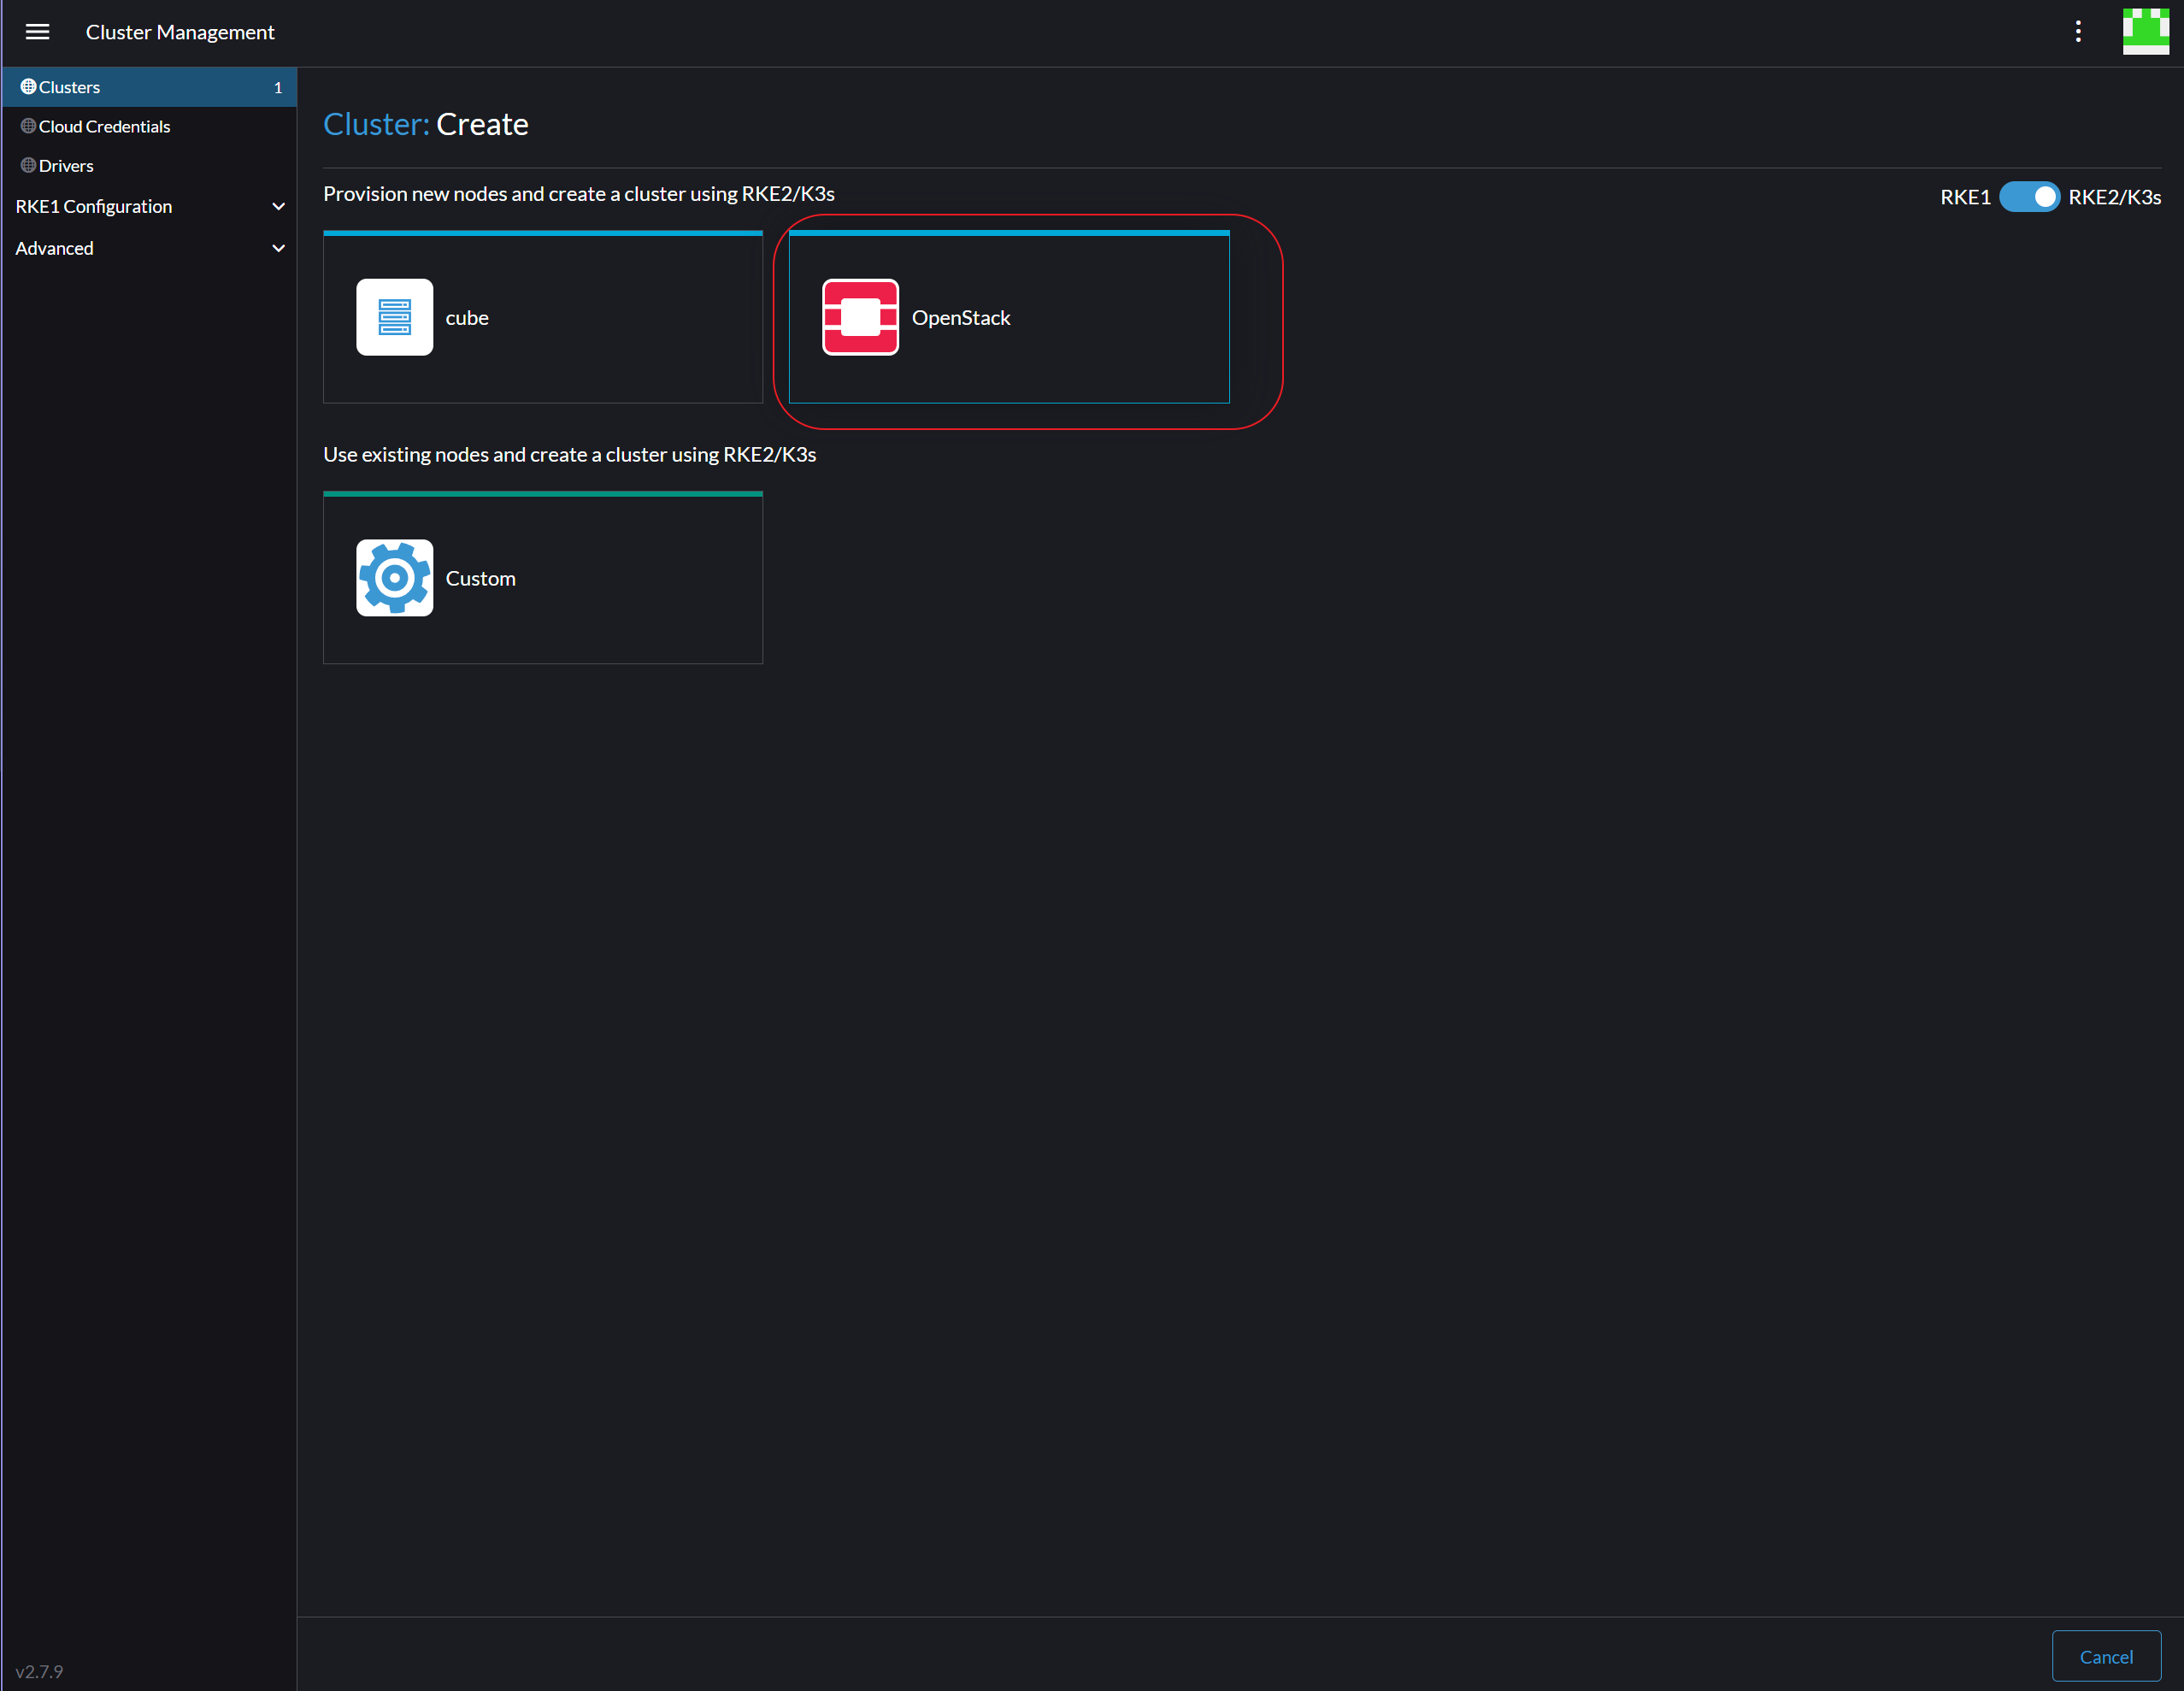
Click OpenStack.
-
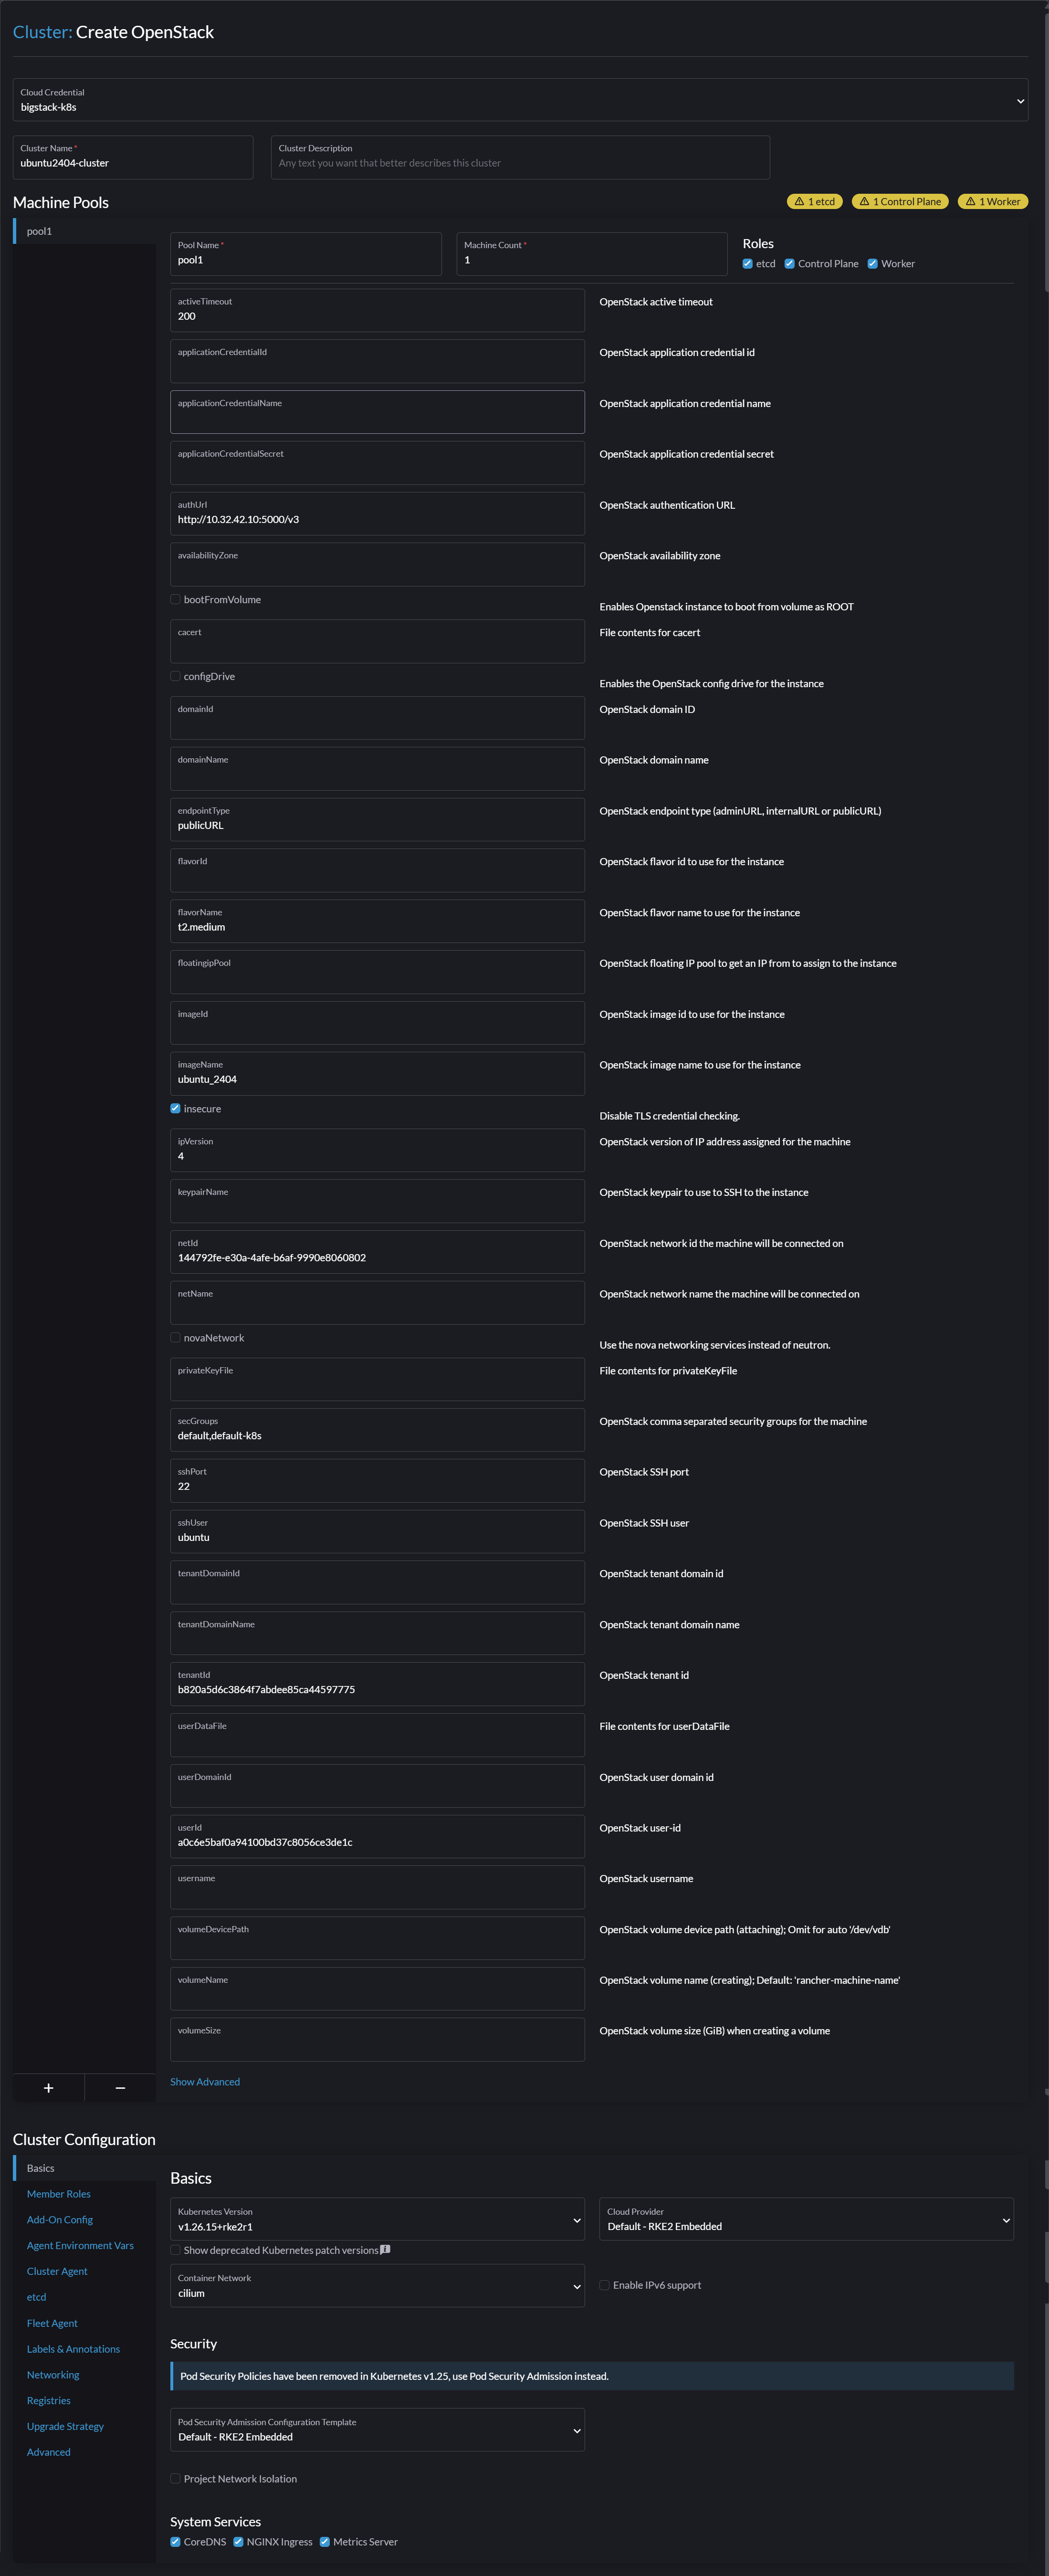
Fill in the following cluster information:
- Cluster Name: Any name
- OpenStack Active Timeout:
200 - OpenStack Authentication URL:
http://<CUBECOS-VIP>:5000/v3 - OpenStack Endpoint Type:
publicURL - OpenStack Flavor Name: t2.medium or above (recommended)
- OpenStack Image Name:
ubuntu_2404 - Disable TLS Credential Checking: Enabled
- OpenStack Version of IP Address:
4 - OpenStack Network ID:
private-k8s(from project bigstack-k8s) - OpenStack Security Groups:
default,default-k8s - OpenStack SSH Port:
22 - OpenStack SSH User:
ubuntu - OpenStack Tenant ID: ID for project bigstack-k8s
- OpenStack User ID: ID for user bigstack-k8s
-
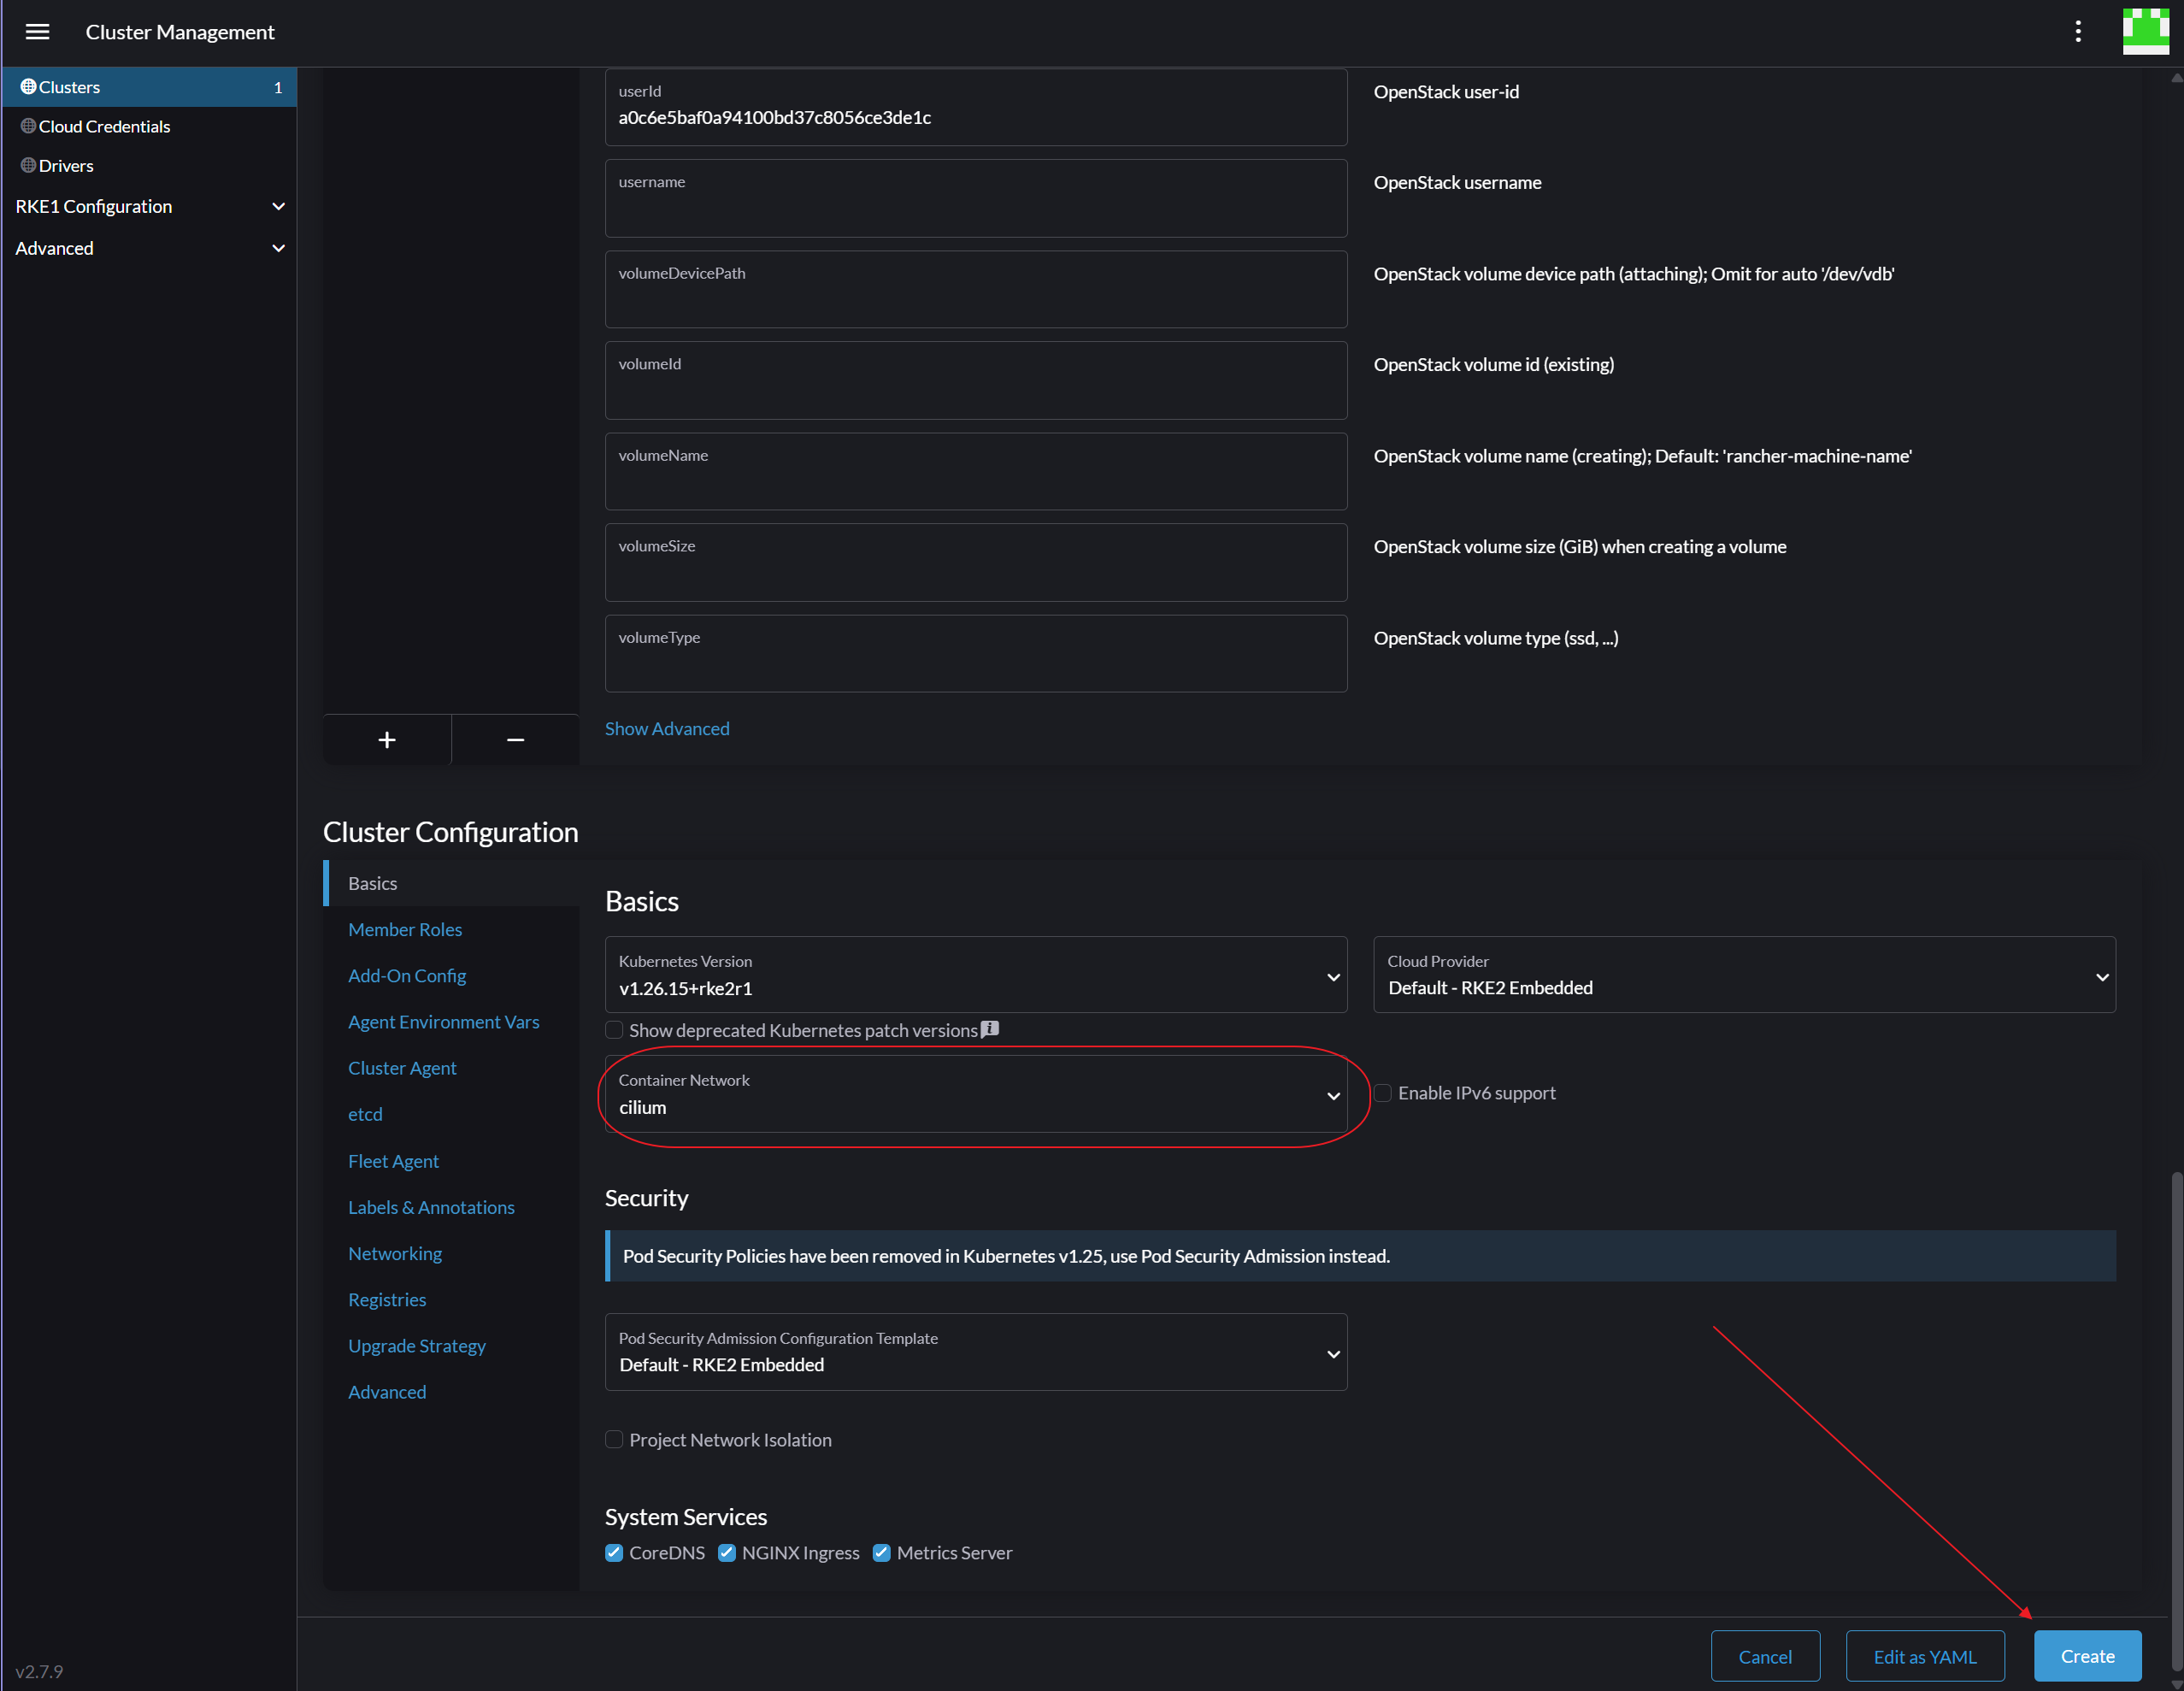
Change the container network to cilium, then click Create.
-
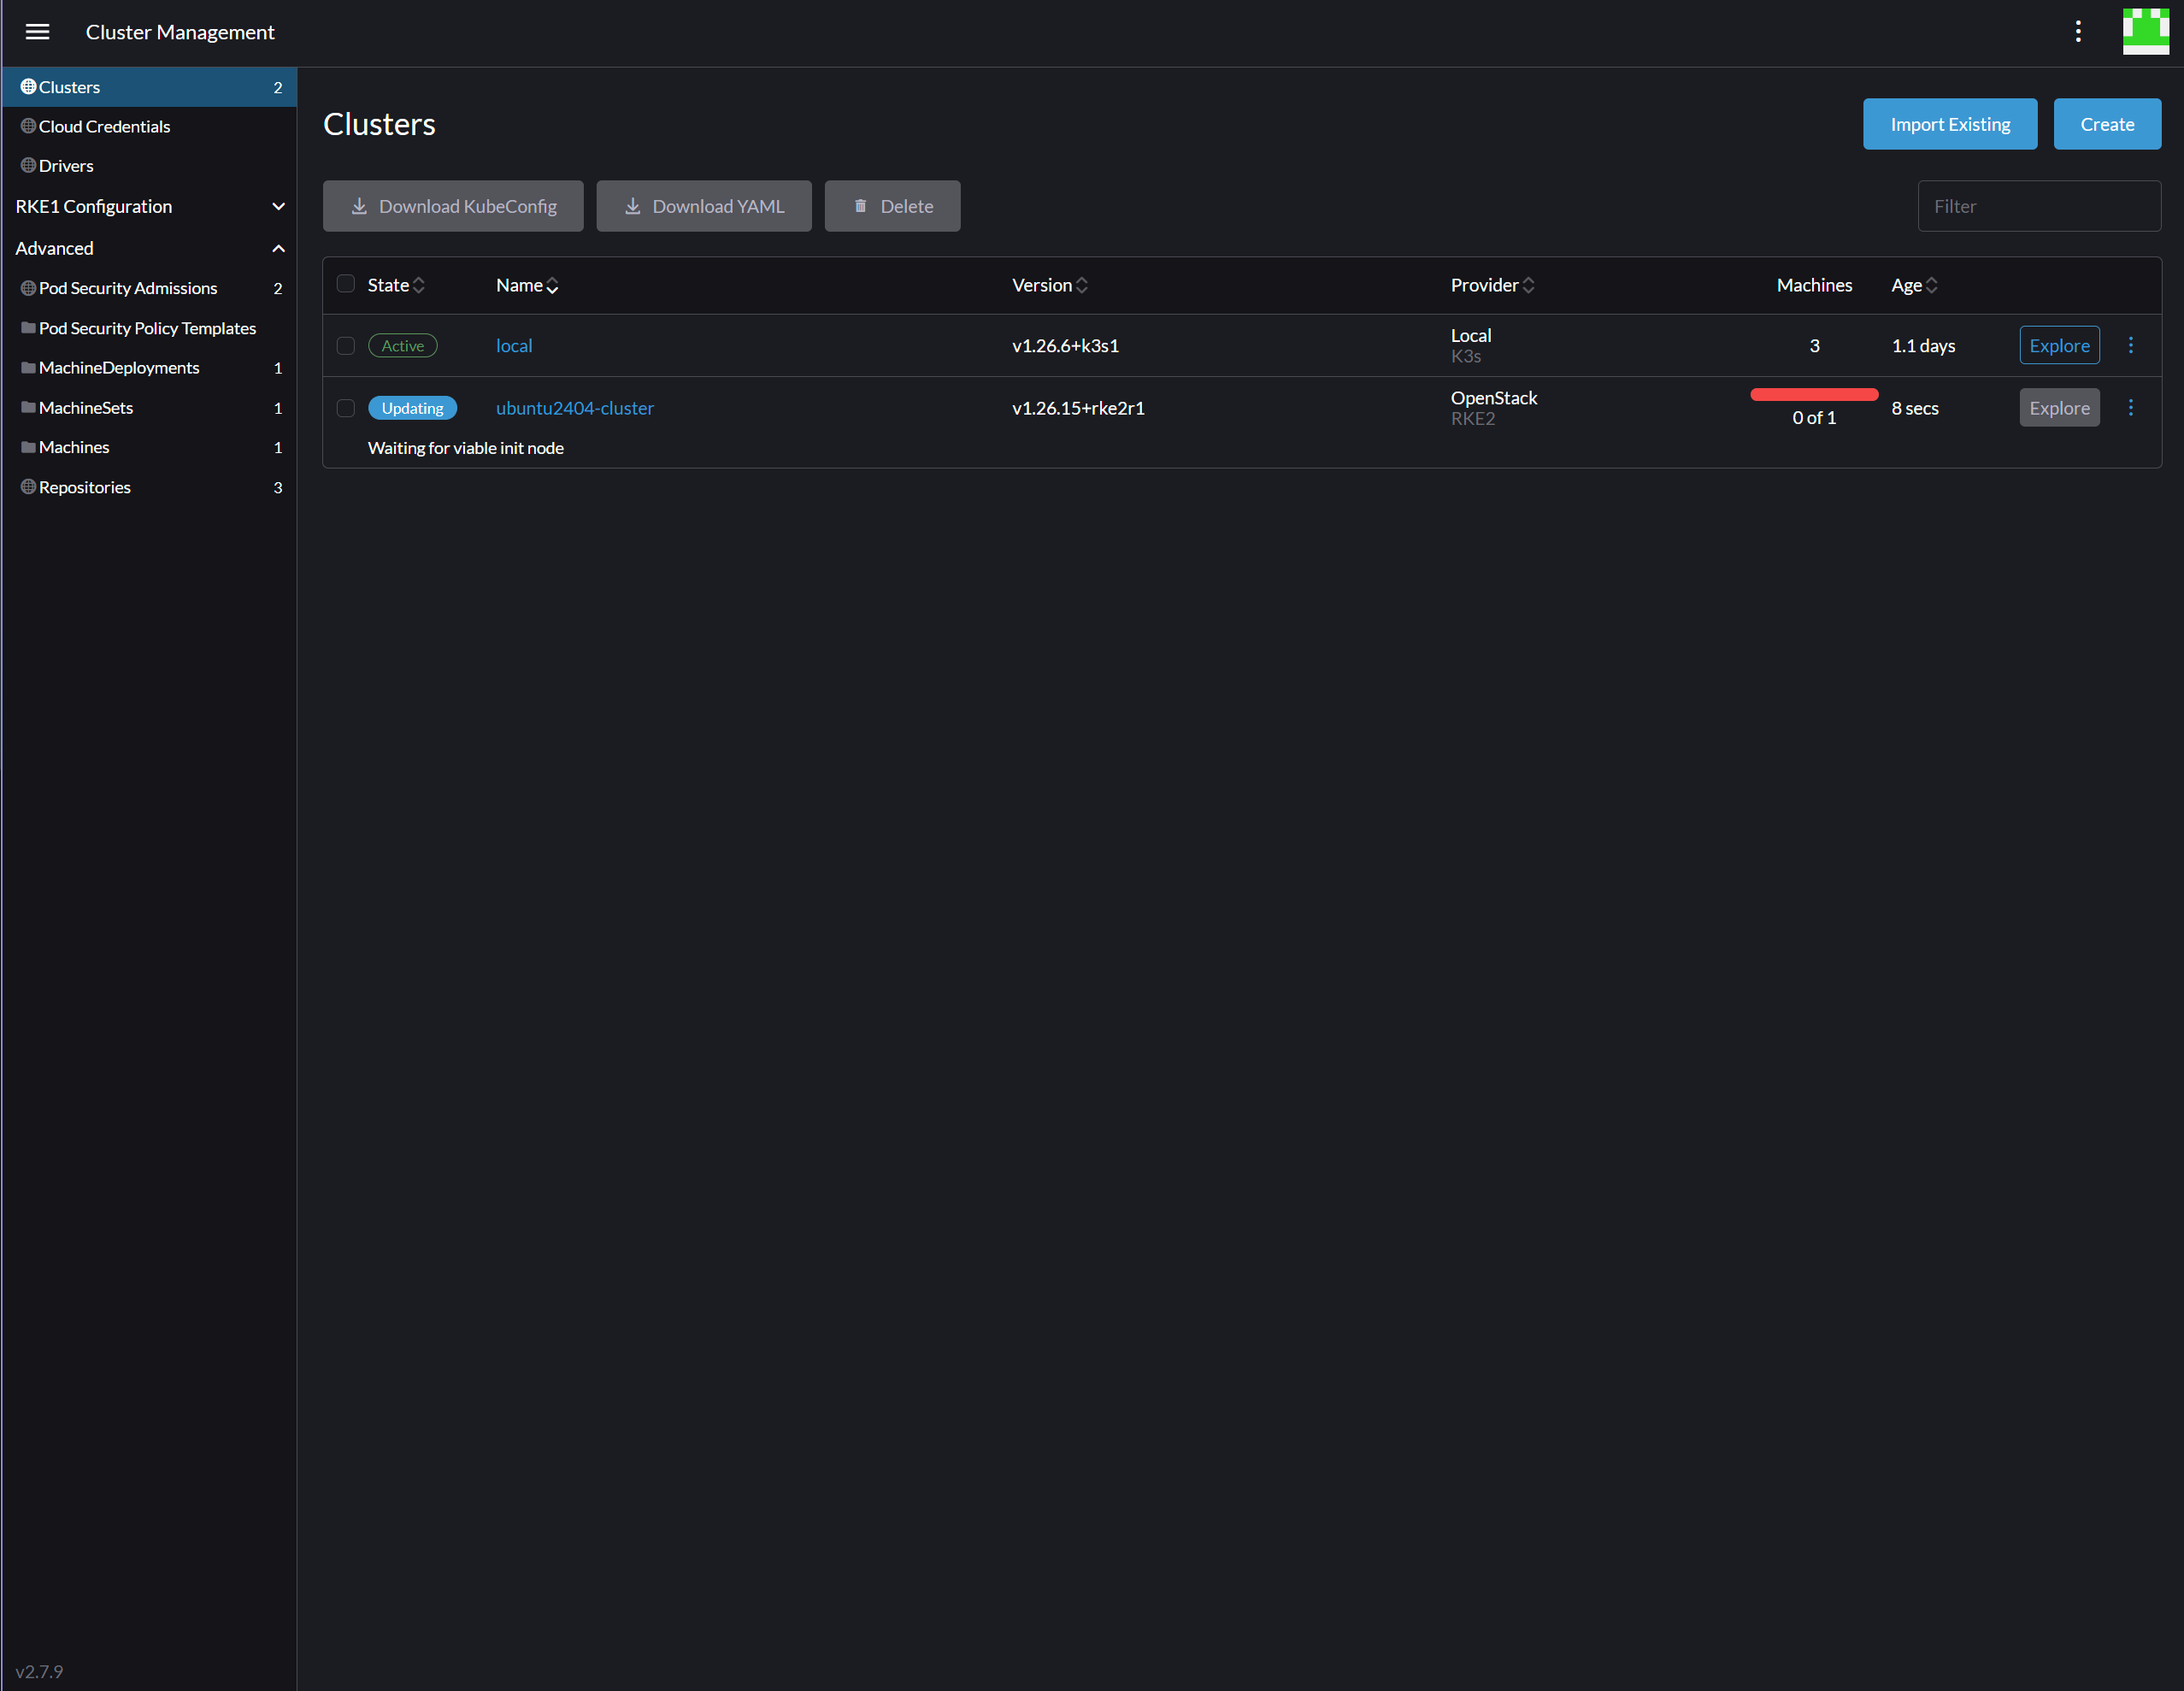
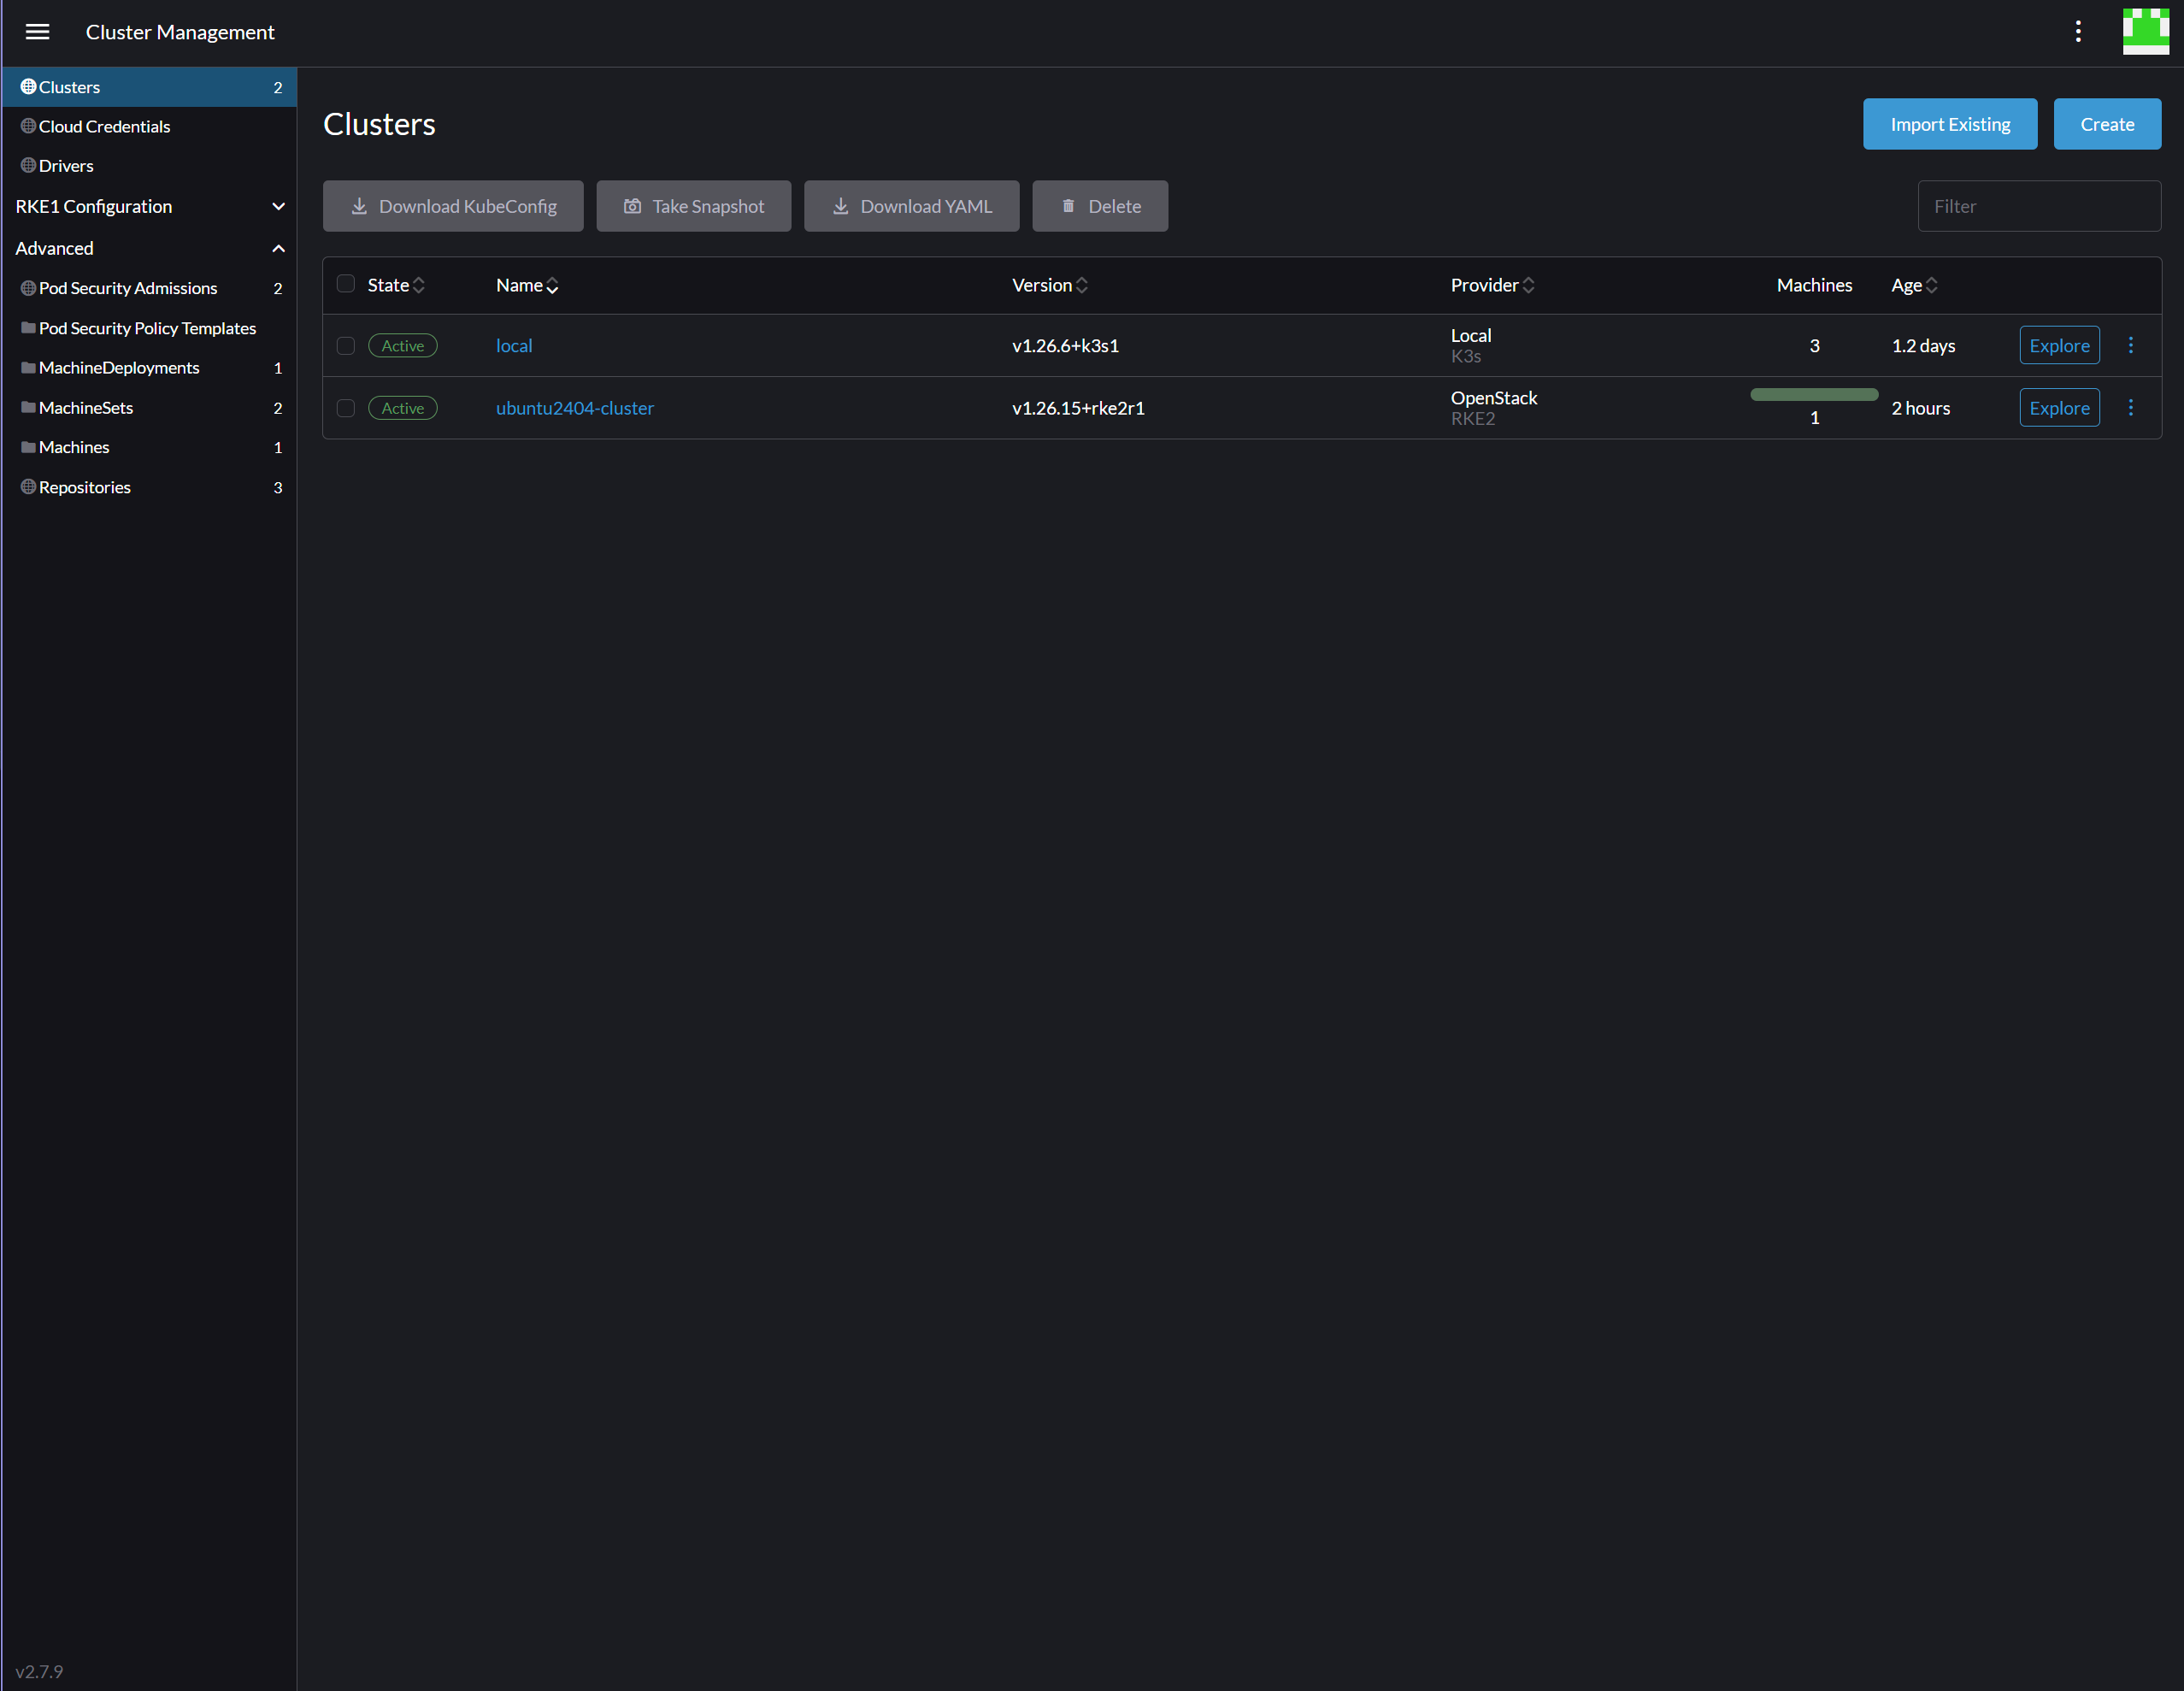
Wait until the cluster state changes to Active.