Create a load balancer
A Load Balancer distributes incoming network traffic across multiple servers to ensure no single server becomes overwhelmed. This helps improve performance, reliability, and availability of applications.
USB storage devices are blocked by default. If accessing USB devices is needed, please set the tuning option cubesys.probeusb to true using CLI > tuning > configure after logging in as admin.
Prerequisite
- Download the Amphora load balancer image: amphora-x64-haproxy_yoga
Upload and install the load balancer
-
Upload the load balancer image to the Glance image directory
/mnt/cephfs/glanceof the CubeCOS cluster with SCP or tools like WinSCP. From a computer with management access to your cluster VIP.scp amphora-x64-haproxy_yoga.qcow2 root@<cluster-vip>:/mnt/cephfs/glance/ -
Login as
adminto the CubeCOS cluster management VIP with SSH. -
Import the load balancer image with the following command
iaas image import_lbcc1> iaas image import_lb1: usb2: localEnter index: 21: amphora-x64-haproxy_yoga.qcow2Enter index: 1Importing...[13:49:33] Converting image to RAW format ...(100.00/100%)[13:49:36] Creating image amphora-x64-haproxy ...[=============================>] 100%b726a8b9-d6a8-492c-8102-9247c252d779[13:50:04] Finished creating image amphora-x64-haproxyImporting complete. It is safe to remove the local image file.
Test the load balancer functionality
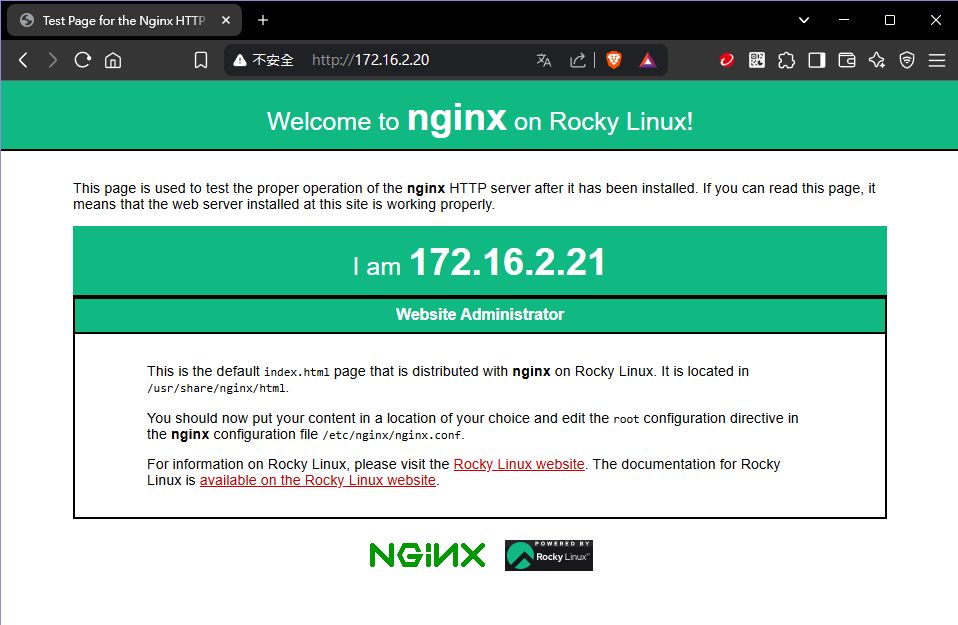
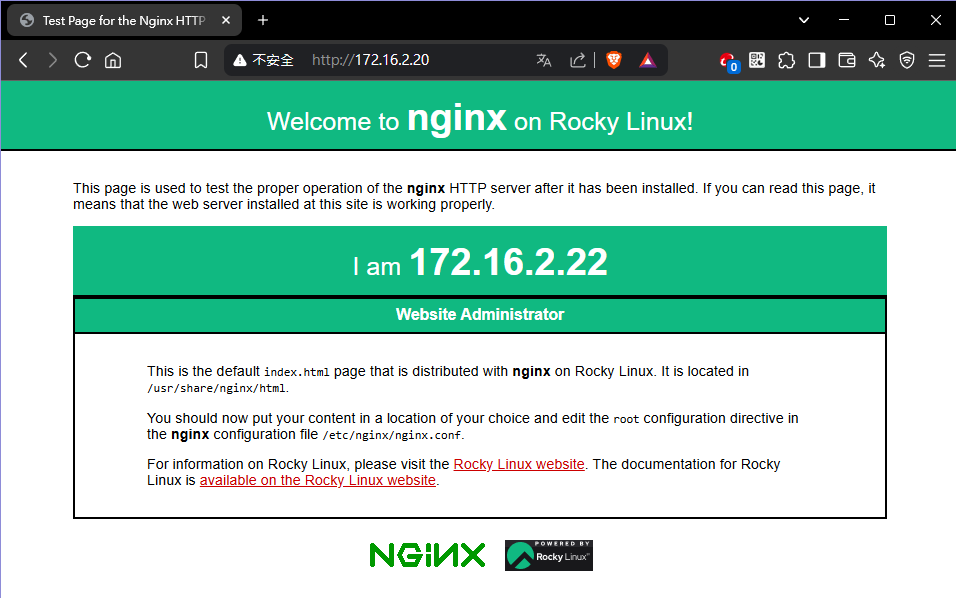
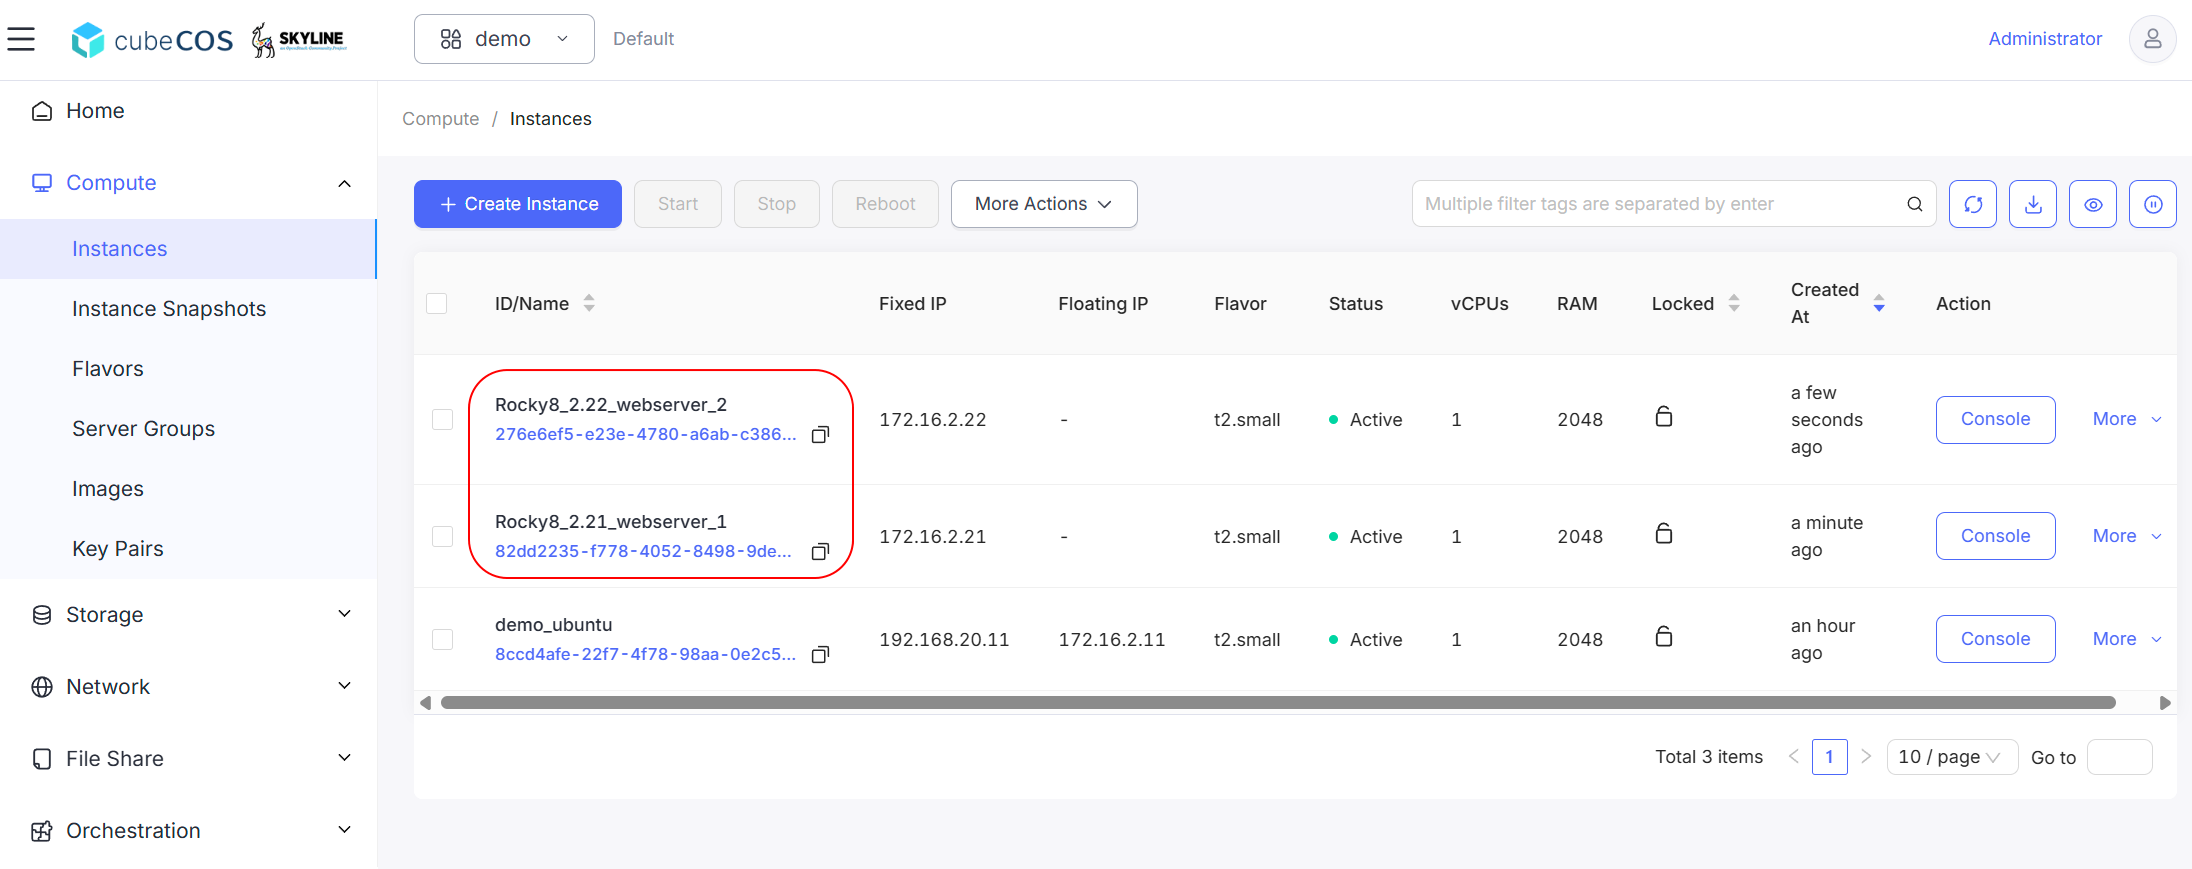
Setup at least two instances to be members in load balancer pool.
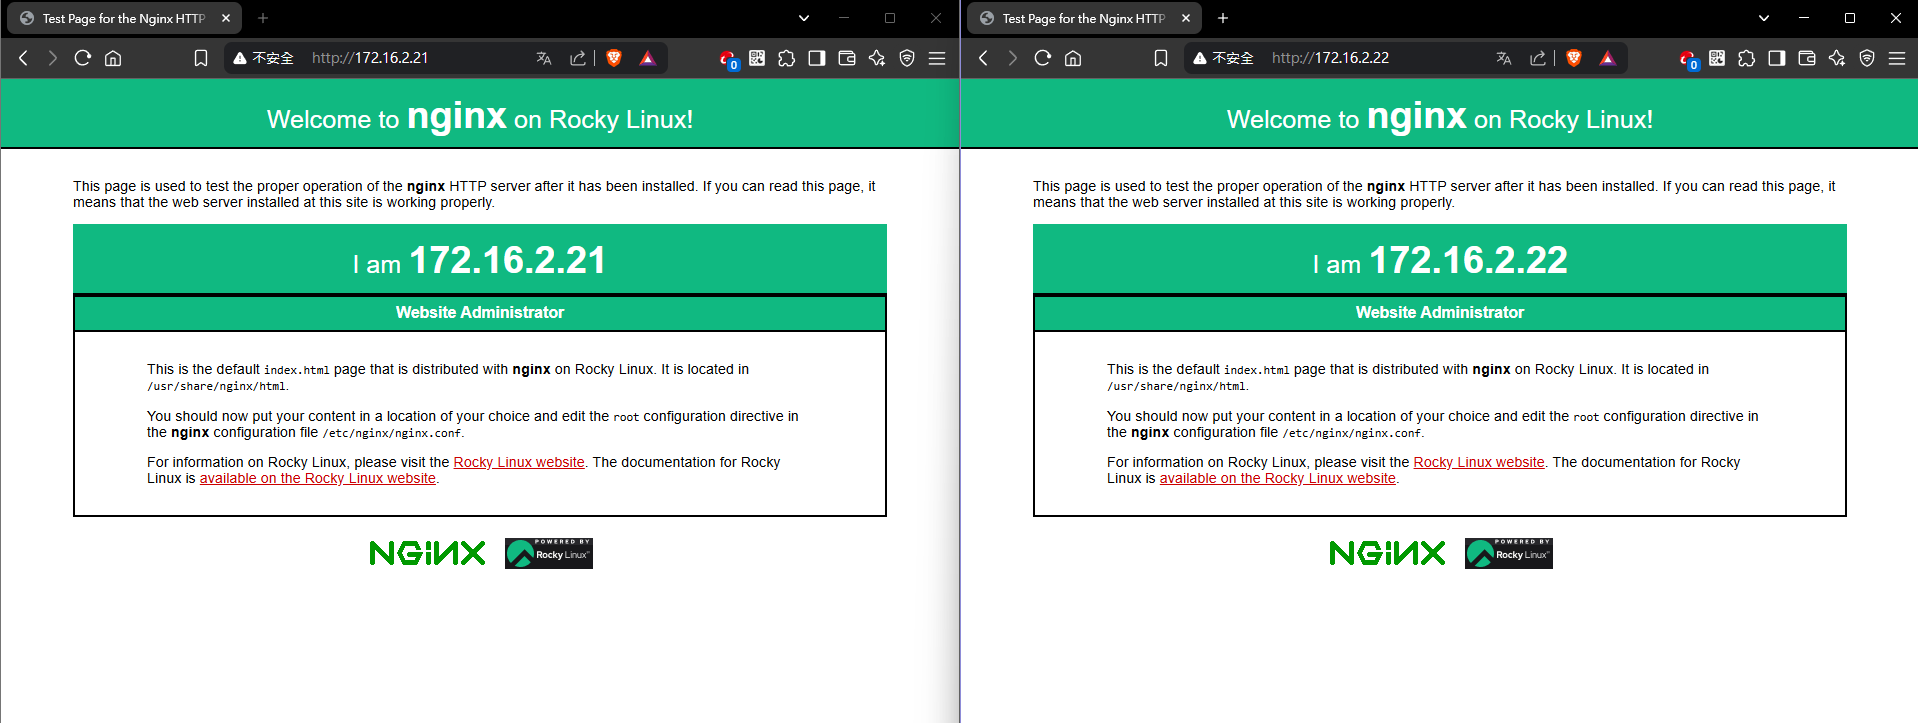
The demonstration below shows how to set up two Rocky8 web server instances with Nginx and the HTTP protocol on port 80 for hosting a website.
Create a load balancer
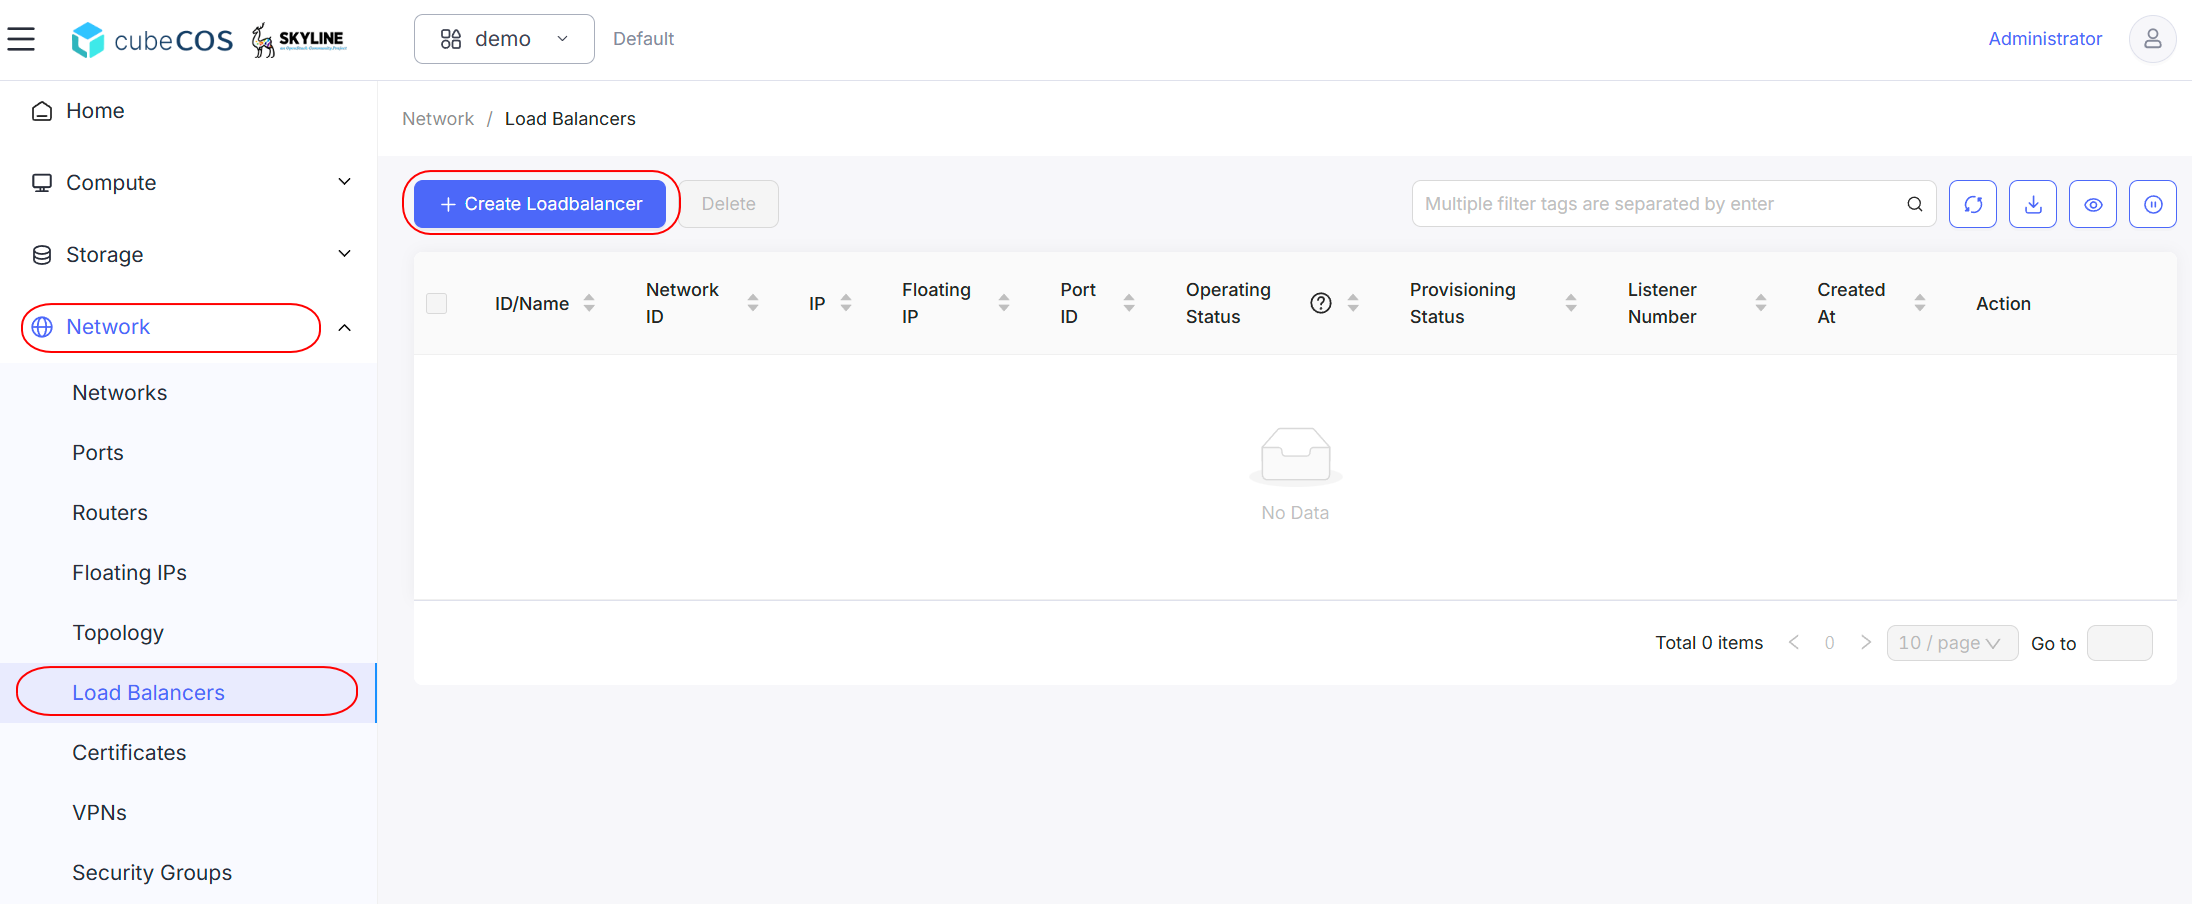
- Navigate to
Project > Network > Load Balancers>+ Create Load Balancer.
-
There are five configuration steps to complete before creating load balancer.
- Base Config
- Listener Detail
- Pool Detail
- Member Detail
- Health Monitor Detail
-
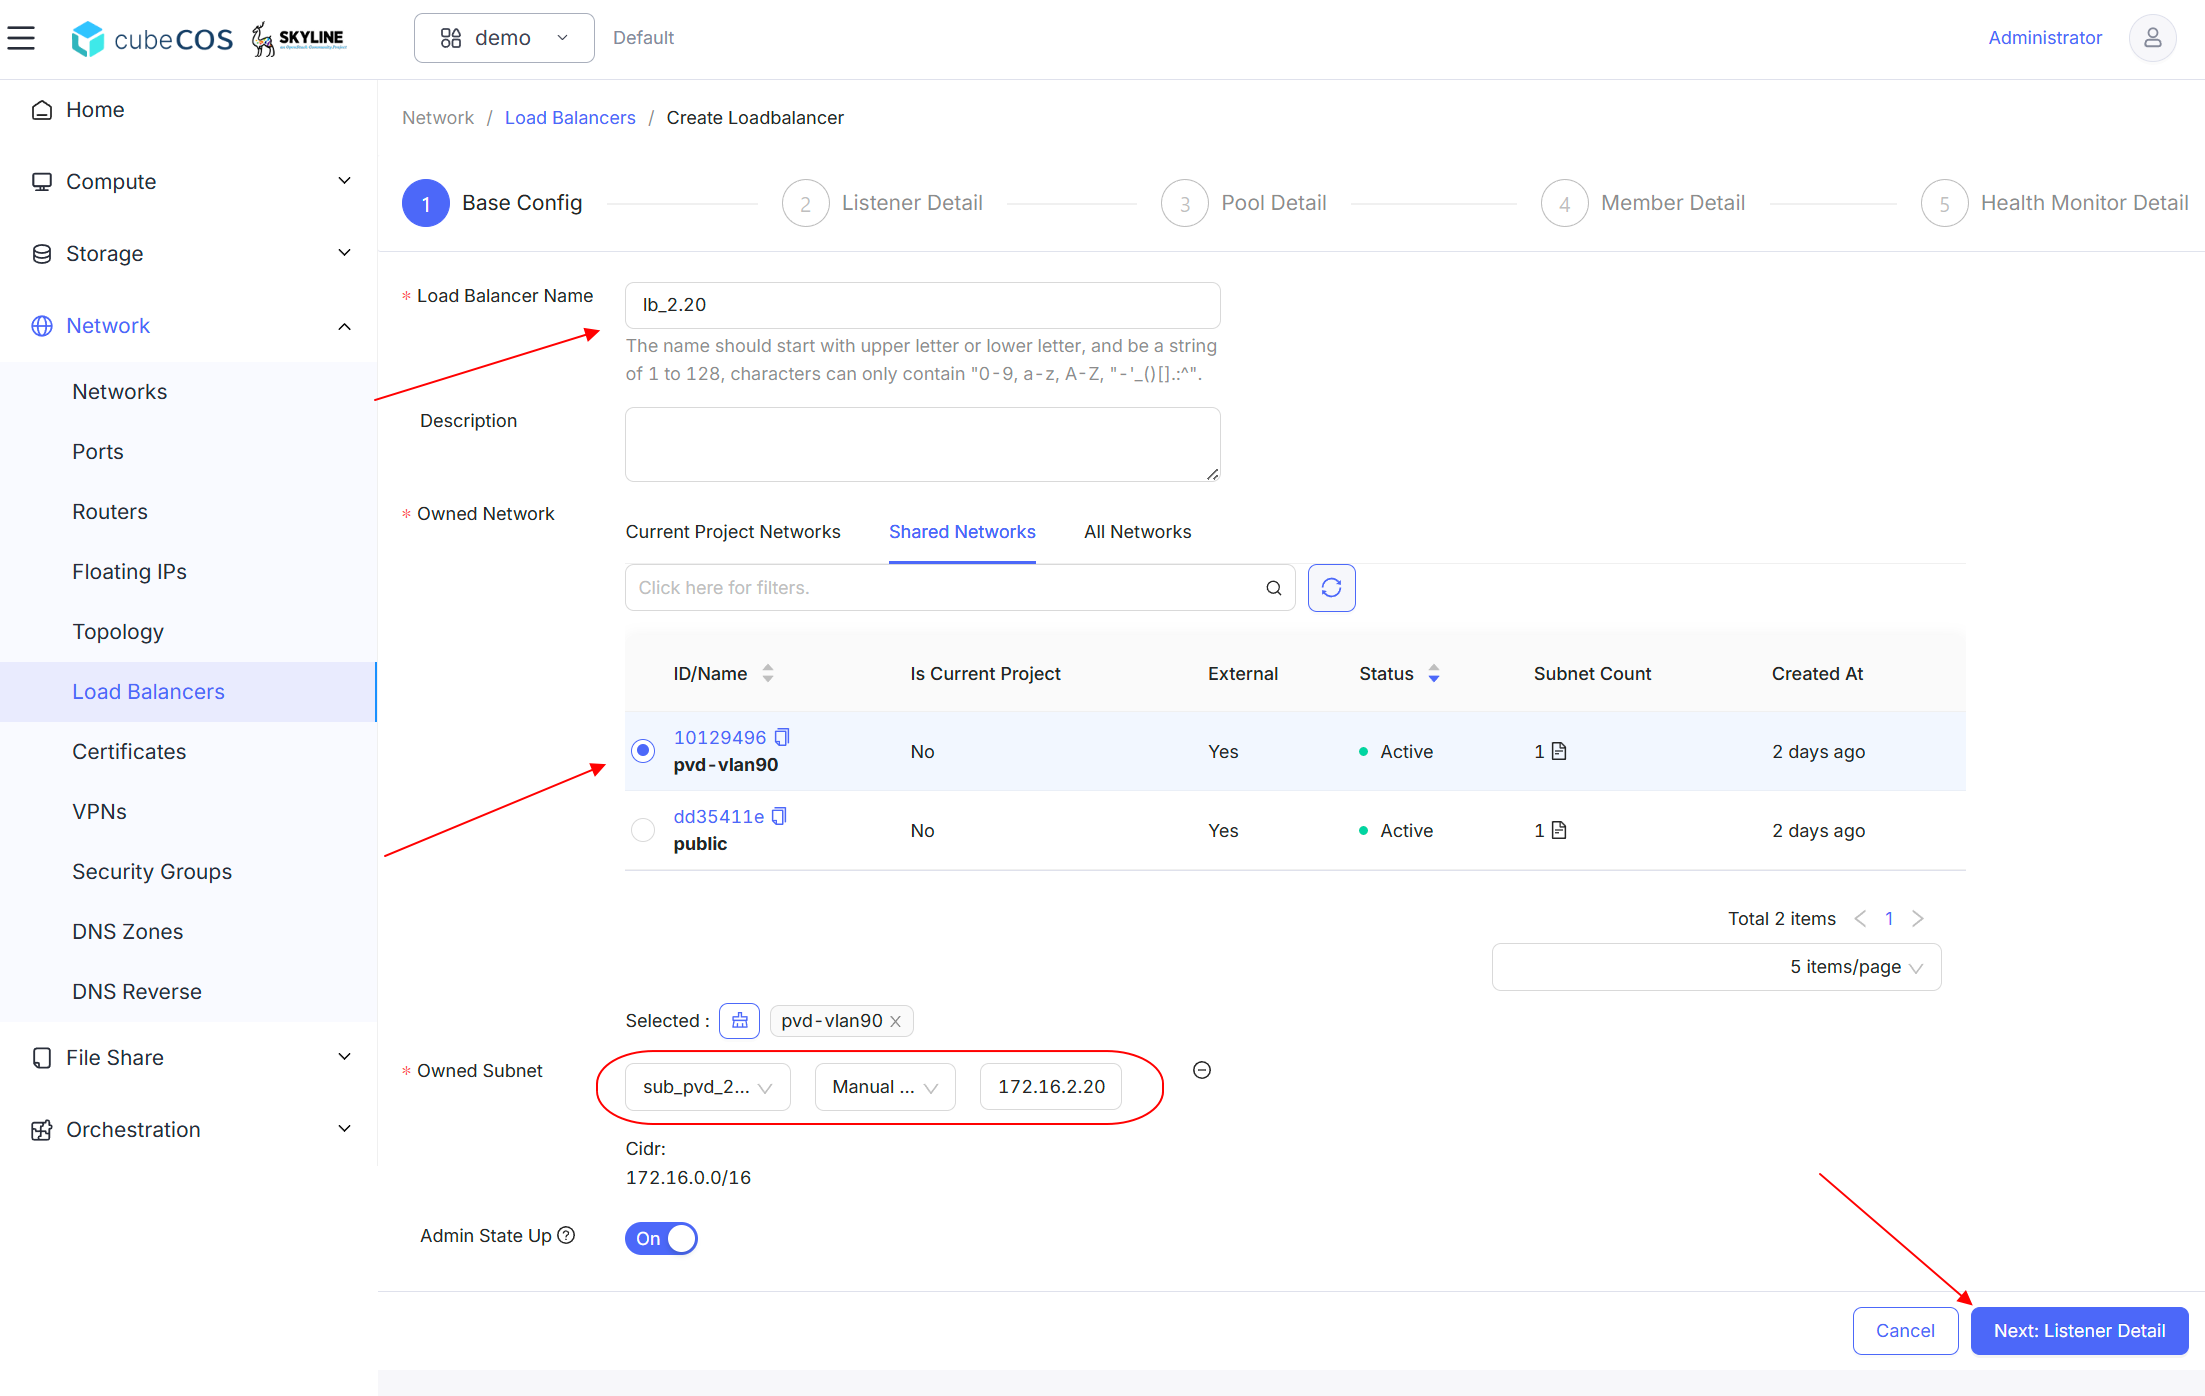
Base Config
- *Load Balancer Name : Input the desired load balancer name.
- Description : Additional description of the load balancer.
- *Owned Network : Select the desired network interfaces and subnets for the load balancer.
- Admin State Up : Defines the admin state of the port(Defaul On).
-
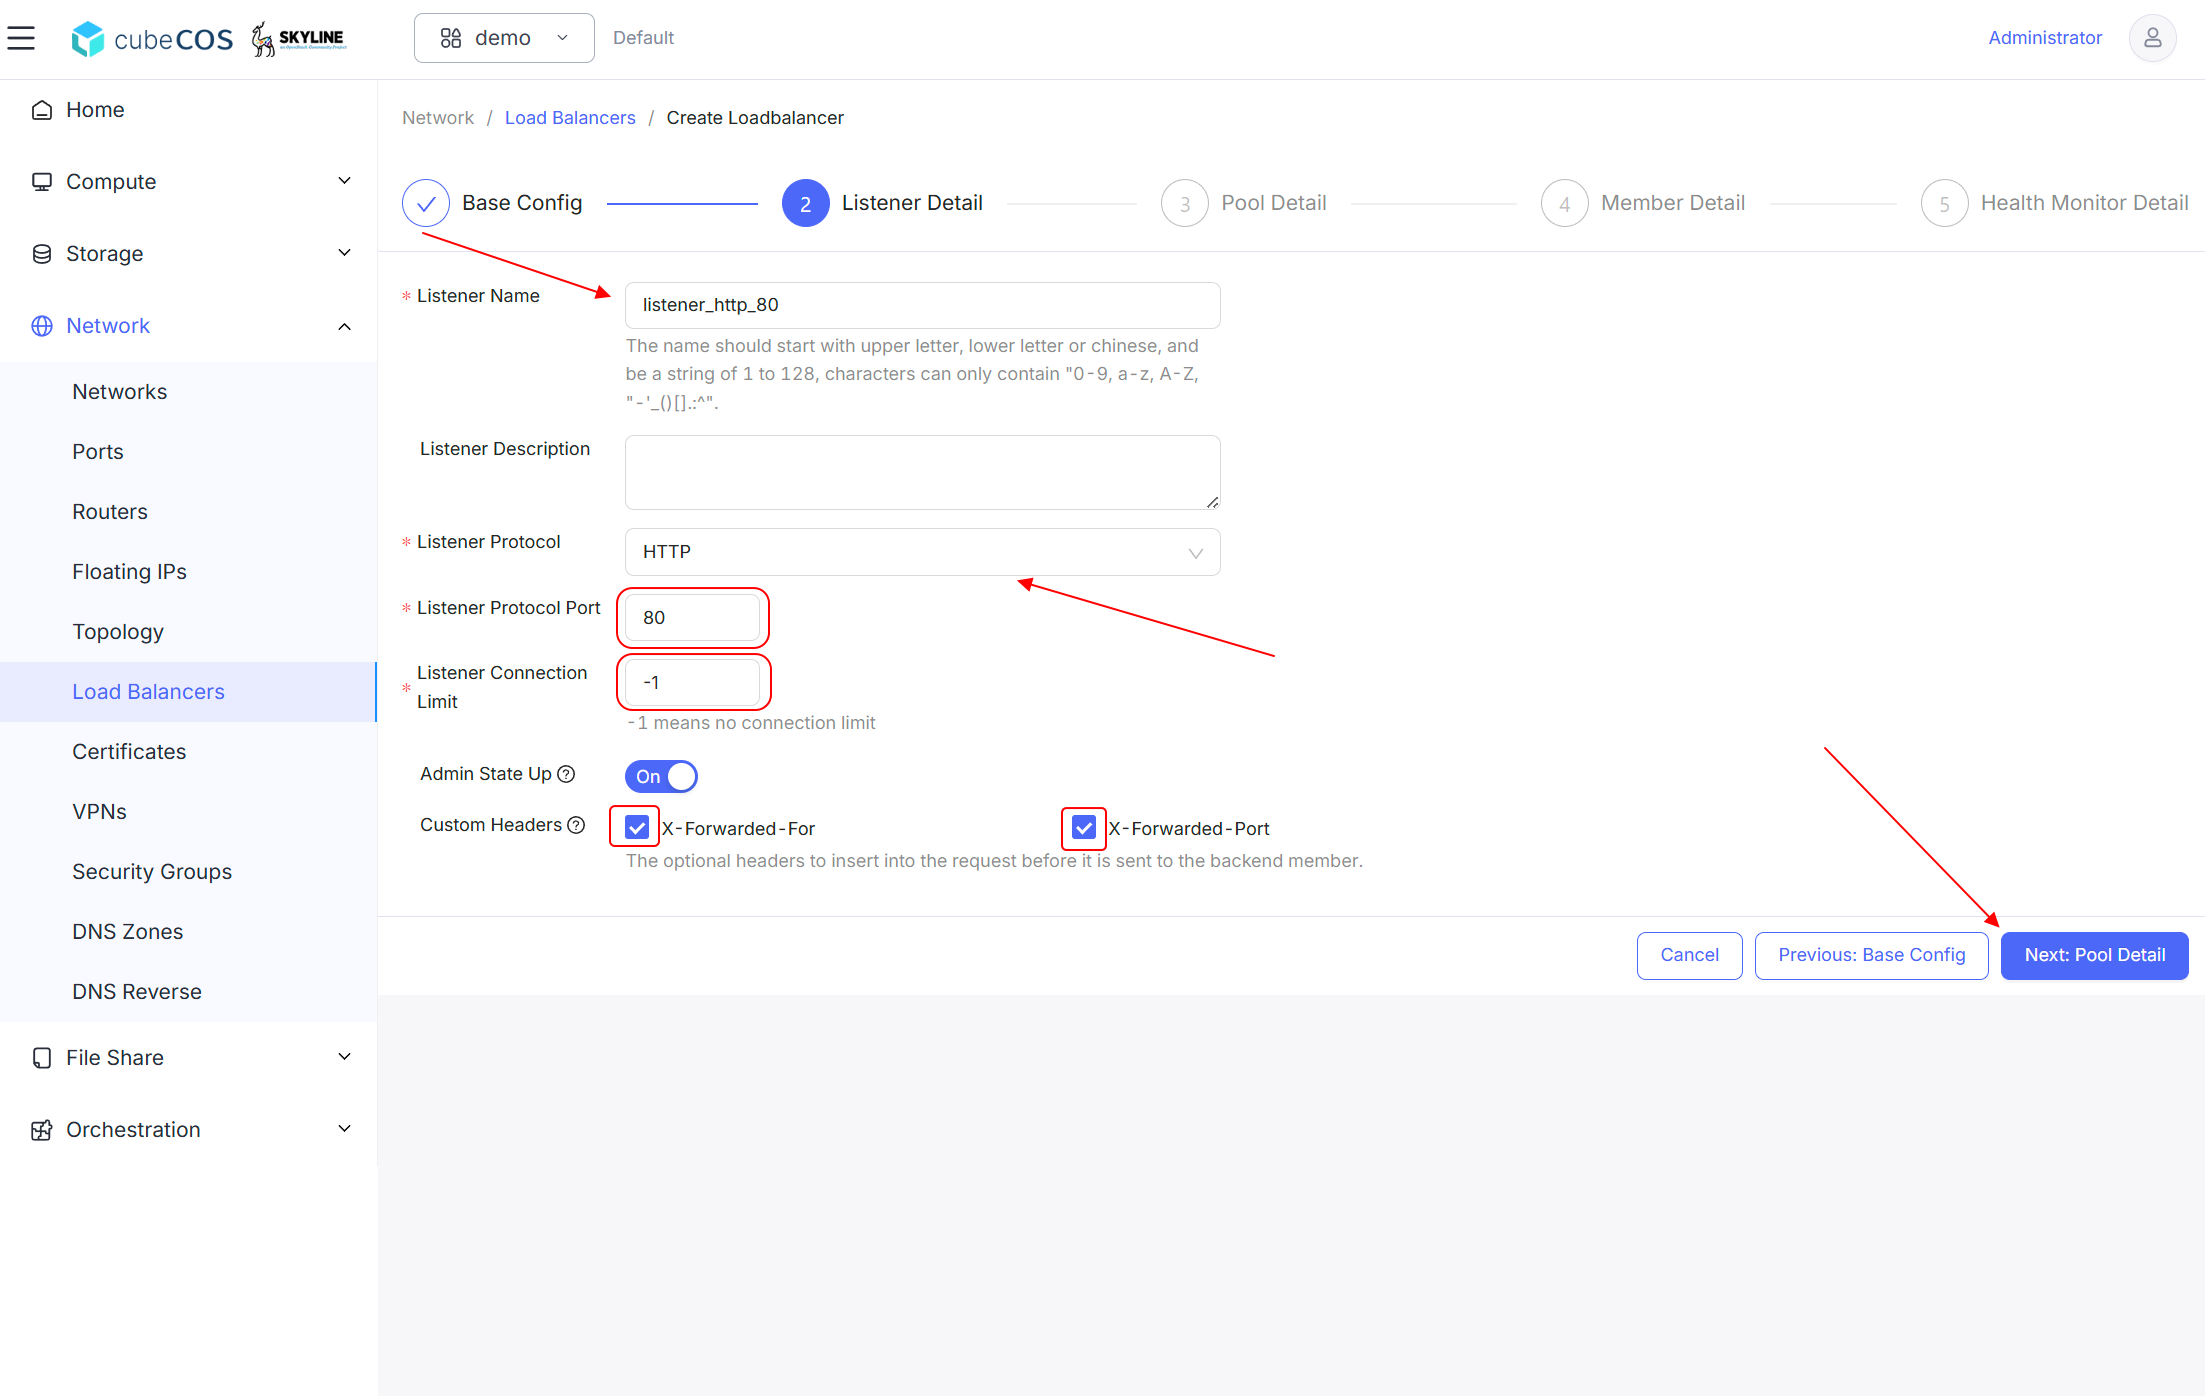
Listener Detail
-
*Listener Name : Input the desired listener name.
-
Listener Description : Additional description of the listener.
-
*Listener Protocol : Select the desired protocol for the listener.Supported Protocol types listed below
- HTTP
- TCP
- HTTPS
- UDP
-
*Listener Protocol Port : Port for listener through protocol selected above.
-
*Listener Connection Limit : limitation counts of connections to the listener at the same time(Defaul -1).
-1 means no connection limit
-
Admin State Up : Defines the admin state of the listener(Defaul On).
-
Custom Headers : Optional headers to insert into the request before it is sent to the backend member
- X-Forwarded-For : Specify the client IP address
- X-Forwarded-Port : Specify the listener port
-
-
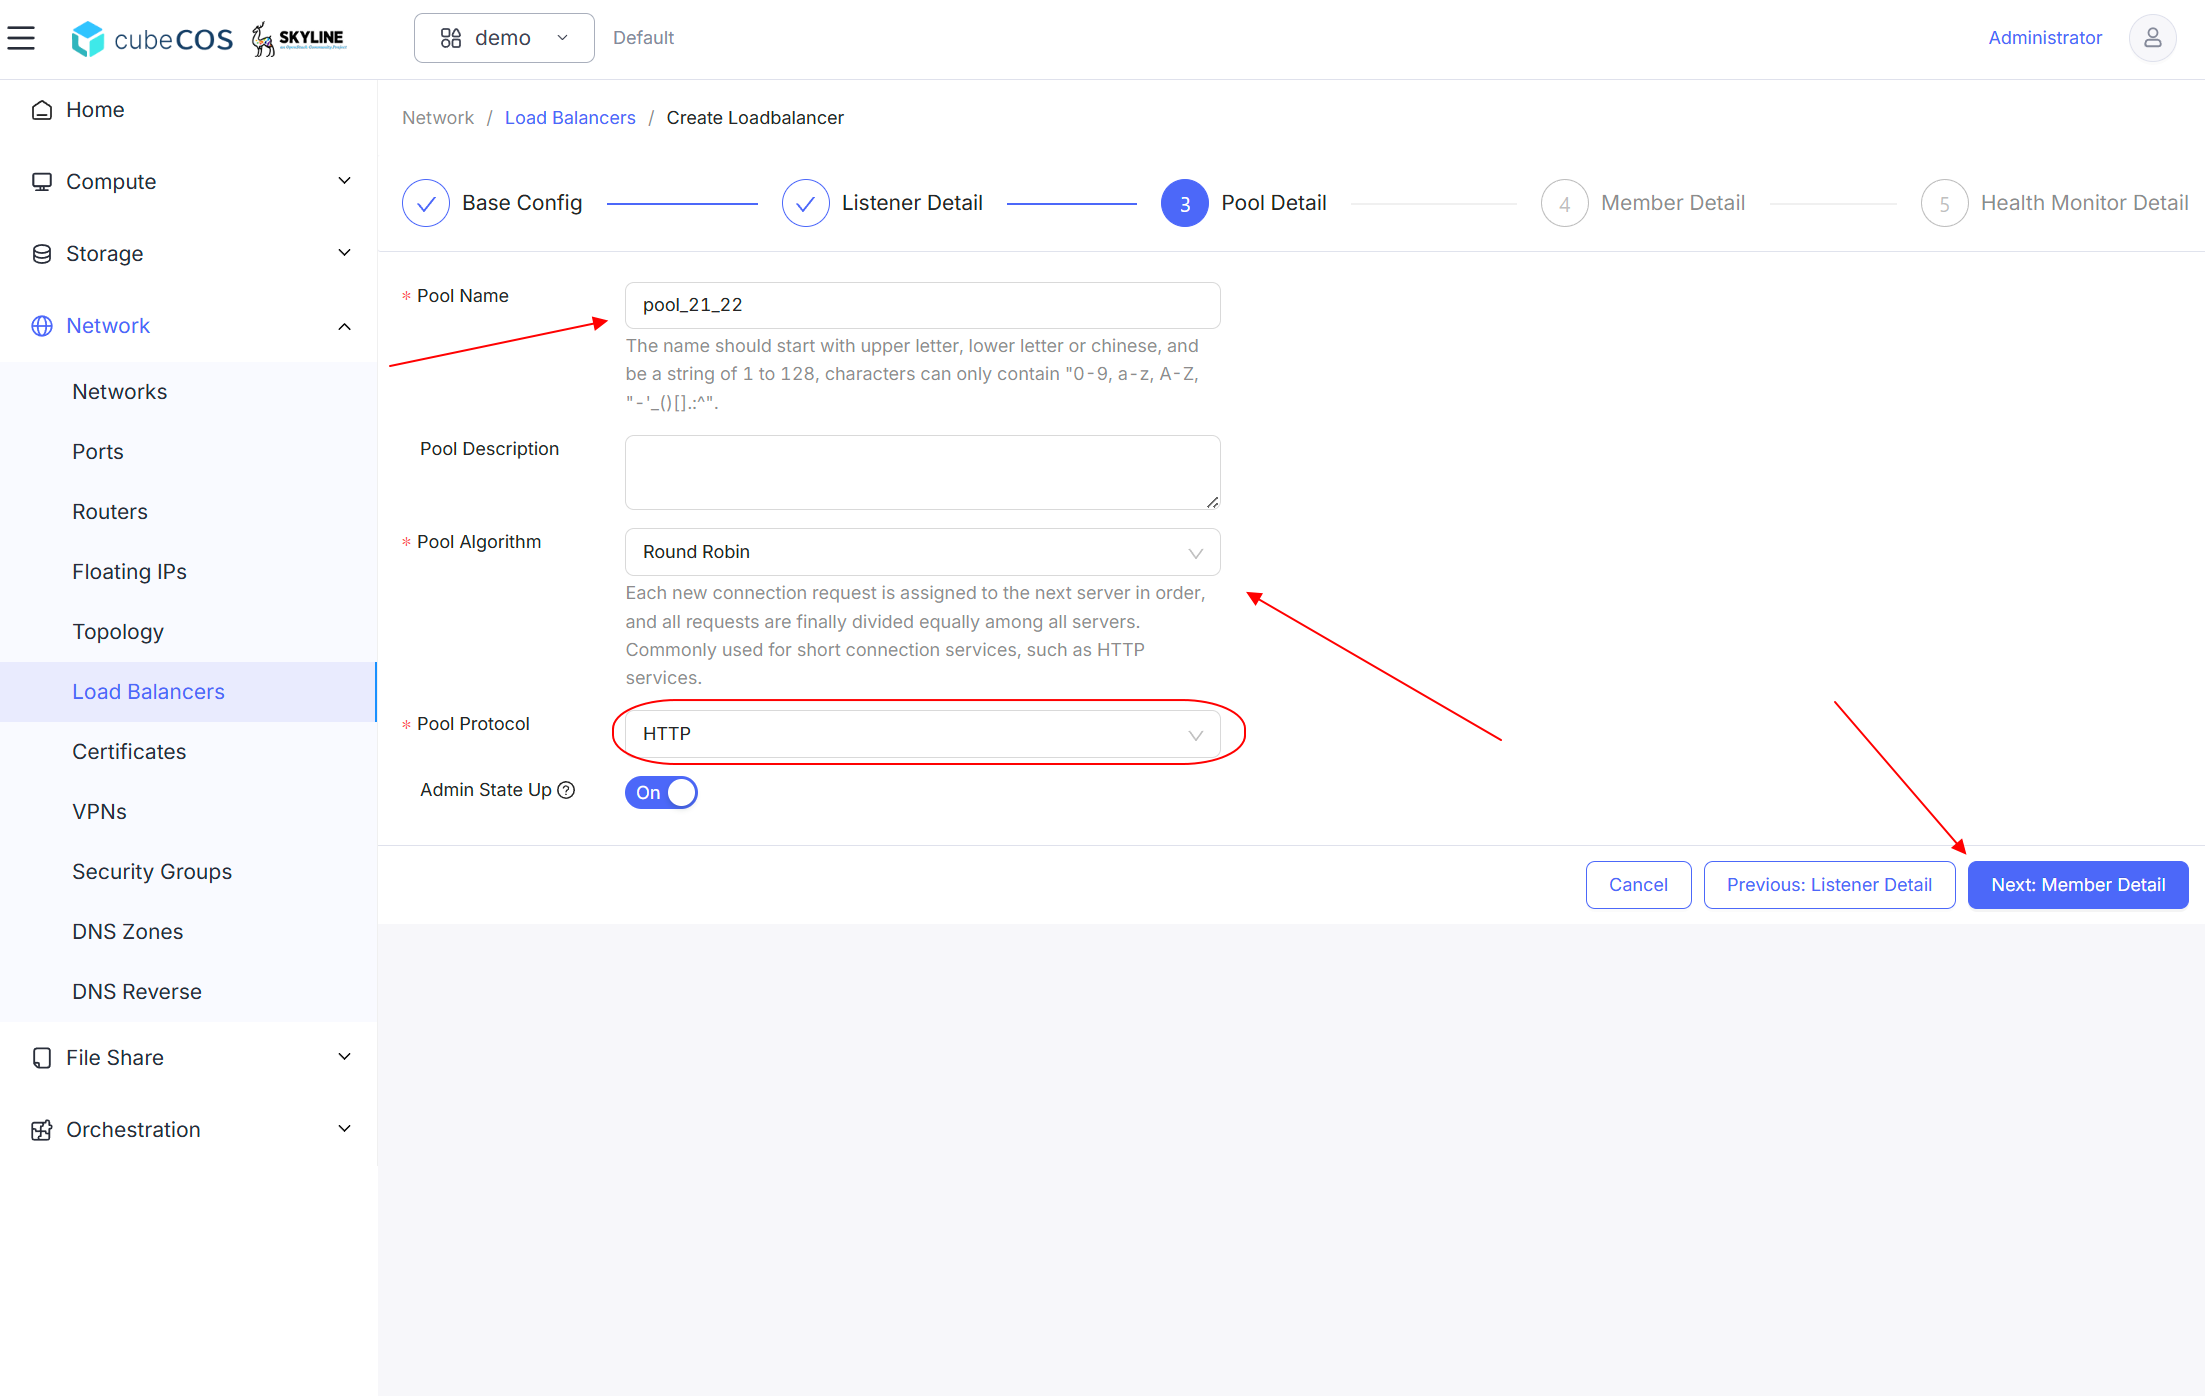
Pool Detail :
-
*Pool Name : Input the desired pool name.
-
Pool Description : Additional description of the pool.
-
*Pool Algorithm : Select the desired algorithm for the pool. Supported Algorithm types listed below
- Least Connections
- Round Robin
- Source IP
-
*Pool Protocol : Select the desired protocol for the pool. Based on
Listener Protocolselection set up before. -
Admin State Up : Defines the admin state of the pool(Defaul On).
-
-
Member Detail
Select exsist intances from
select an existing port. Members will be add toSelected Membersby clickingAdd Memberbutton.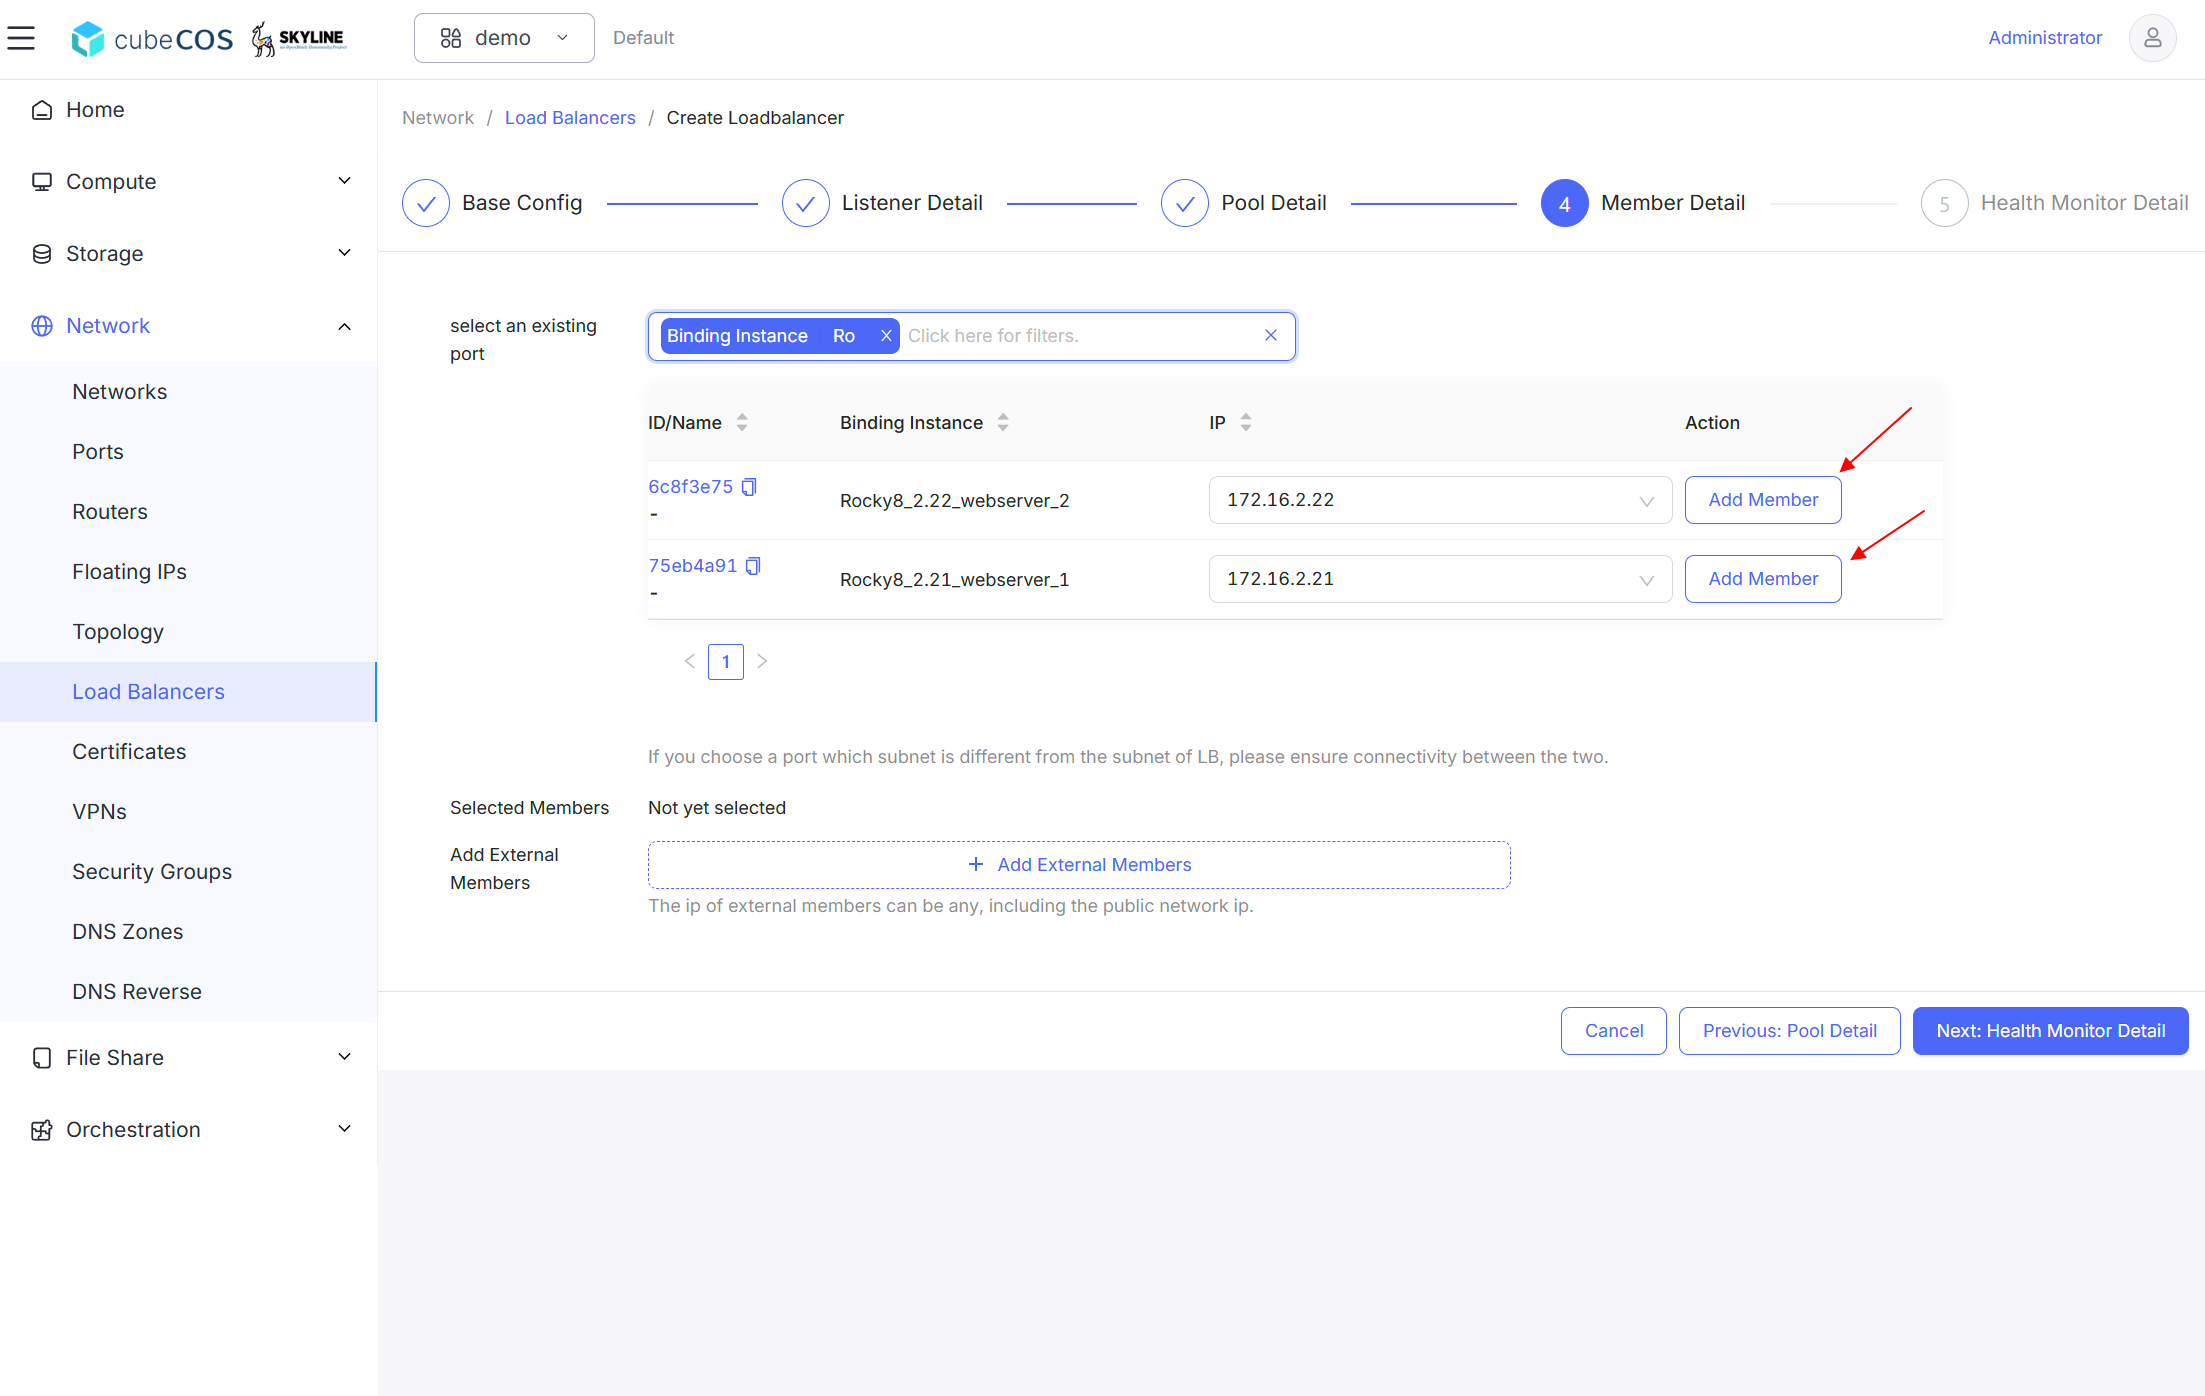
Assign specific port of the instances selected.
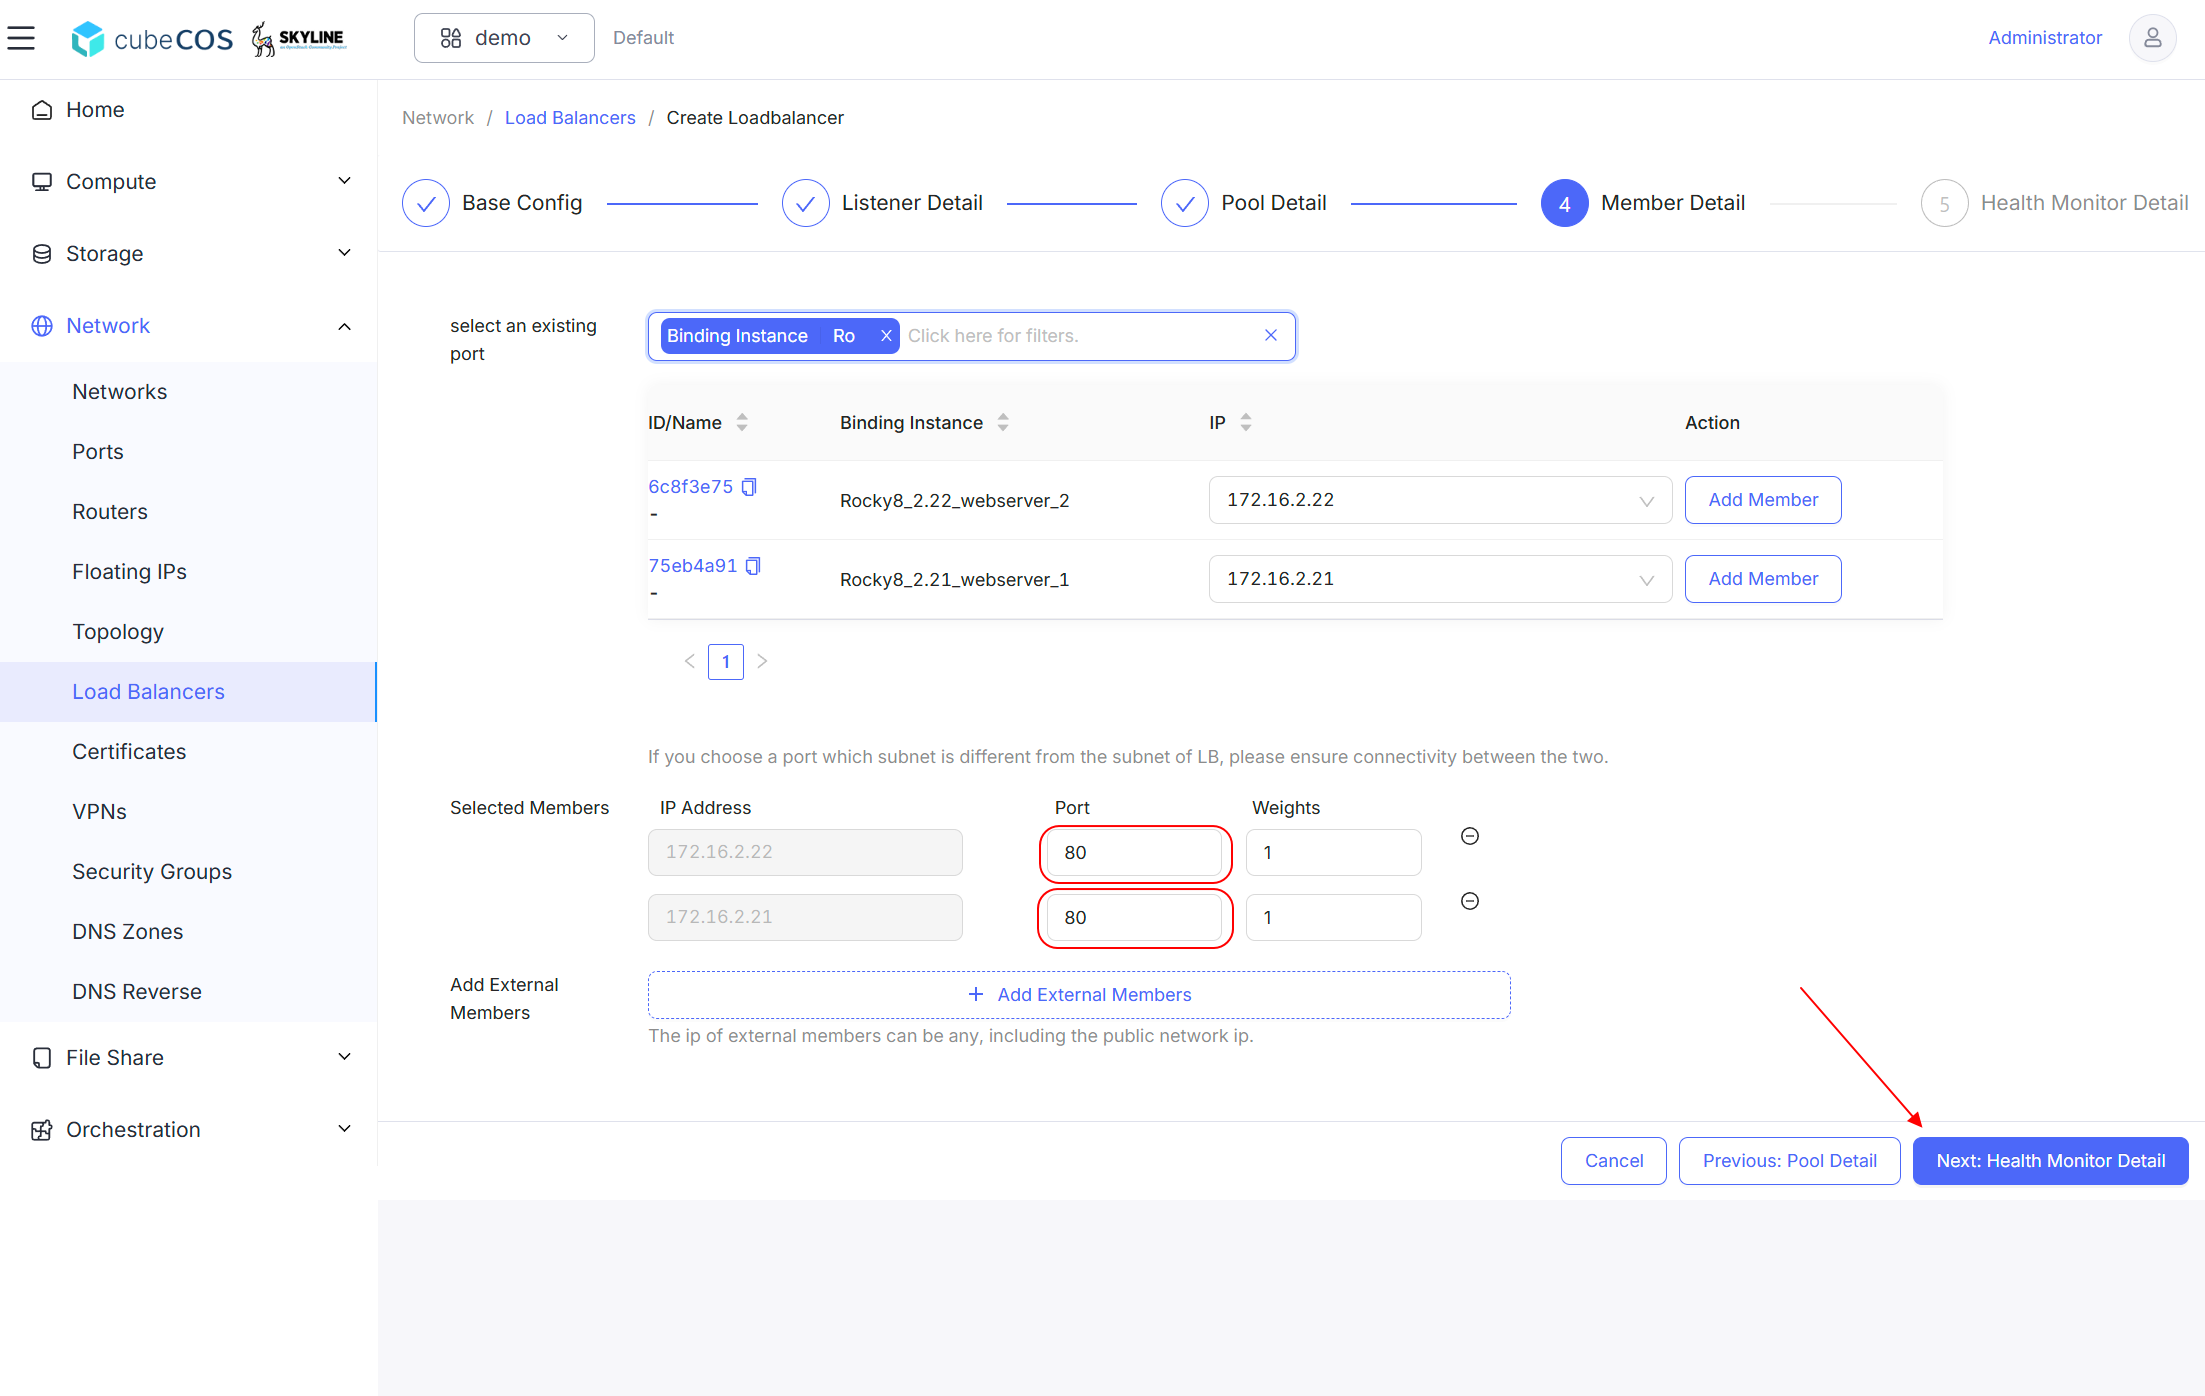
-
Health Monitor Detail
-
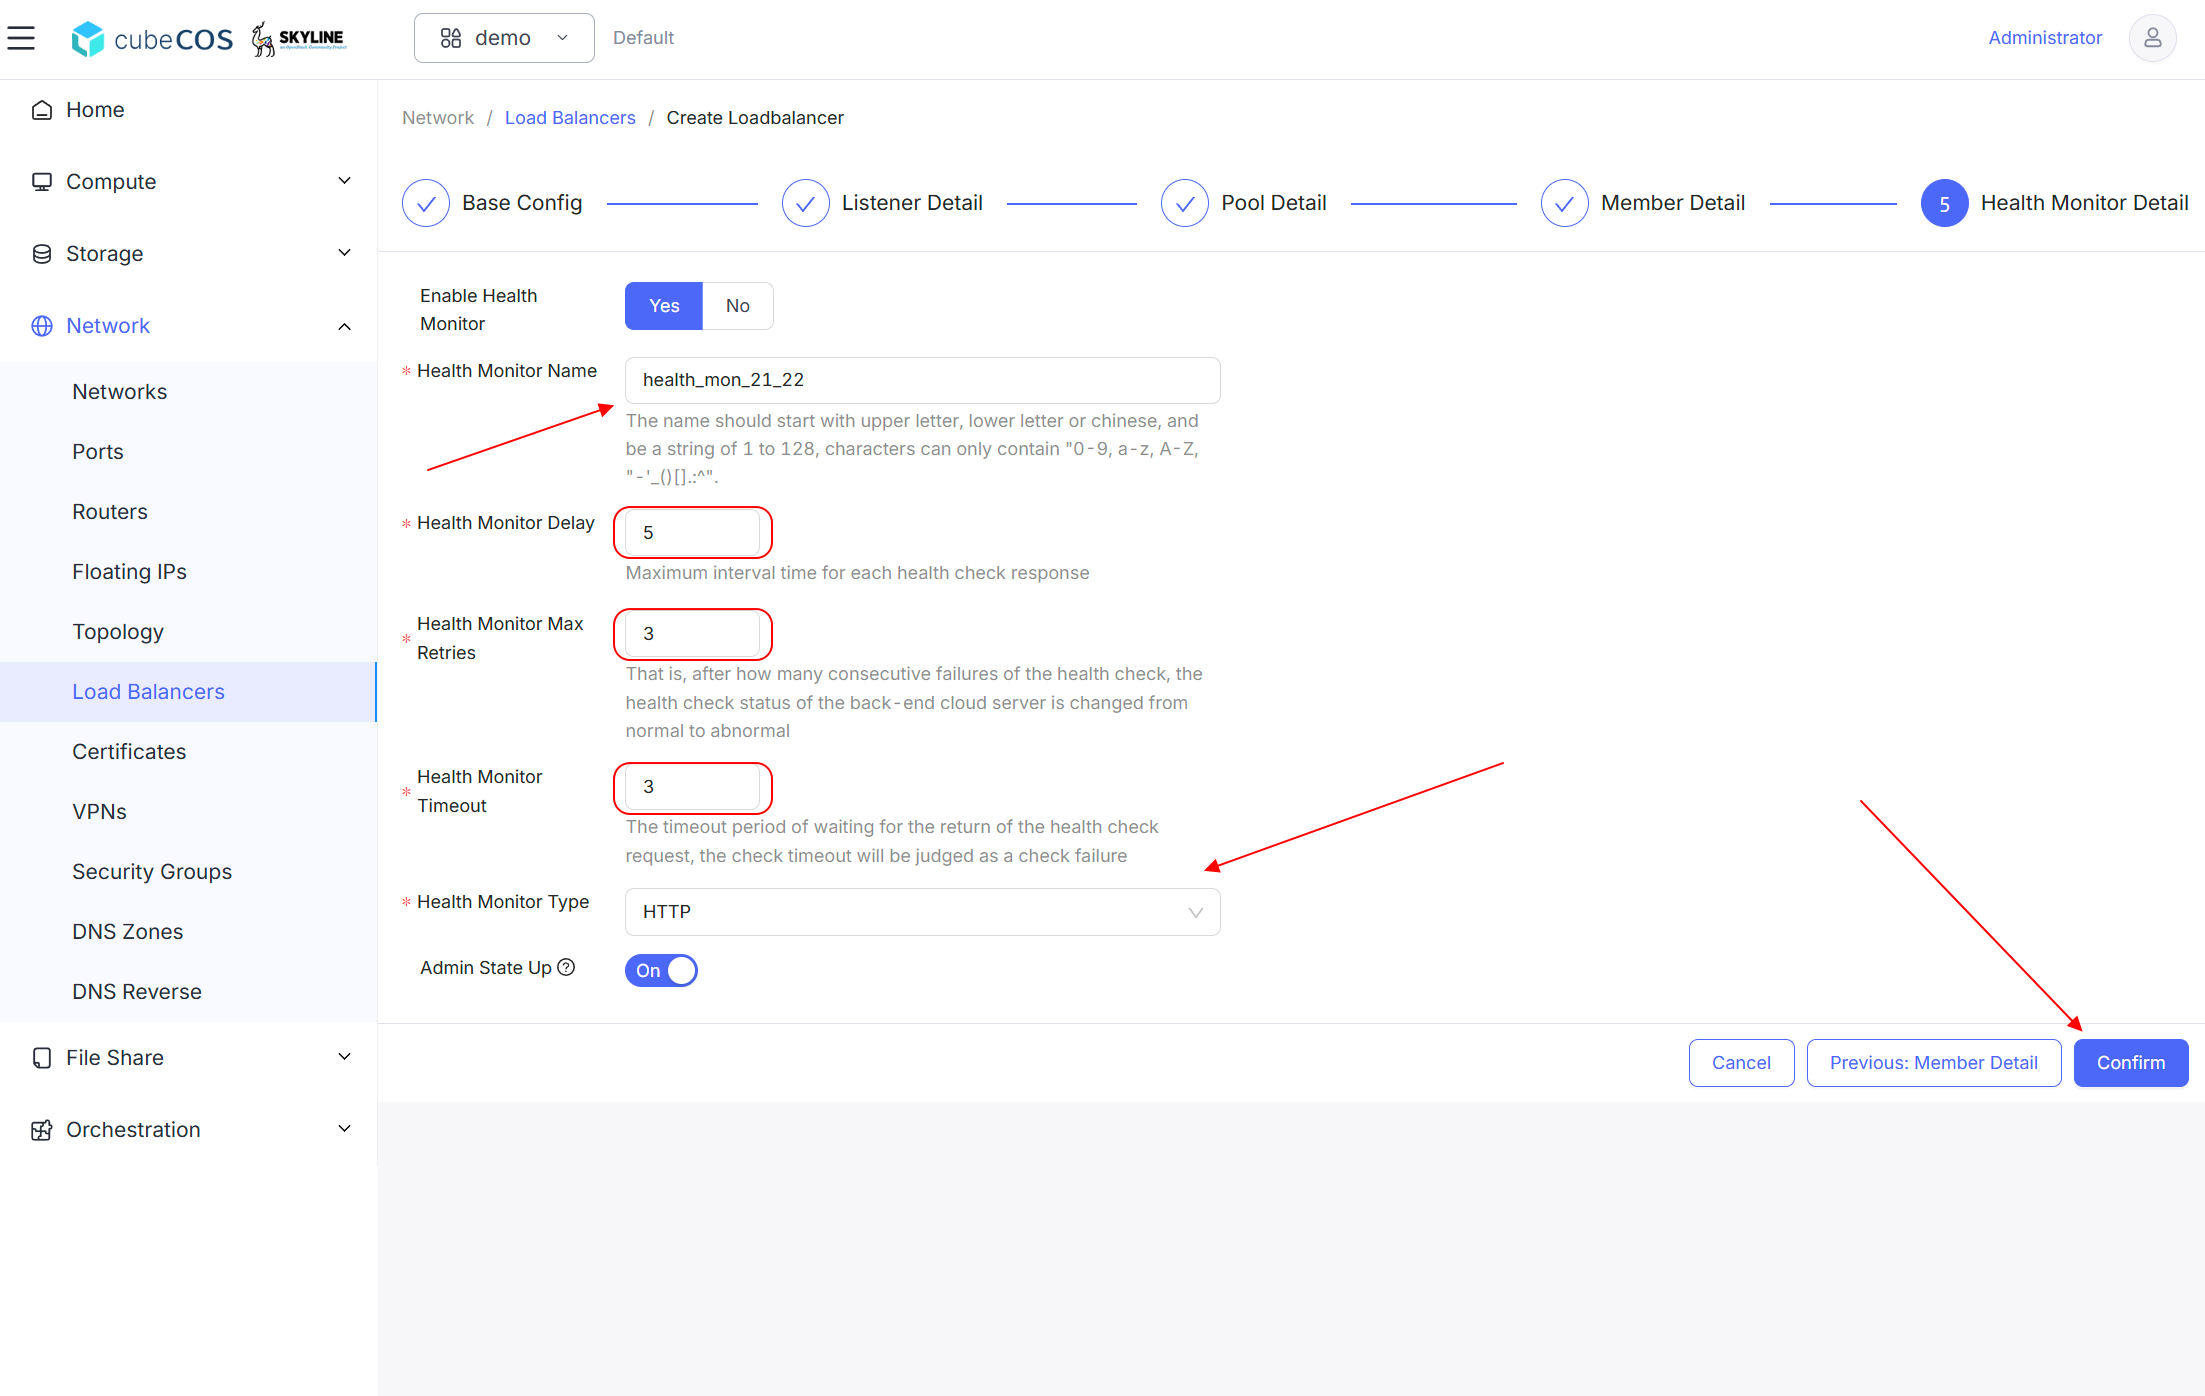
Enable Health Monitor : Switch to enable / disable health monitor(Default YES).
-
*Health Monitor Name : Input the desired health monitor name.
-
*Health Monitor Delay : Maximum interval time for each health check response(Default 5).
-
*Health Monitor Max Retries : Counts of consecutive failures of the health check will switch status of the back-end cloud server from normal to abnormal(Default 3).
-
*Health Monitor Timeout : Timeout period of waiting for the return of the health check request, the check timeout will be judged as a check failure(Default 3).
-
*Health Monitor Type : Select the desired protocol for the health monitor. Based on
Listener Protocolselection set up before. -
Admin State Up : Defines the admin state of the health monitor(Defaul On).
-
-
Launch the load balancer, verify the status of the load balancer will be
Pending Create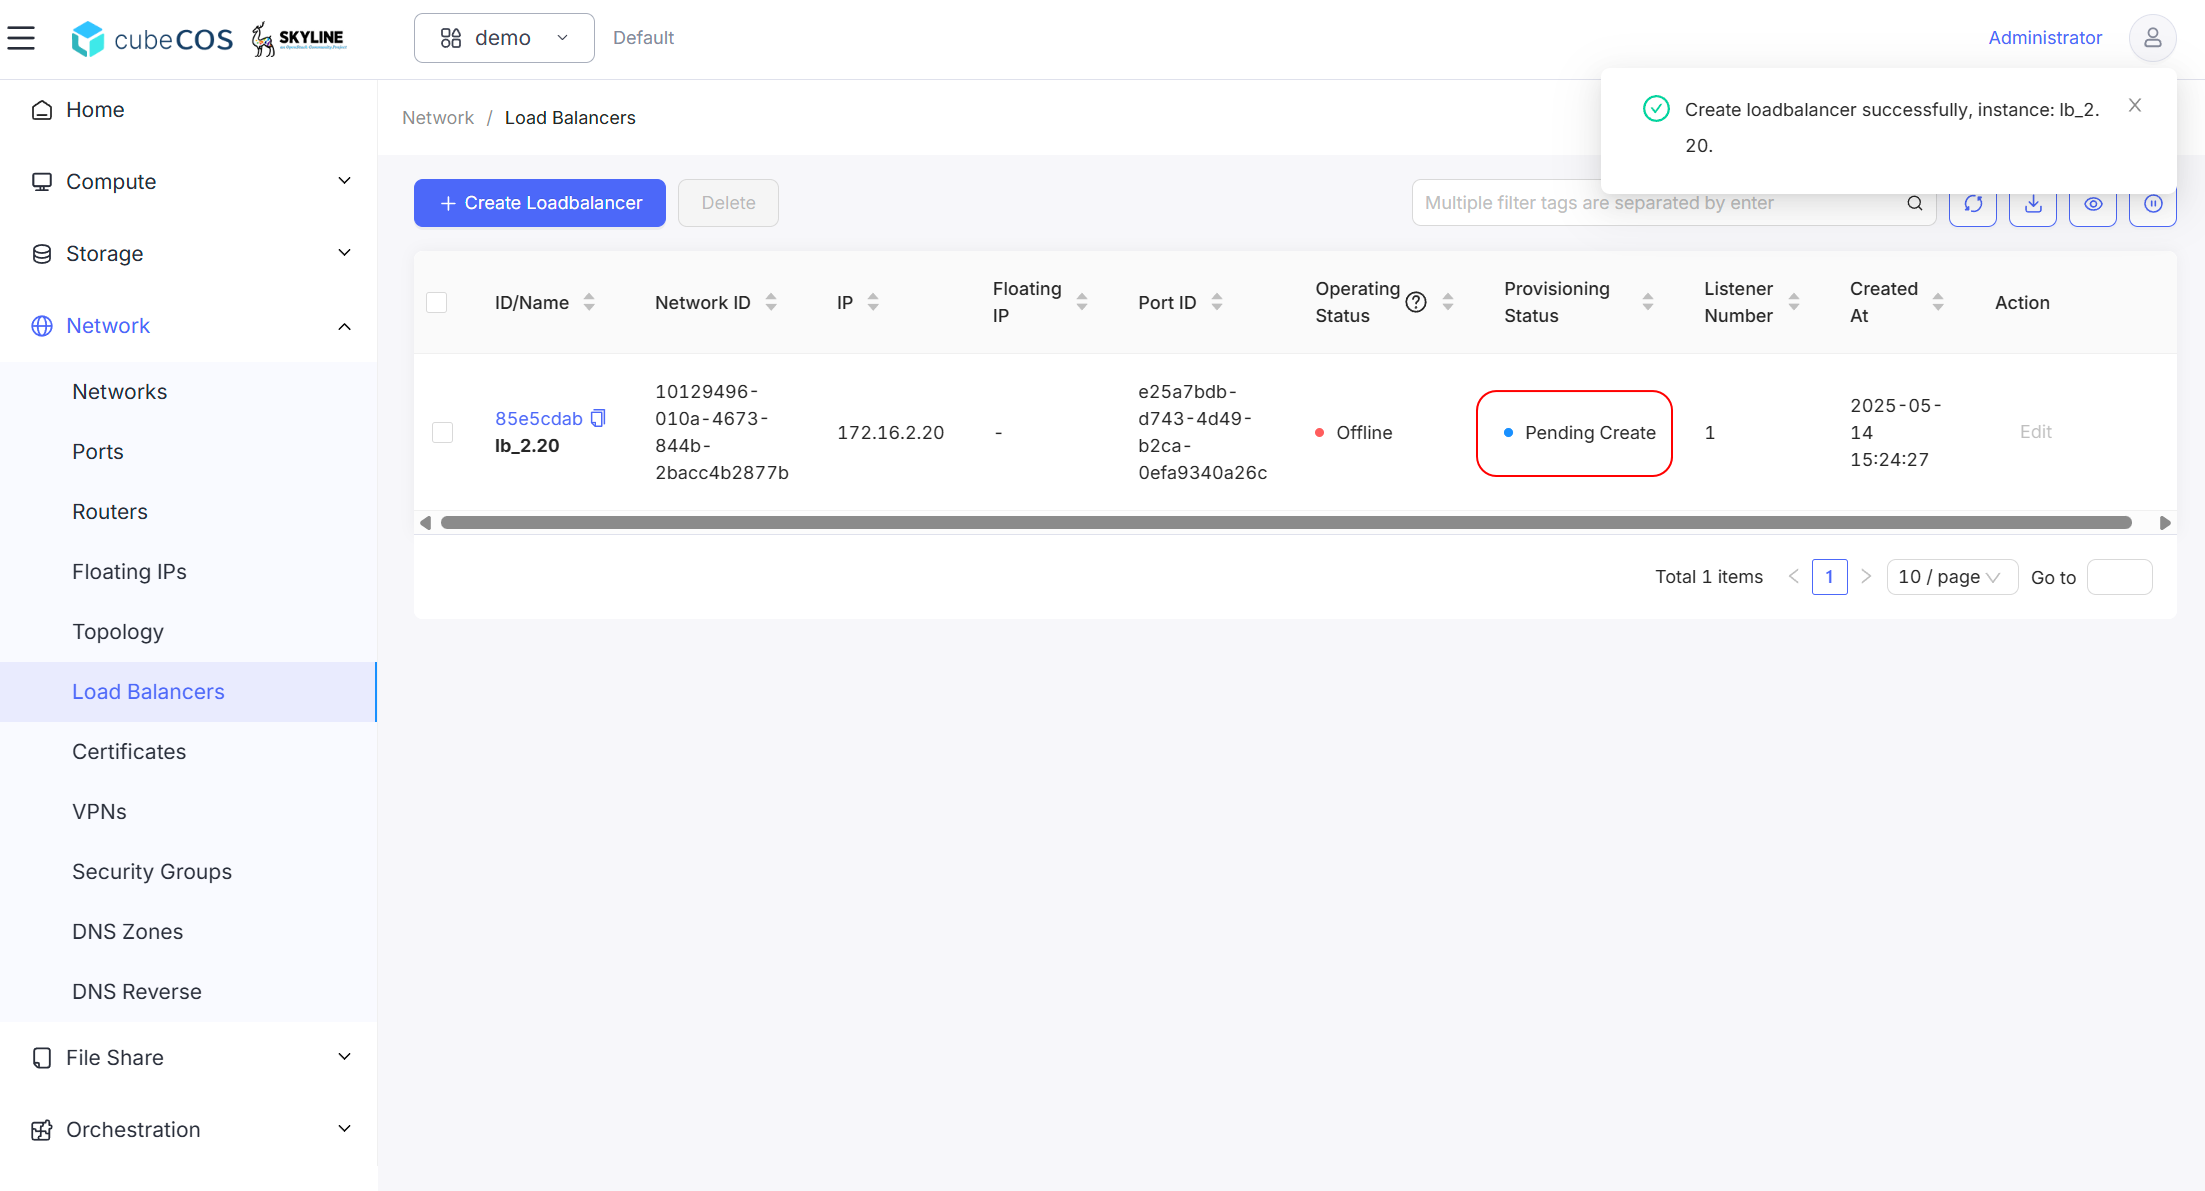
-
Wait till the load balancer status become
Activate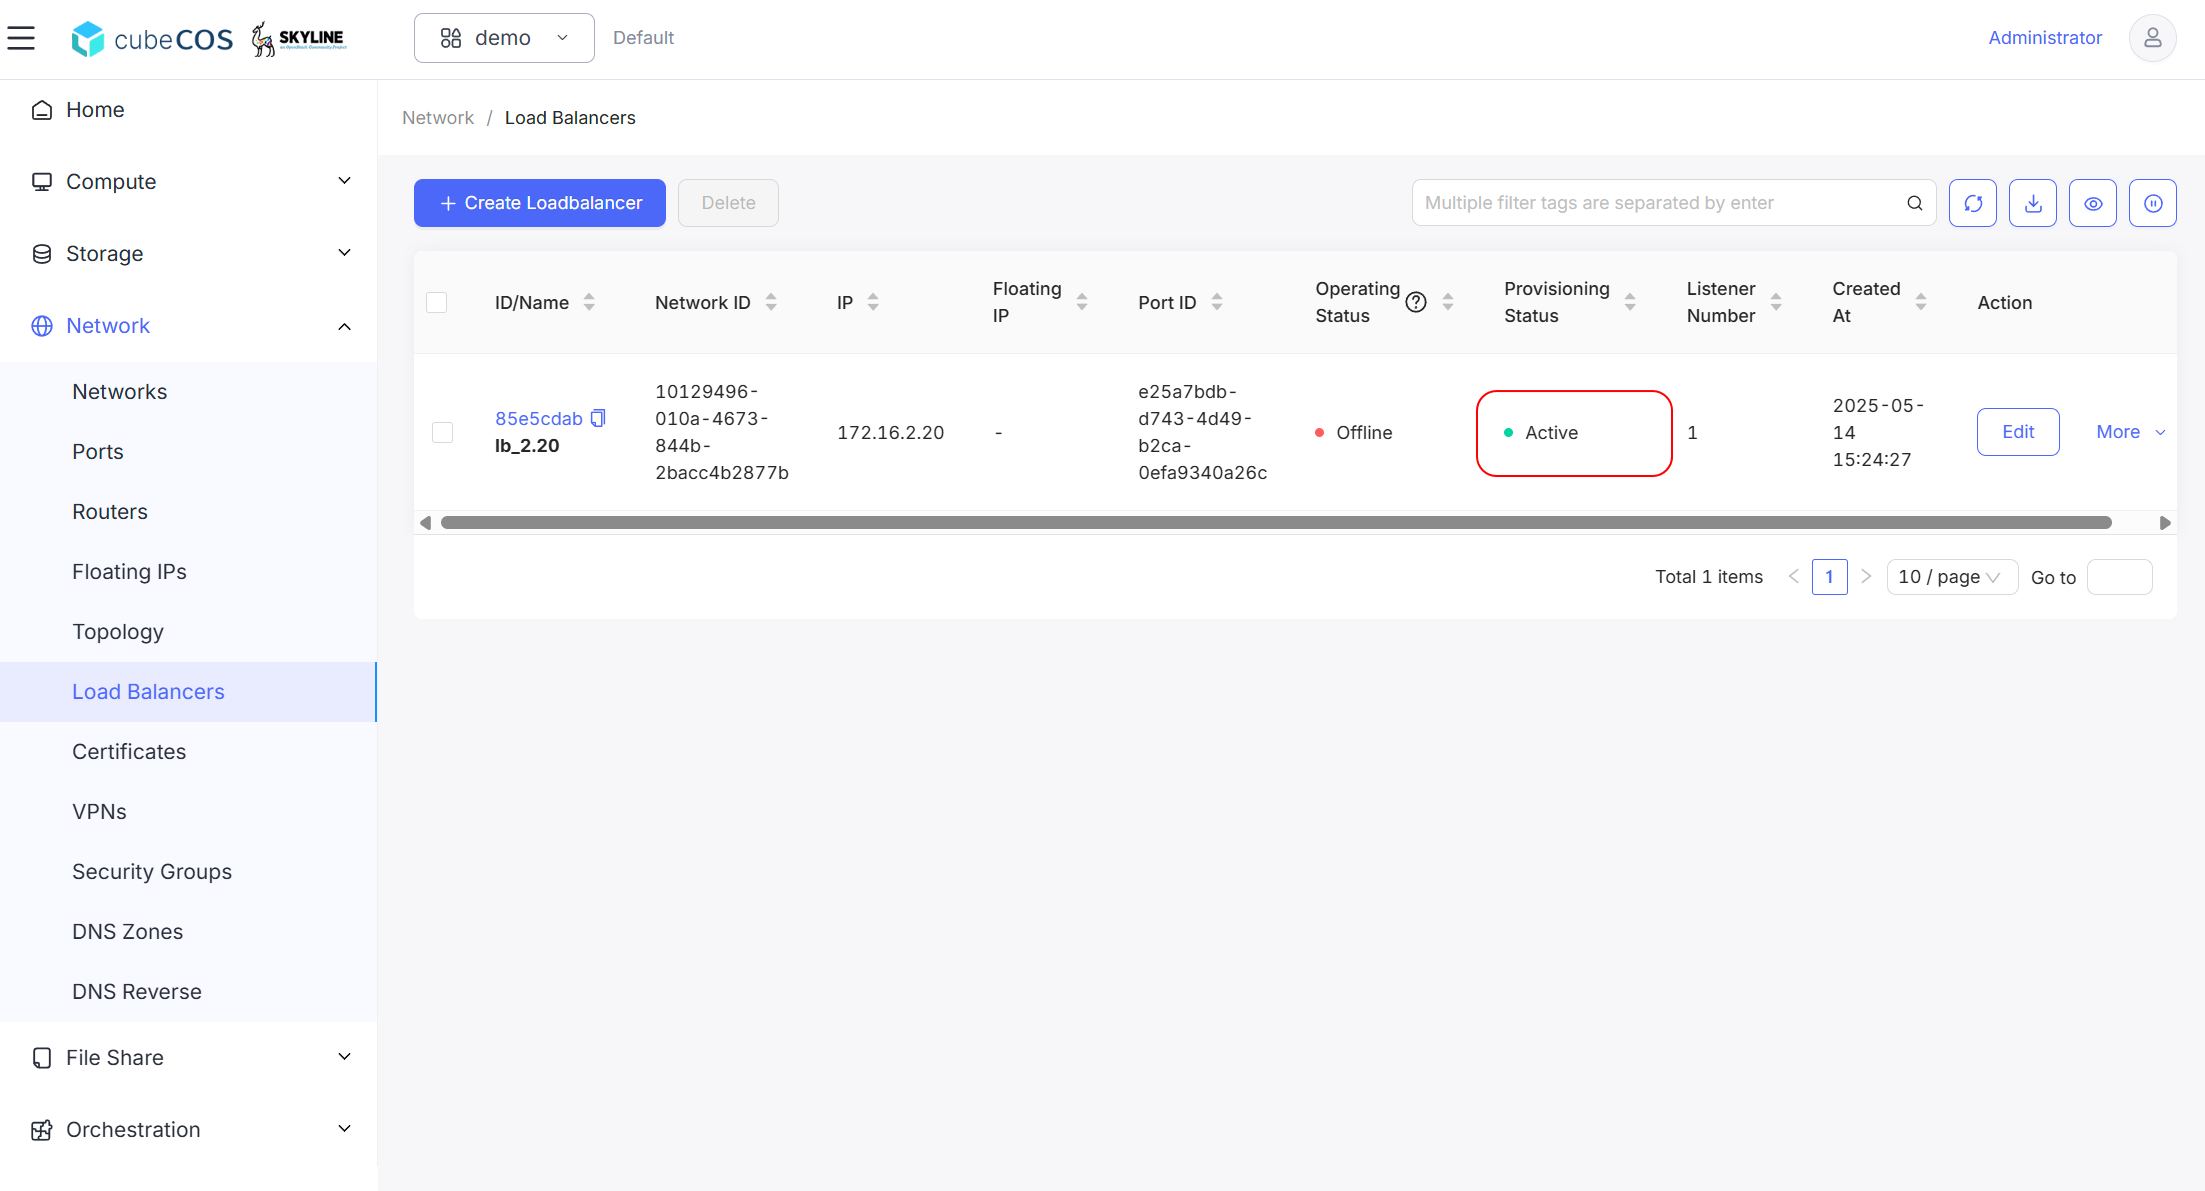
-
Verify load balancer reliability by accessing website. Terminate or add loading to a instance in the pool to test.