Transfer a volume to another project
Use this procedure to transfer a volume from one project to another without recreating its data.
This workflow does not apply to virtual machines (instances) that were created with the Delete with instance volume option enabled.
Prepare the volume for transfer
-
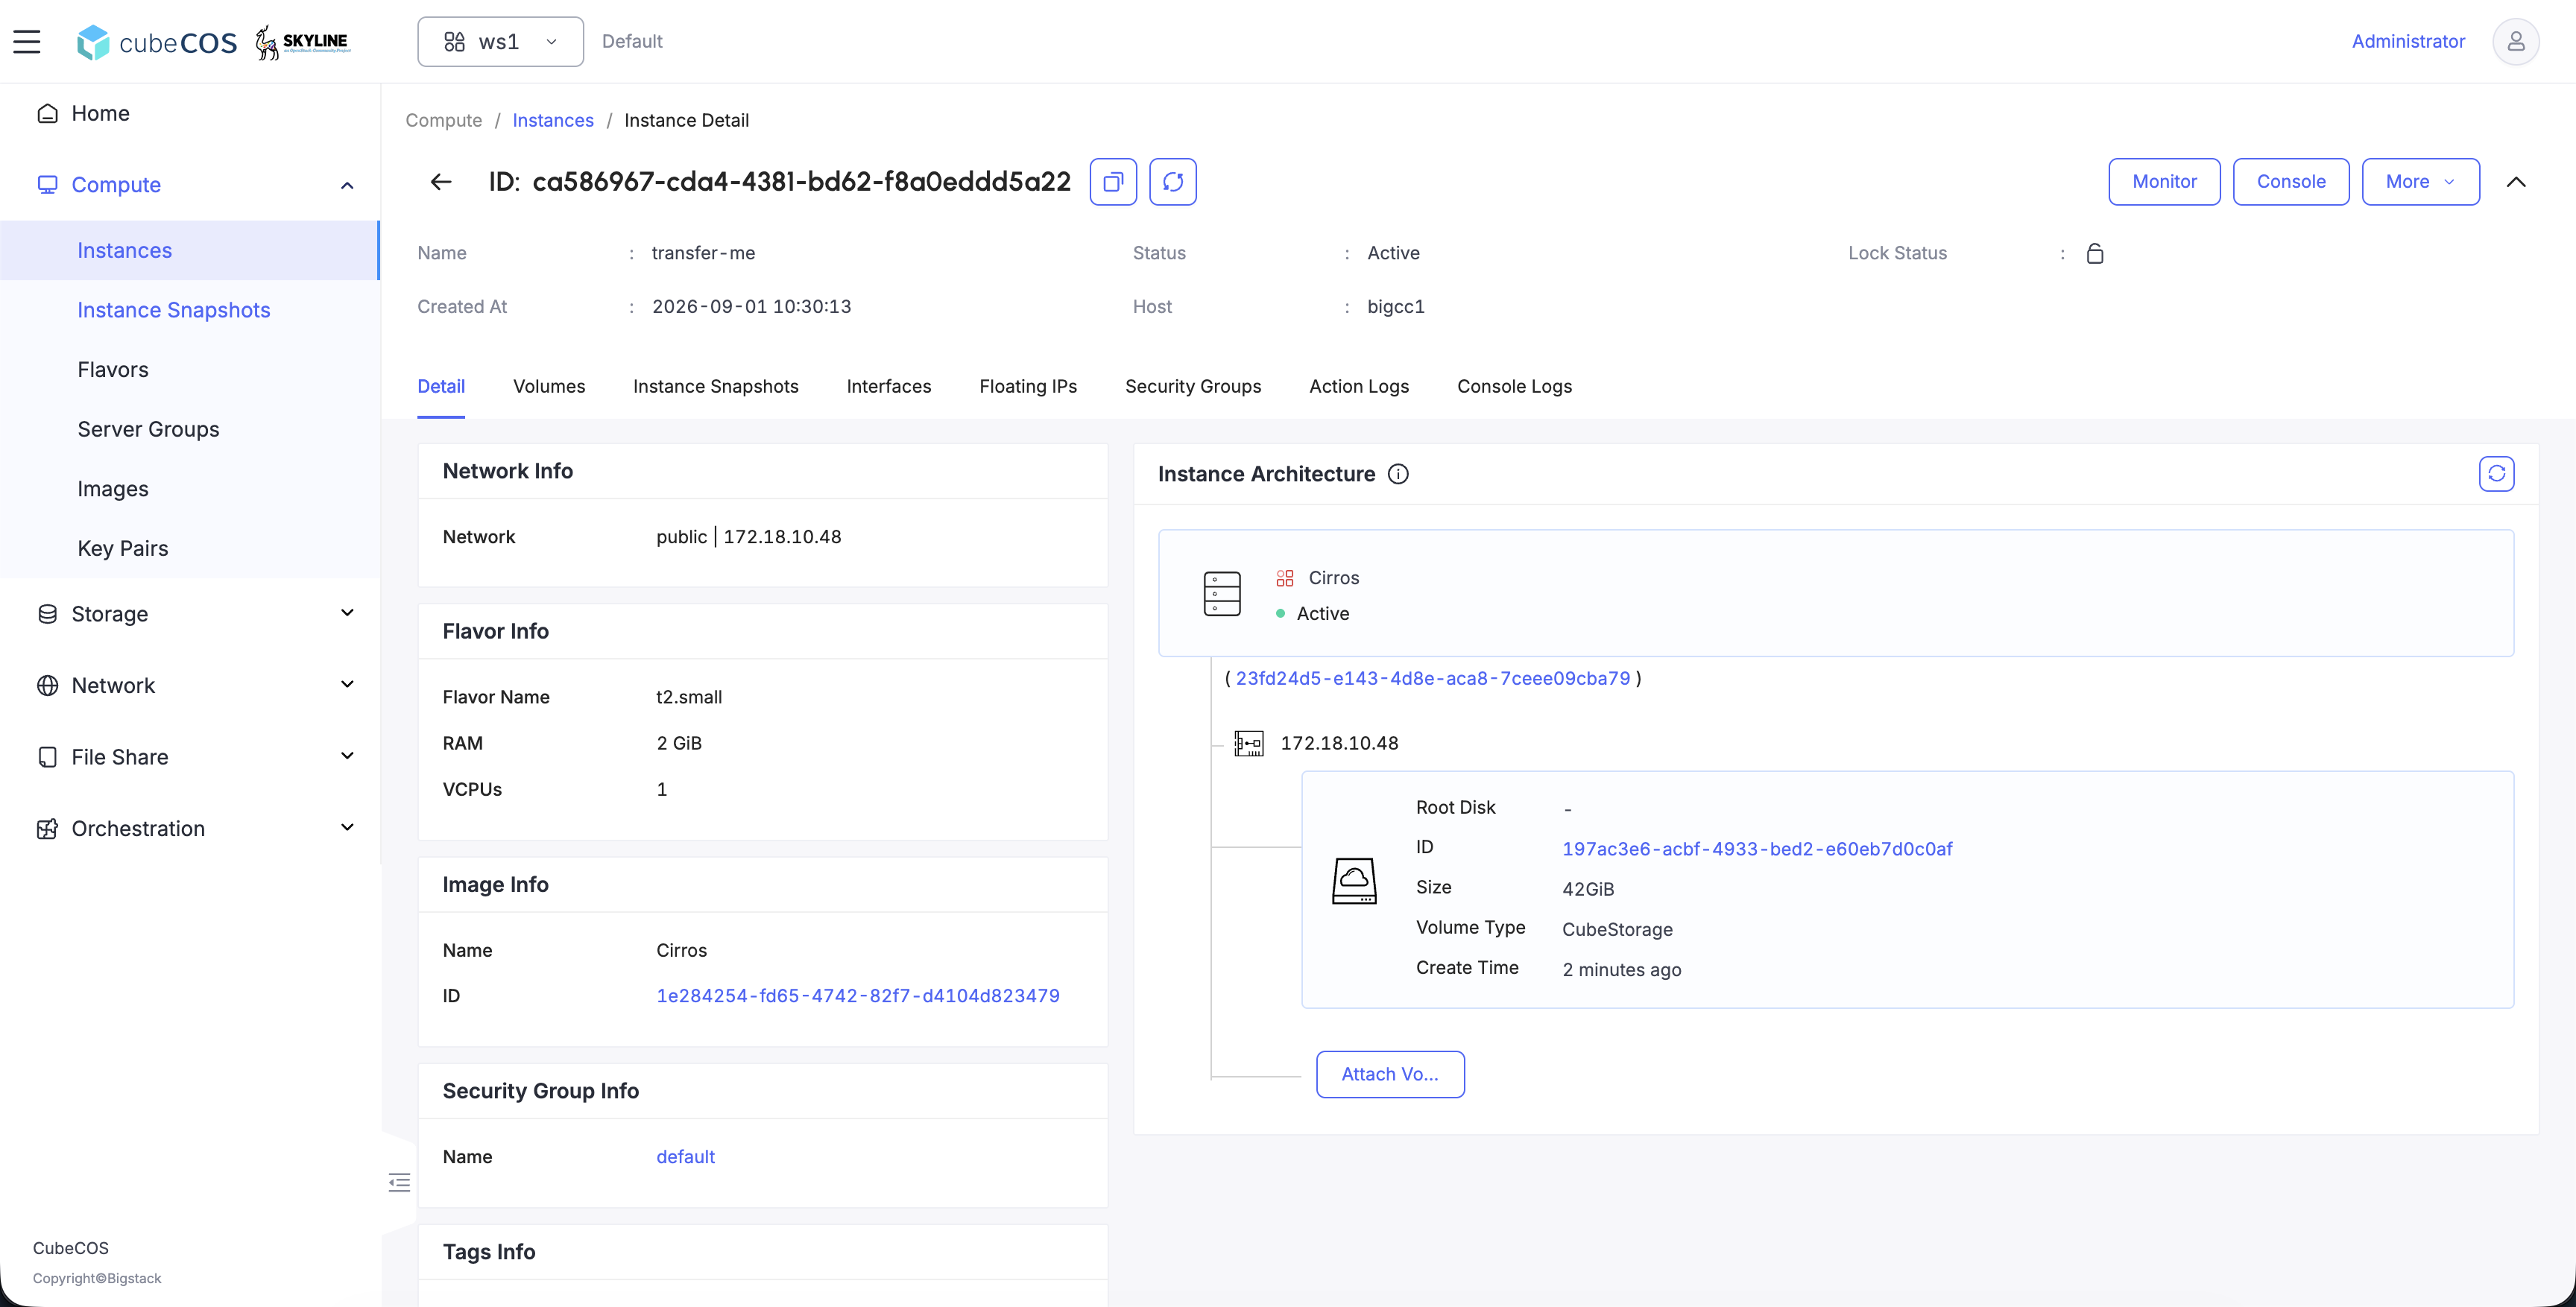
Navigate to Project > Compute > Instances, select the instance with volume(s) to transfer.
-
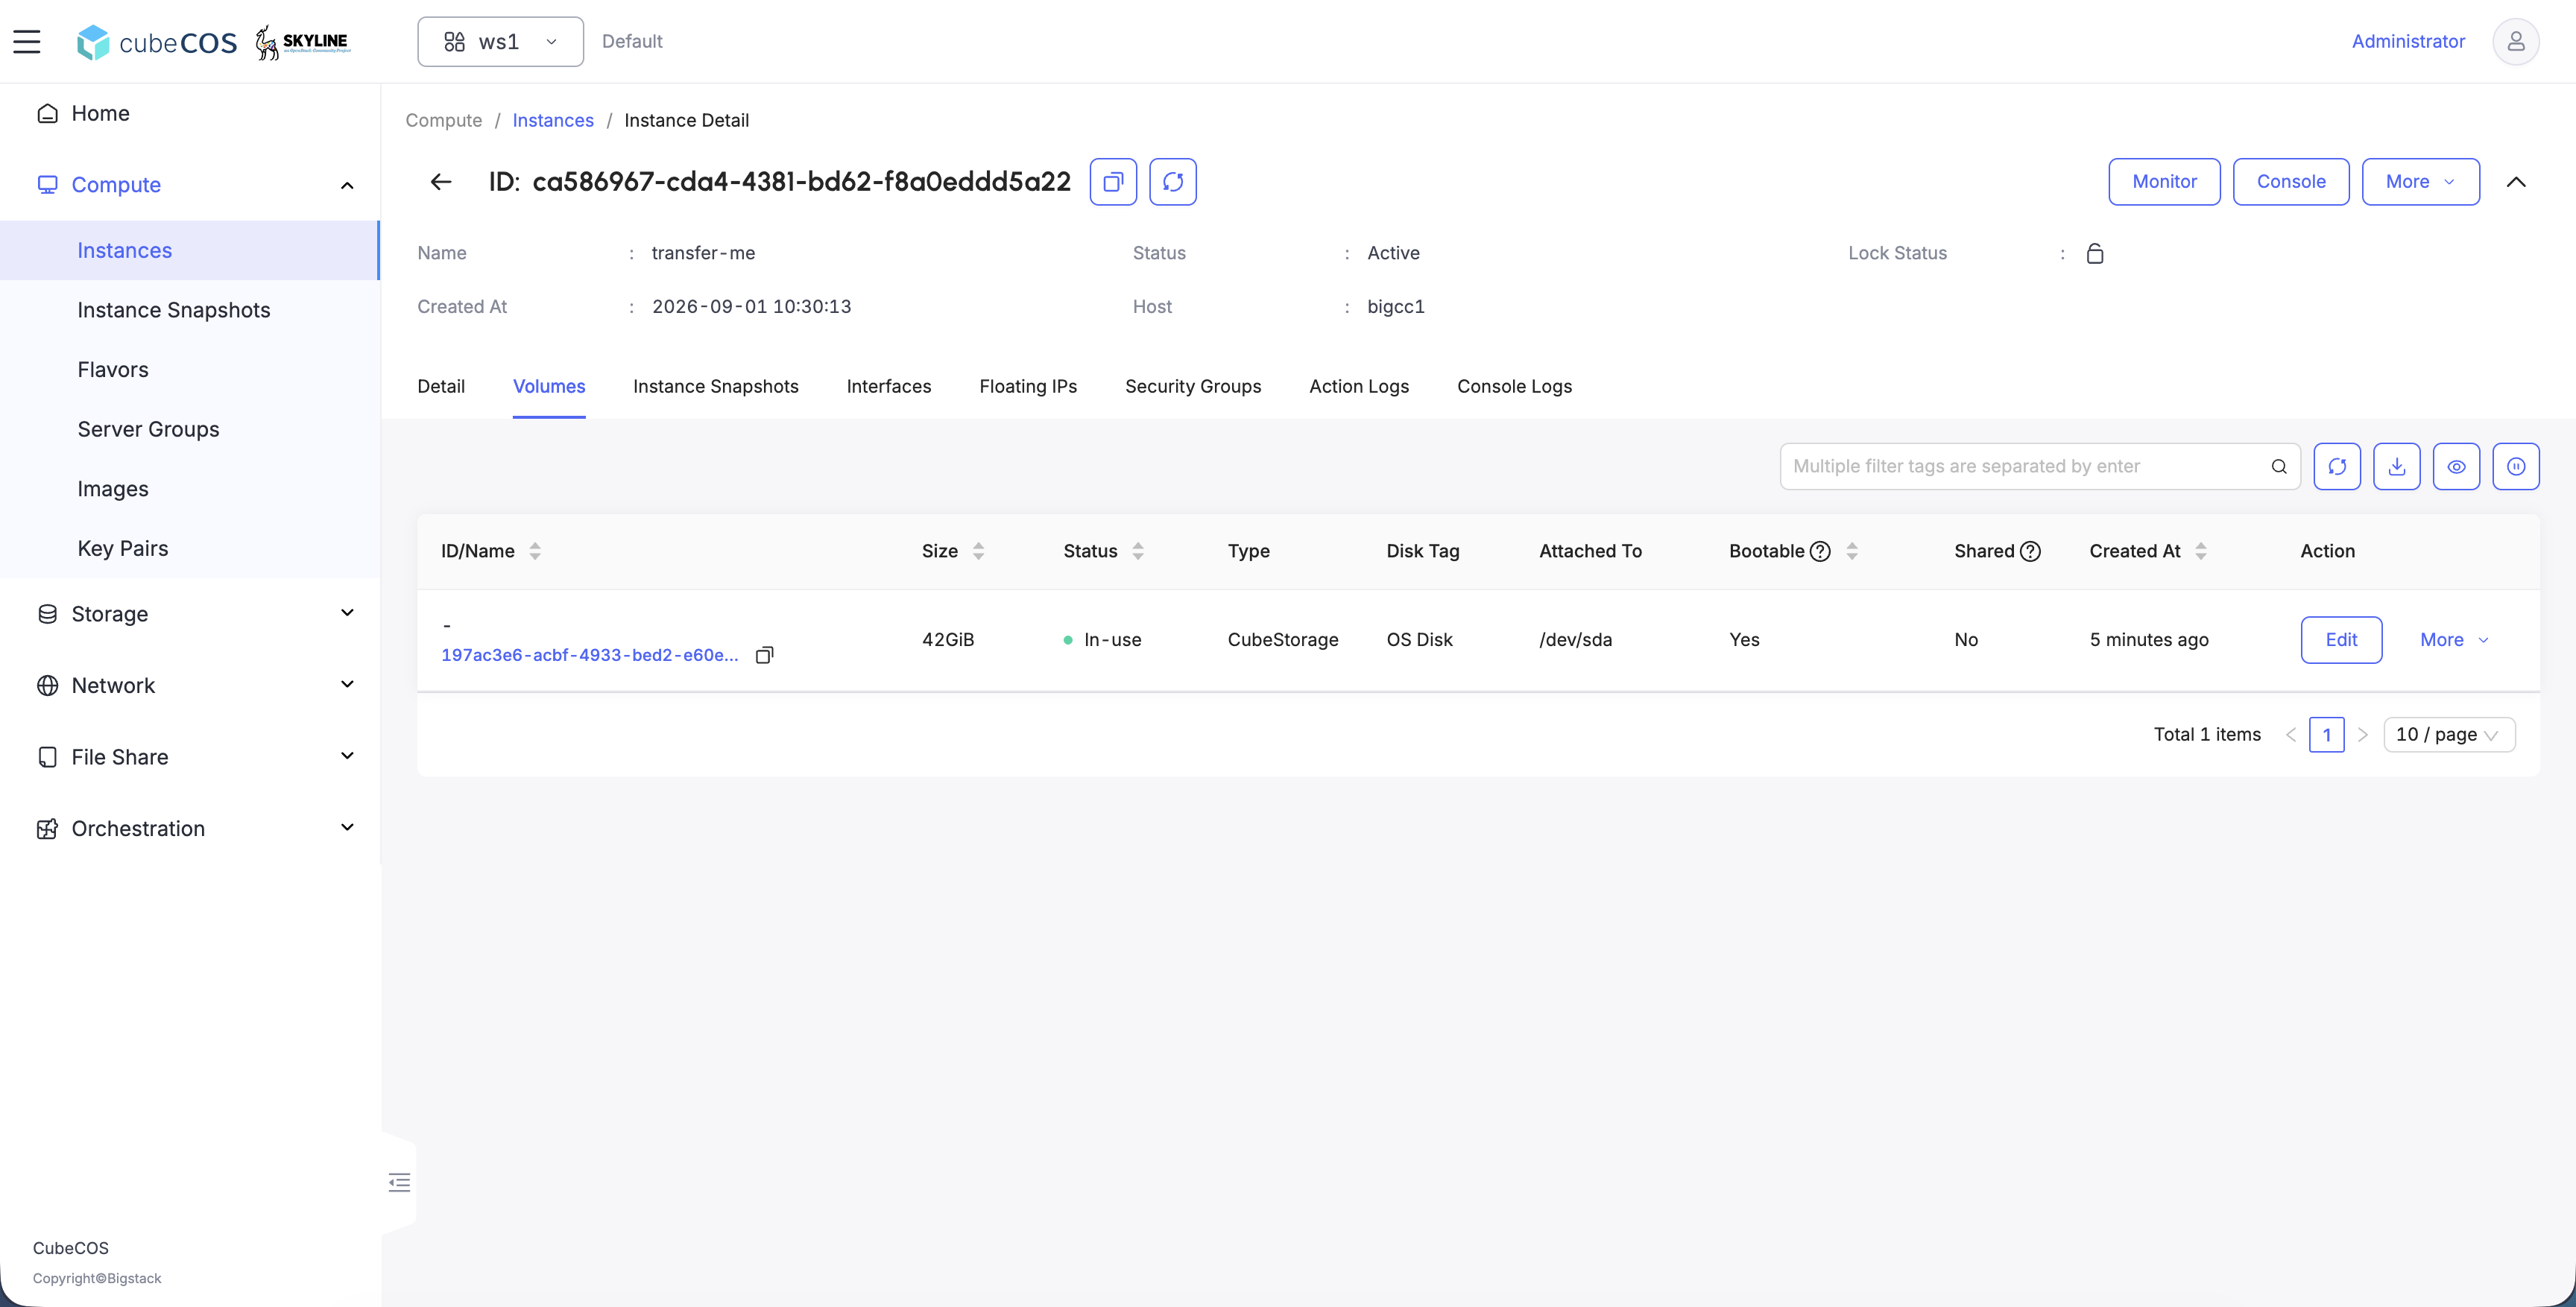
To make the volume identifiable during the transfer, select the instance to be transferred from the Instance Architecture.
-
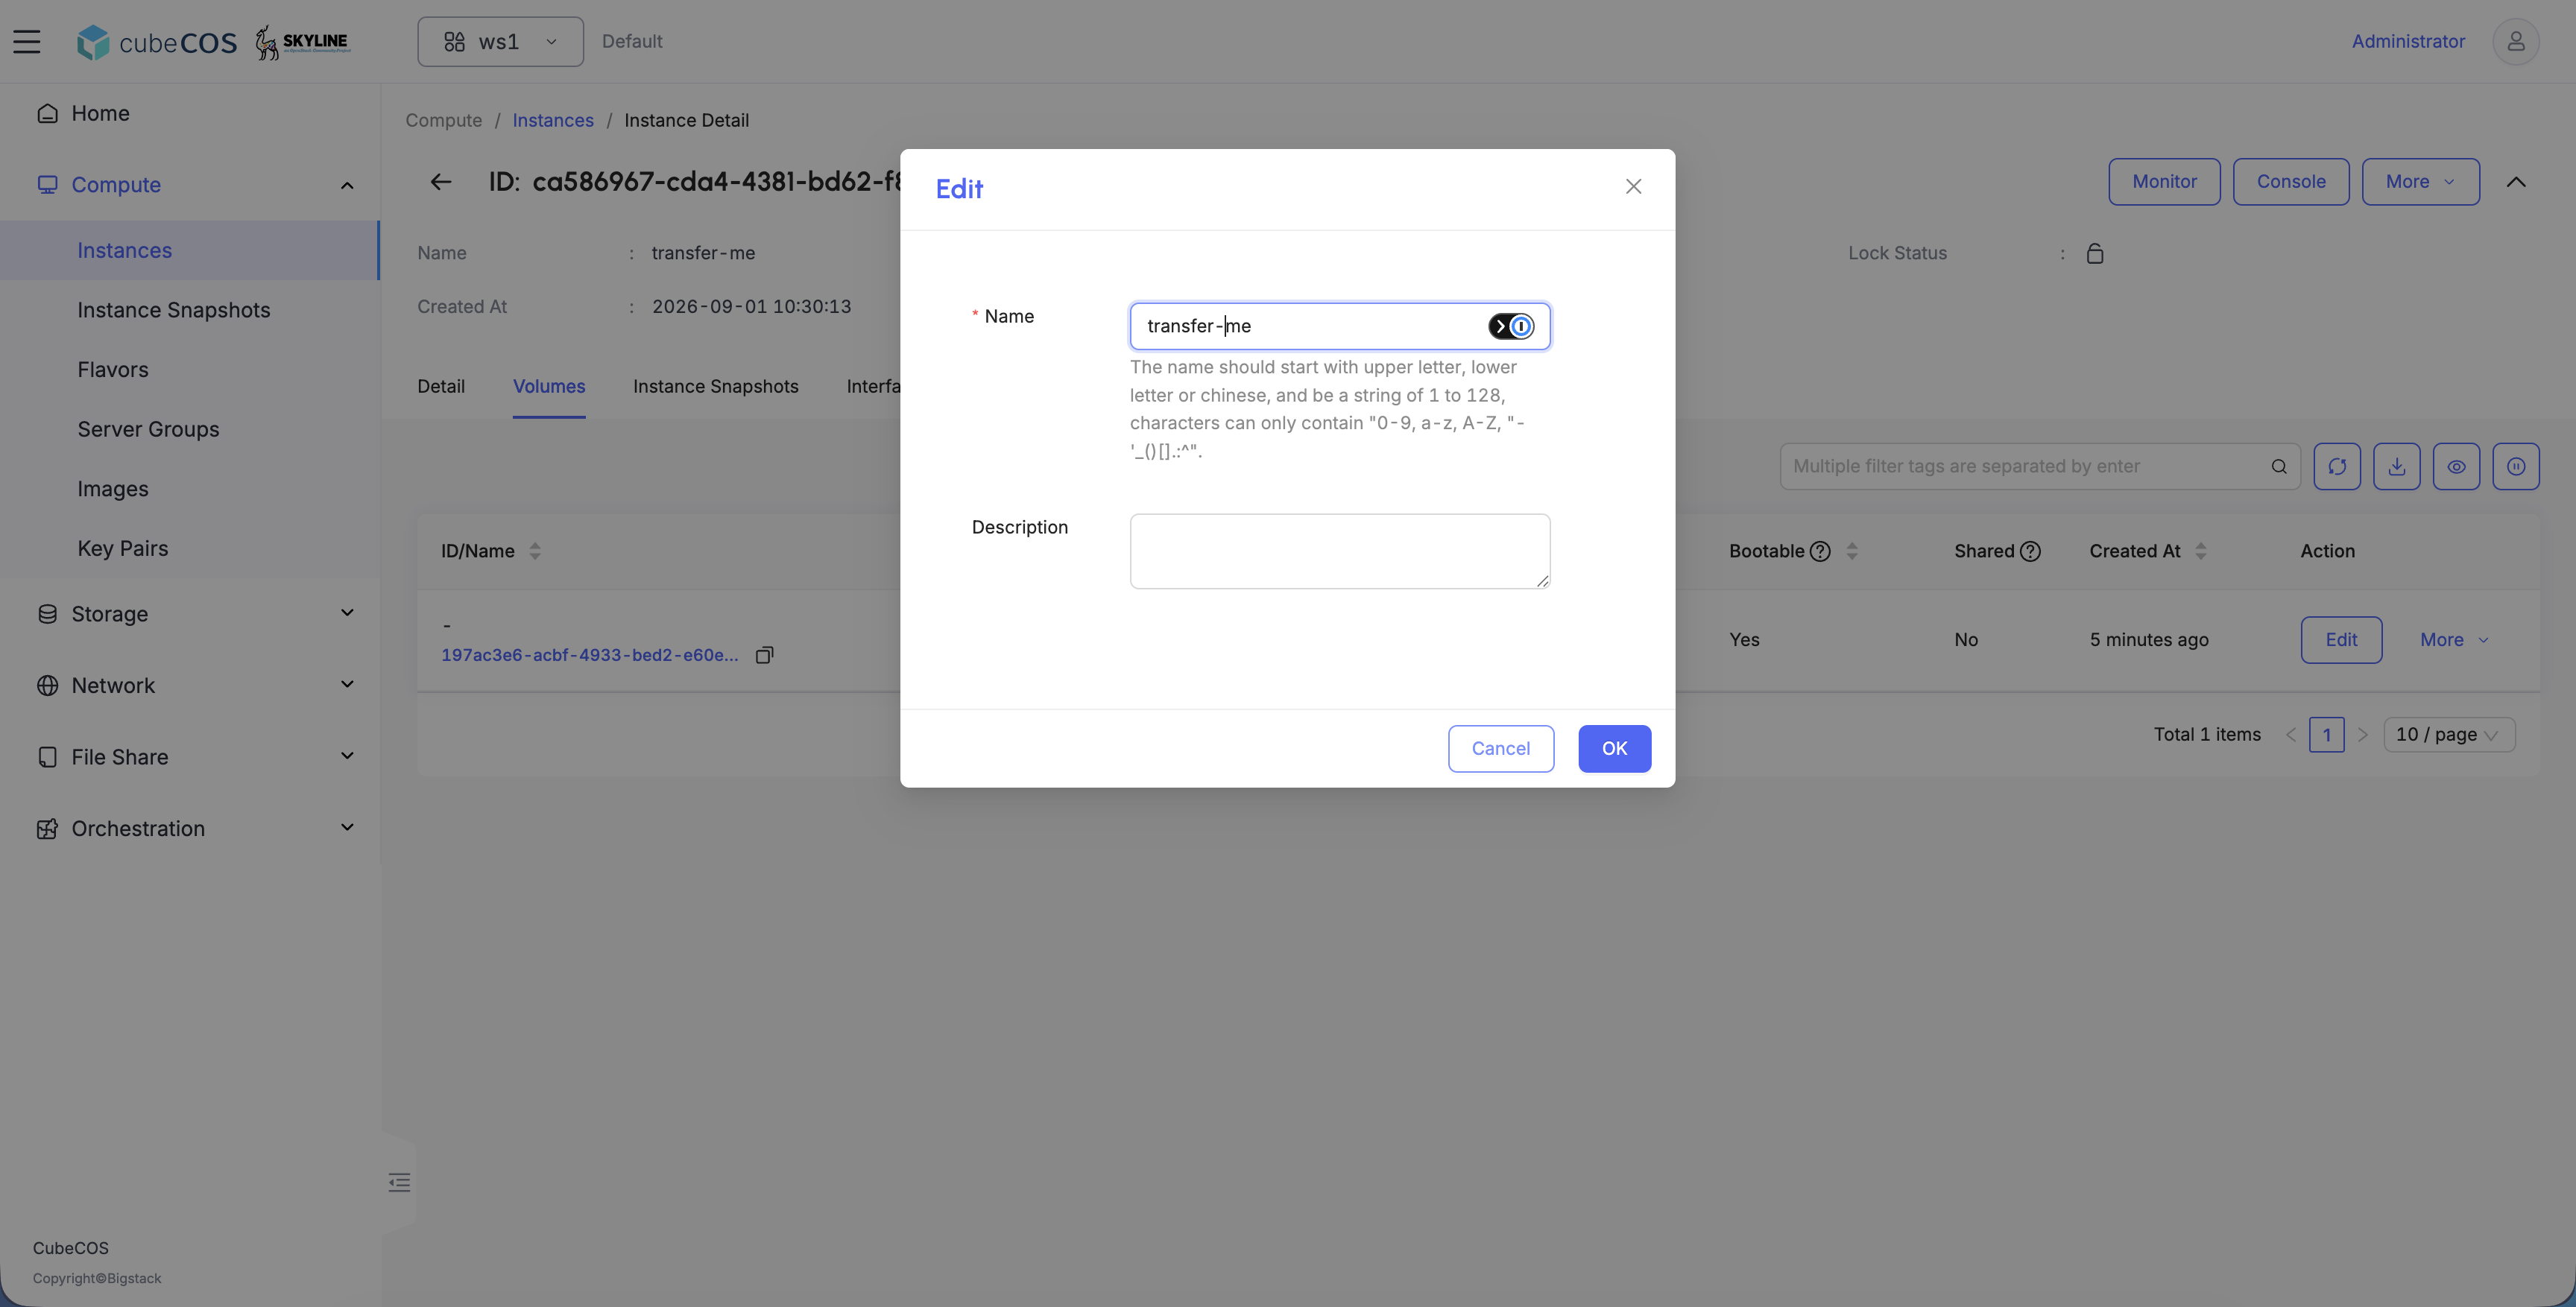
To change the volume name to an identifiable name, click Edit and input a new name.
-
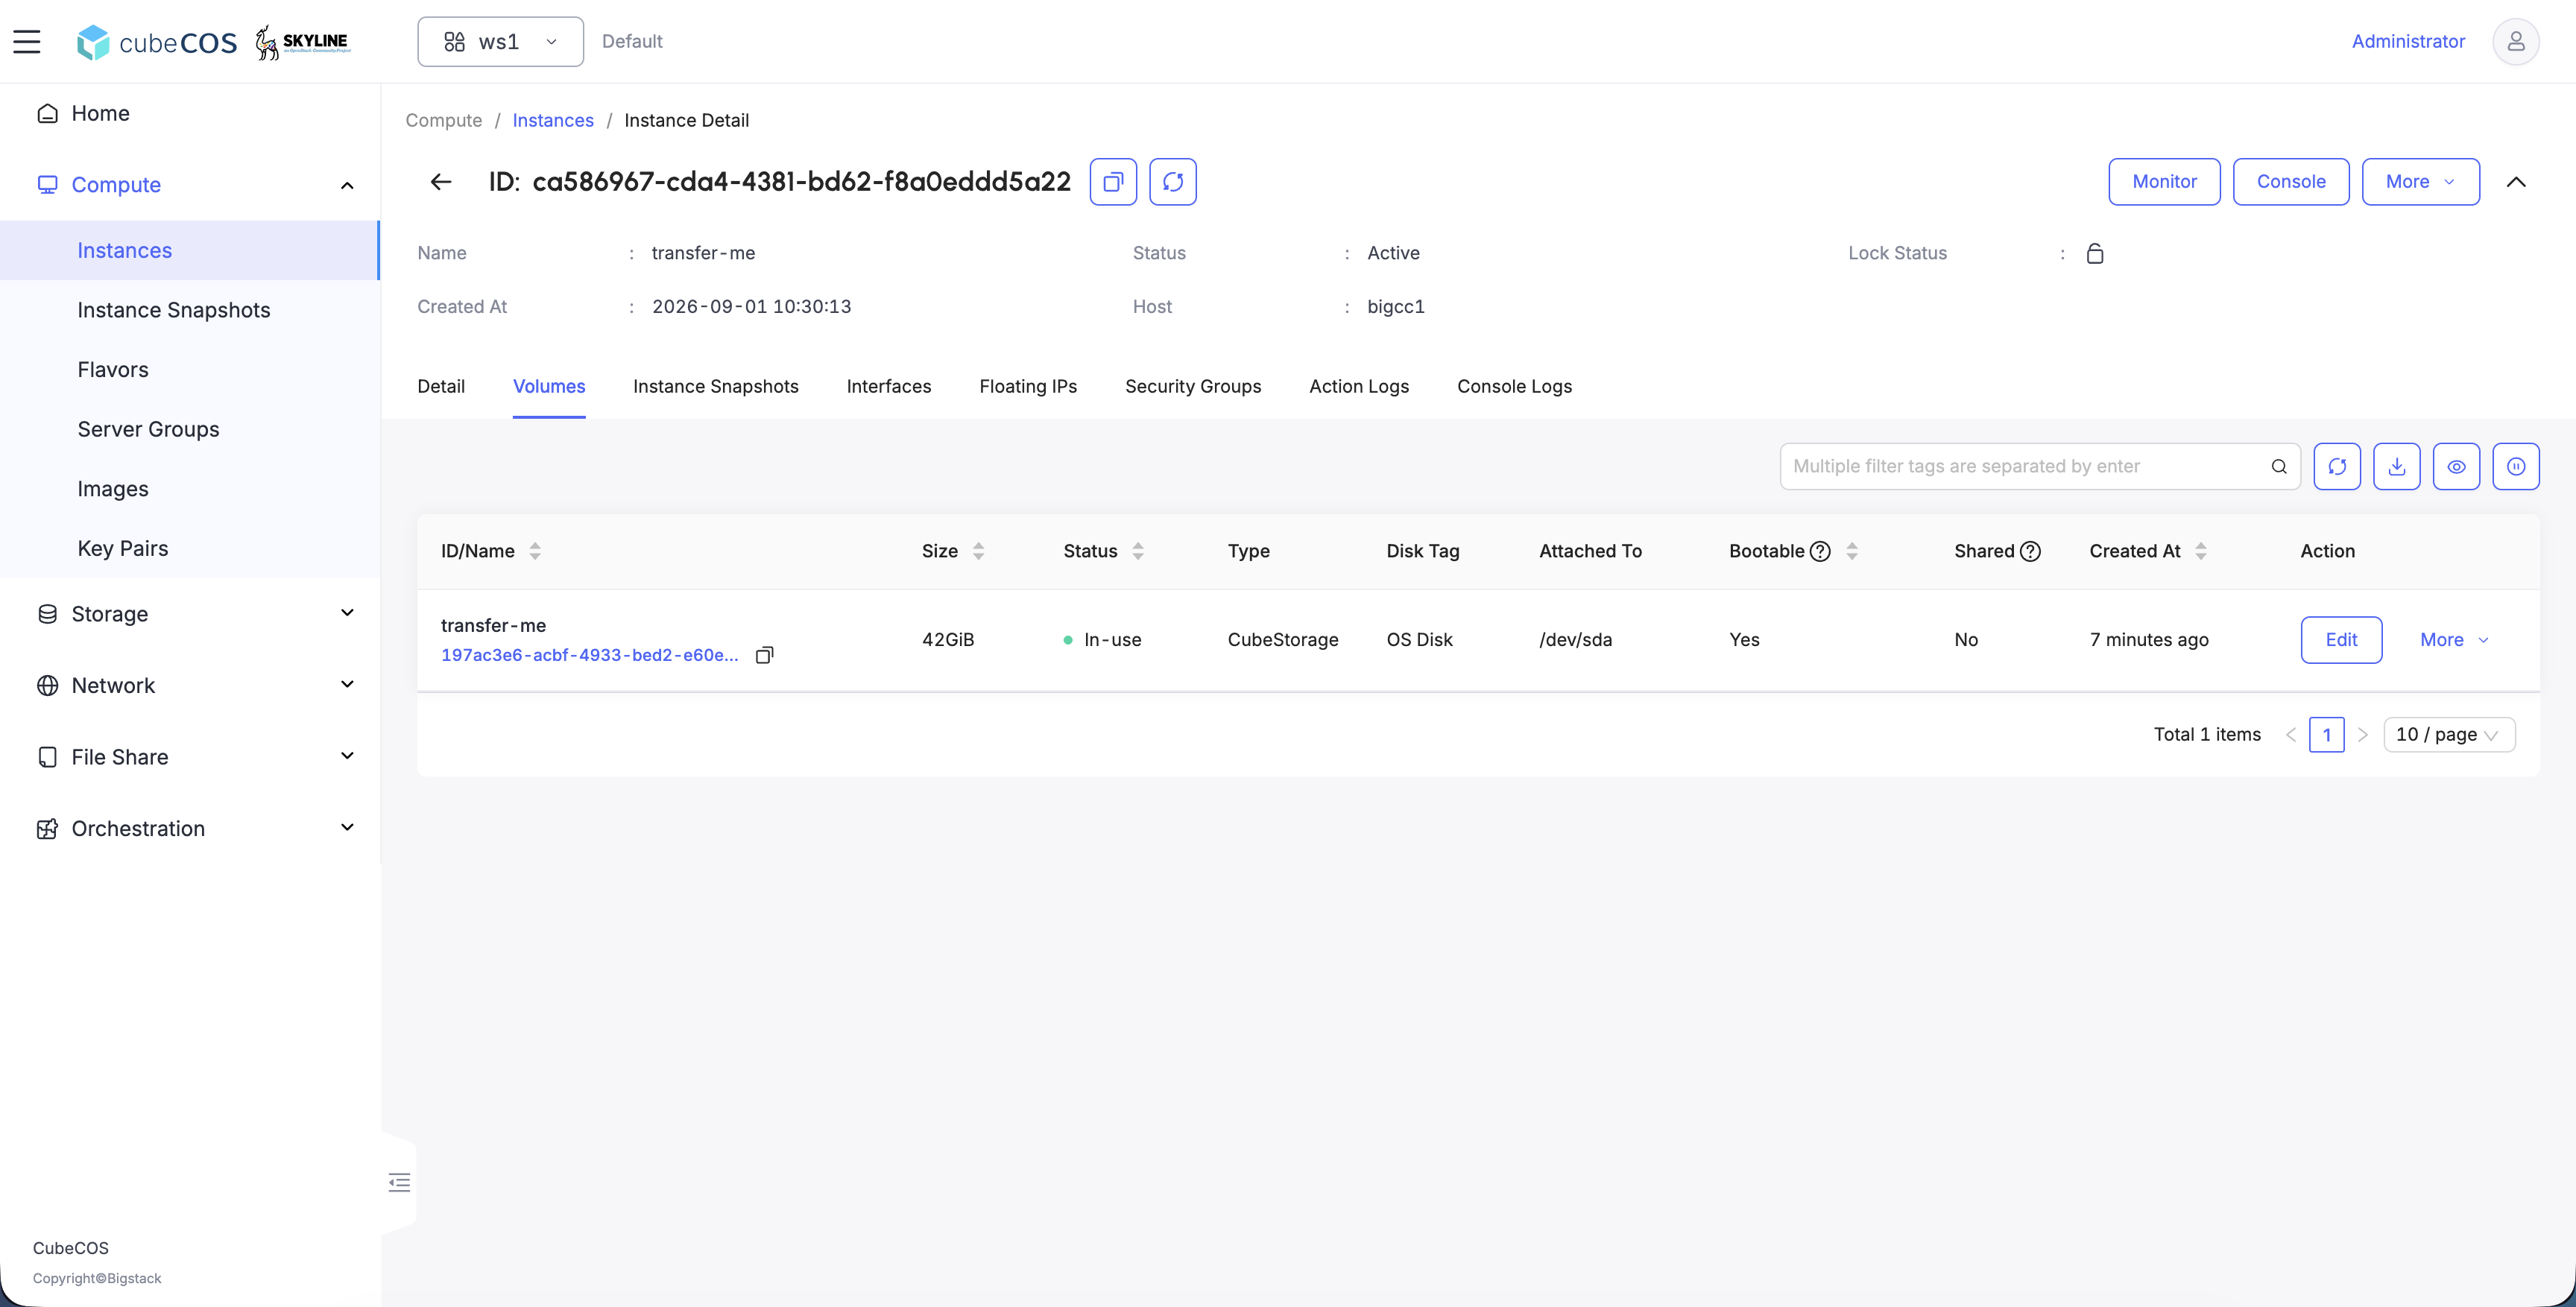
Repeat the renaming for all volumes, then verify the names are reflected in the Skyline UI.
-
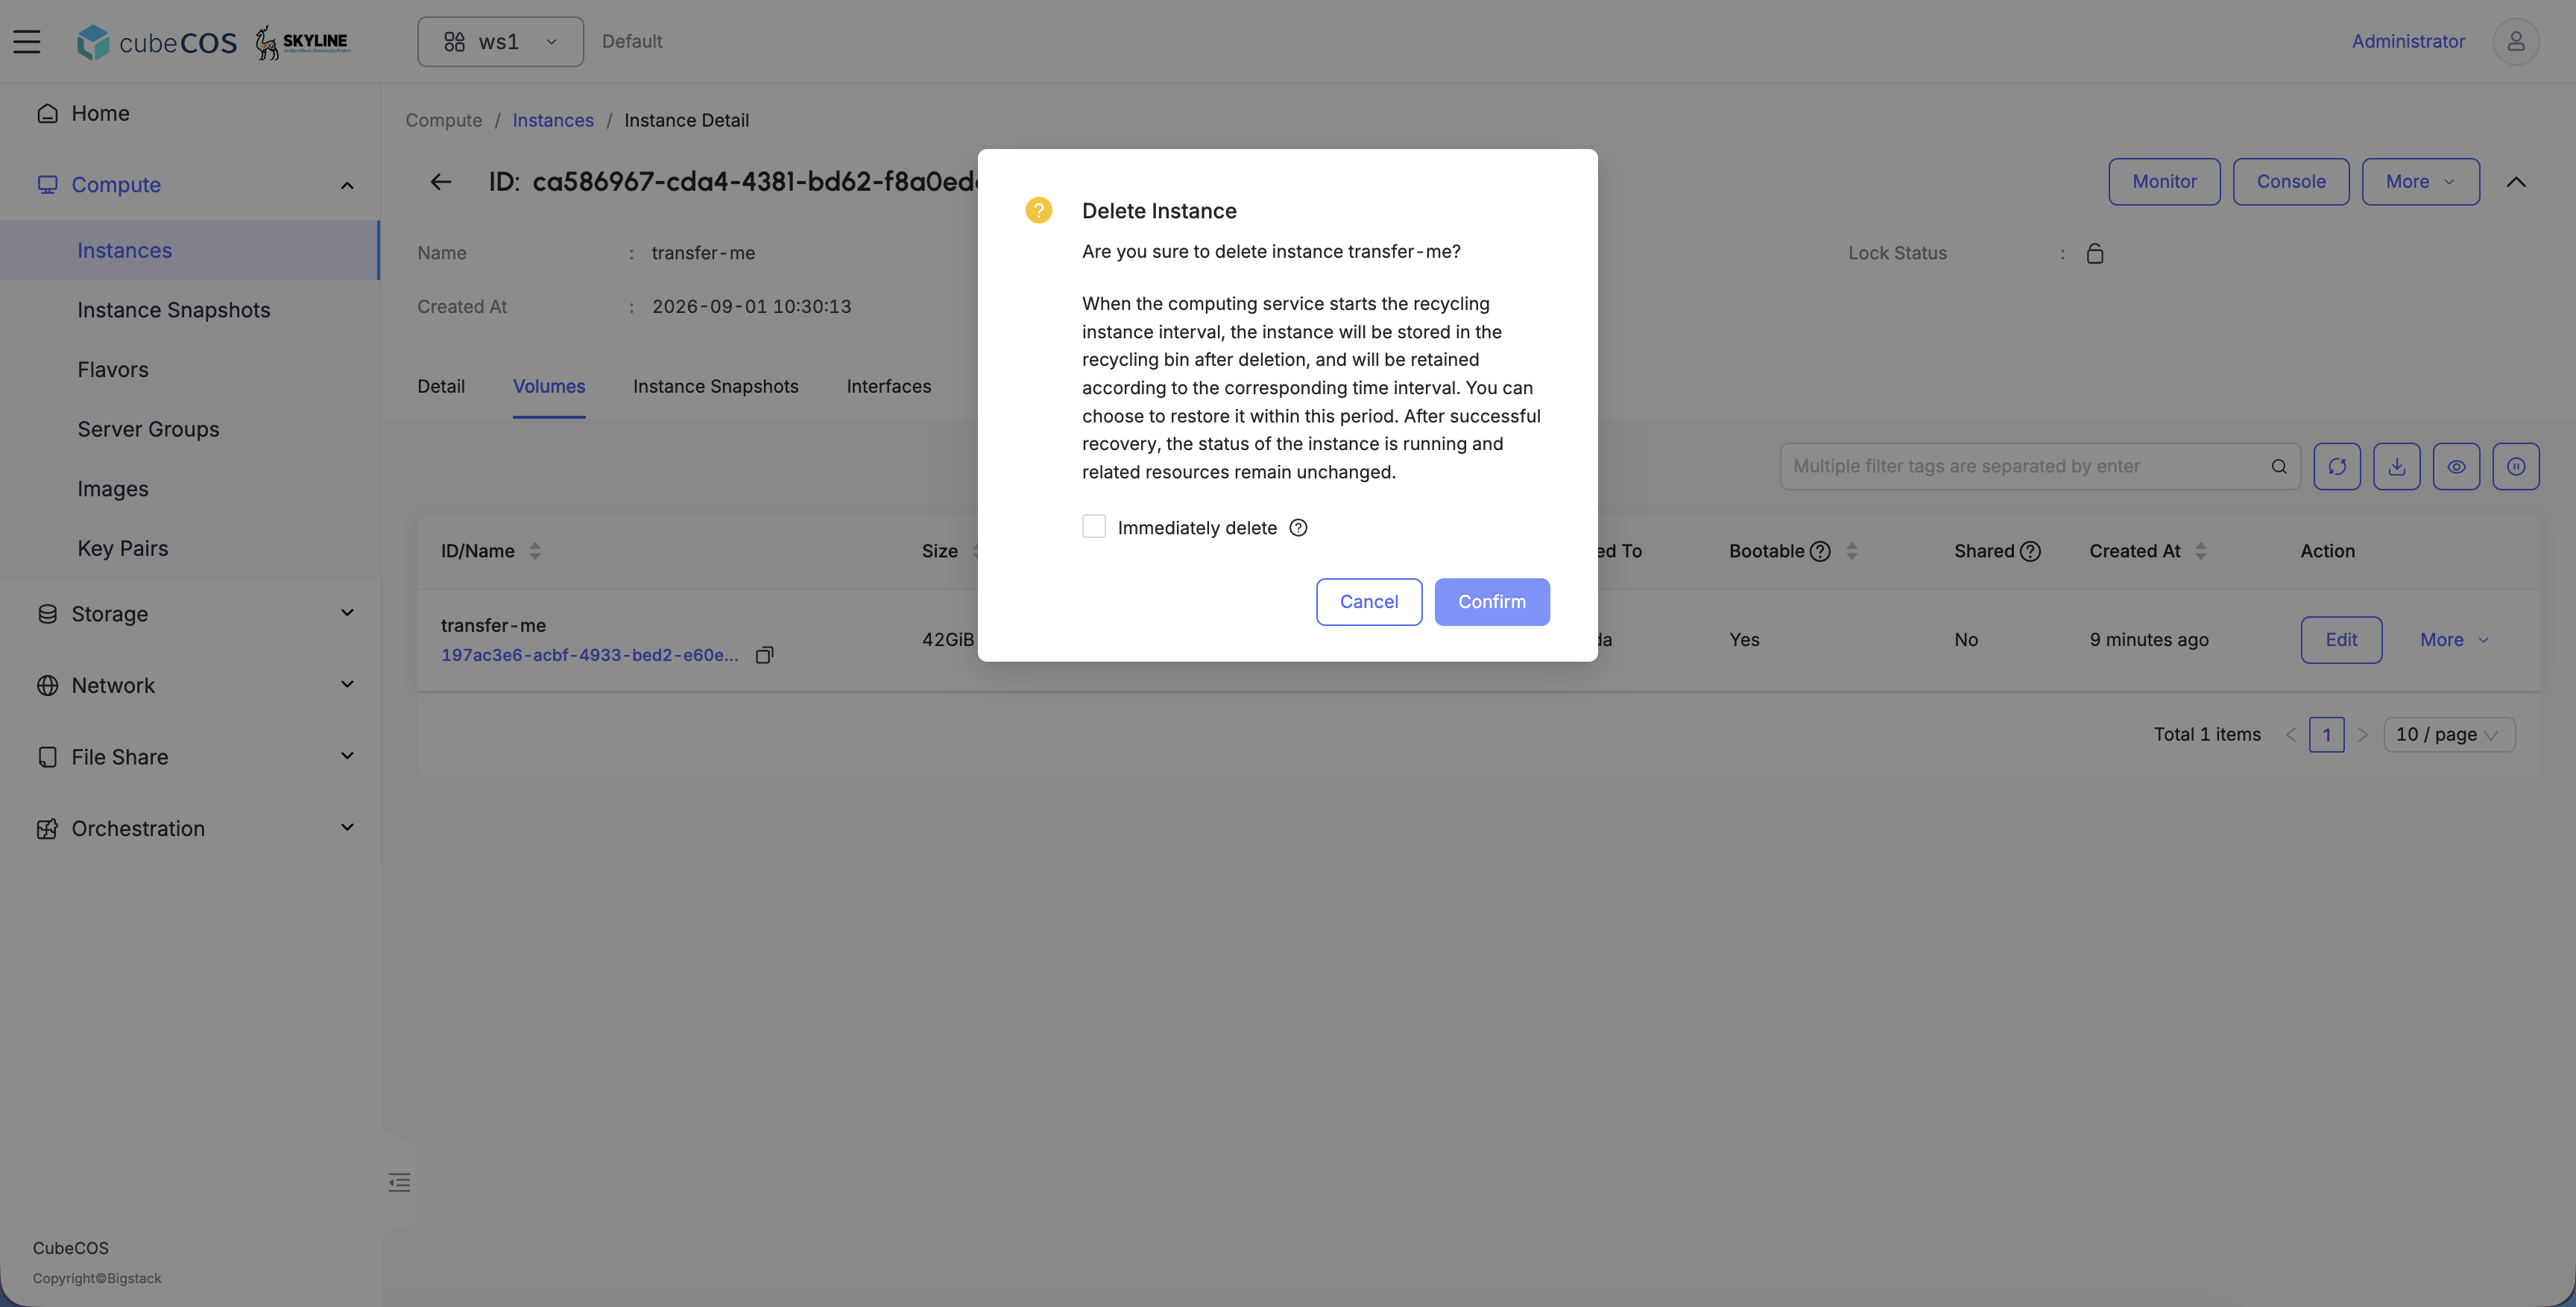
To delete the instance and start the transfer(s), click More > Delete to Delete the Instance.
warningLeave Immediate Delete unchecked.
-
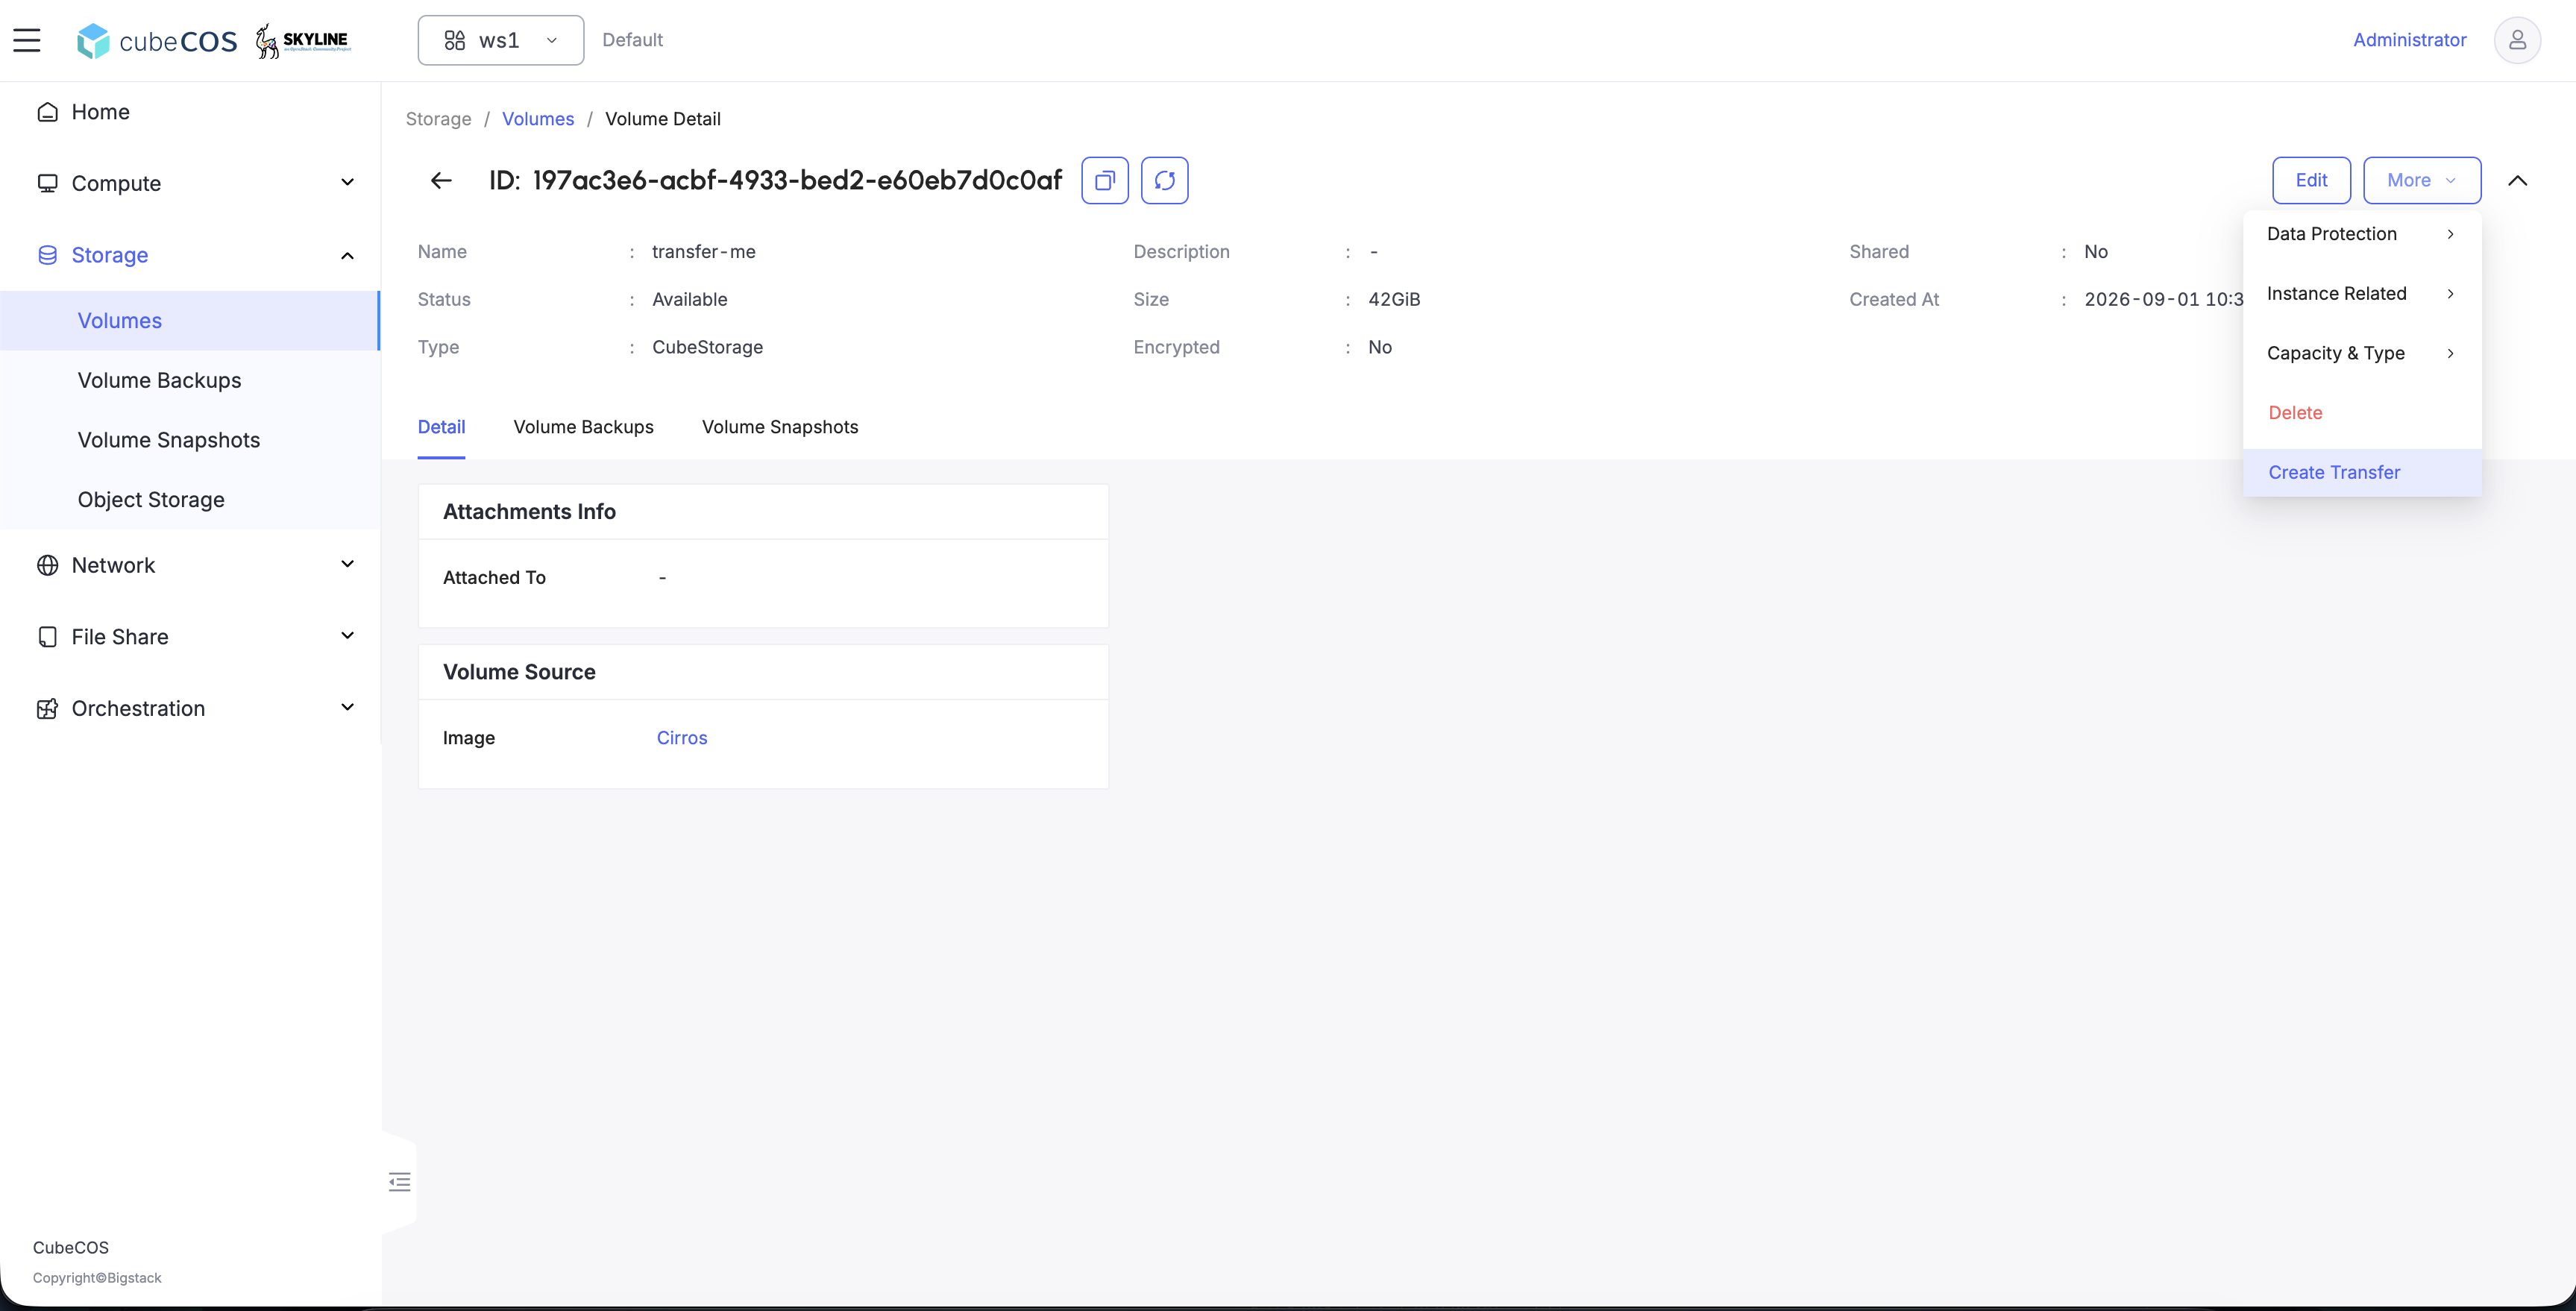
Navigate to Porject > Storage > Volumes, and select the volume to transfer.
-
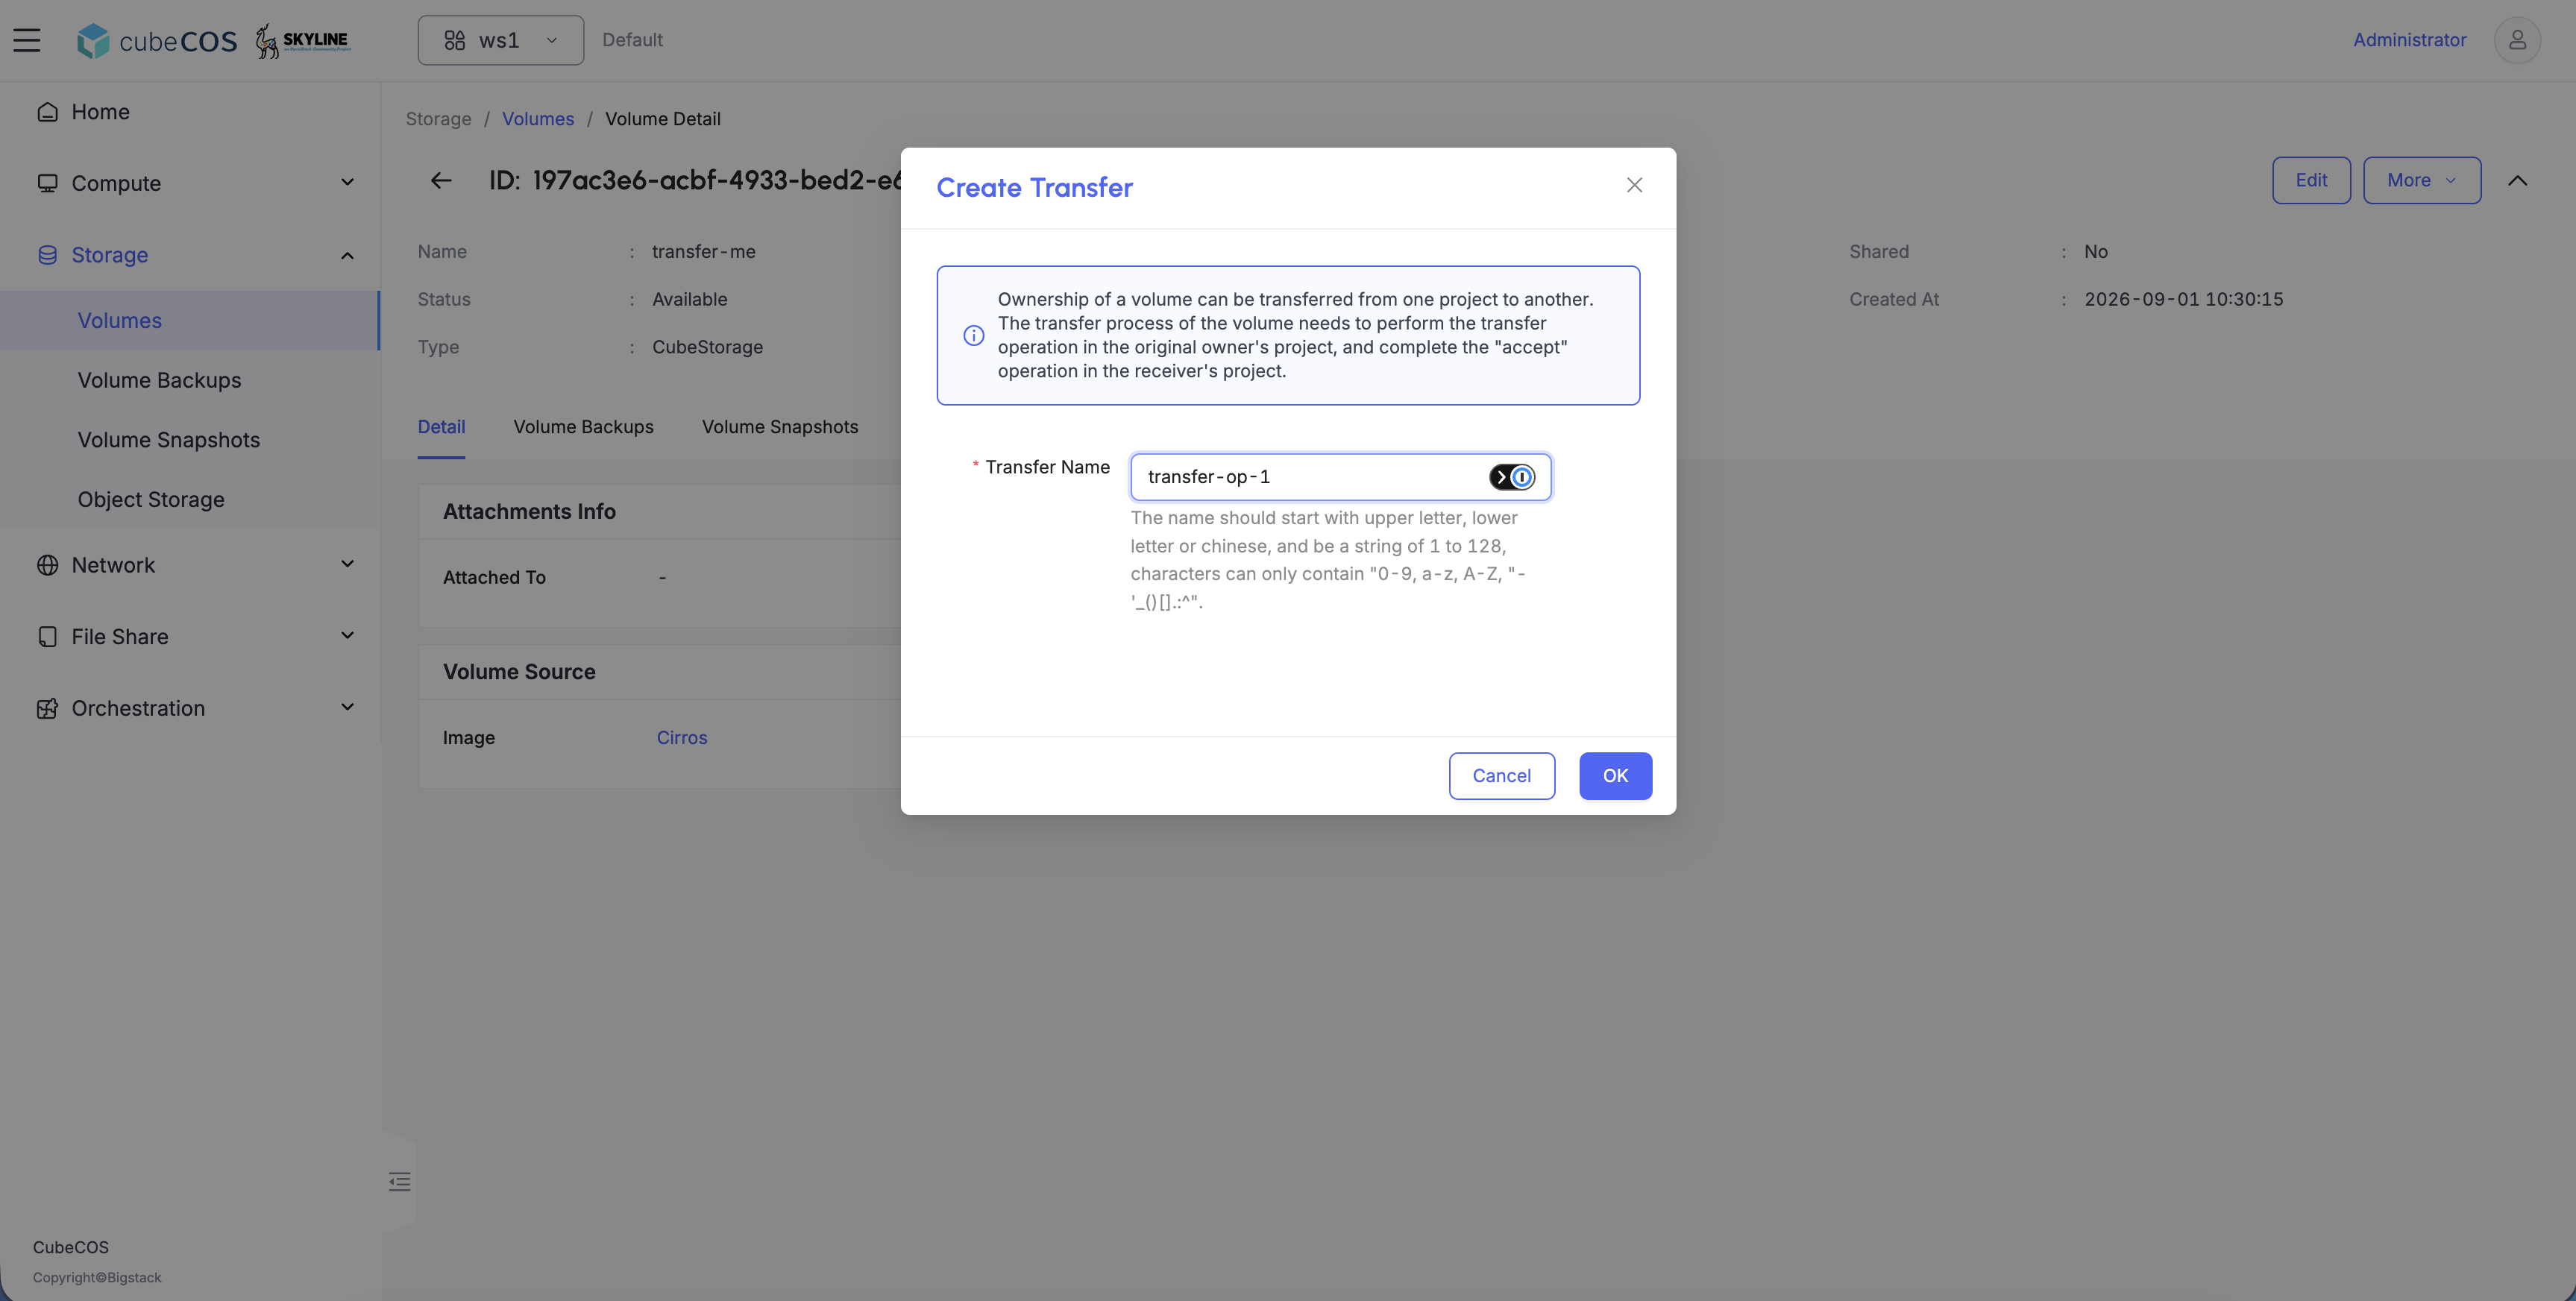
To begin the transfer operation after verifying volume details, click More > Create Transfer.
- Transfer Name: Enter a transfer operation name.
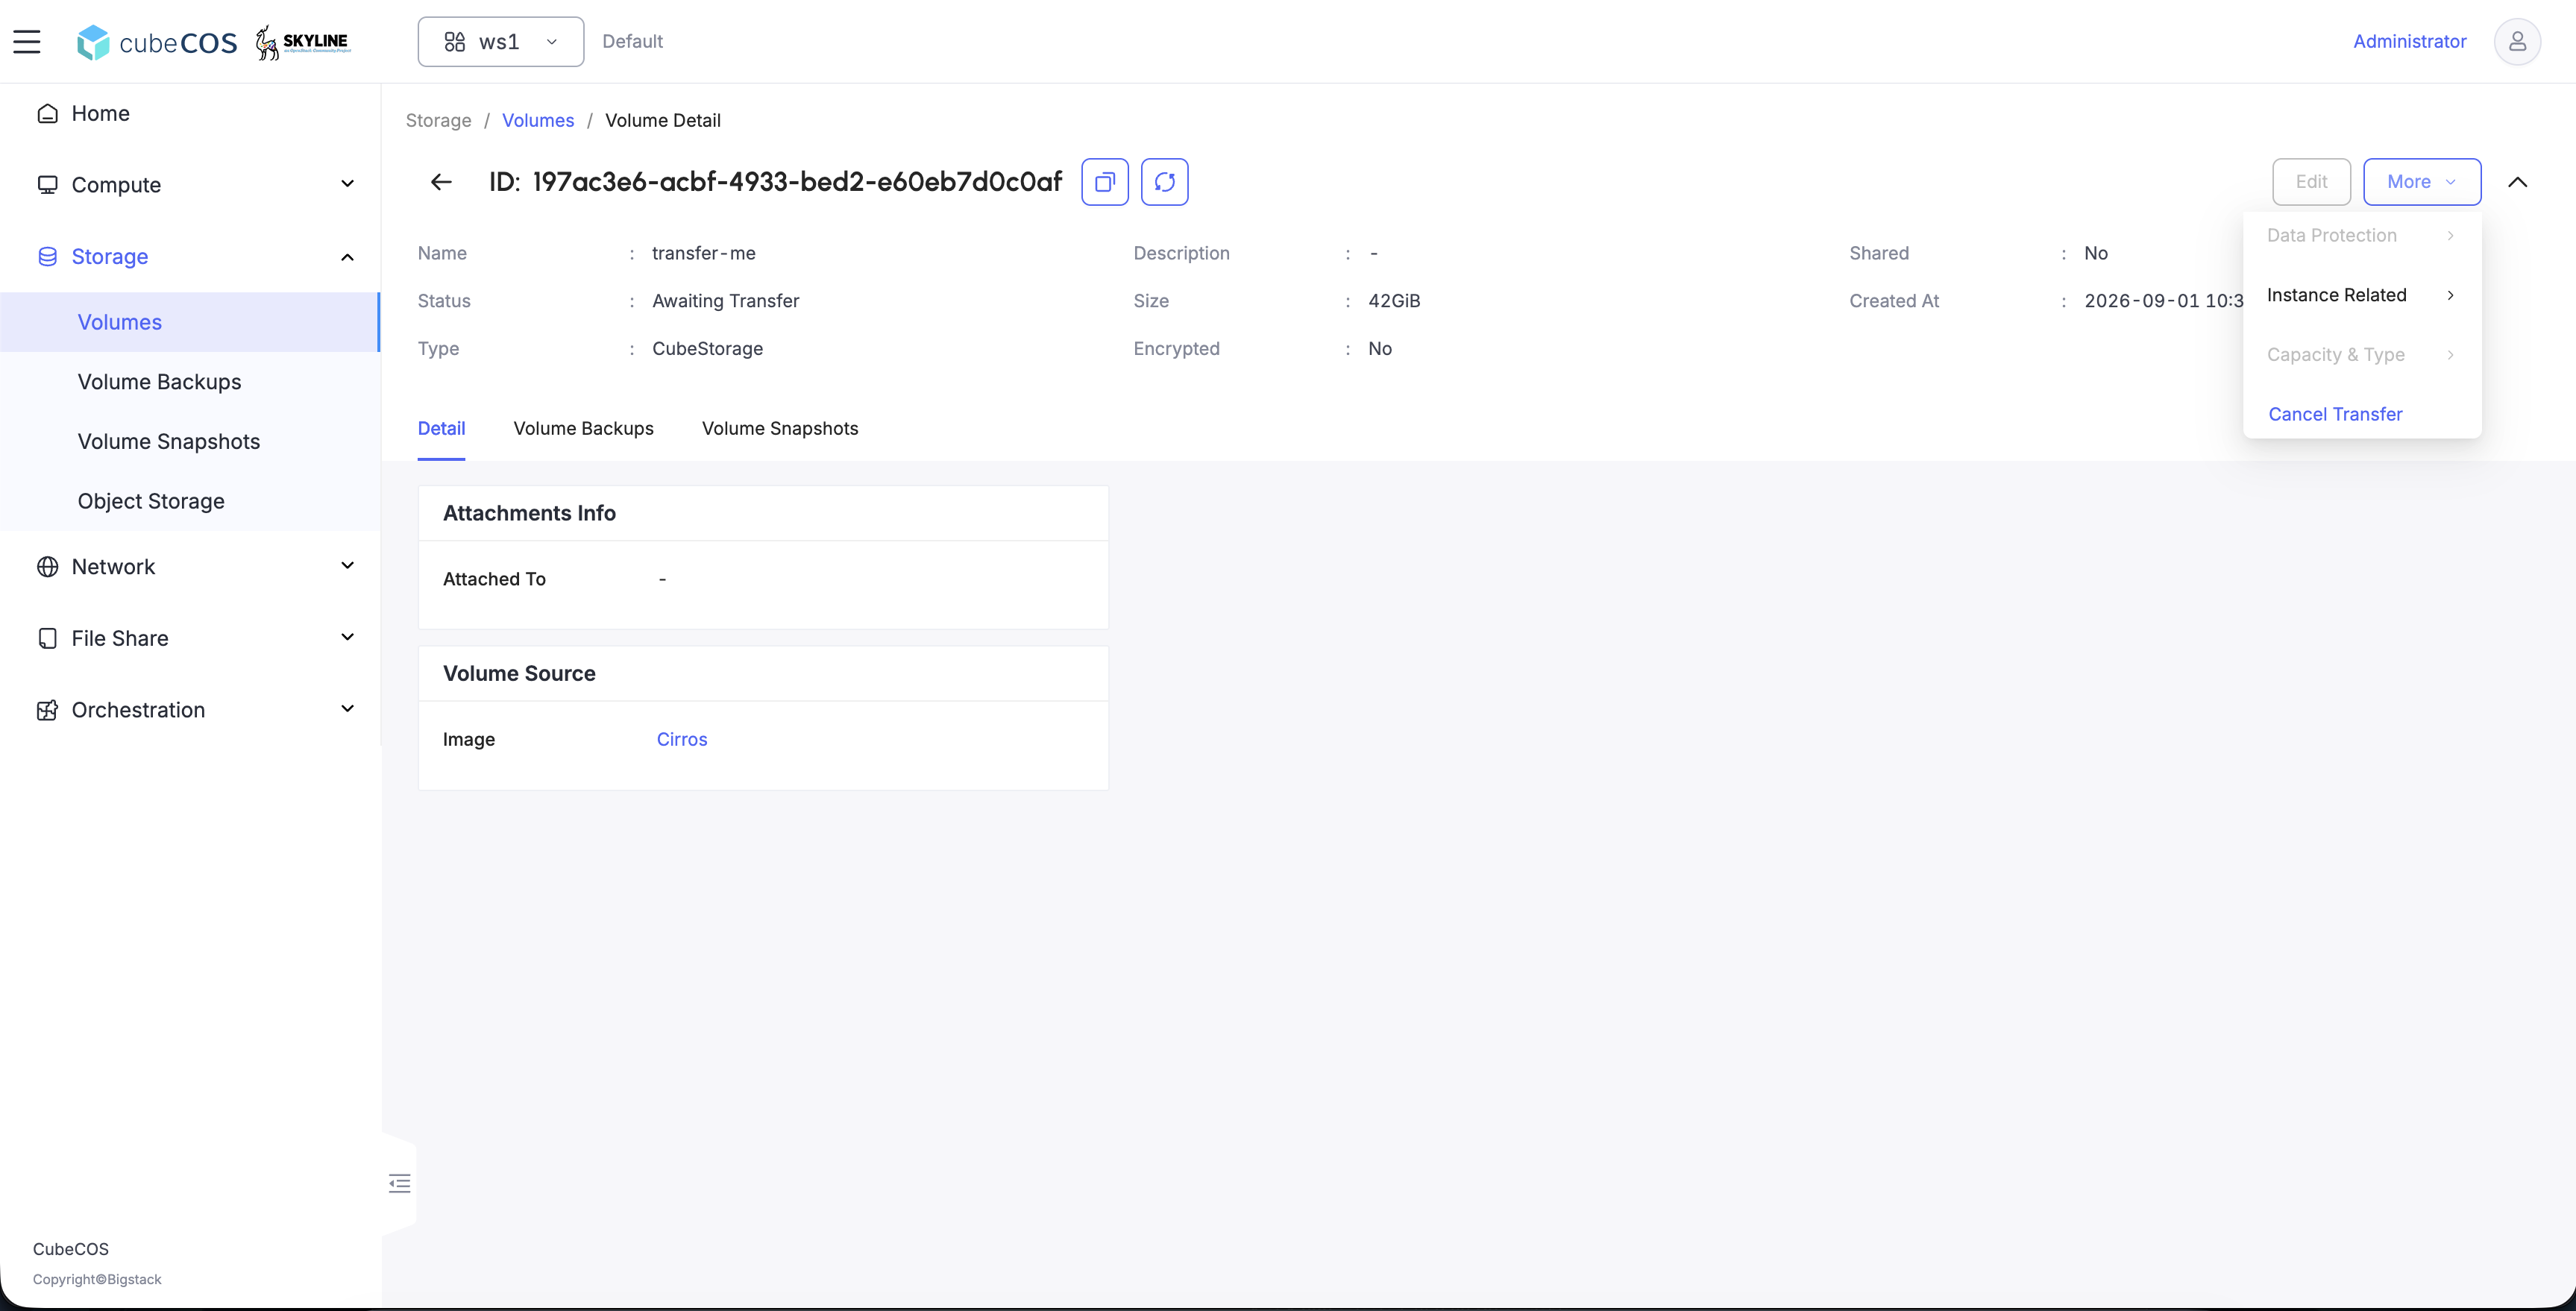
-
A transfer file downloads automatically containing information of the transfer, verfiy the following information:
- Transfer Name: This should match the name of the transfer entered in the previous step.
- Transfer ID: Unique transfer ID.
- Auth Key: Transfer auth key, keep this private.
-
Continue to accep the transfer in the destination project.
Accept the volume transfer
-
Switch to the destination project.
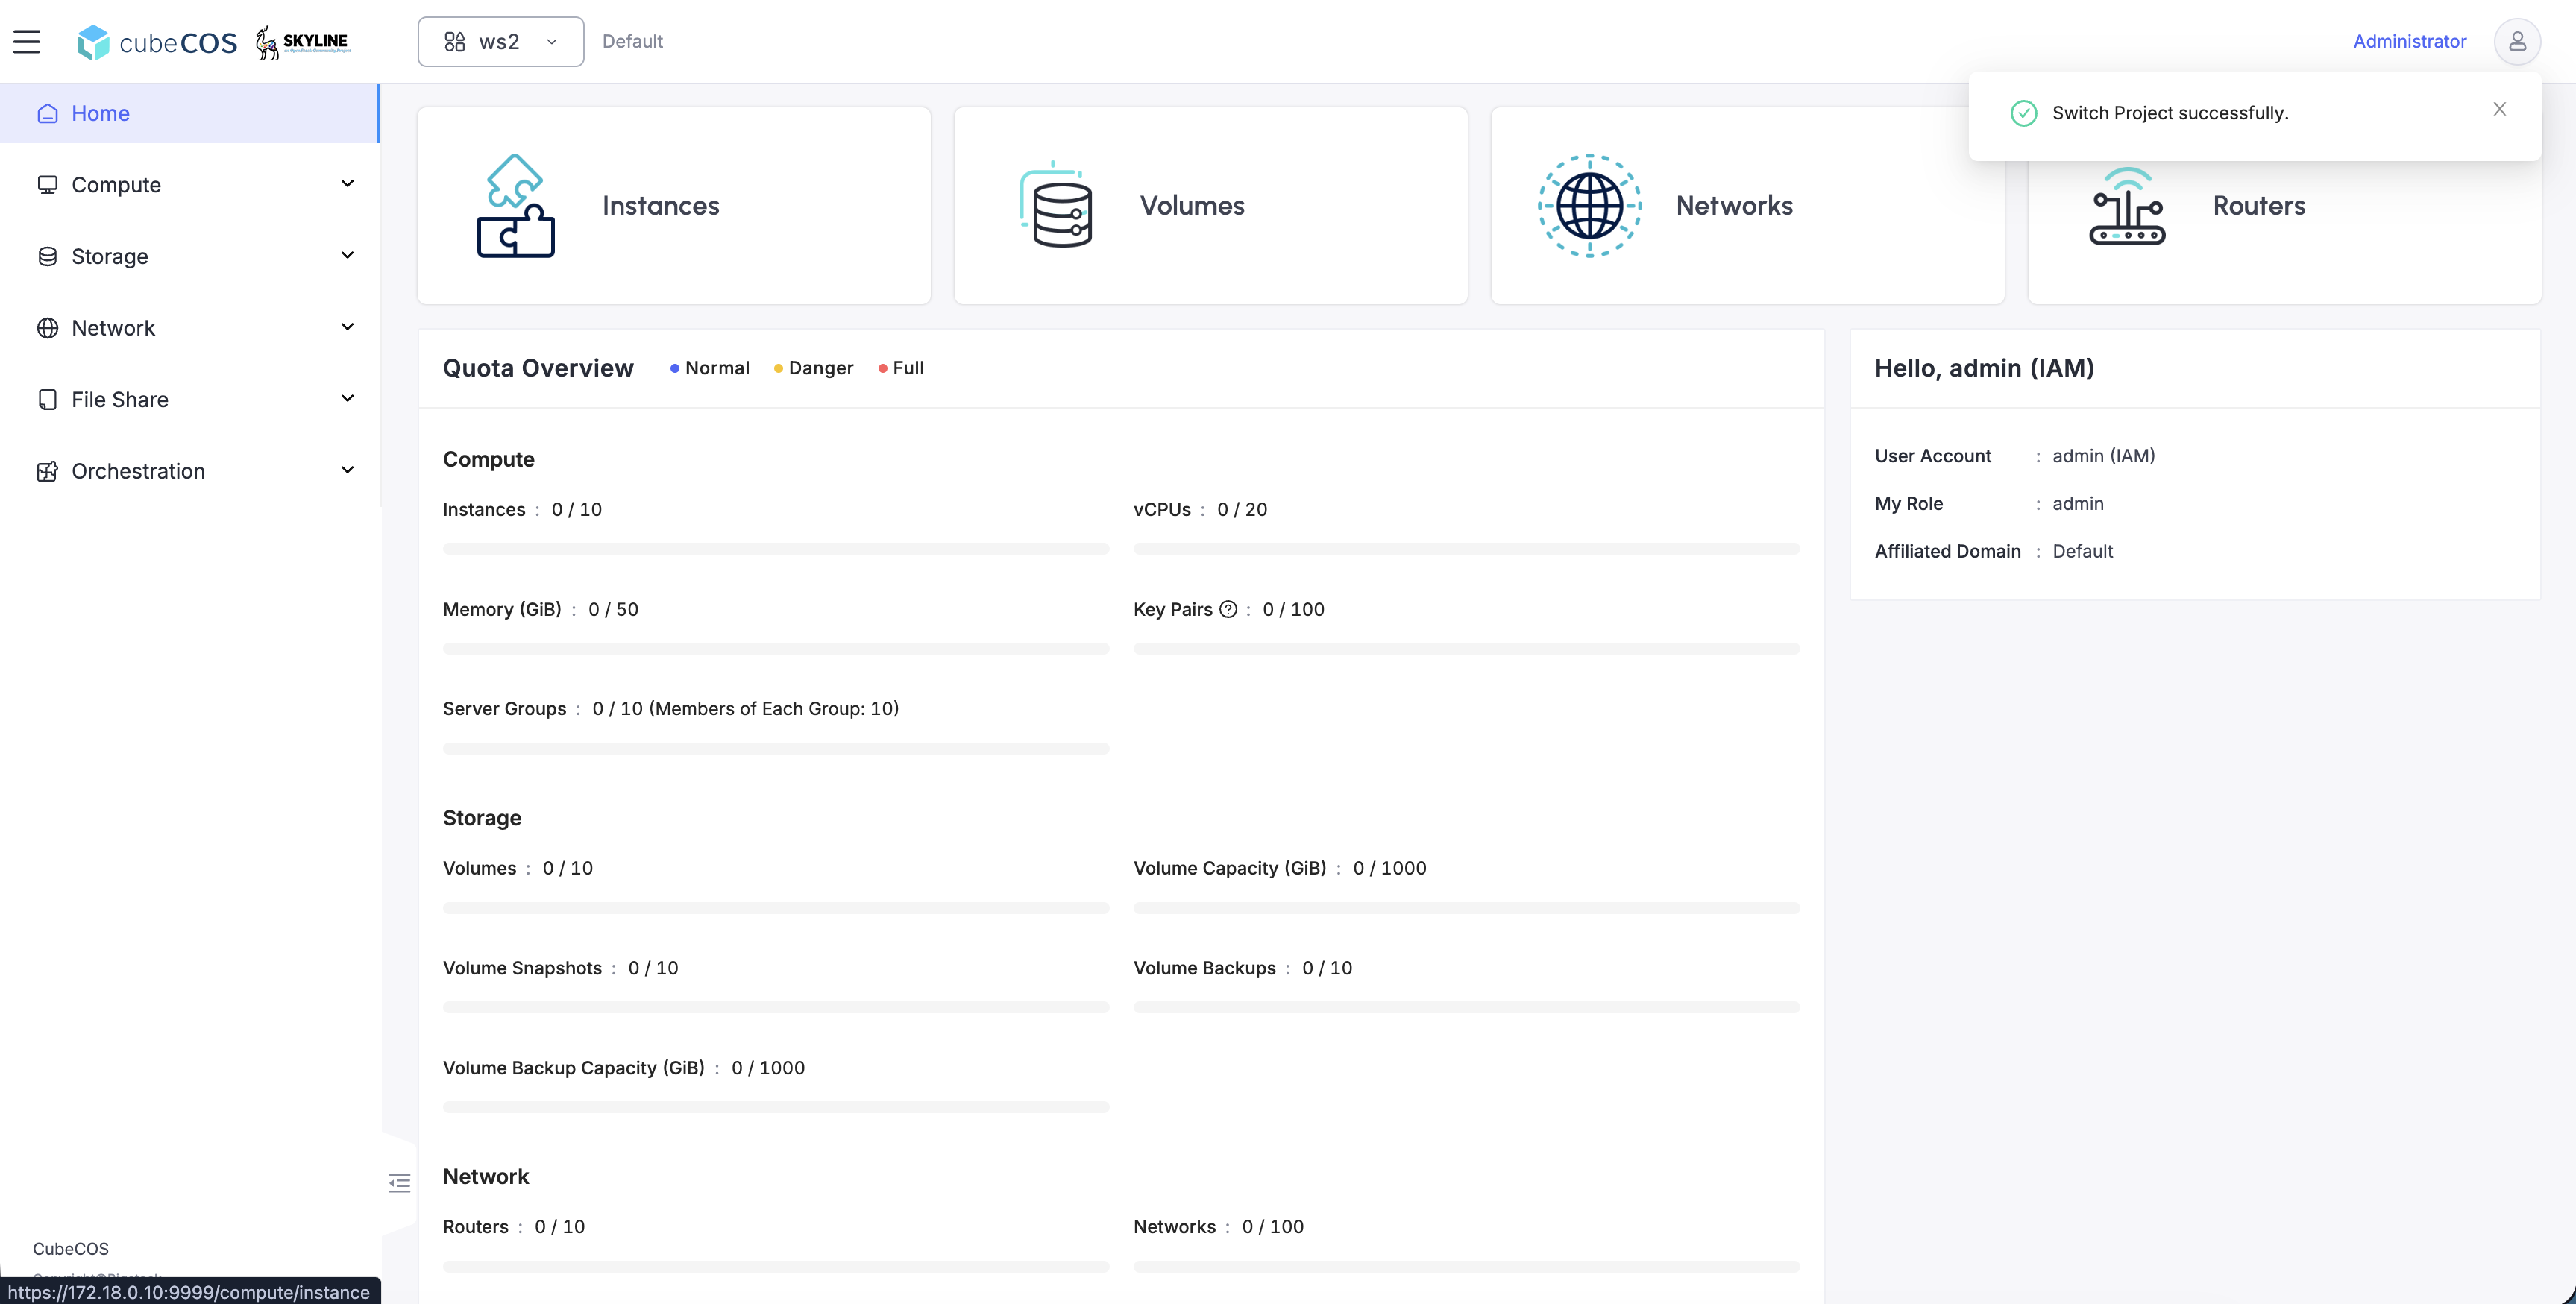
-
Navigate to Project > Storage > Volumes, and click
Accept Volume Transfer.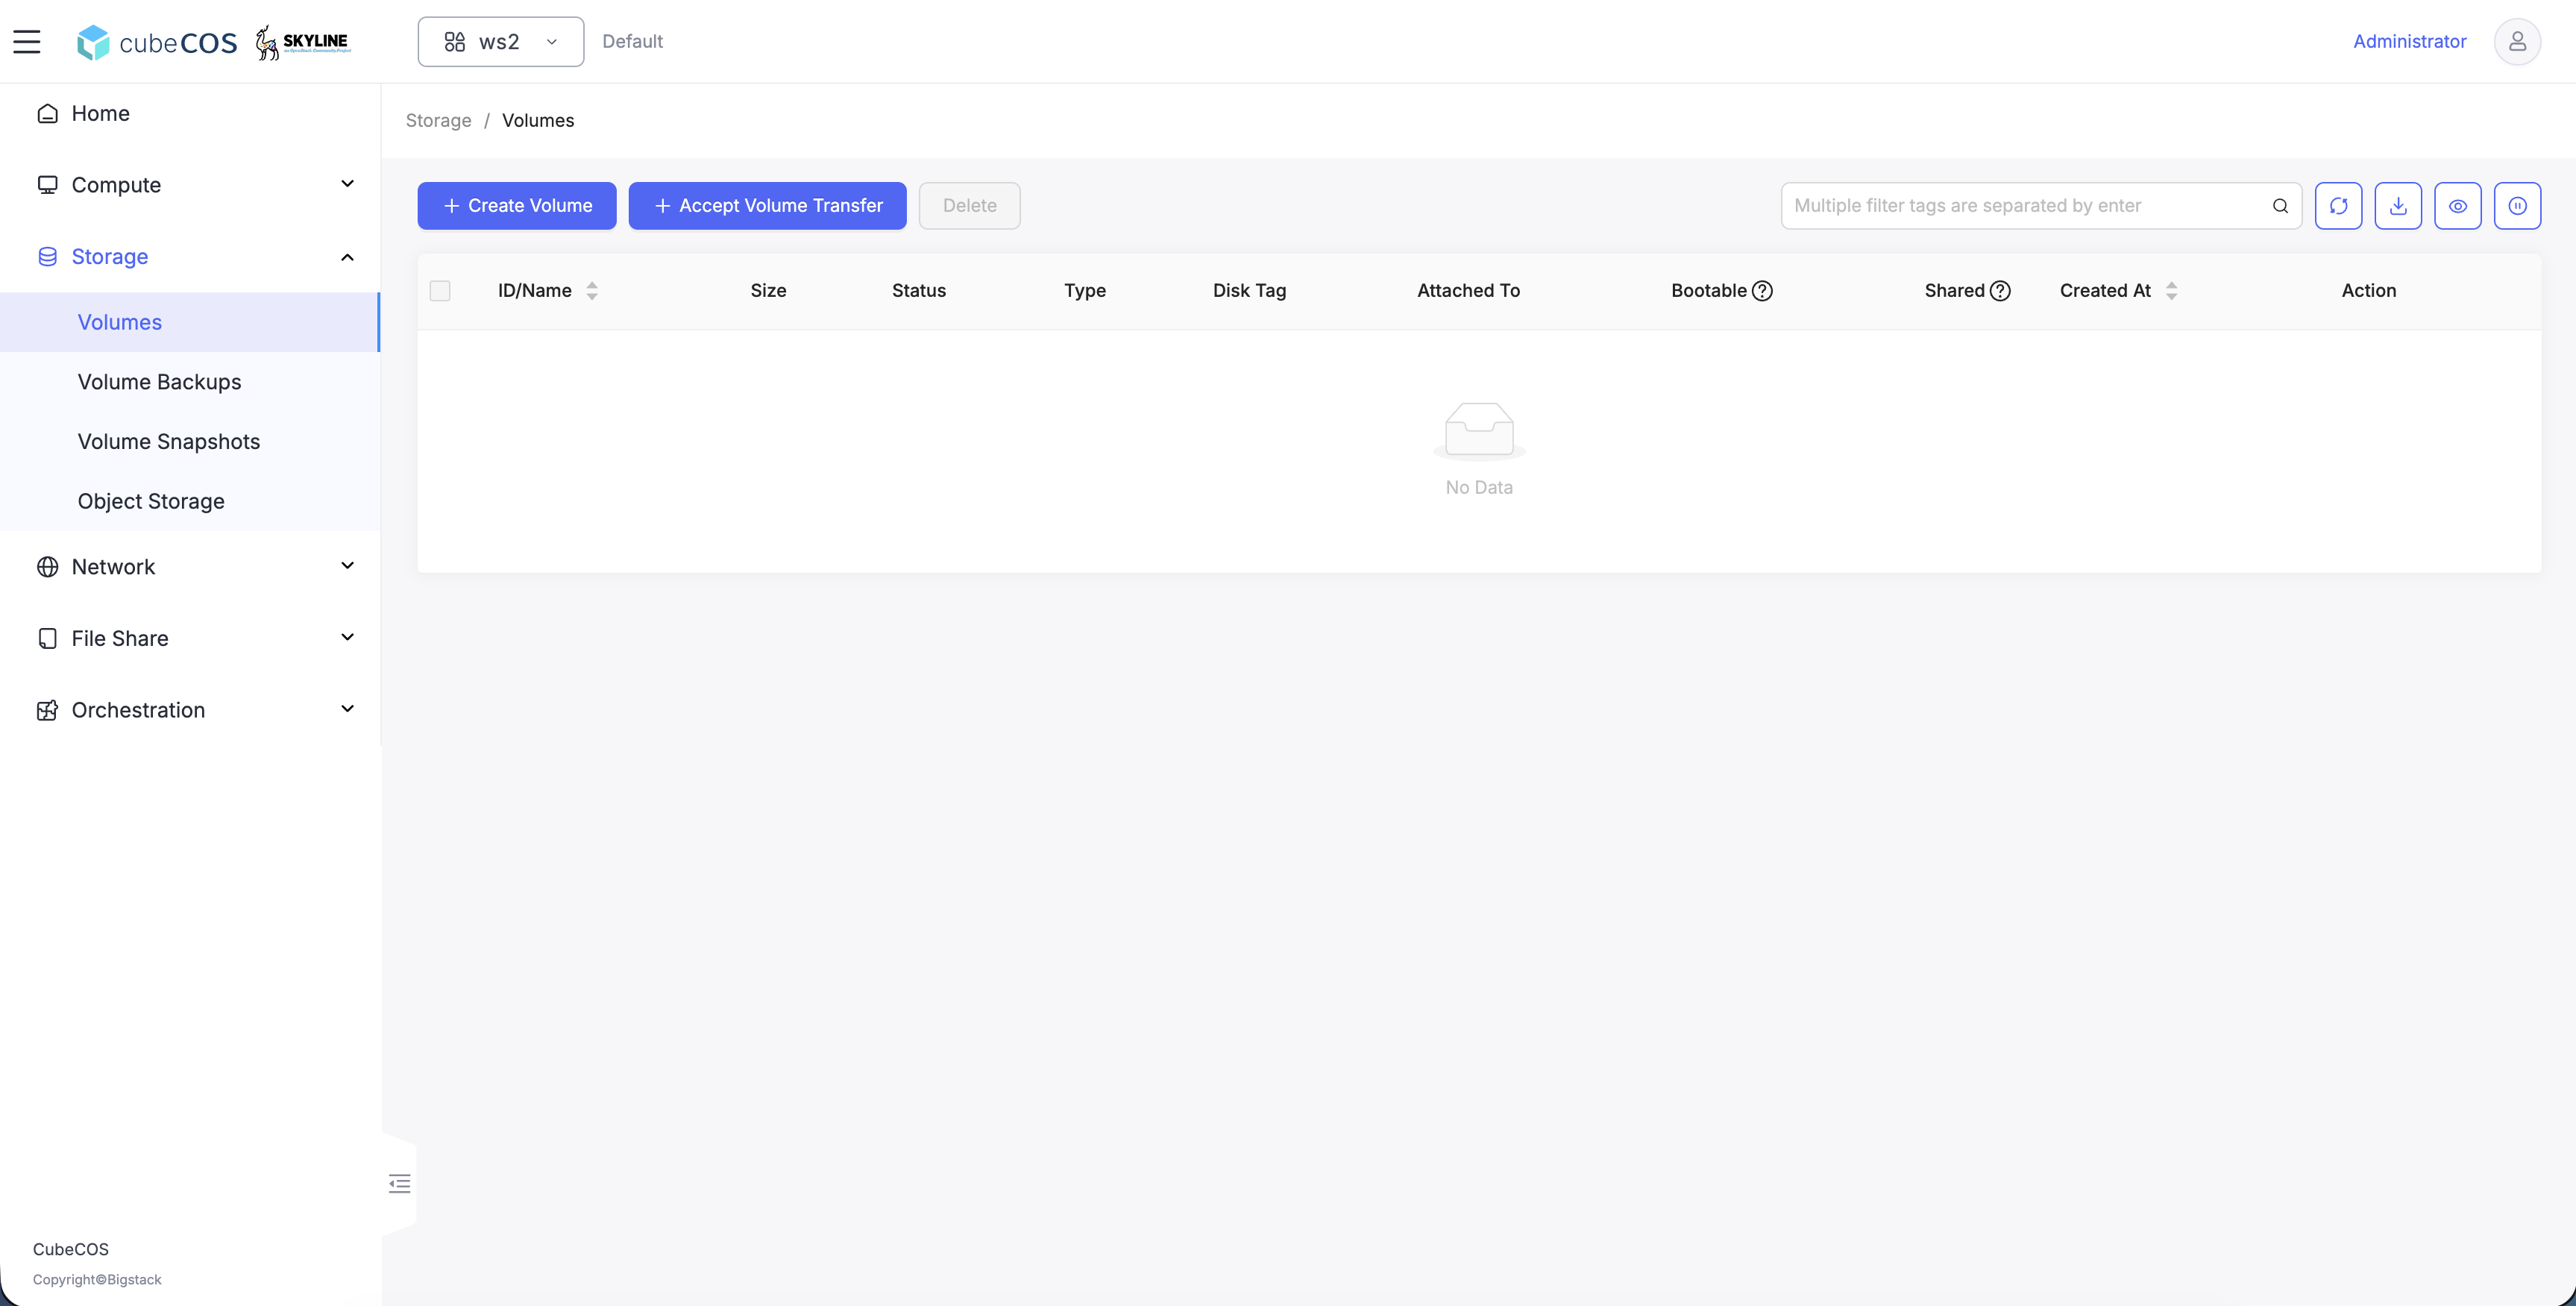
-
Enter the
Transfer IDandAuthorization Keyto accept the volume transfer.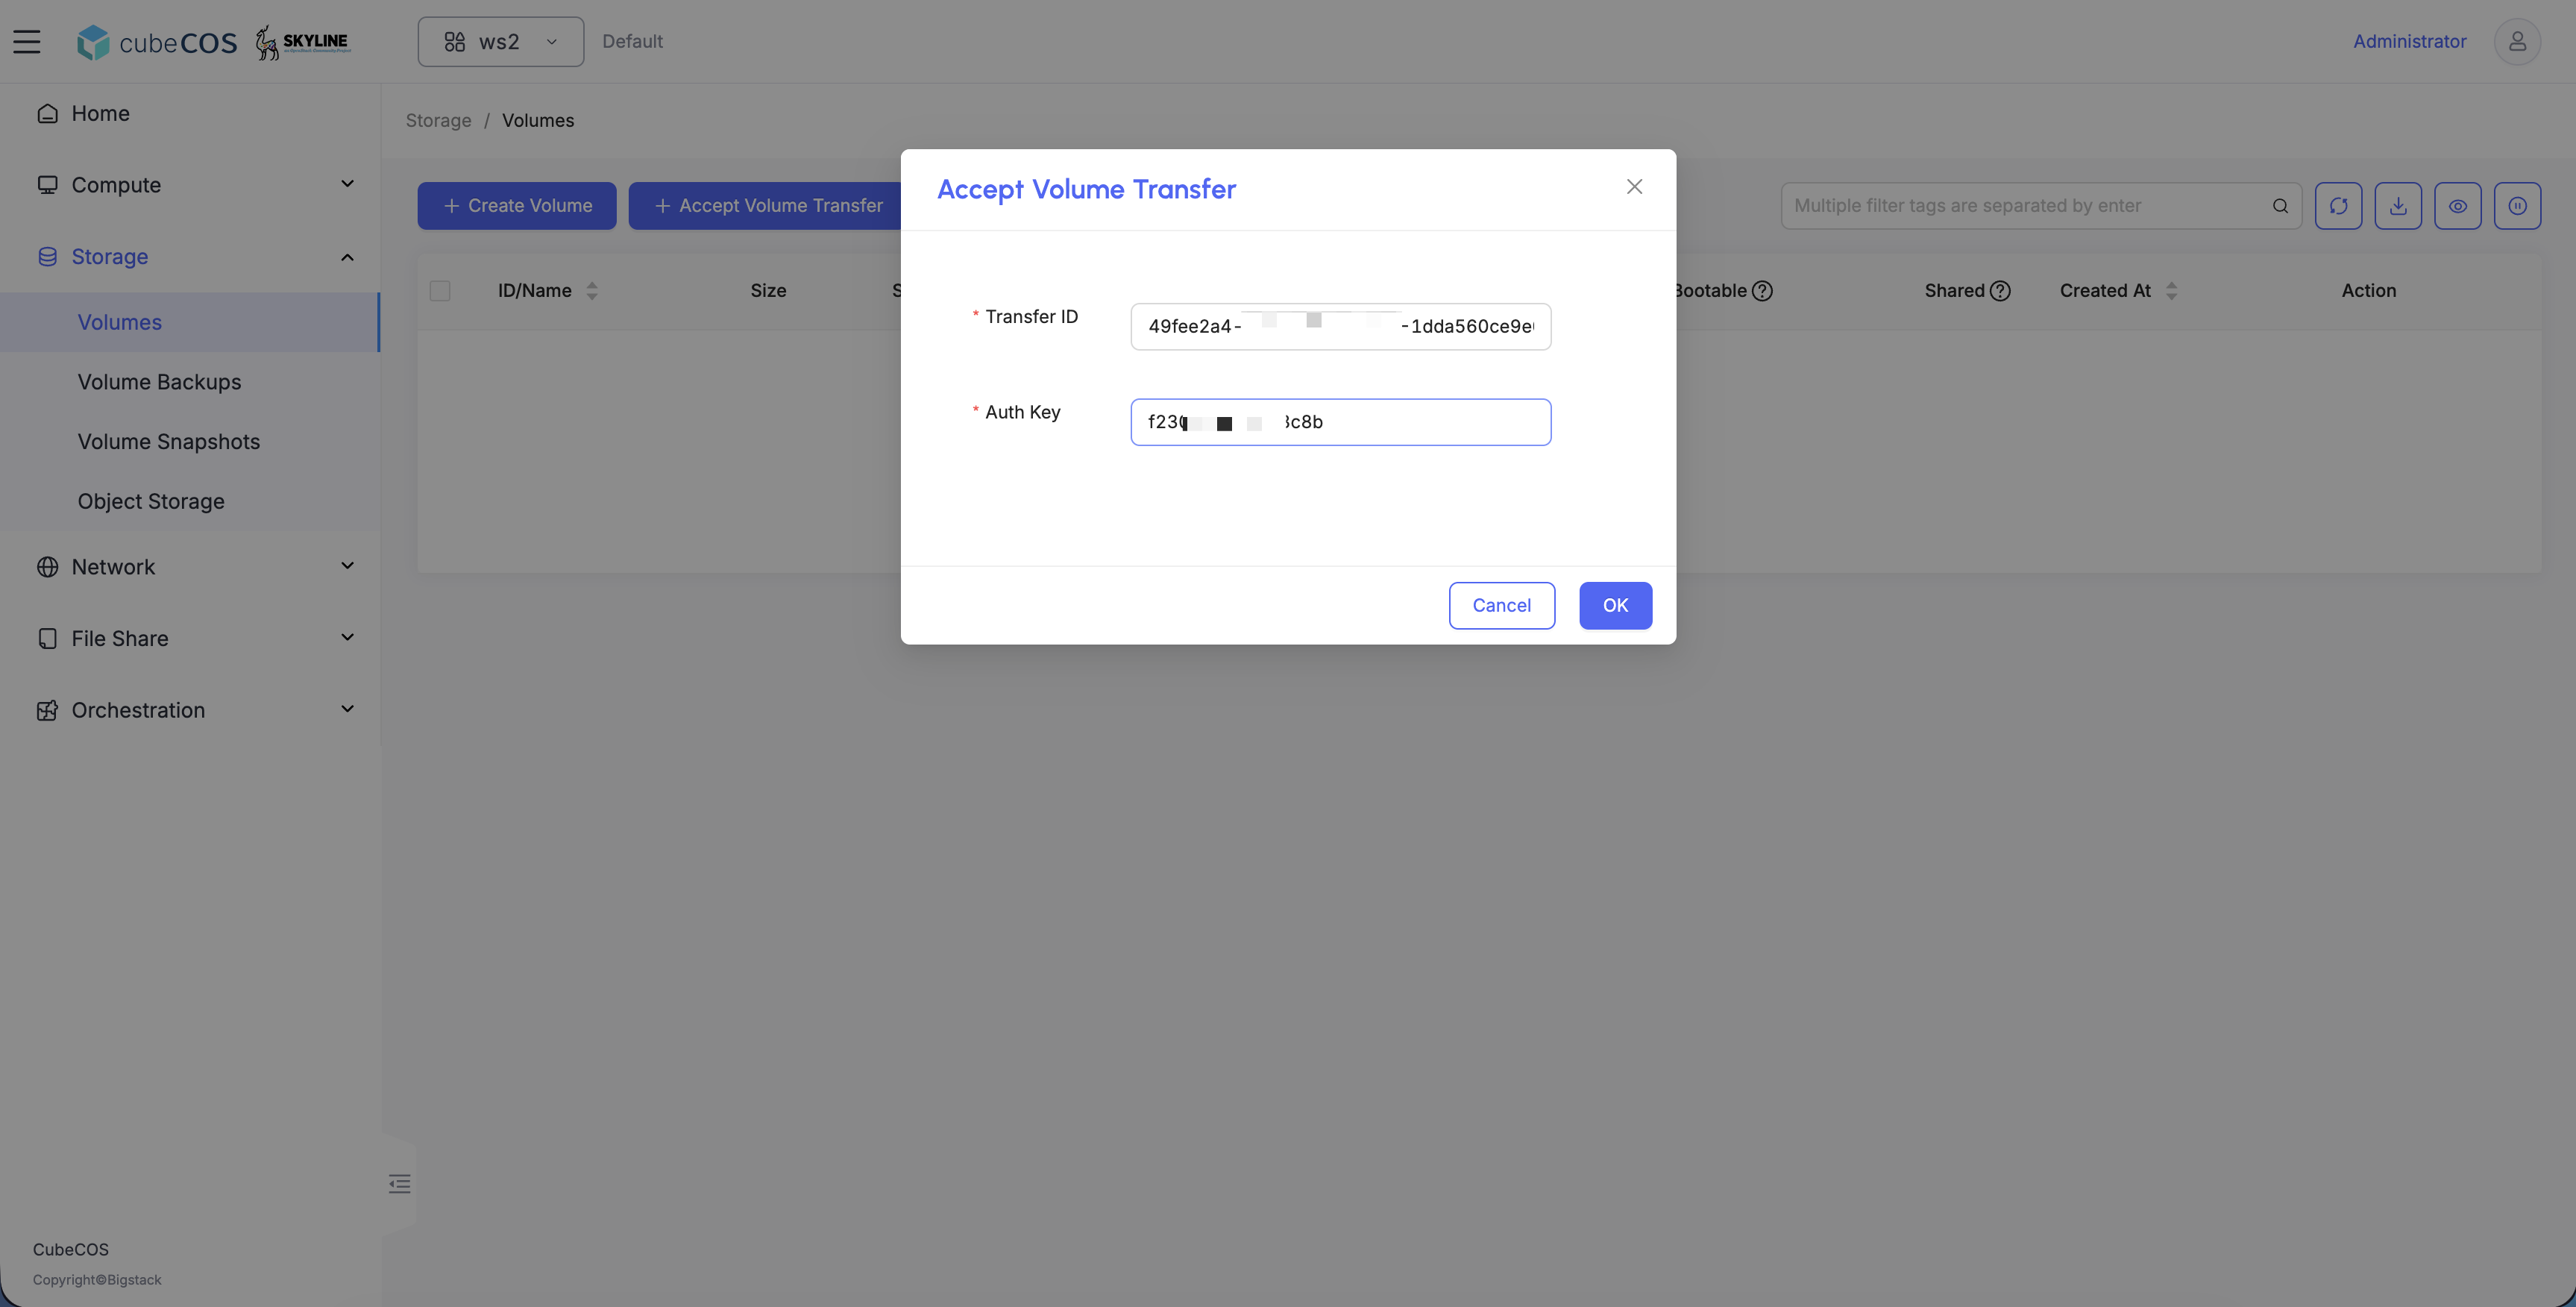
-
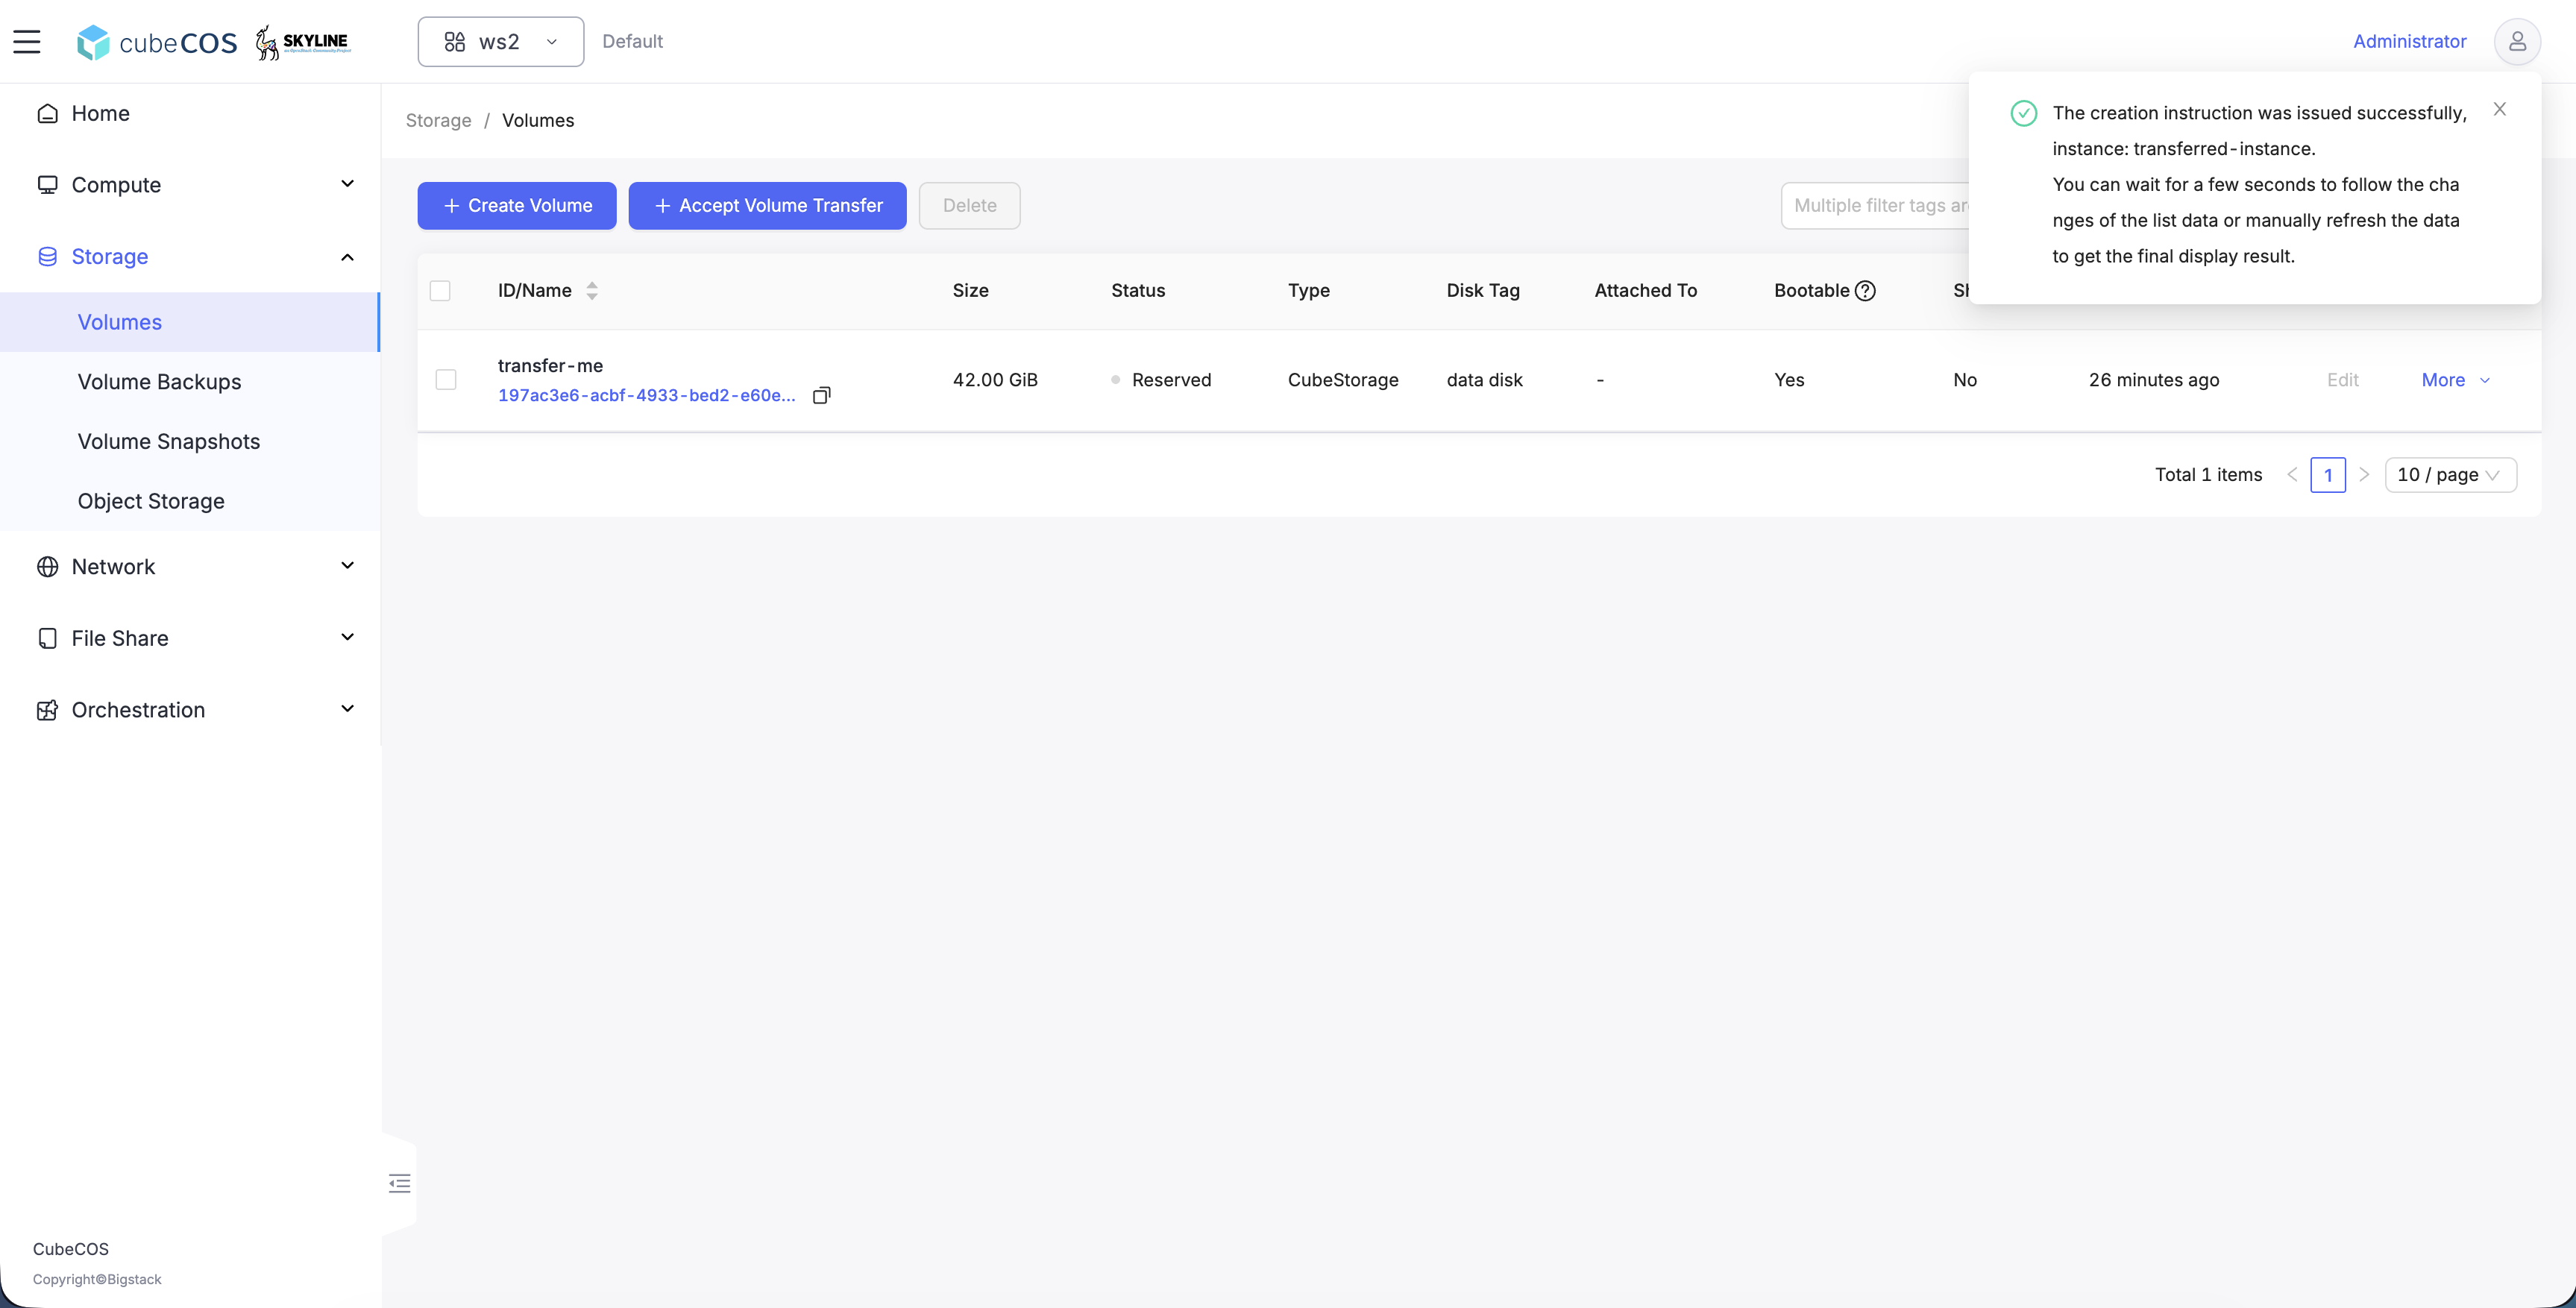
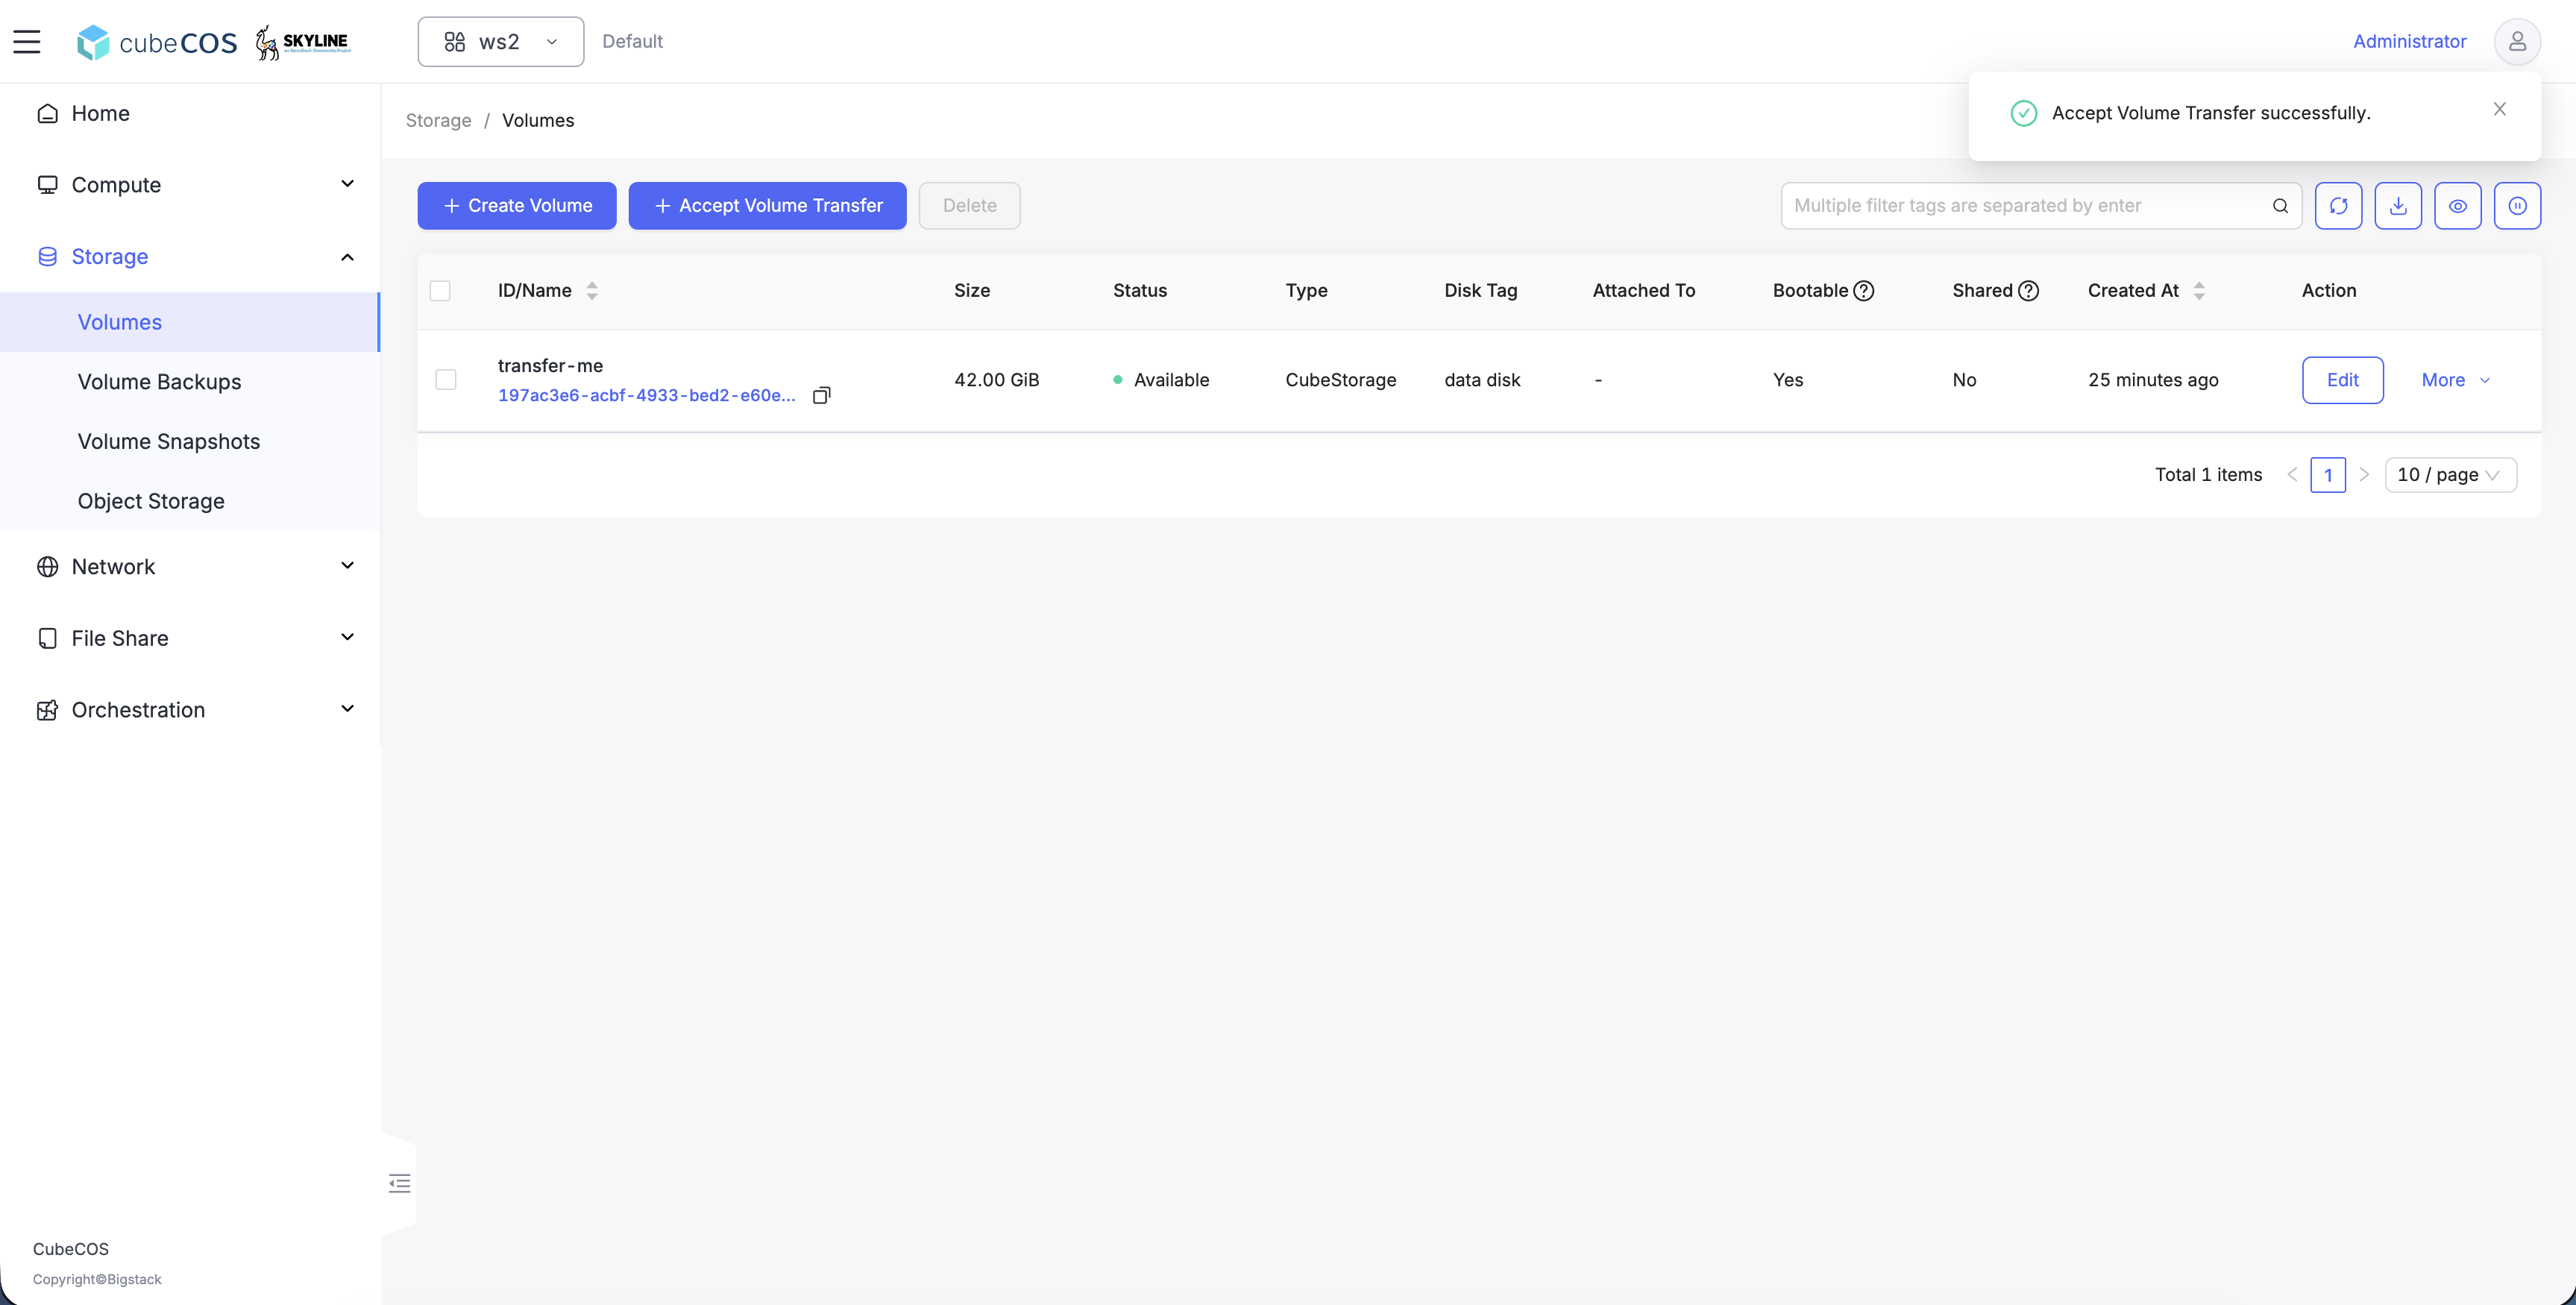
Verify volume transfer completes successfully.
-
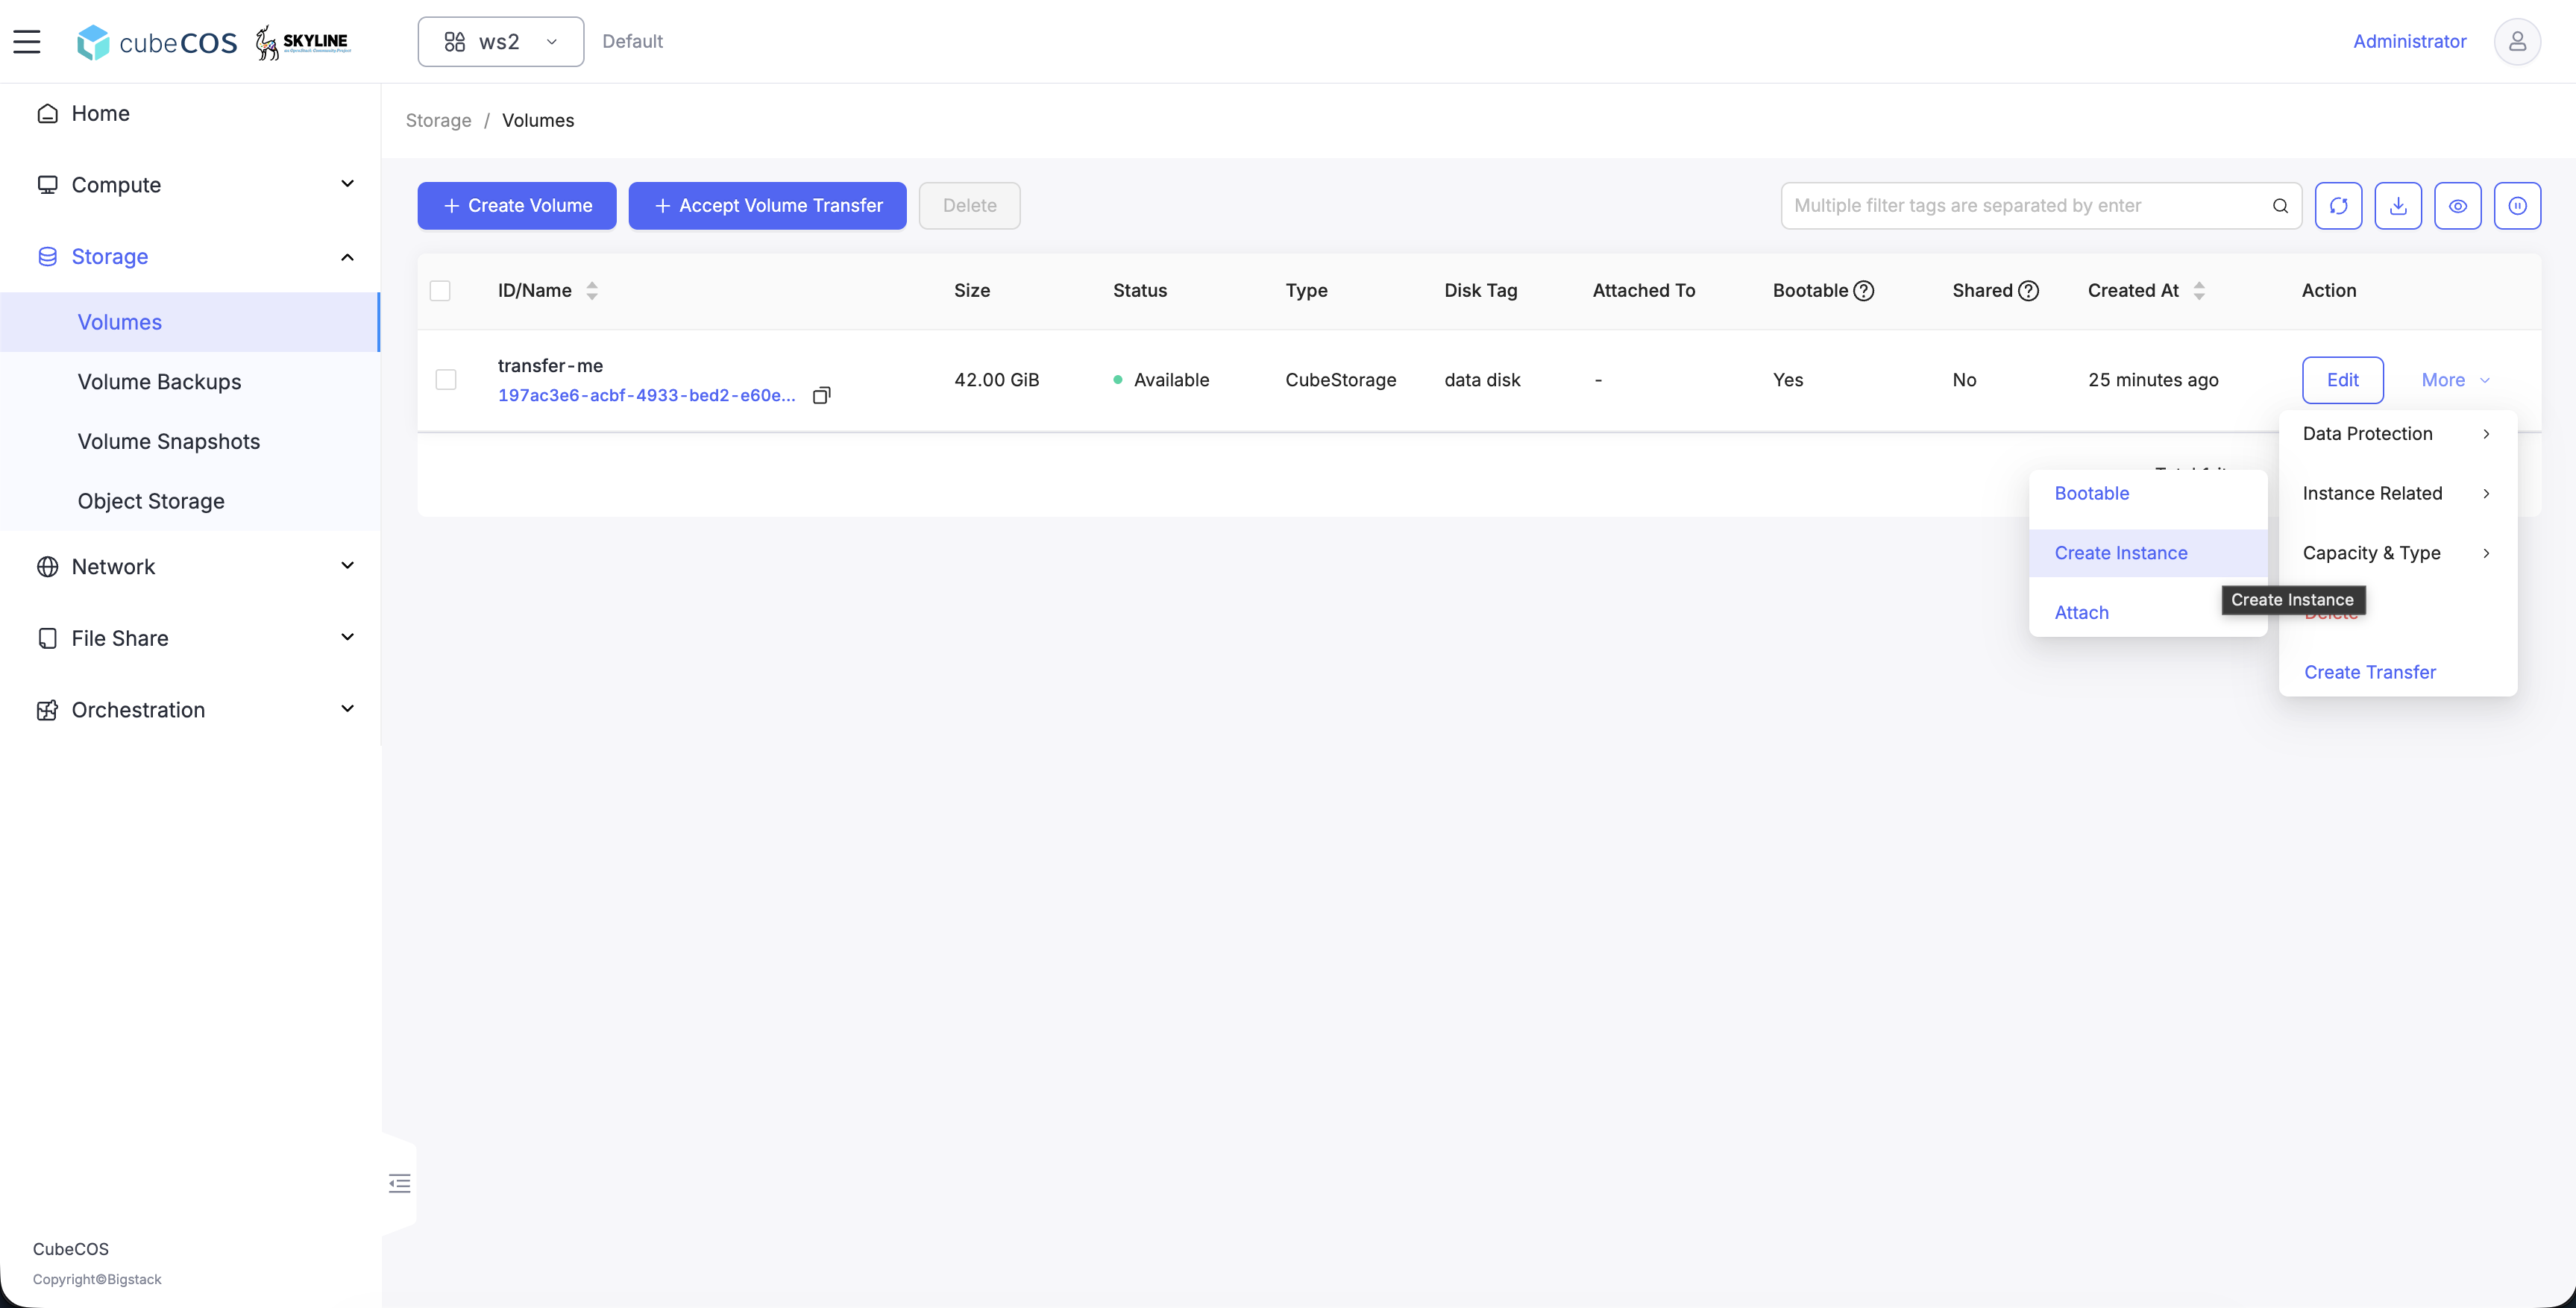
To launch the transferred volume as an instance, click Edit > Instance Related > Create Instance.
-
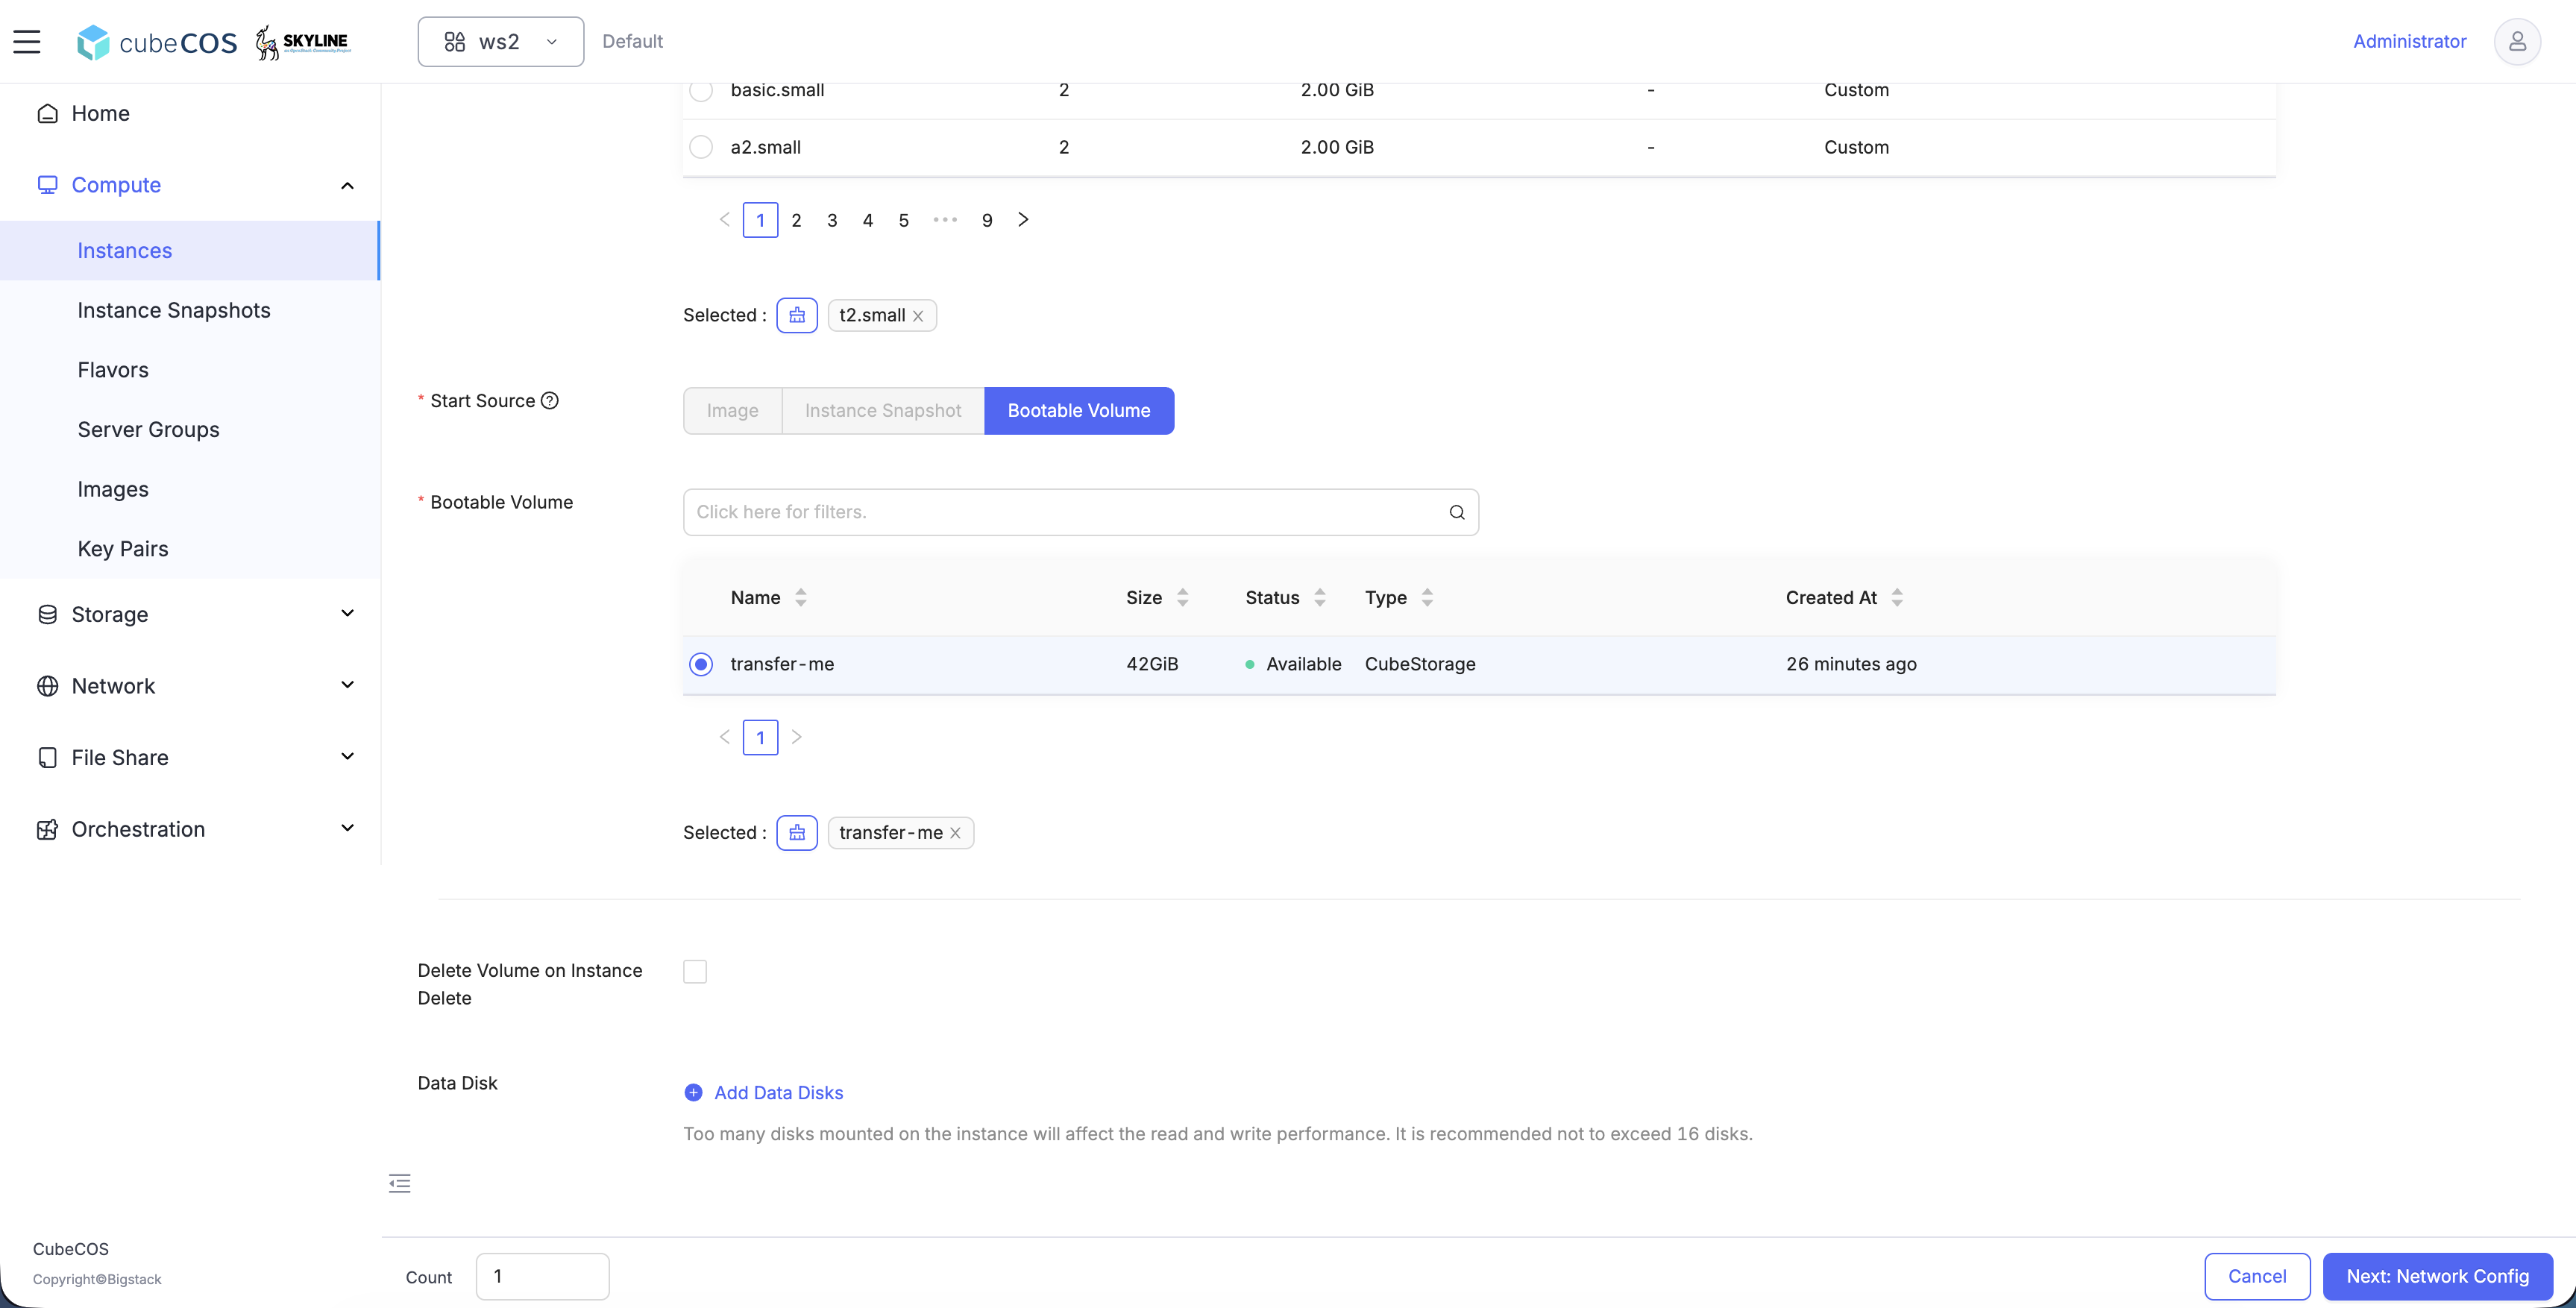
In the create instance from volume, select the tranferred volume as the Bootable Volume.
-
Verify instance created successfully.