Create Public Container(Bucket) and Add Files
Create Bucket
-
Navigate to
Project > Storage > Object Storage, select+ CREATE CONTAINER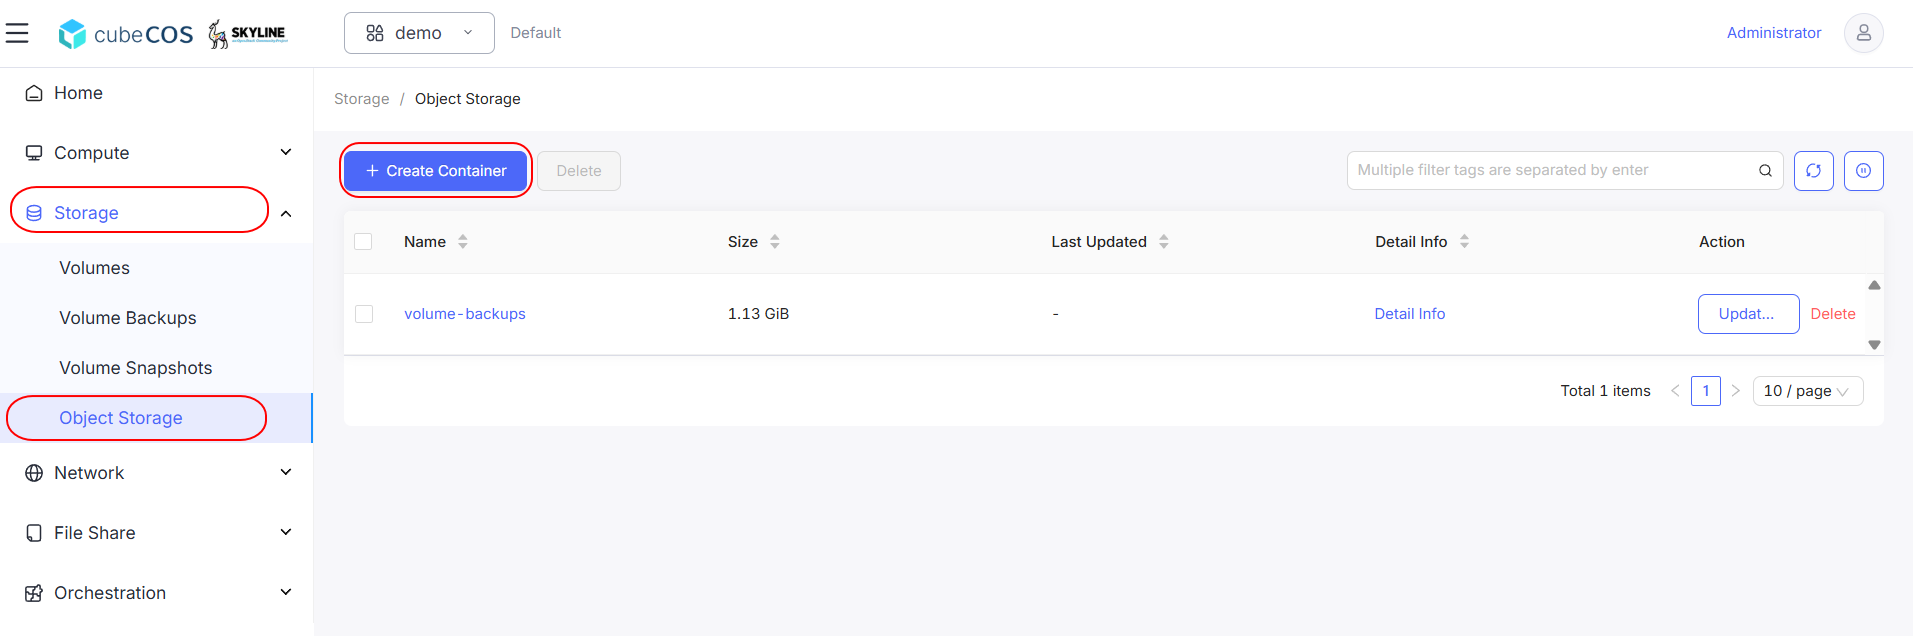
-
Name the container and set Public Access to
ONby toggle it. ClickOKto proceed.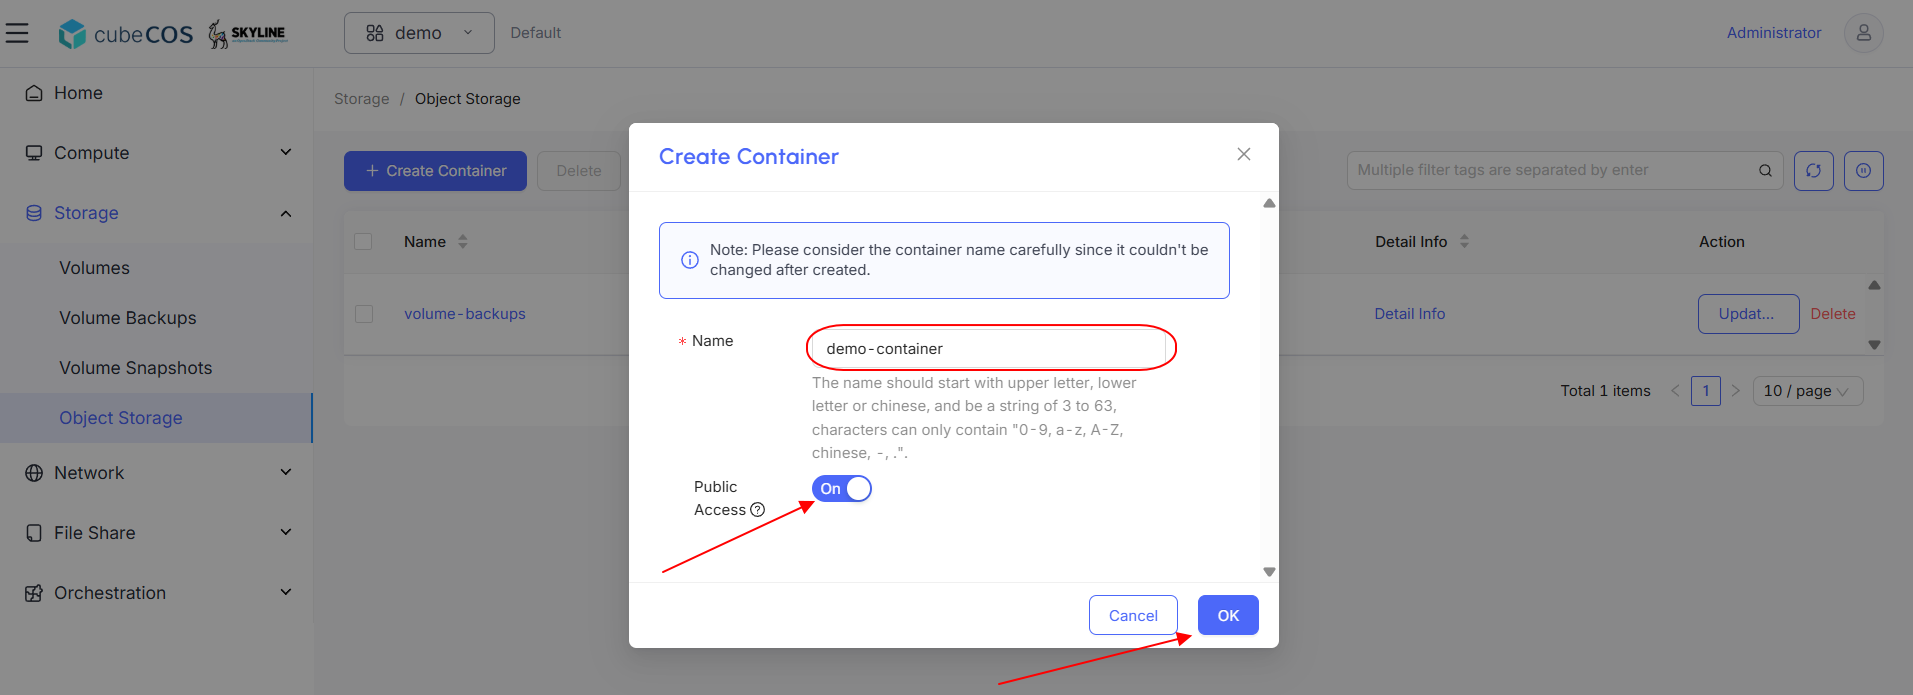
-
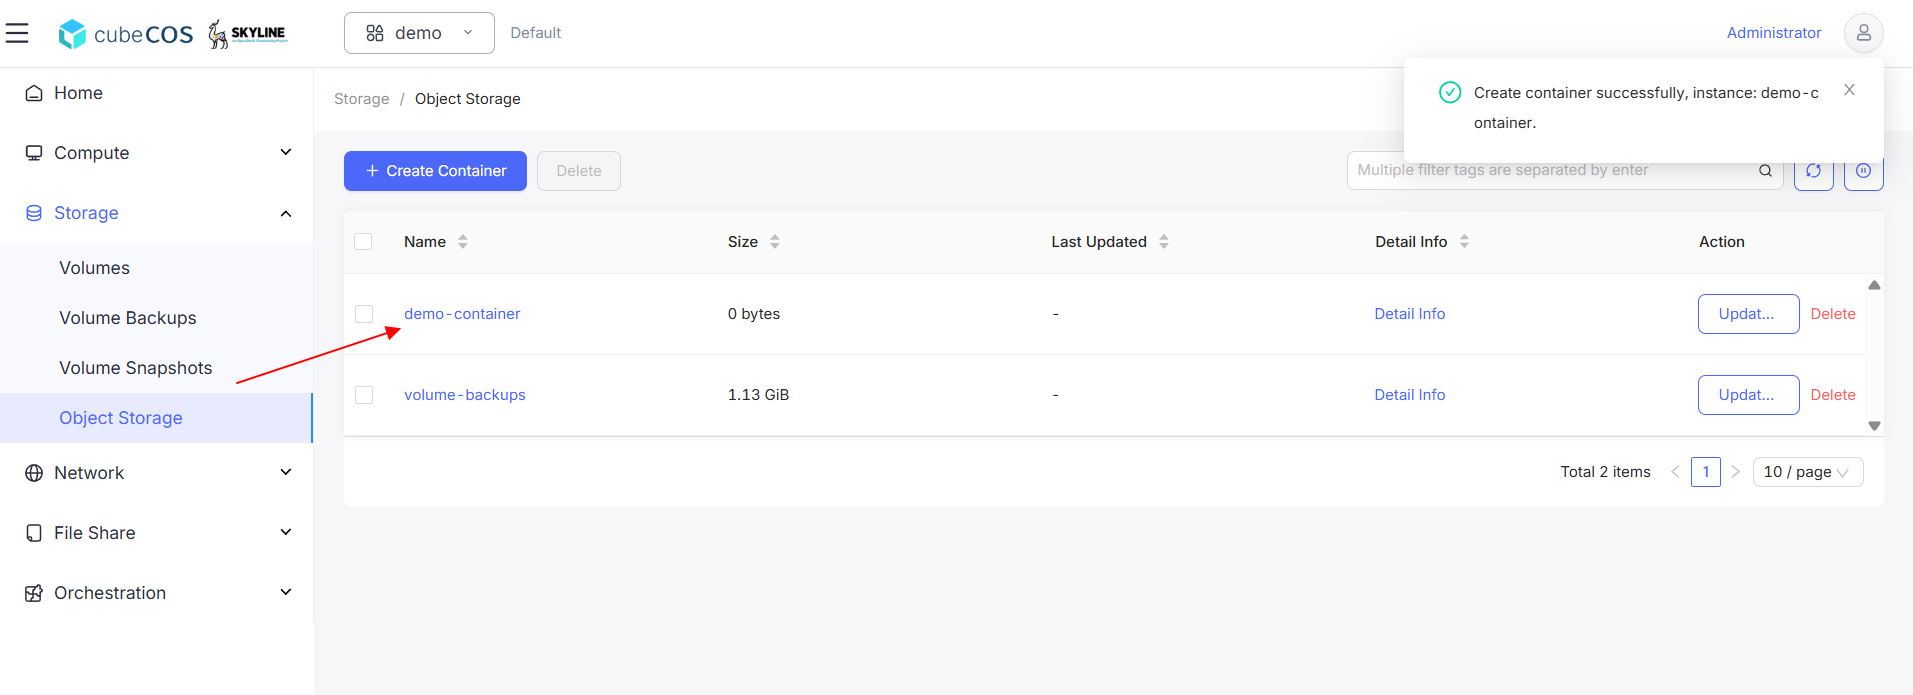
Click the container just created.
-
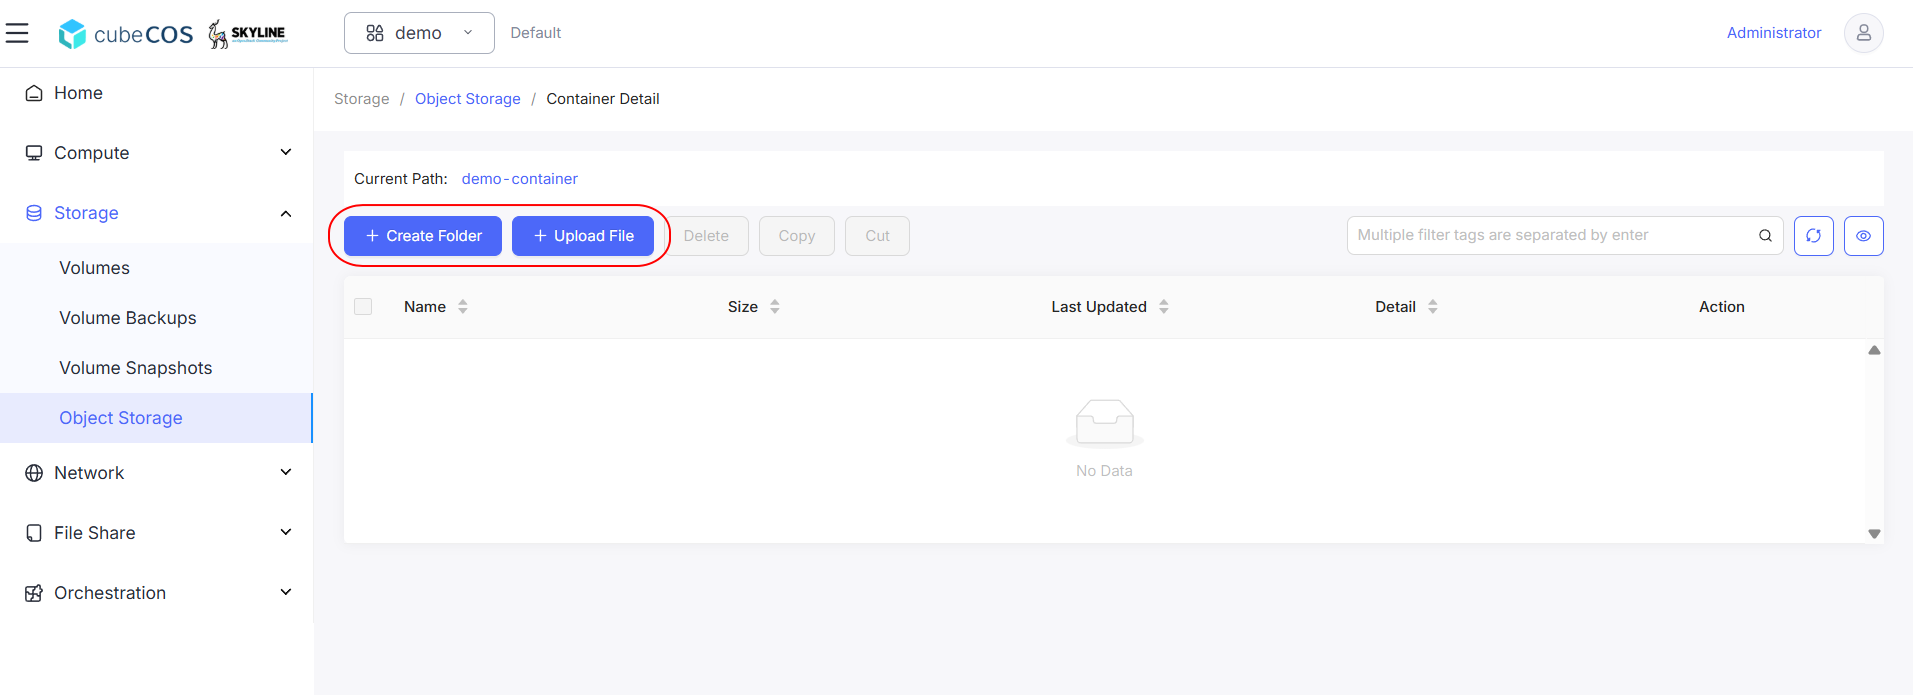
Within the container, you can choose to
Create FolderorUpload File.Demonstration below will create a folder and upload a file in it
-
To create a new folder, select the
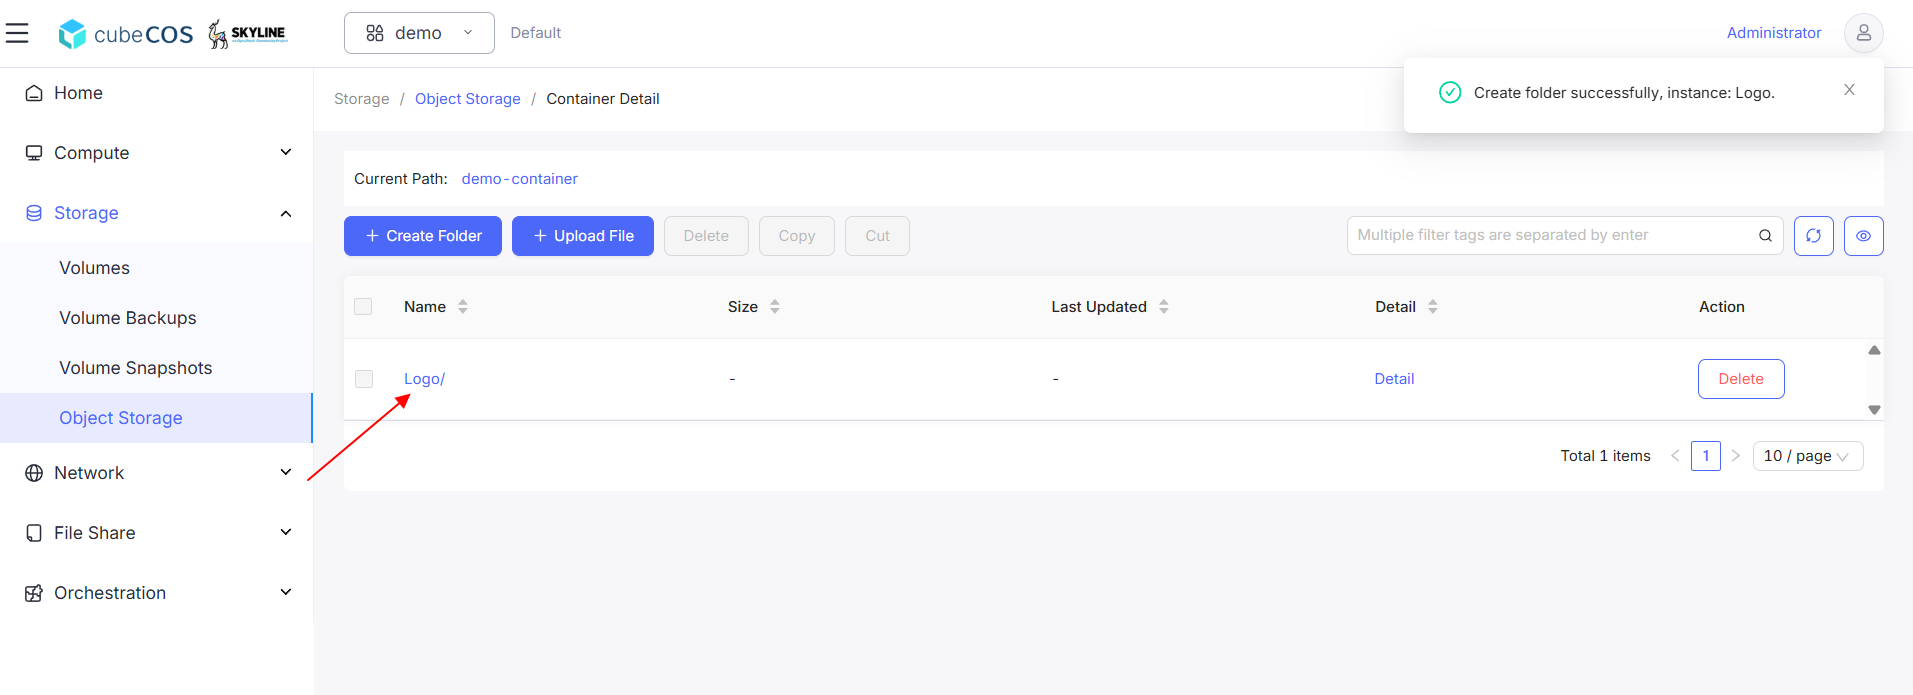
+ Create Folderbutton. Name the folder and clickOK.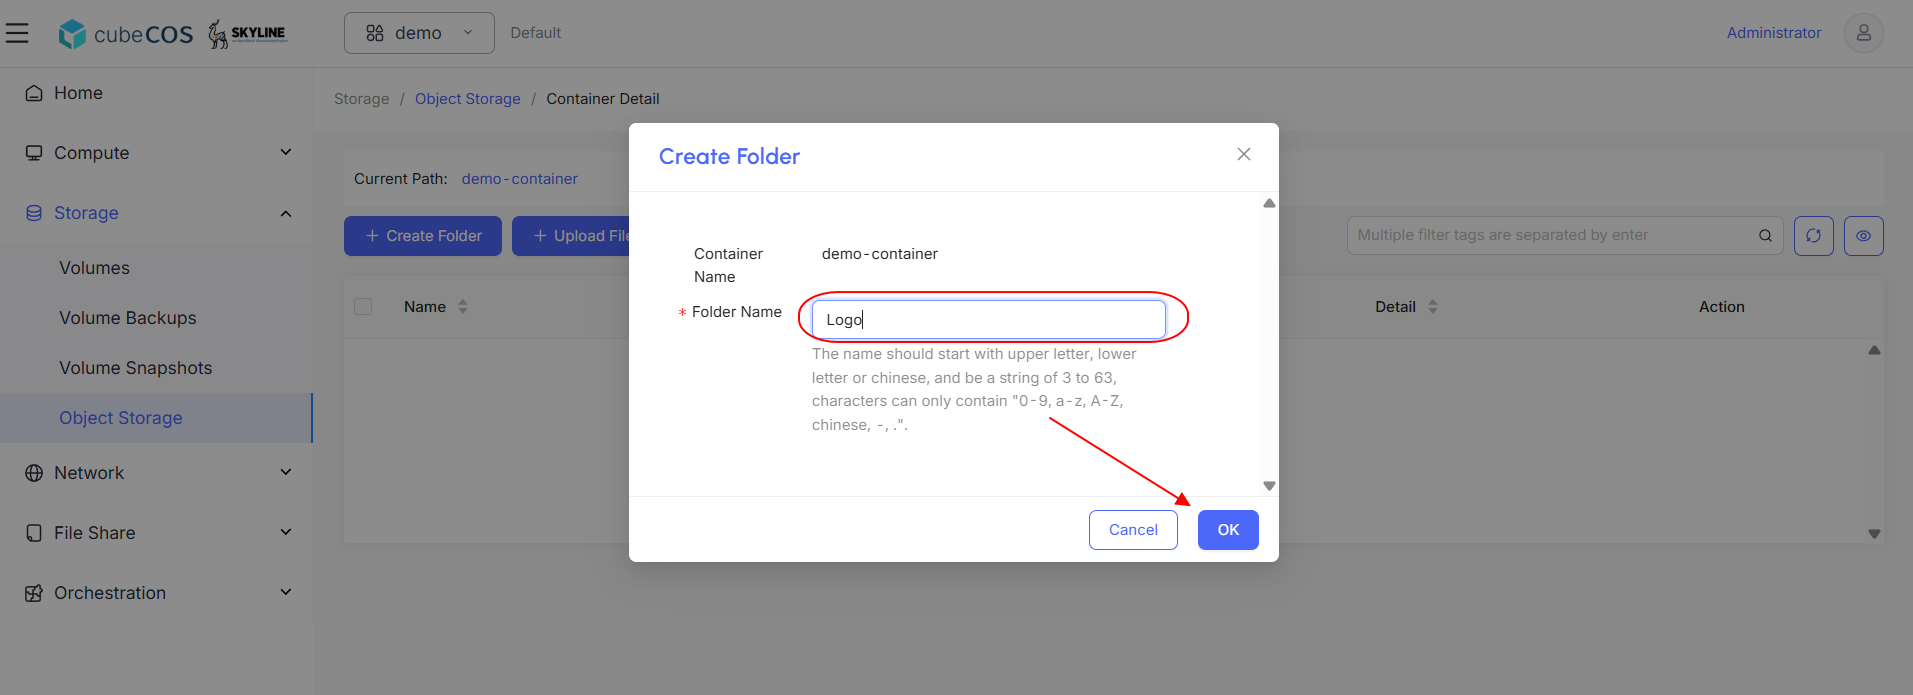
-
Click on the newly created folder.
-
To upload a new file, select the
+ Upload Filebutton. Upload desired files and clickOK.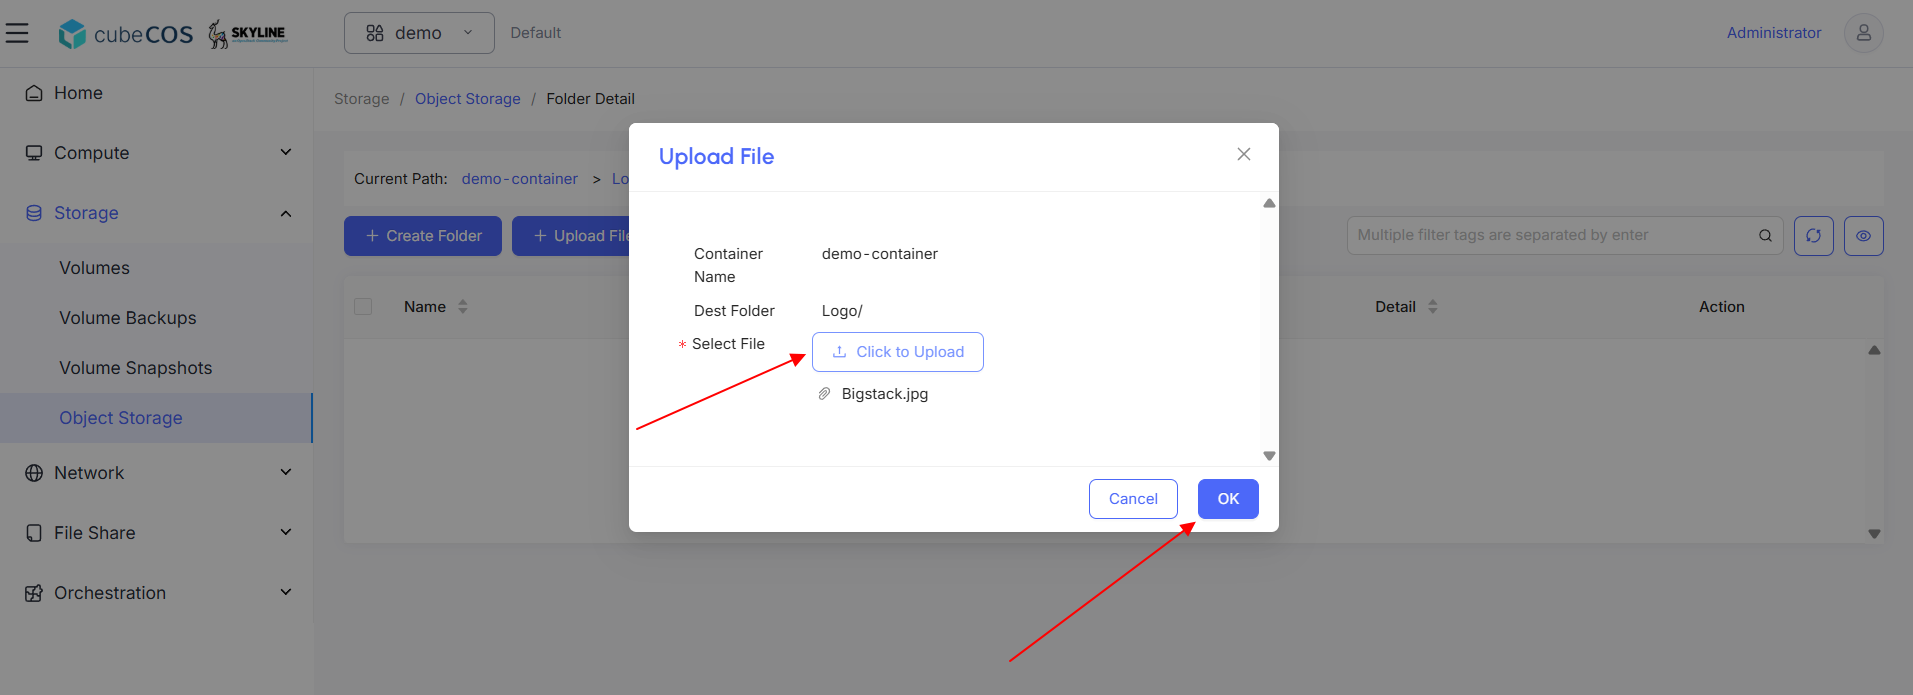
-
To verify the upload, navigate to the dashboard and confirm that the file appears in the list.

Swift API
- Obtain the
Auth Tokenby accessing CubeCOS cluster VIP via SSH. Use commandswift -v stat <container_name>
[cc1 ~]# swift -v stat demo-container
   URL: http://172.16.0.10:8888/swift/v1/c0978a86e3b242da9ba549acf5178266/demo-container
   Auth Token: gAAAAABoFW_tJ9w8jM8UOPtjgDYbgmEotngLx2JPn-6SKFtQ4Dyc9C1nNP6U-5Unto1AEvllmhiH0SCUxgovGQc_V6TpILw9blS3OsClS1icyE6qZfZRHRs8Ej8LDfgxZ9y8CnC0TMUjklFISs06jBAGjzzGtESzChh9sWnp7AcuXrvaq63i0Q8
   Account: c0978a86e3b242da9ba549acf5178266
   Container: demo-container
   Objects: 2
   Bytes: 31471
   Read ACL: .r:*,.rlistings
   Write ACL:
   Sync To:
   Sync Key:
   X-Timestamp: 1746168693.62838
   X-Container-Bytes-Used-Actual: 32768
   X-Storage-Policy: default-placement
   X-Storage-Class: STANDARD
   Cache-Control: no-cache
   Last-Modified: Fri, 02 May 2025 06:51:34 GMT
   X-Trans-Id: tx00000eb28d971e117f44d-0068156fed-1525fe-default
   X-Openstack-Request-Id: tx00000eb28d971e117f44d-0068156fed-1525fe-default
   Accept-Ranges: bytes
   Content-Type: text/plain; charset=utf-8
   Connection: Keep-Alive
-
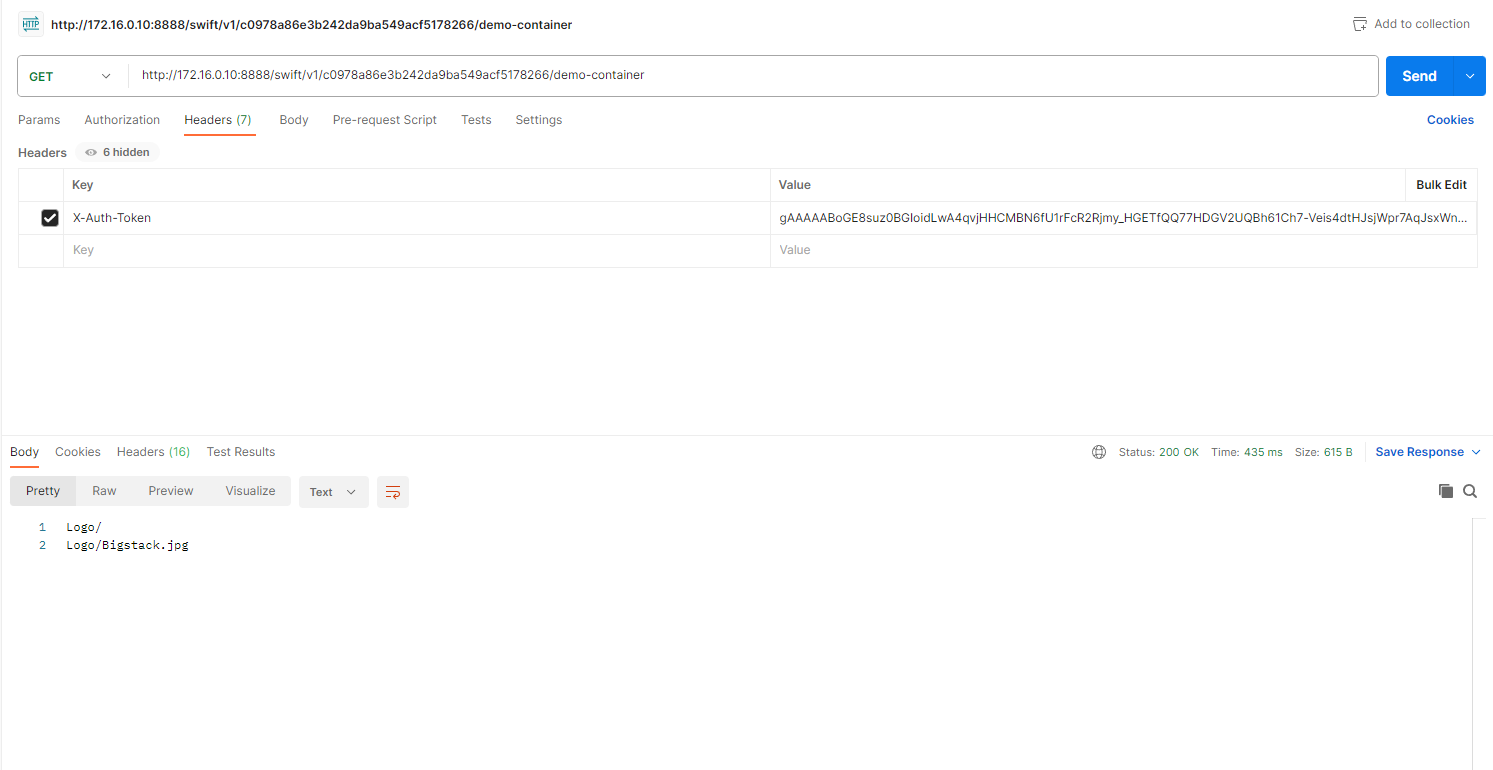
Verify Swift API access with postman, add header : { key = "X-Auth-Token", value = "Auth Token" from above } with GET action.
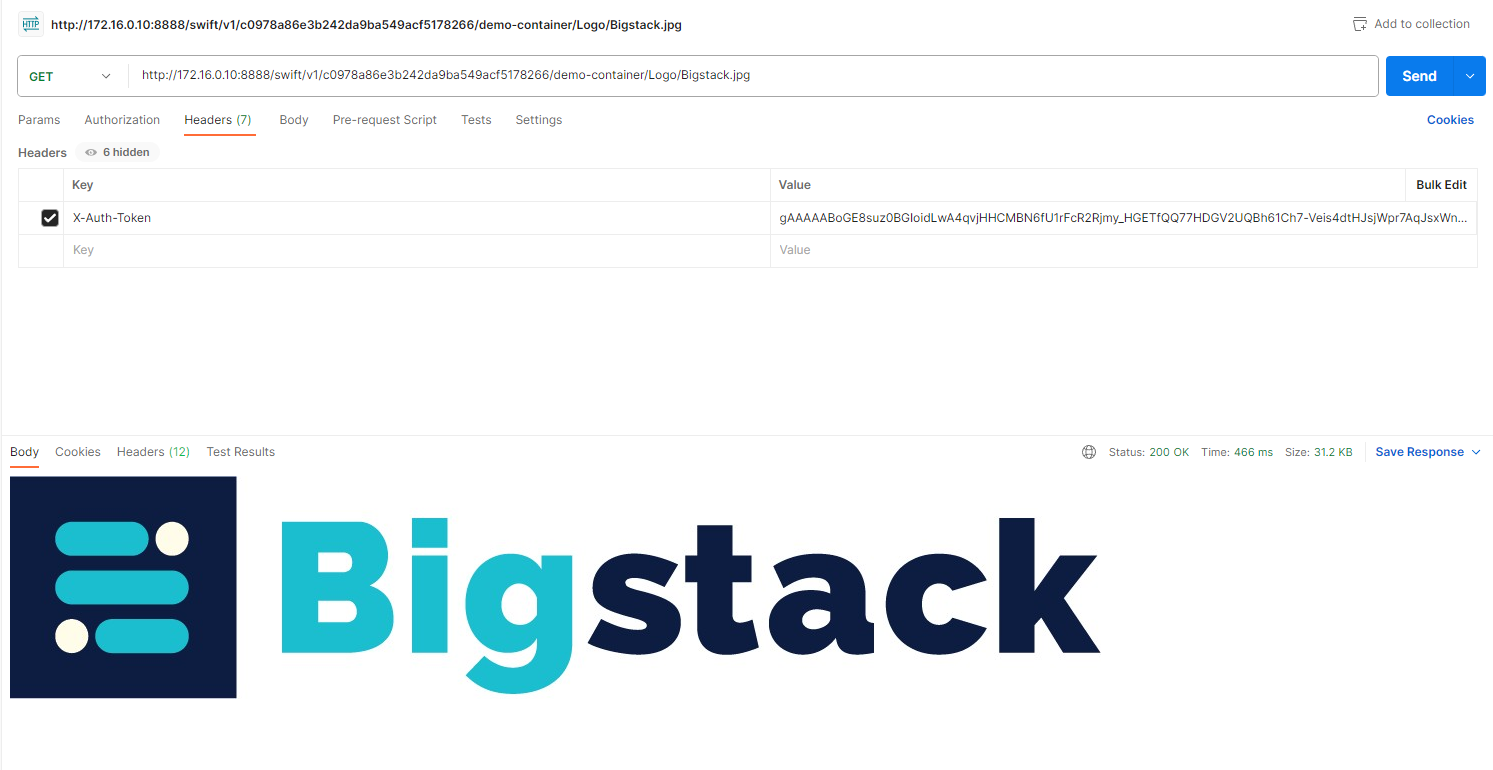
URL shown at step 1 is bucket URL. Fetching it will get its file tree. Add folder and file structure to get specific file.