# Create local Kubernetes cluster

> Learn how to create a new Kubernetes cluster in CubeCMP, including cluster configuration, node templates, and deployment options for production workloads.

## Local Kubernetes cluster overview {#local-kubernetes-cluster-overview}

This guide explains how to create and manage a local Kubernetes cluster in CubeCOS using CubeCMP. You’ll learn how to configure cluster settings, select node templates, and deploy a production-ready Kubernetes environment while maintaining centralized management through CubeCMP.

## Create local Kubernetes cluster {#create-local-kubernetes-cluster}

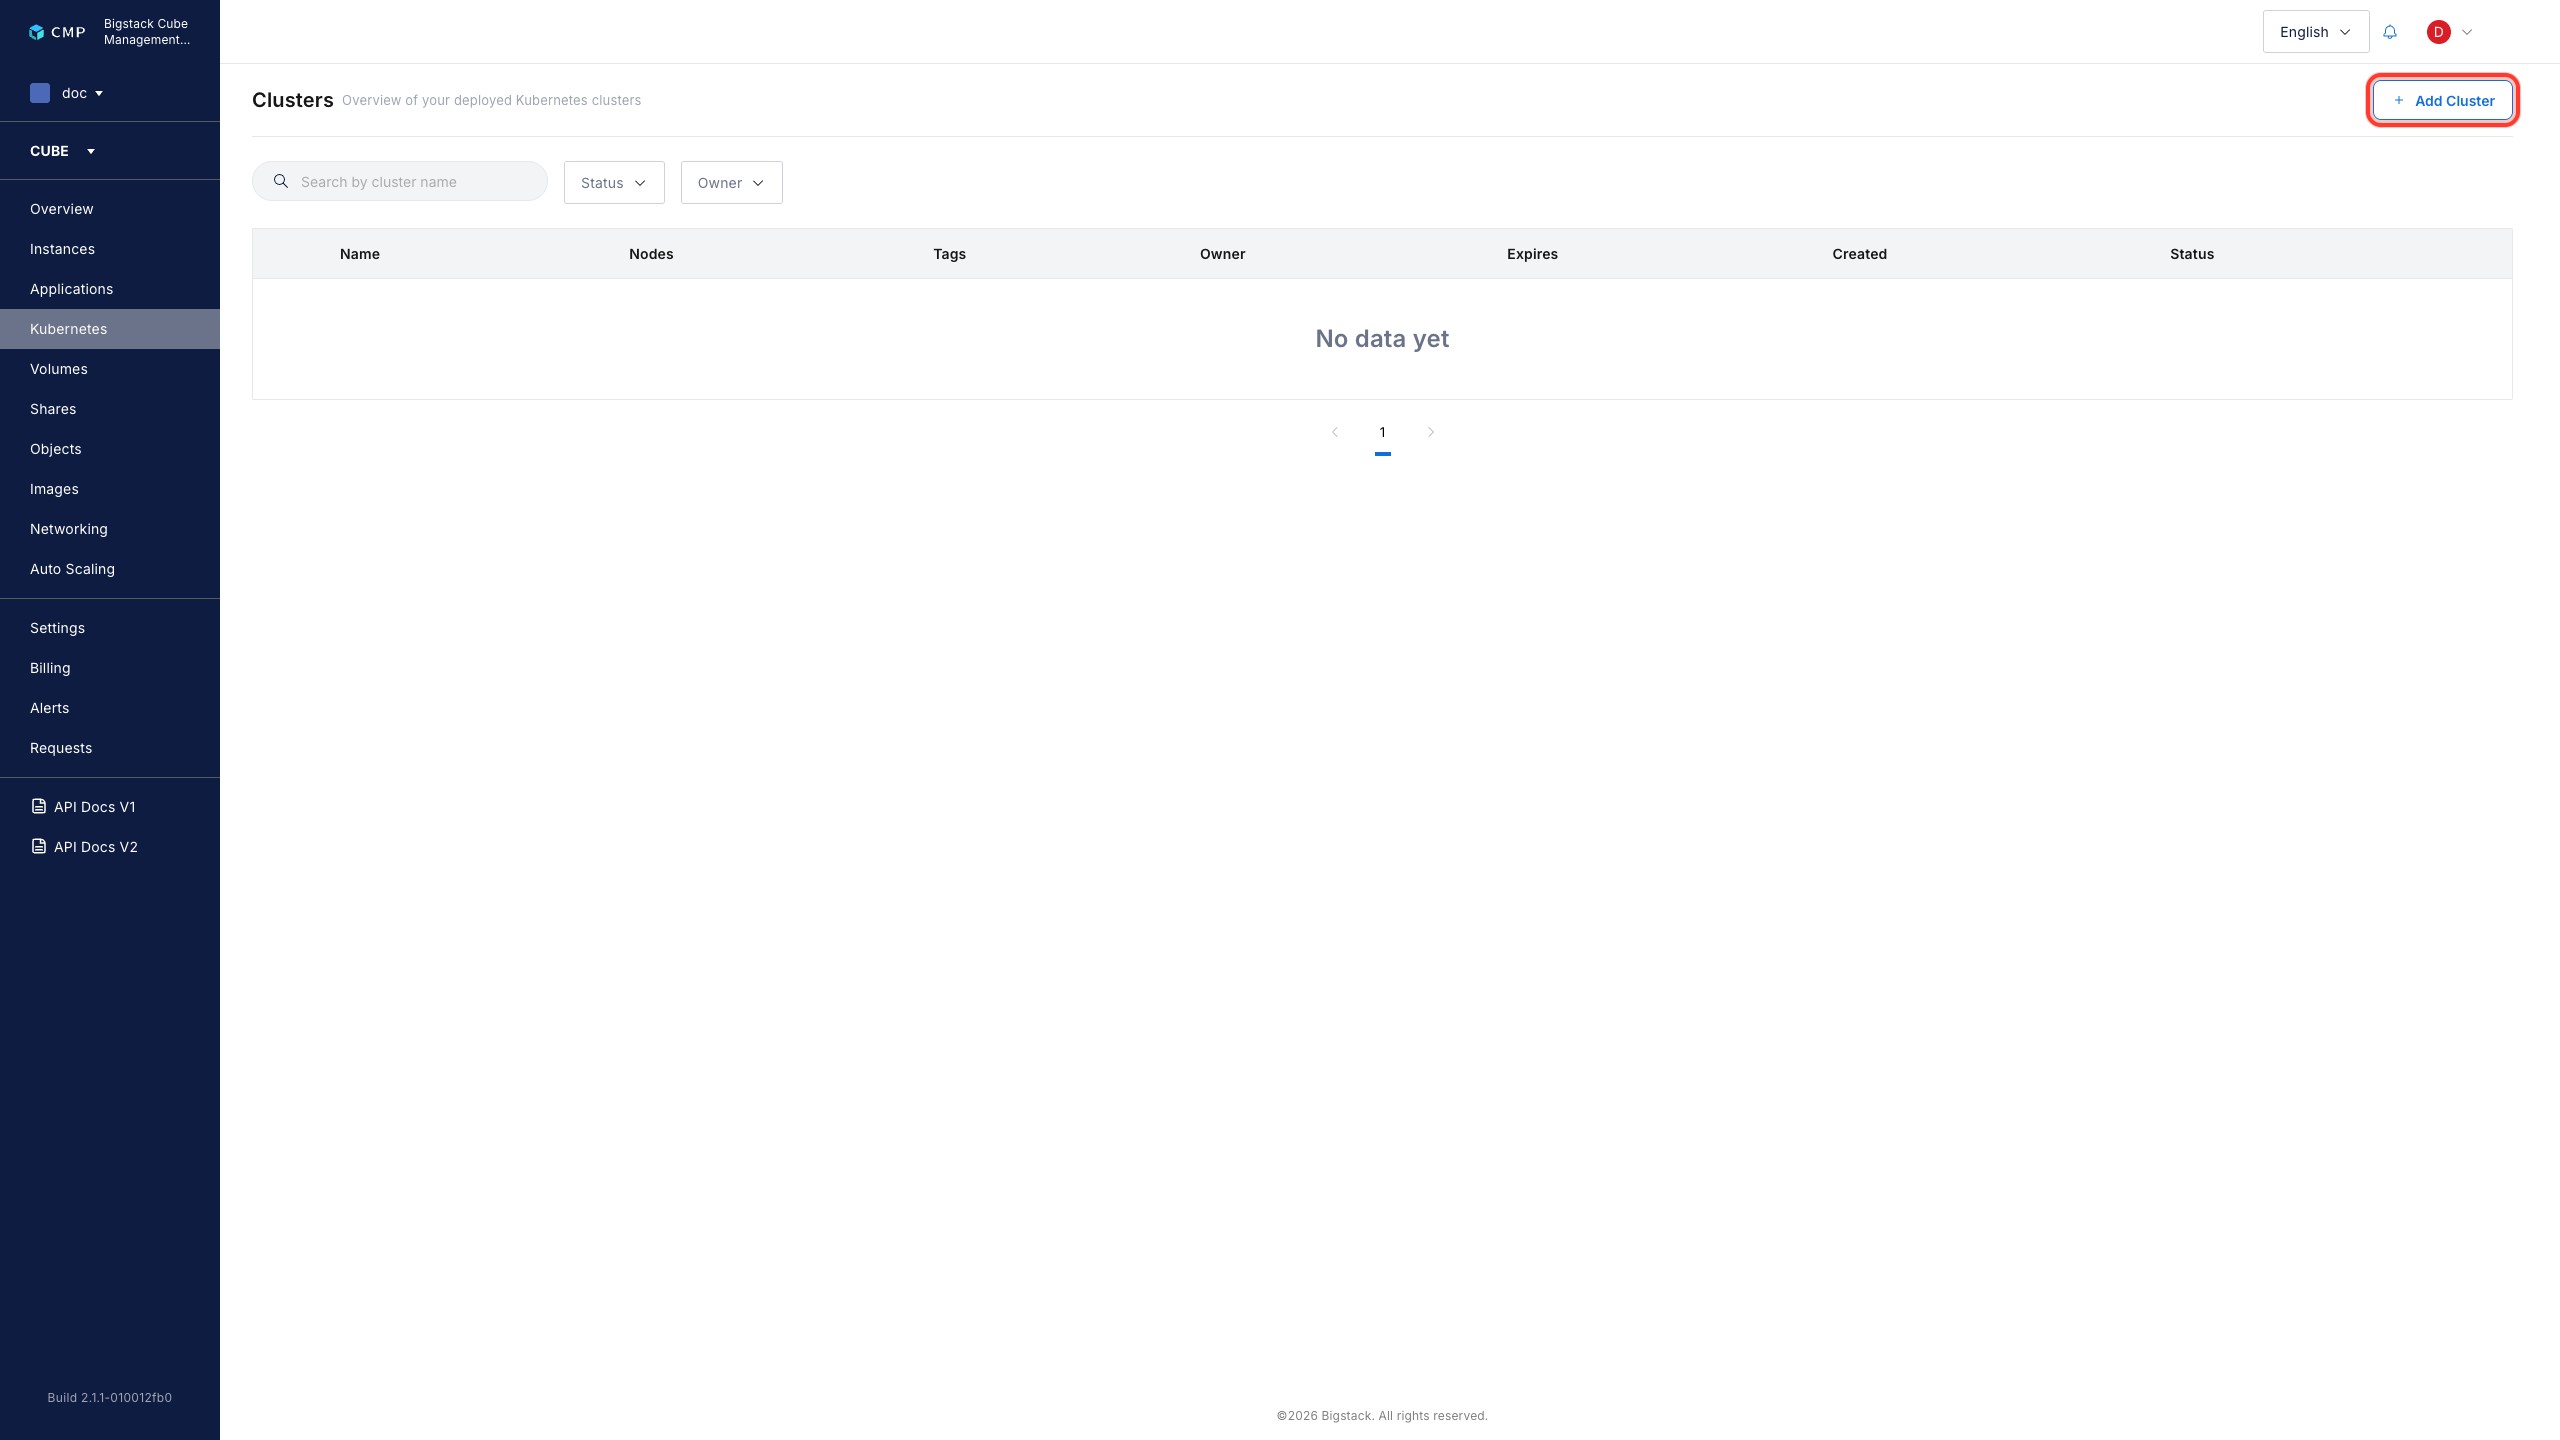
1. In the CubeCMP user portal, go to **Kubernetes**.

   ![Clusters page](/assets/kubernetes/create-local-kubernetes-cluster-1-clusters-page.jpg)

2. To configure basic cluster properties, click **+ Add Cluster**.
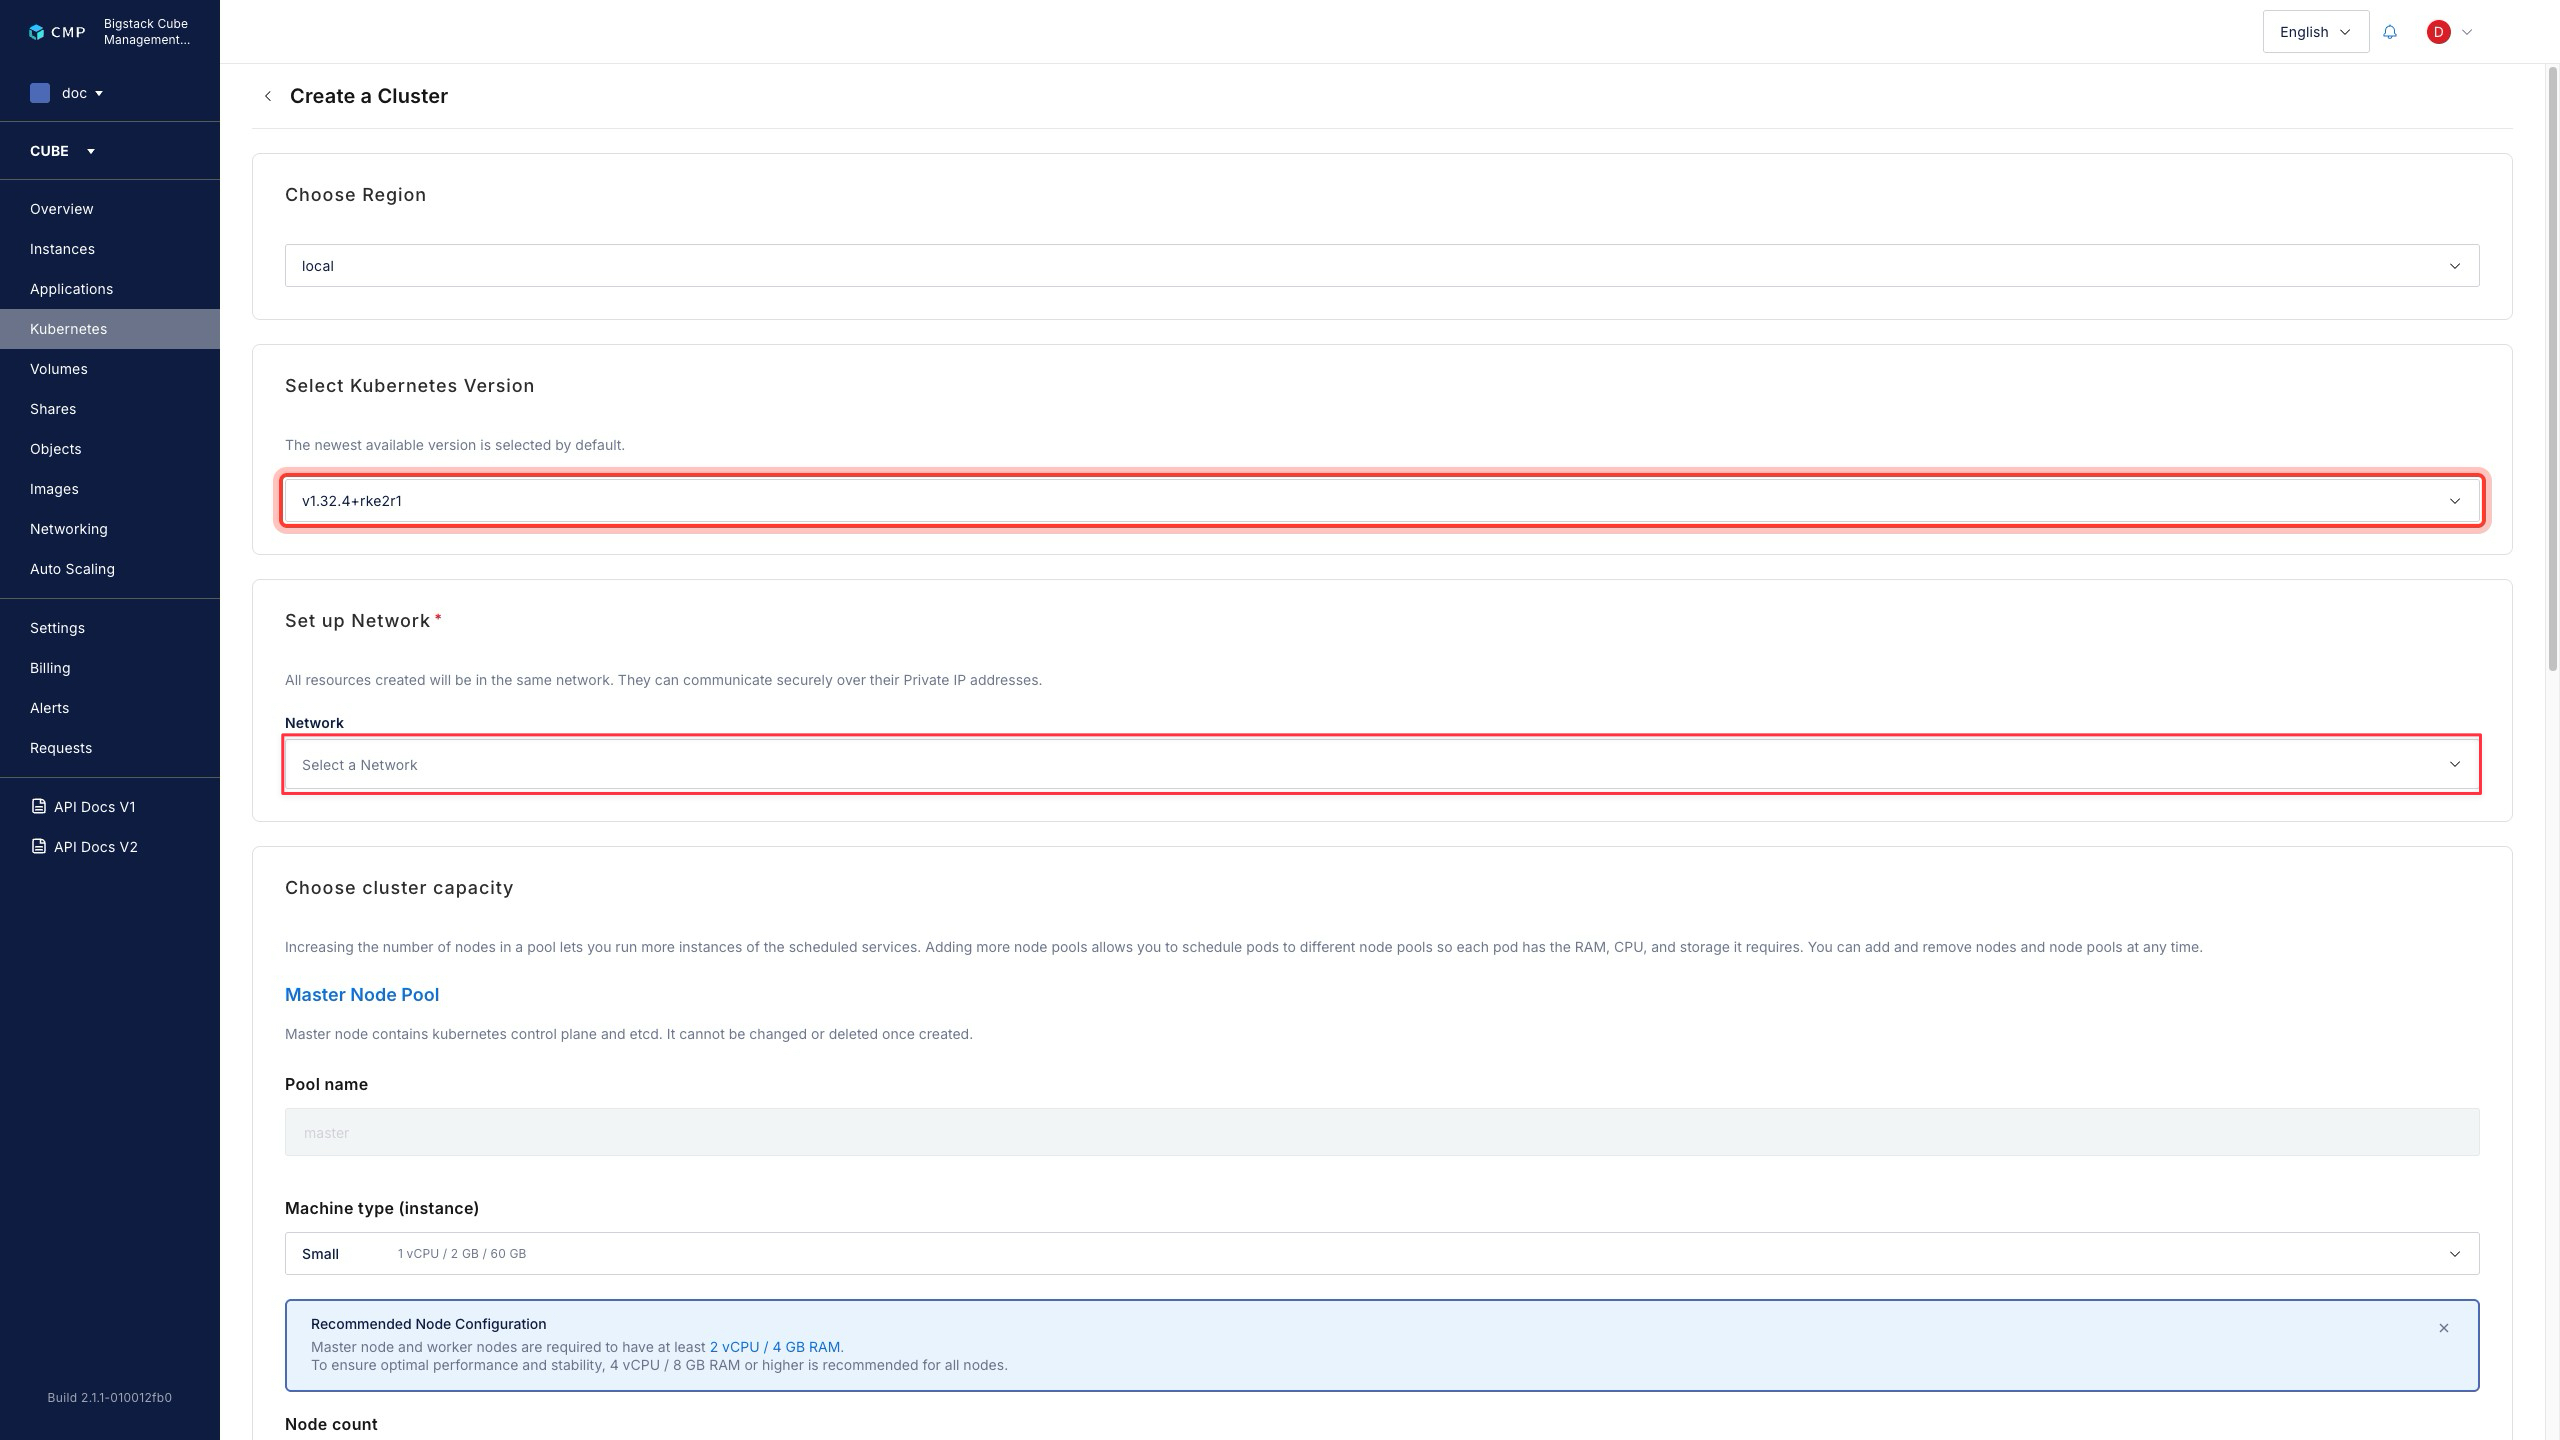
   1. Skip **Choose Region** when using the local **Cube** cluster.
   2. To select a Kubernetes version for creation, click the **Select Kuberntes Version** dropdown.
   3. Skip **Set up Network**

   ![Choose Region, Select Kubernetes Version, and Set up Network](/assets/kubernetes/create-local-kubernetes-cluster-2-region-version-network.jpg)

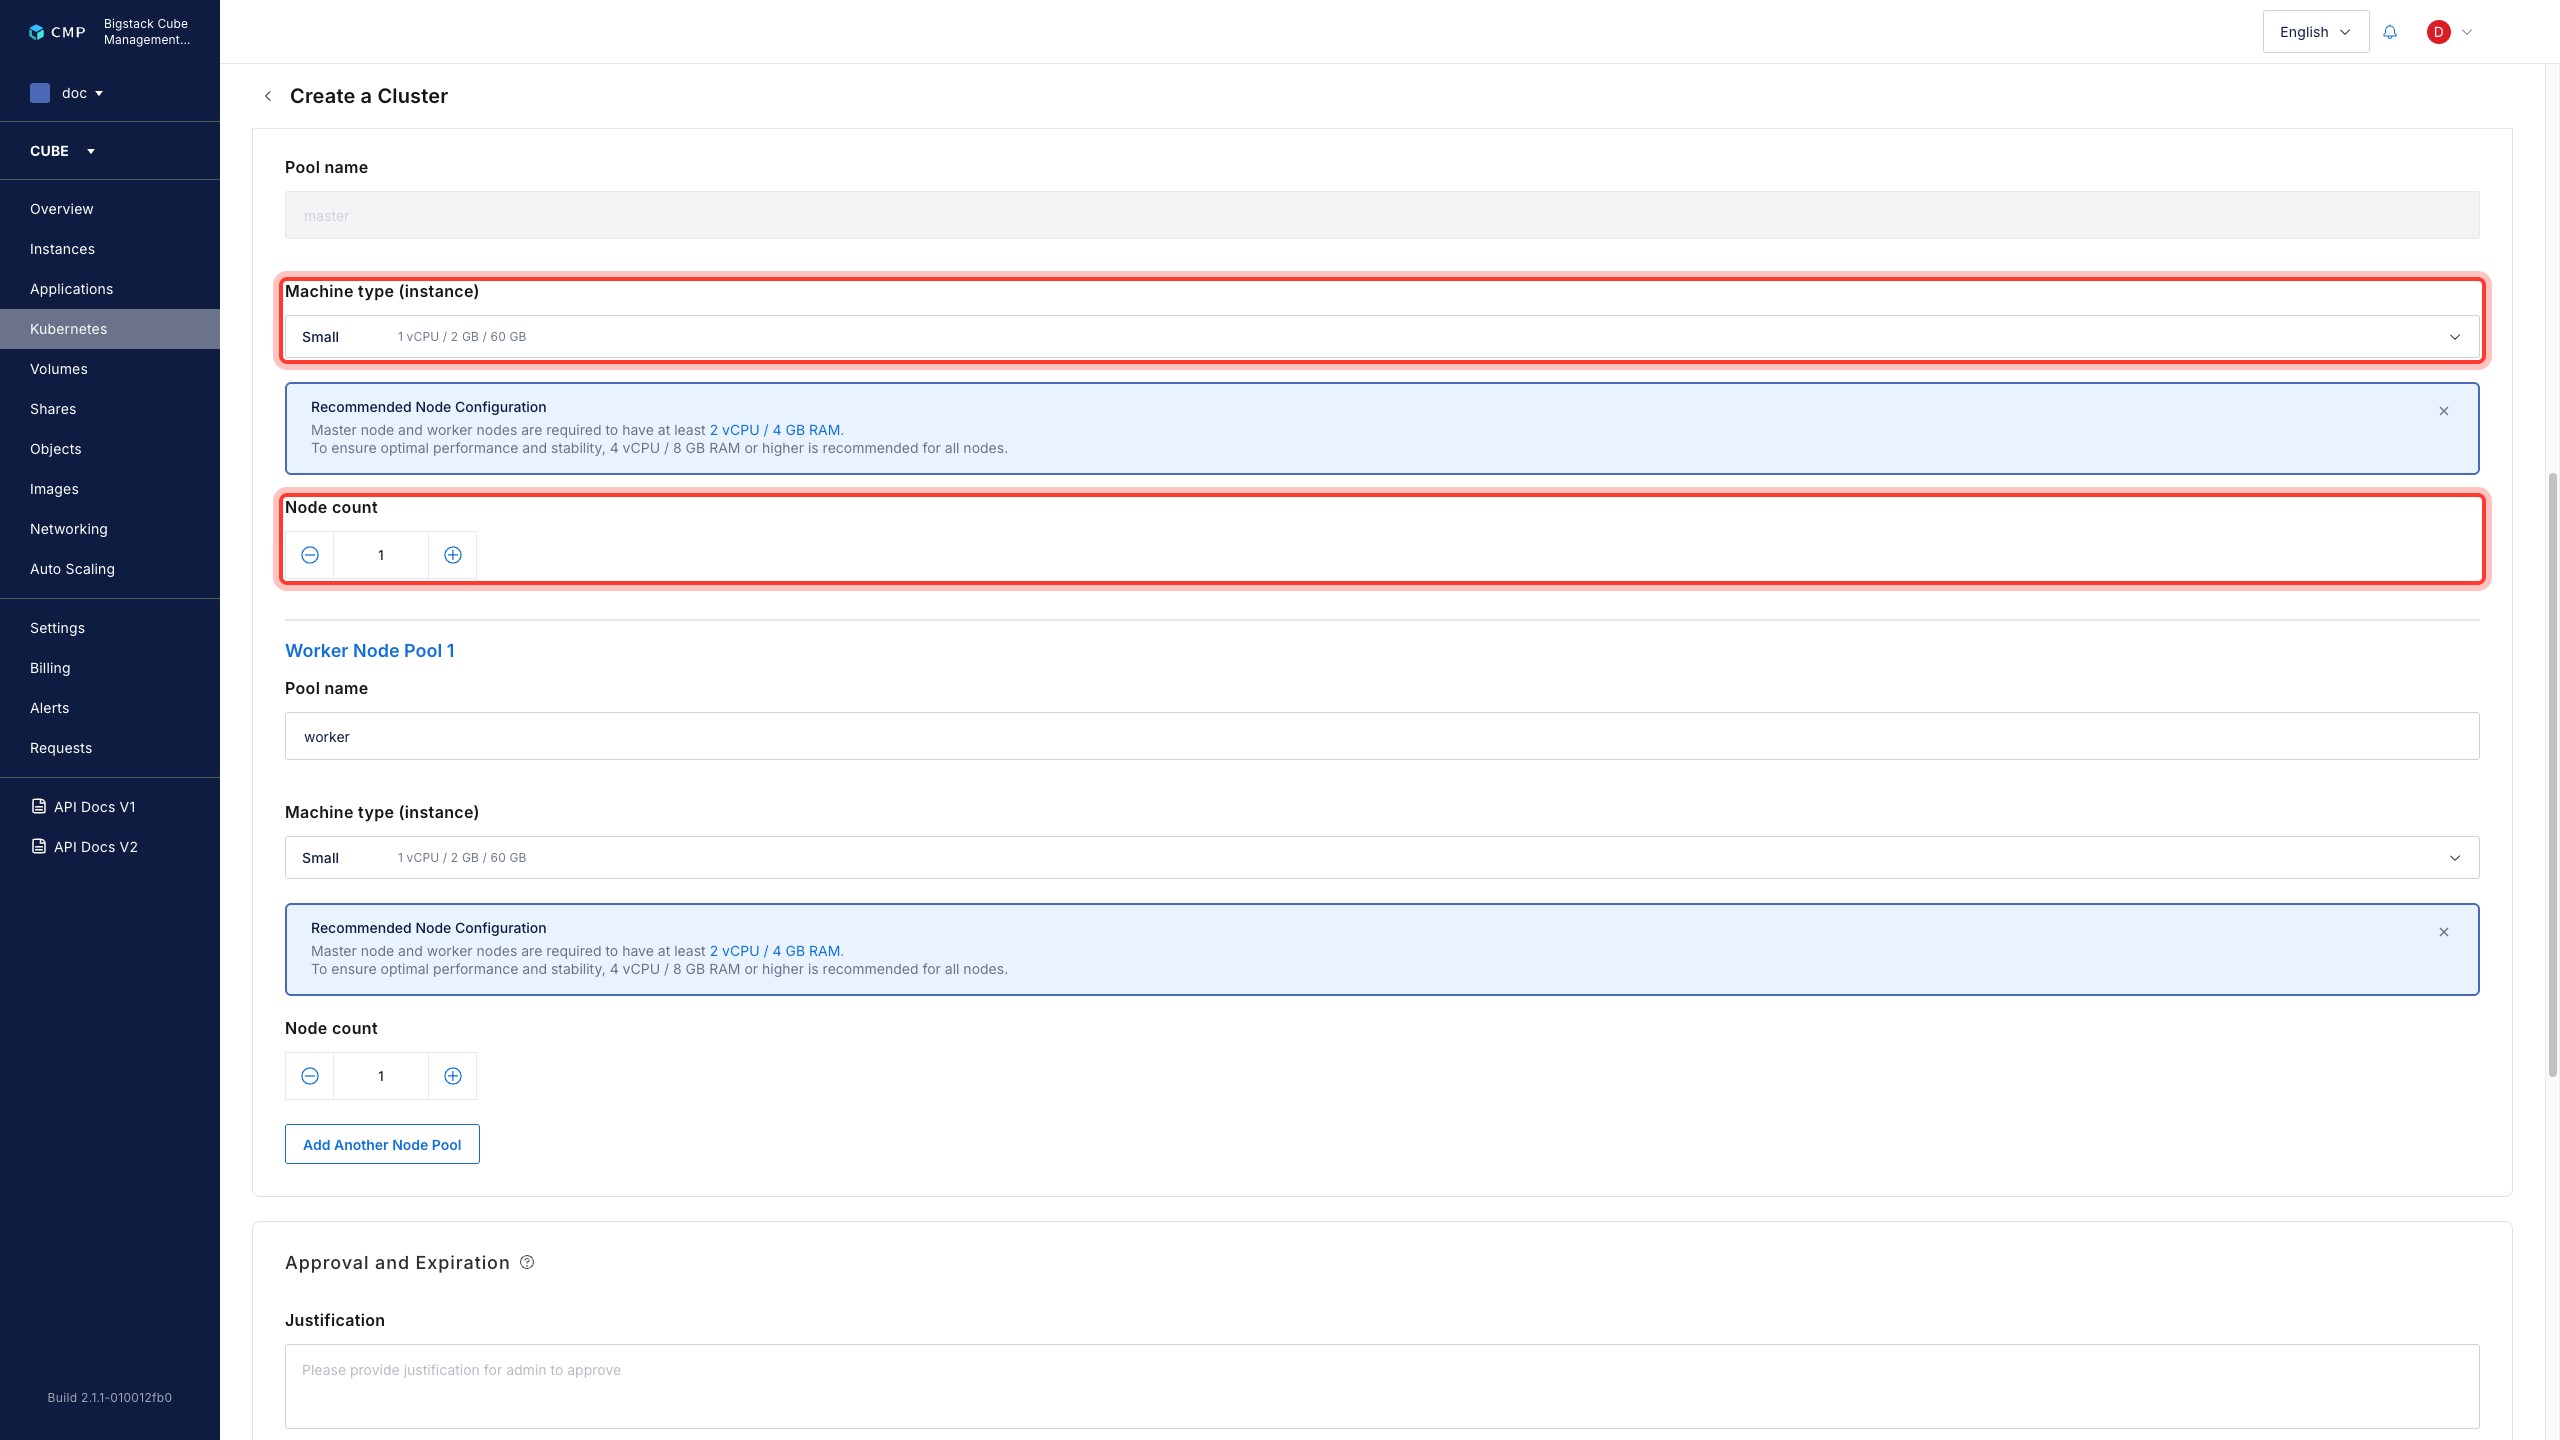
3. In the **Choose cluster capacity** configure the following master and worker information.
   1. To configure the number of master Kubernetes node running in the clicker, go to the **Master Node Pool** workload sizes and functions. In the **Master Node Pool** section, set the **Machine type (instance)** for the resources allocated to the master node and set how many nodes to create by configuring **Node Count**.

      ![Master Node Pool configuration](/assets/kubernetes/create-local-kubernetes-cluster-3-master-node-pool.jpg)

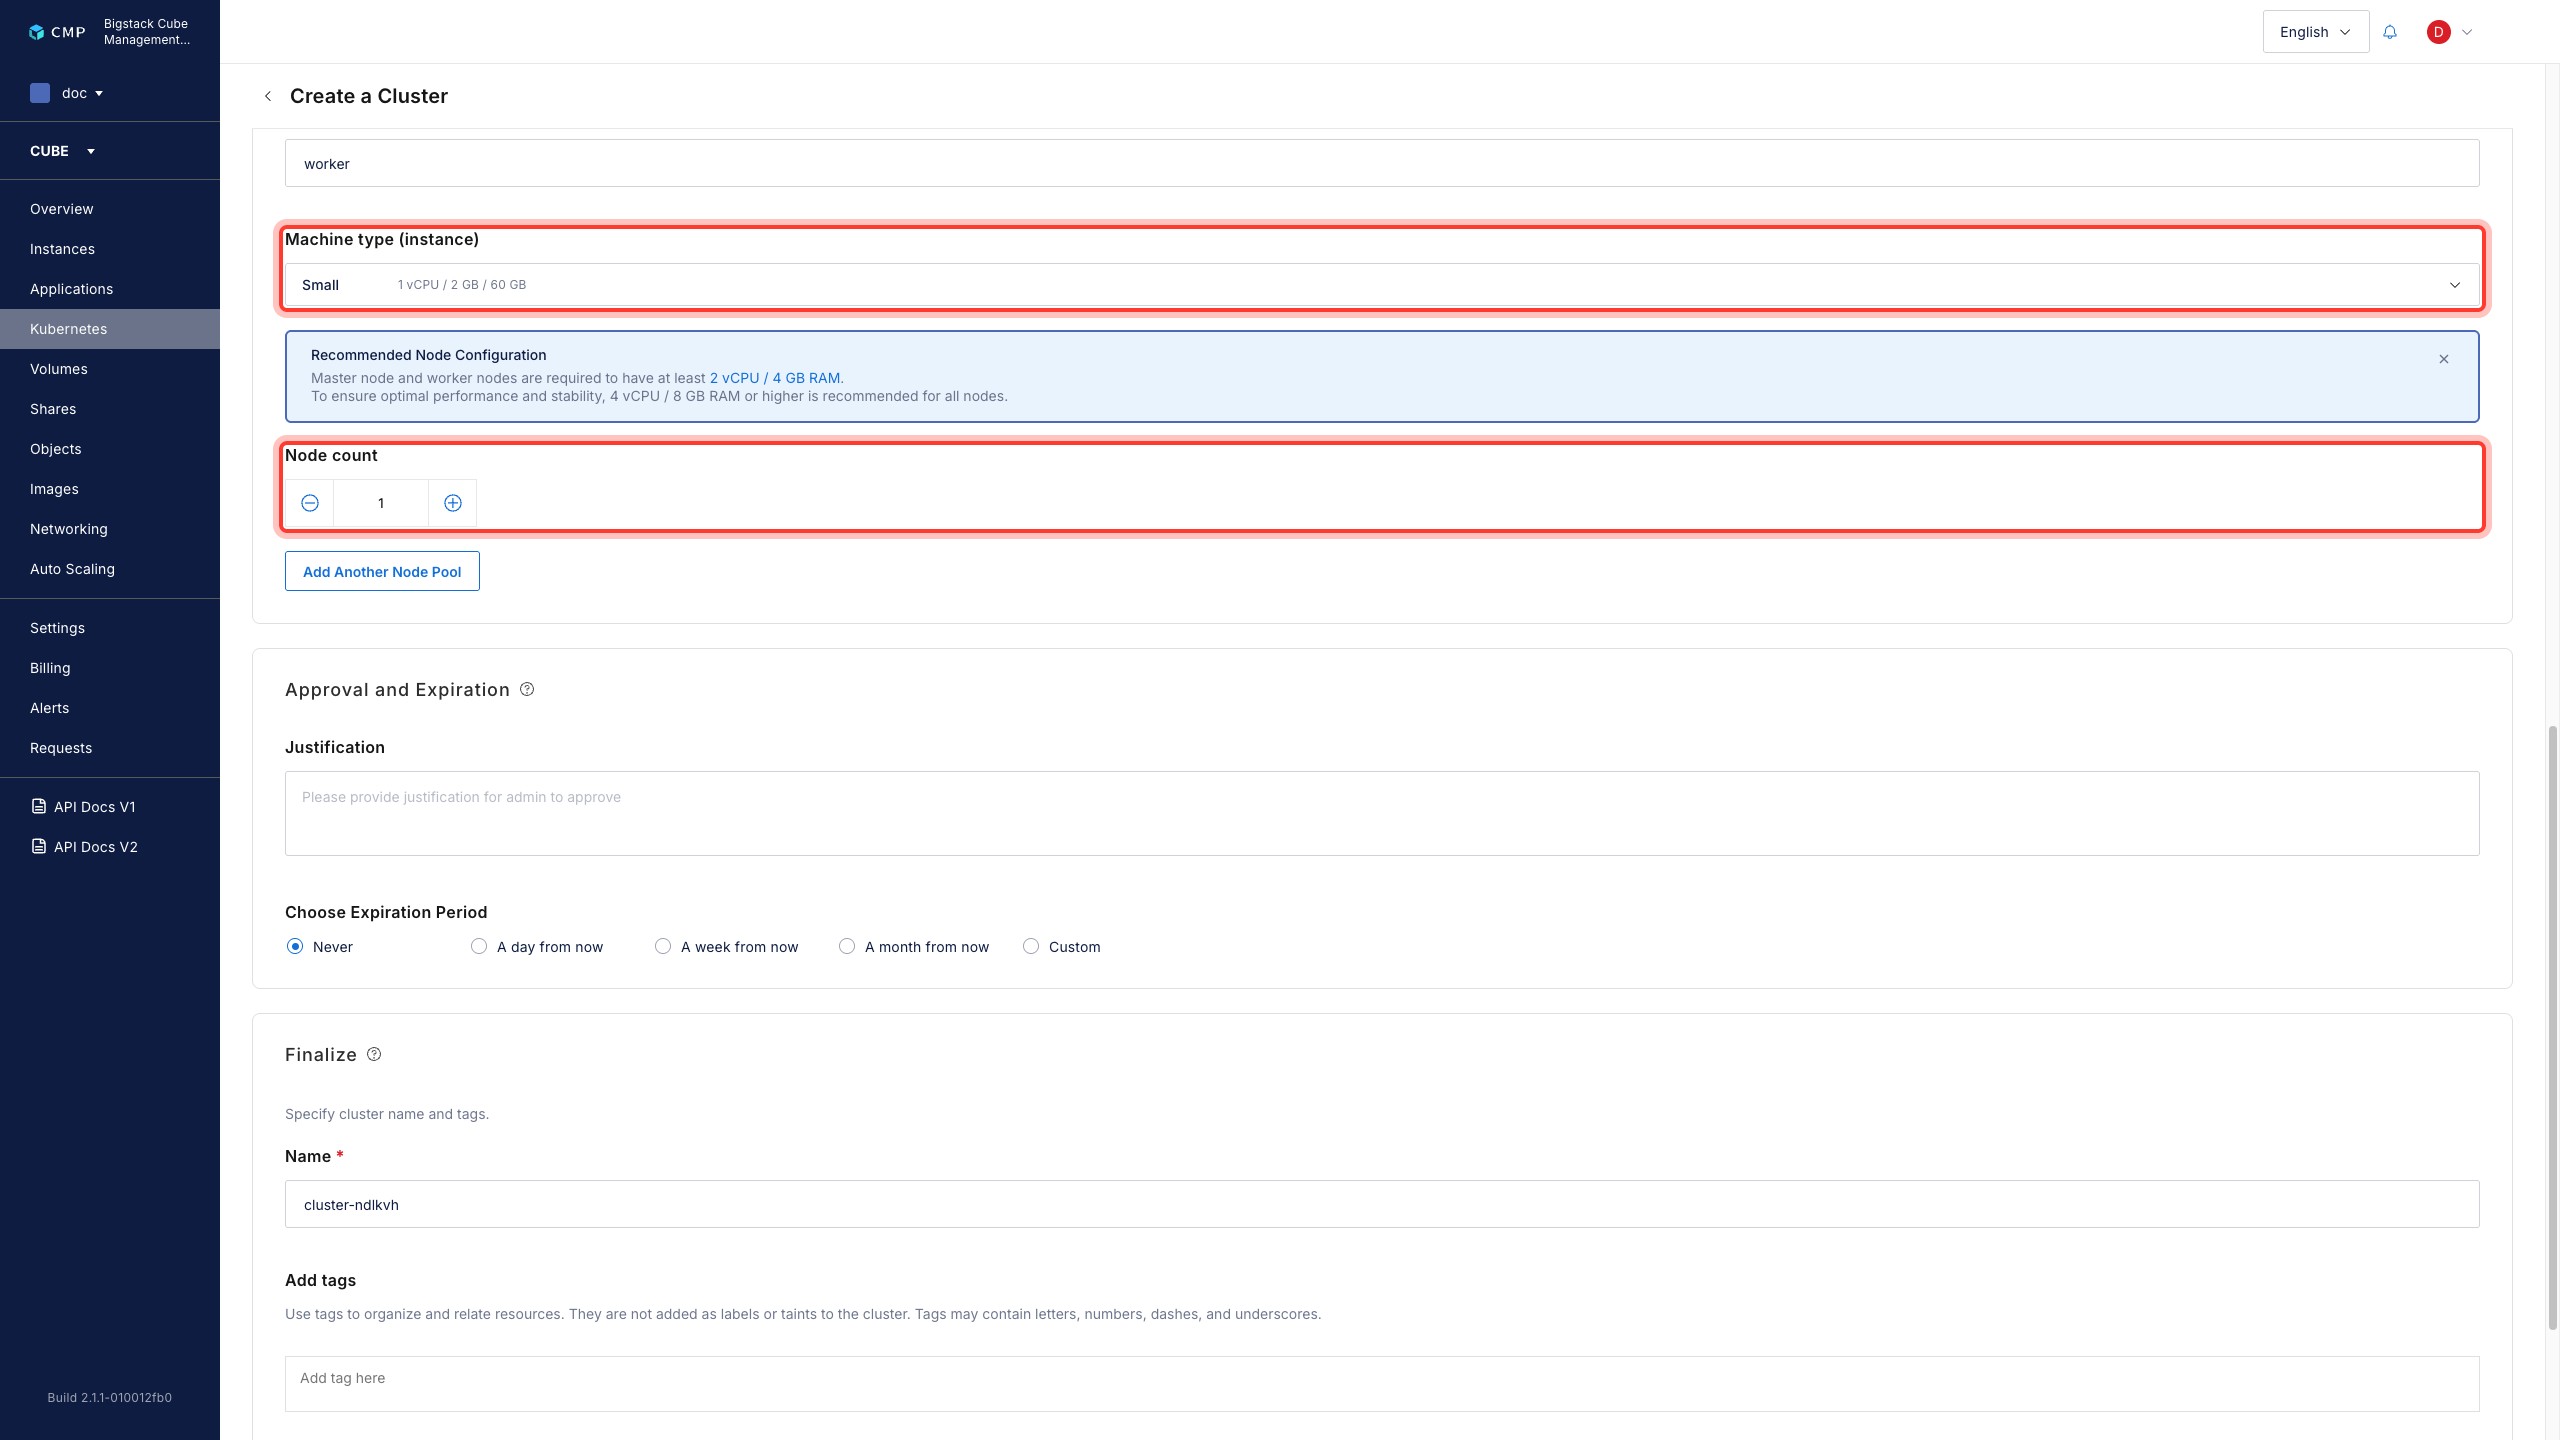
   2. To configure the number of worker pools performing the workload, go to the **Worker Node Pool**. Set the **machine type (instance)** for the resources allocated to the worker node and configure the node count to determine how many nodes to create. Add additional worker node pools and nodes as required.

      ![Worker Node Pool configuration](/assets/kubernetes/create-local-kubernetes-cluster-4-worker-node-pool.jpg)

4. To begin cluster creation, complete the following steps:
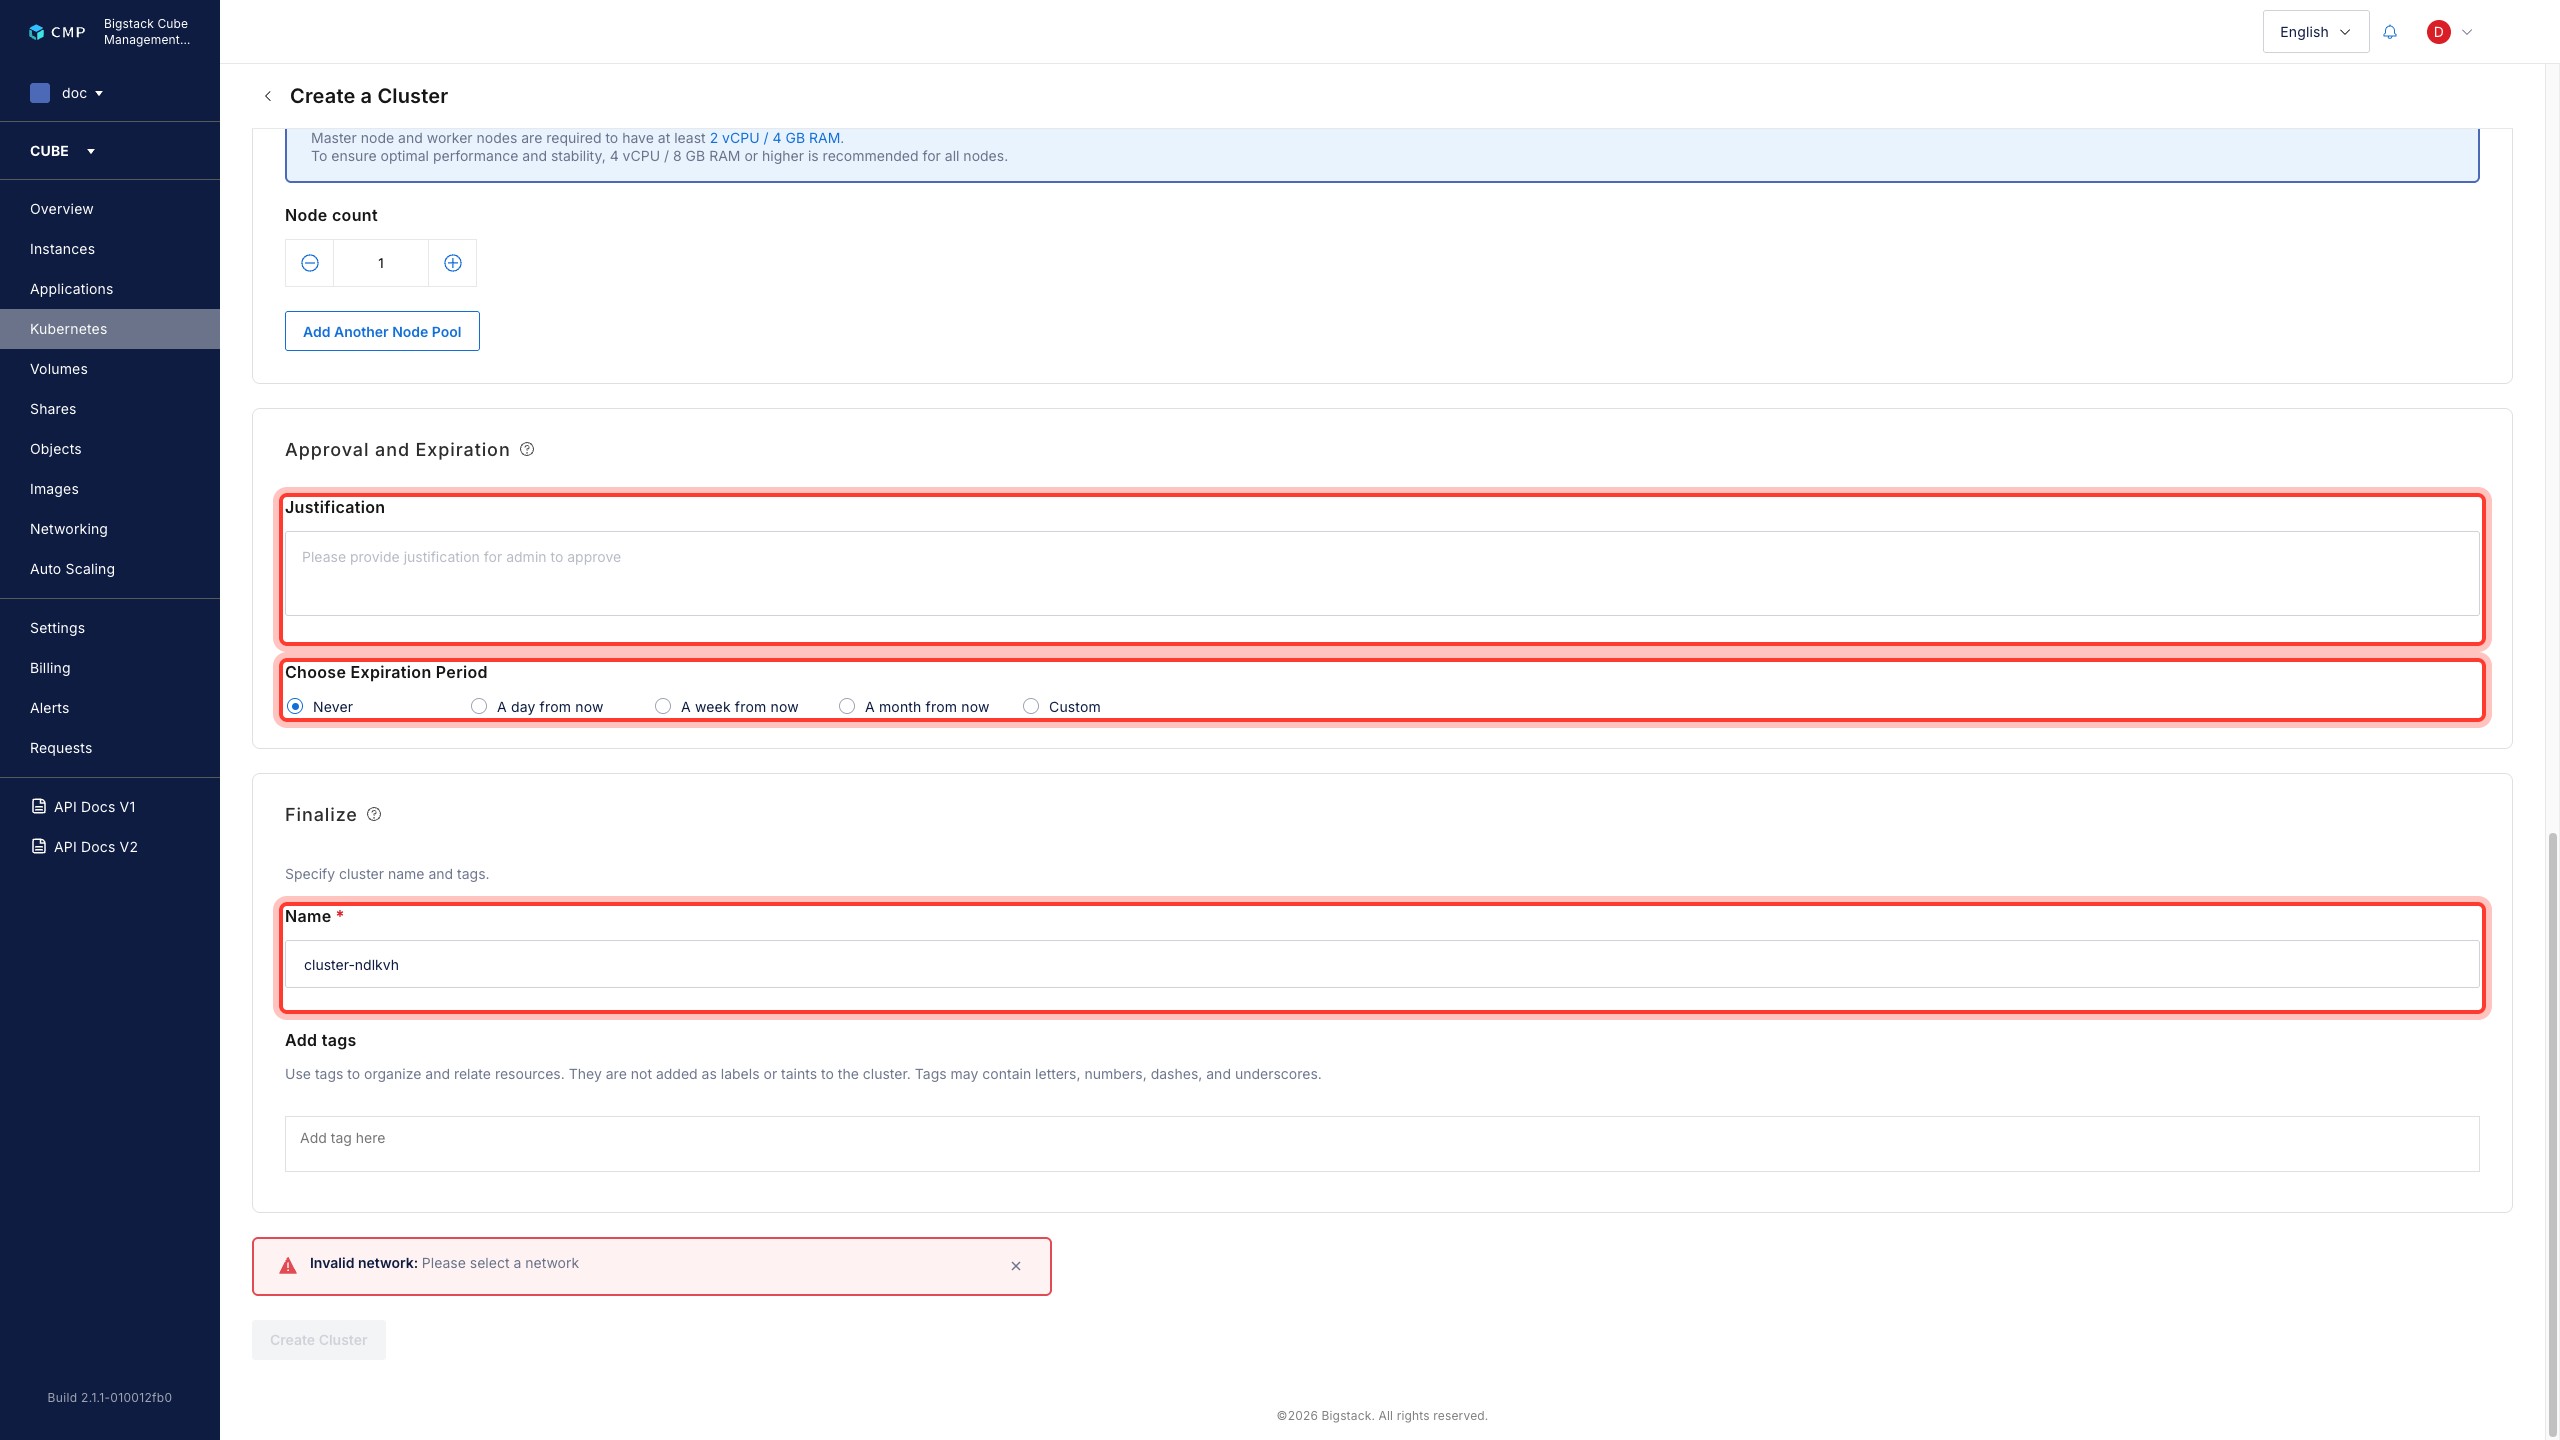
   1. If administrator resource approval is required, go to **Justification** and enter the cluster usage justification.
   2. If you have a resource expiration date, set the **Choose Expiration Period**.
5. In order to finalize the cluster creation, go to **Finalize** section.
   1. Enter a descriptive name for the cluster.
   2. If you need to set a tag for the cluster, enter a tag in **Add tags** section.

   ![Approval and Expiration, and Finalize sections](/assets/kubernetes/create-local-kubernetes-cluster-5-approval-finalize.jpg)

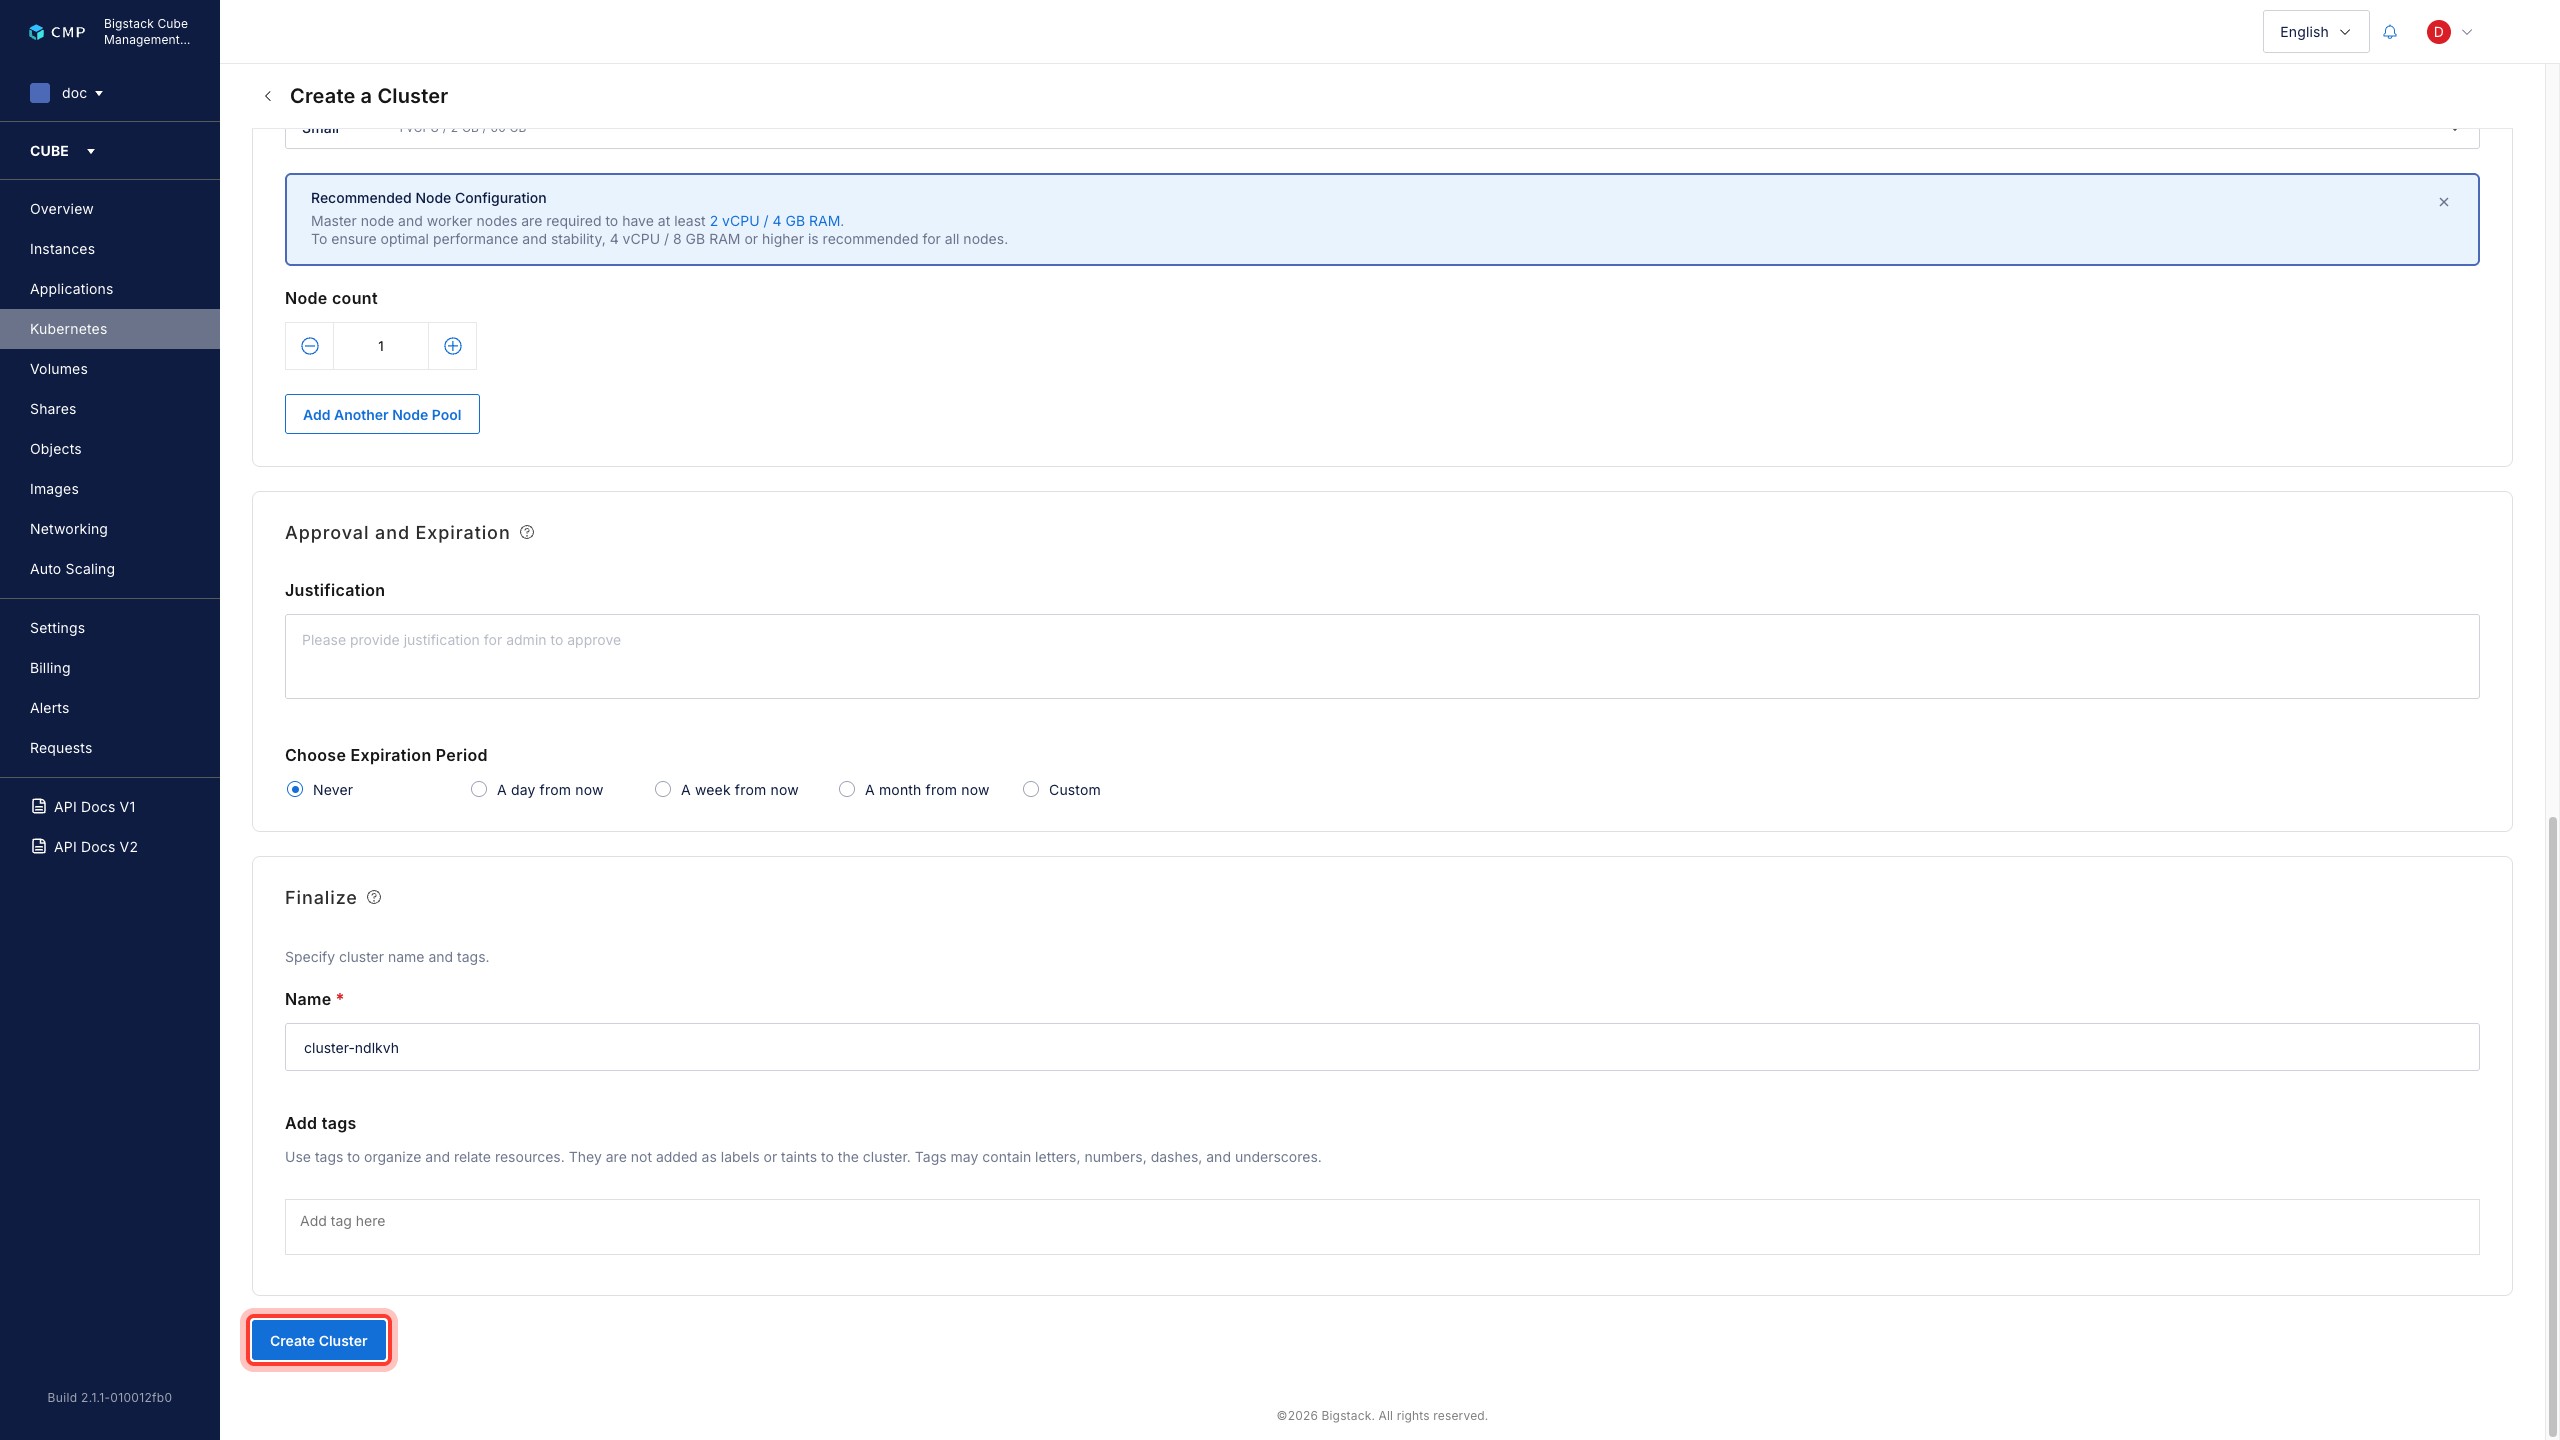
6. To begin cluster creation, click **Create Cluster**.

   ![Create Cluster button](/assets/kubernetes/create-local-kubernetes-cluster-6-create-button.jpg)

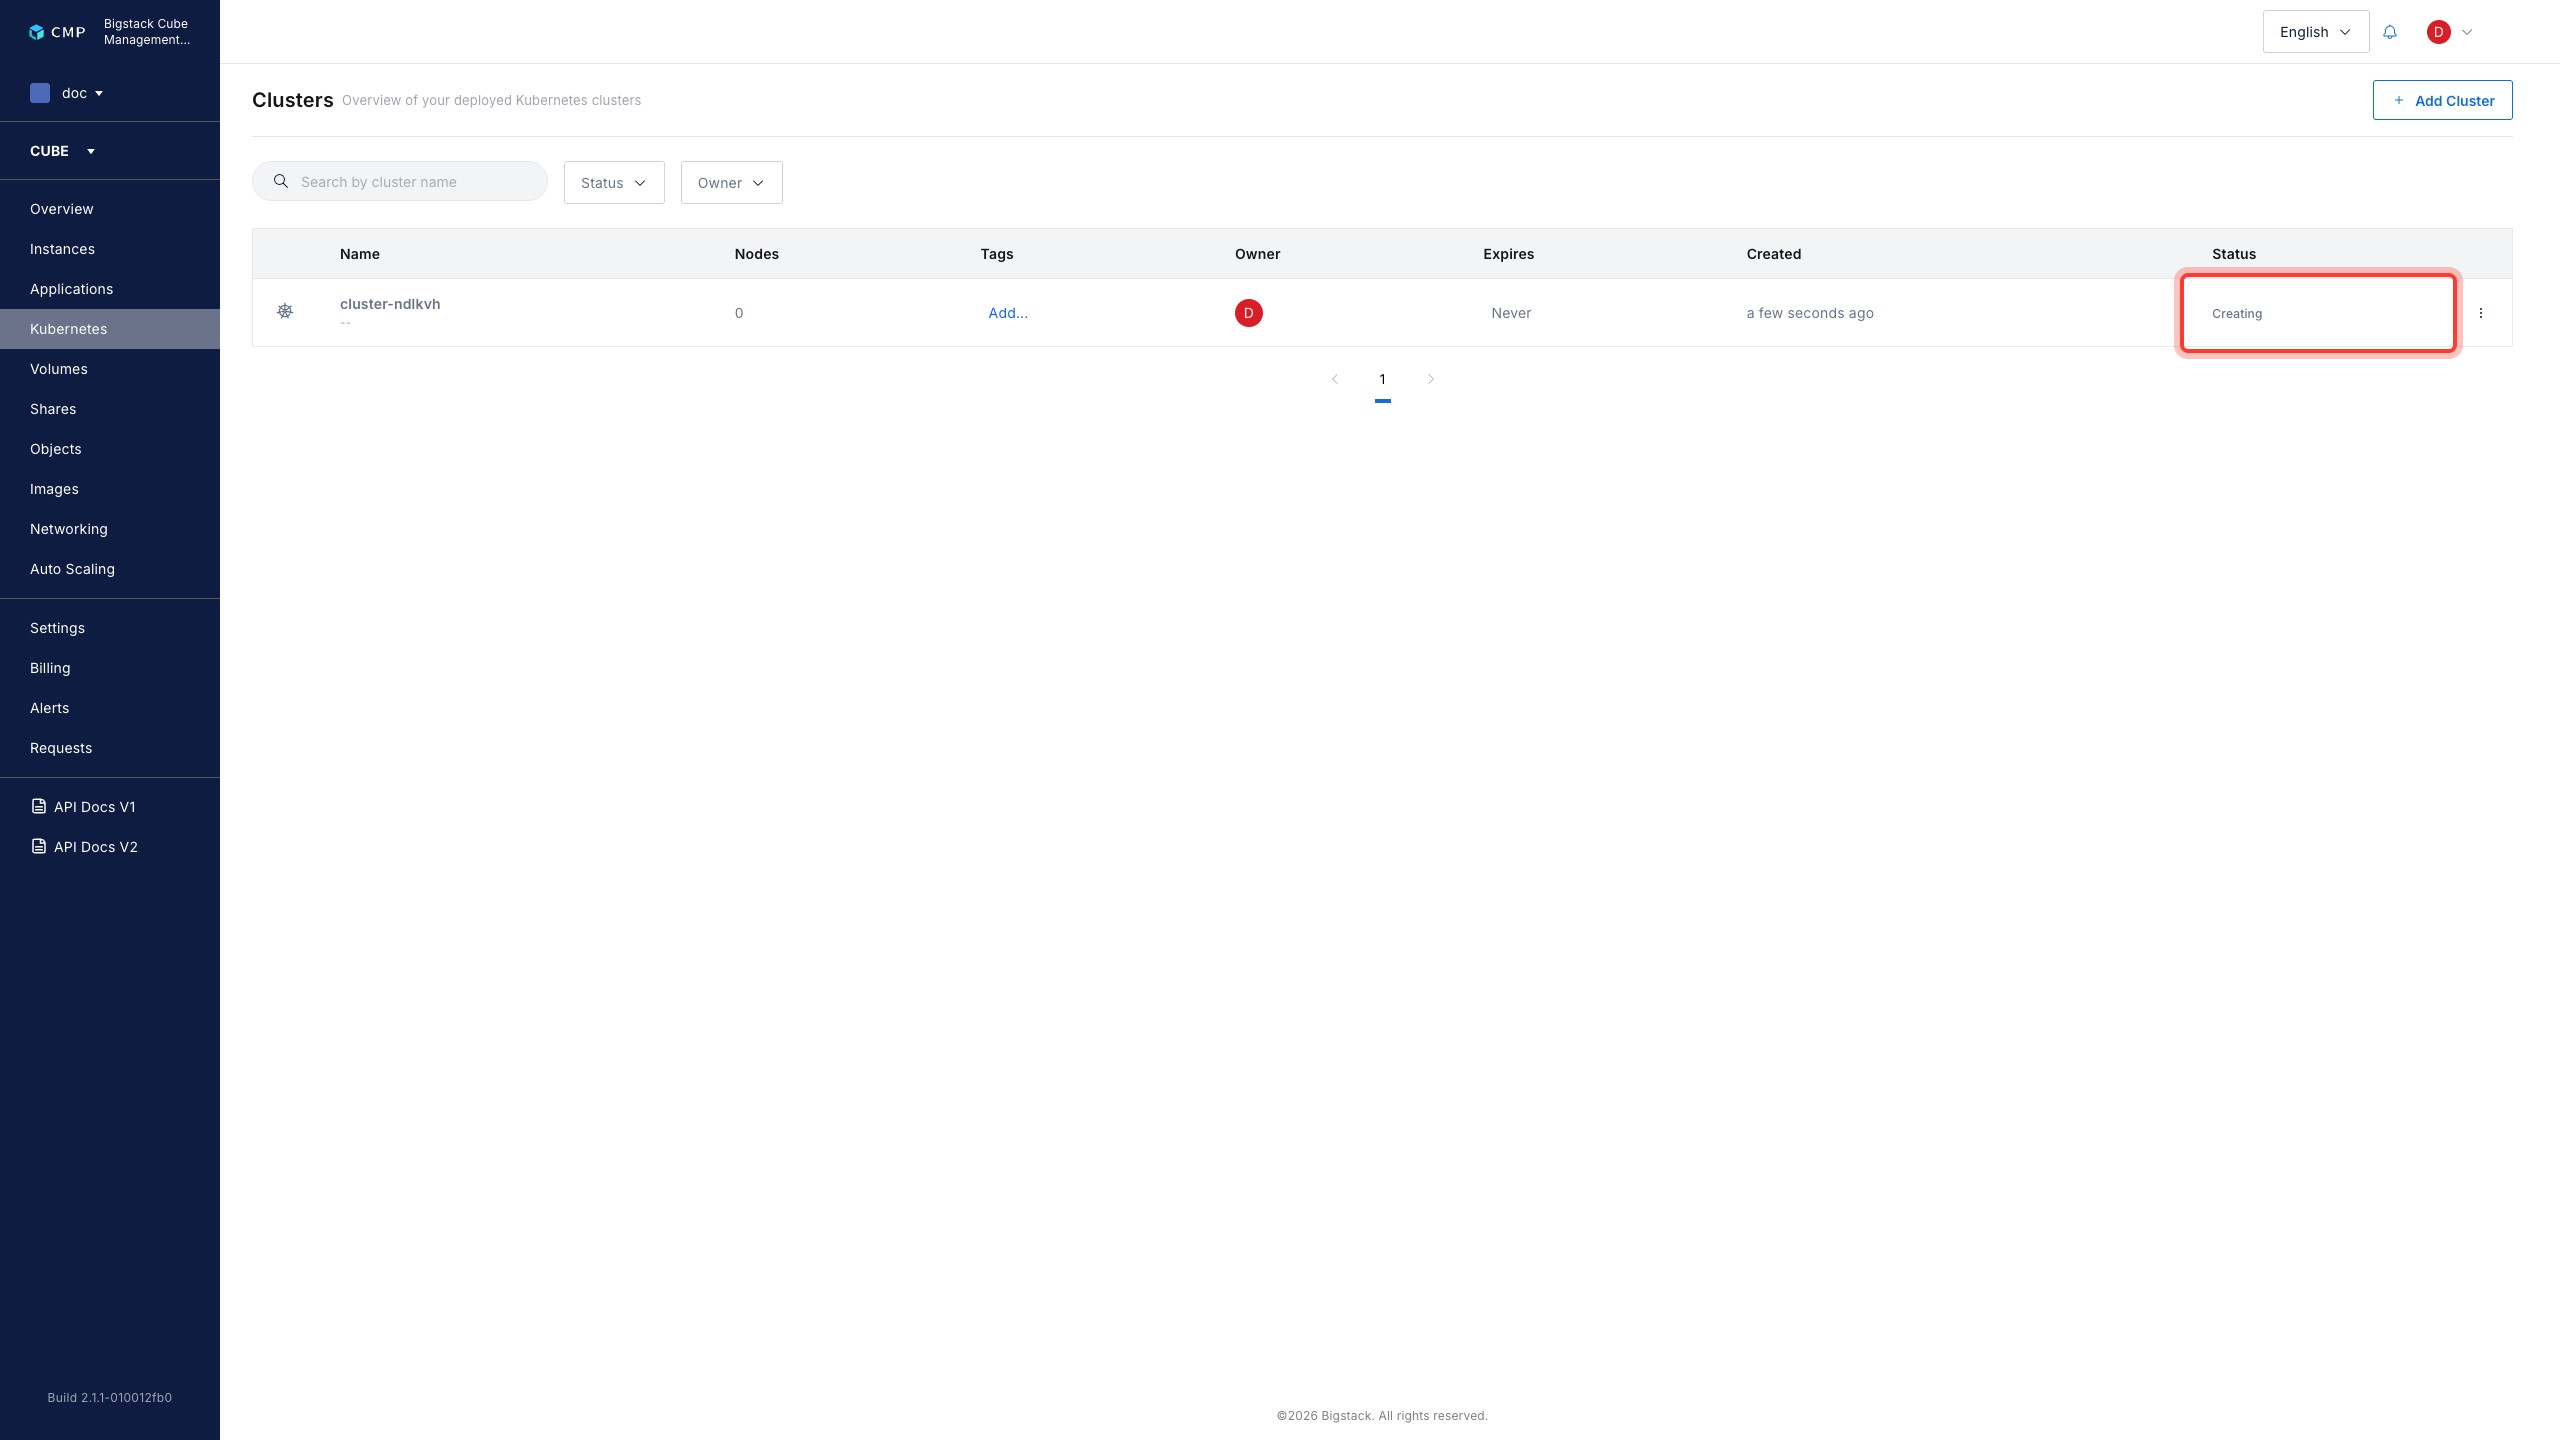
   The cluster enters a **Creating** state on the **Clusters** page while it provisions.

   ![Cluster in Creating state](/assets/kubernetes/create-local-kubernetes-cluster-7-creating.jpg)