クラスタを作成する
USBストレージデバイスは、デフォルトでブロックされています。 USBデバイスにアクセスする必要がある場合は、管理者としてログインした後、CLI > tuning > configure を使用して、チューニングオプション cubesys.probeusb を true に設定してください。
前提条件
このデモンストレーションでは、ユーザー bigstack-k8s およびプロジェクト bigstack-k8s を使用します。
-
Kubernetes 用のプロジェクトが作成され、Kubernetes の権限が「管理者」に設定されました。 「プロジェクトの作成」を参照してください (create-project.md)。
-
アンフォラの画像がインポートされました。
- Amphoraのイメージをダウンロードしてください:amphora-x64-haproxy_yoga。
scpを使用して、ダウンロードしたイメージを Glance のイメージディレクトリ/mnt/cephfs/glanceにアップロードします。- クラスターのVIPへの管理アクセス権を持つコンピュータから、次のコマンドを実行してください:
scp amphora-x64-haproxy_yoga.qcow2 root@<cluster-vip>:/mnt/cephfs/glance/
- クラスターのVIPへの管理アクセス権を持つコンピュータから、次のコマンドを実行してください:
- 管理シェルにログインしてください。
- ロードバランサーのイメージをインポートするには、次のコマンドを実行してください:
cc1> iaas image import_lb
1: usb
2: local
Enter index: 2
1: amphora-x64-haproxy_yoga.qcow2
Enter index: 1
Importing...
[16:25:04] Converting image to RAW format ...
    (100.00/100%)
[16:25:11] Creating image amphora-x64-haproxy ...
[=============================>] 100%
aa93010b-eb36-4357-b1cf-fea46958908f
[16:26:07] Finished creating image amphora-x64-haproxy
Importing  complete. It is safe to remove the local image file.
- Linuxイメージがインポートされ、デプロイメントで使用できる状態になりました。
このデモンストレーションでは、ベースシステムイメージとして ubuntu2404.qcow2 イメージを使用します。
- CubeCOSのダウンロードページにアクセスして、サポート対象のイメージ(例:
ubuntu2404.qcow2)を入手してください。 scpを使用して、イメージを/mnt/cephfs/glanceにある Glance イメージストアに転送します。- クラスタのVIPにネットワーク経由でアクセスできるワークステーションまたはジャンプホストから、次のコマンドを実行します:
scp ubuntu2404.qcow2 root@<cluster-vip>:/mnt/cephfs/glance/
- クラスタのVIPにネットワーク経由でアクセスできるワークステーションまたはジャンプホストから、次のコマンドを実行します:
- 管理シェルにログインしてください。
- 画像をインポートするには、次のコマンドを実行してください:
cc1> iaas image import
1: usb
2: local
Enter index: 2
1: amphora-x64-haproxy_yoga.qcow2
2: ubuntu2404.qcow2
Enter index: 2
Specify image name: ubuntu_2404
Select domain:
1: default
Enter index: 1
Select tenant:
1: admin
2: bigstack-k8s
Enter index: 1
Bootable image or volume:
1: glance-images
2: cinder-volumes
Enter index: 1
Visibility:
1: public
2: private
Enter index: 1
Importing...
[16:29:57] Converting image to RAW format ...
    (100.00/100%)
[16:30:09] Creating image ubuntu_2404 ...
[=============================>] 100%
ebfa199b-12d2-4a7c-8a8e-aef452f71750
[16:31:39] Finished creating image ubuntu_2404
Importing ubuntu_2404 complete. It is safe to remove the local image file.
OpenStack ドライバーとクラウド認証情報の設定
-
Keycloakのユーザー
bigstack-k8sでRancherにログインしてください。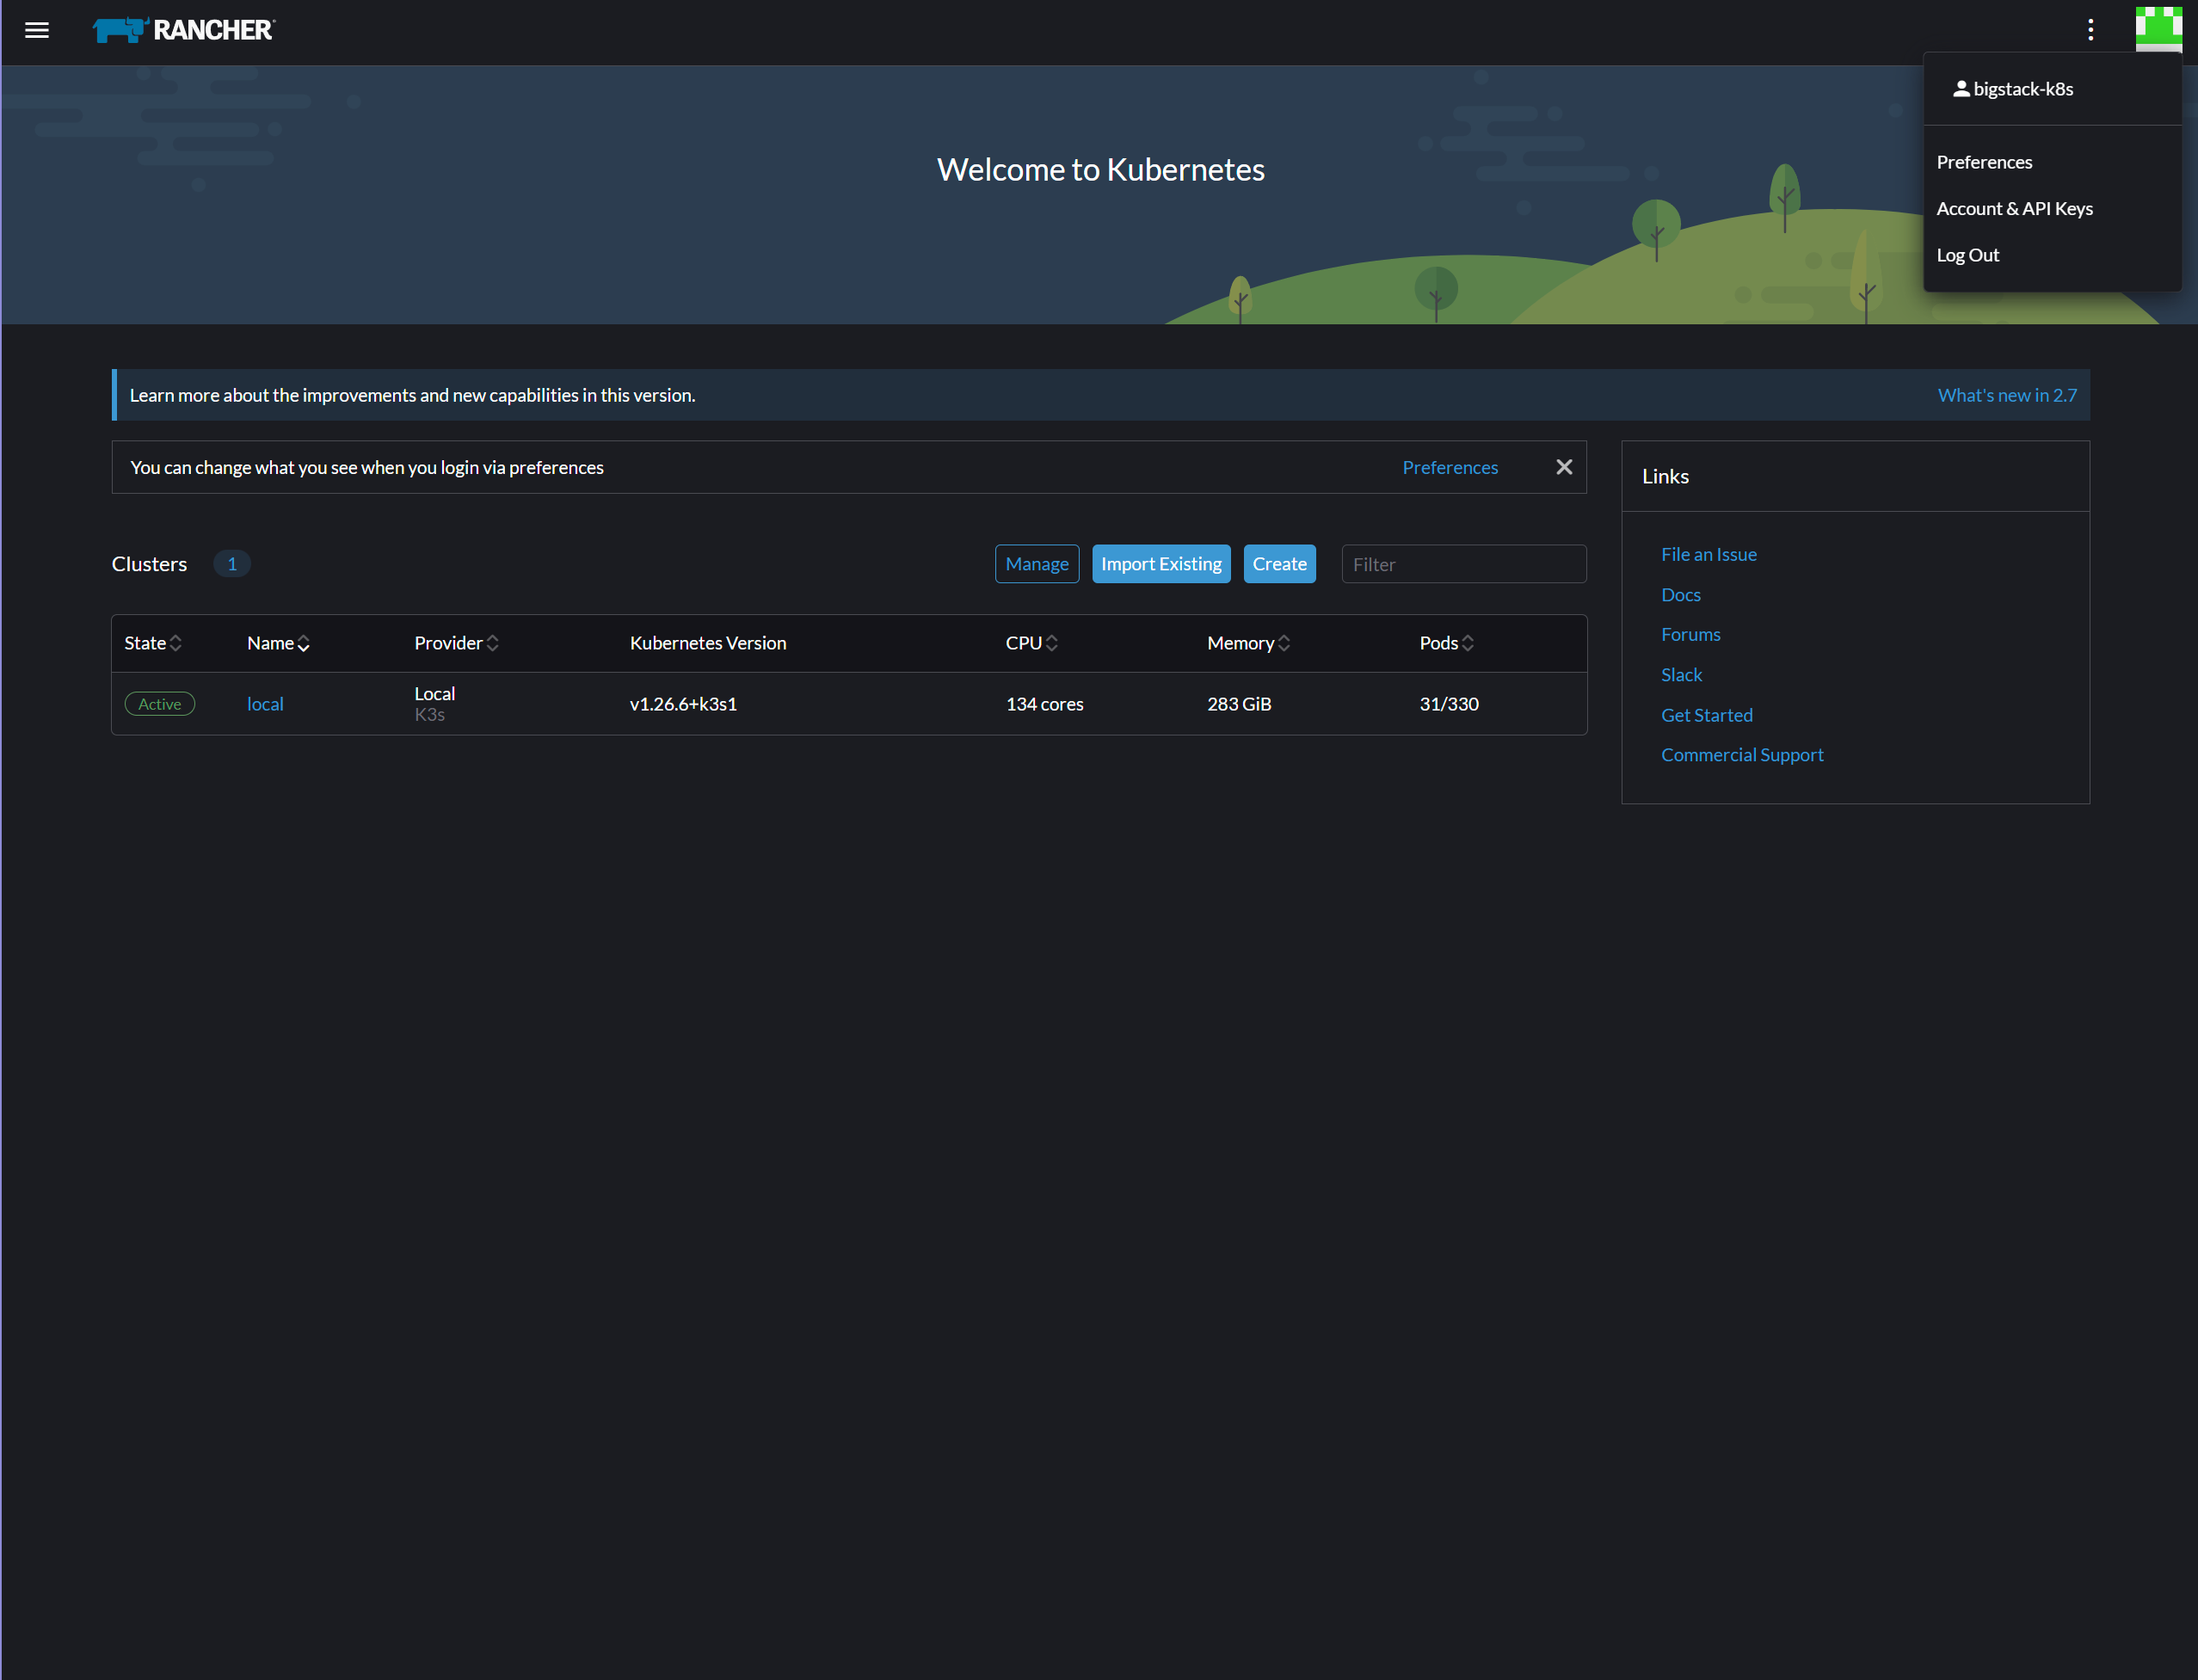
-
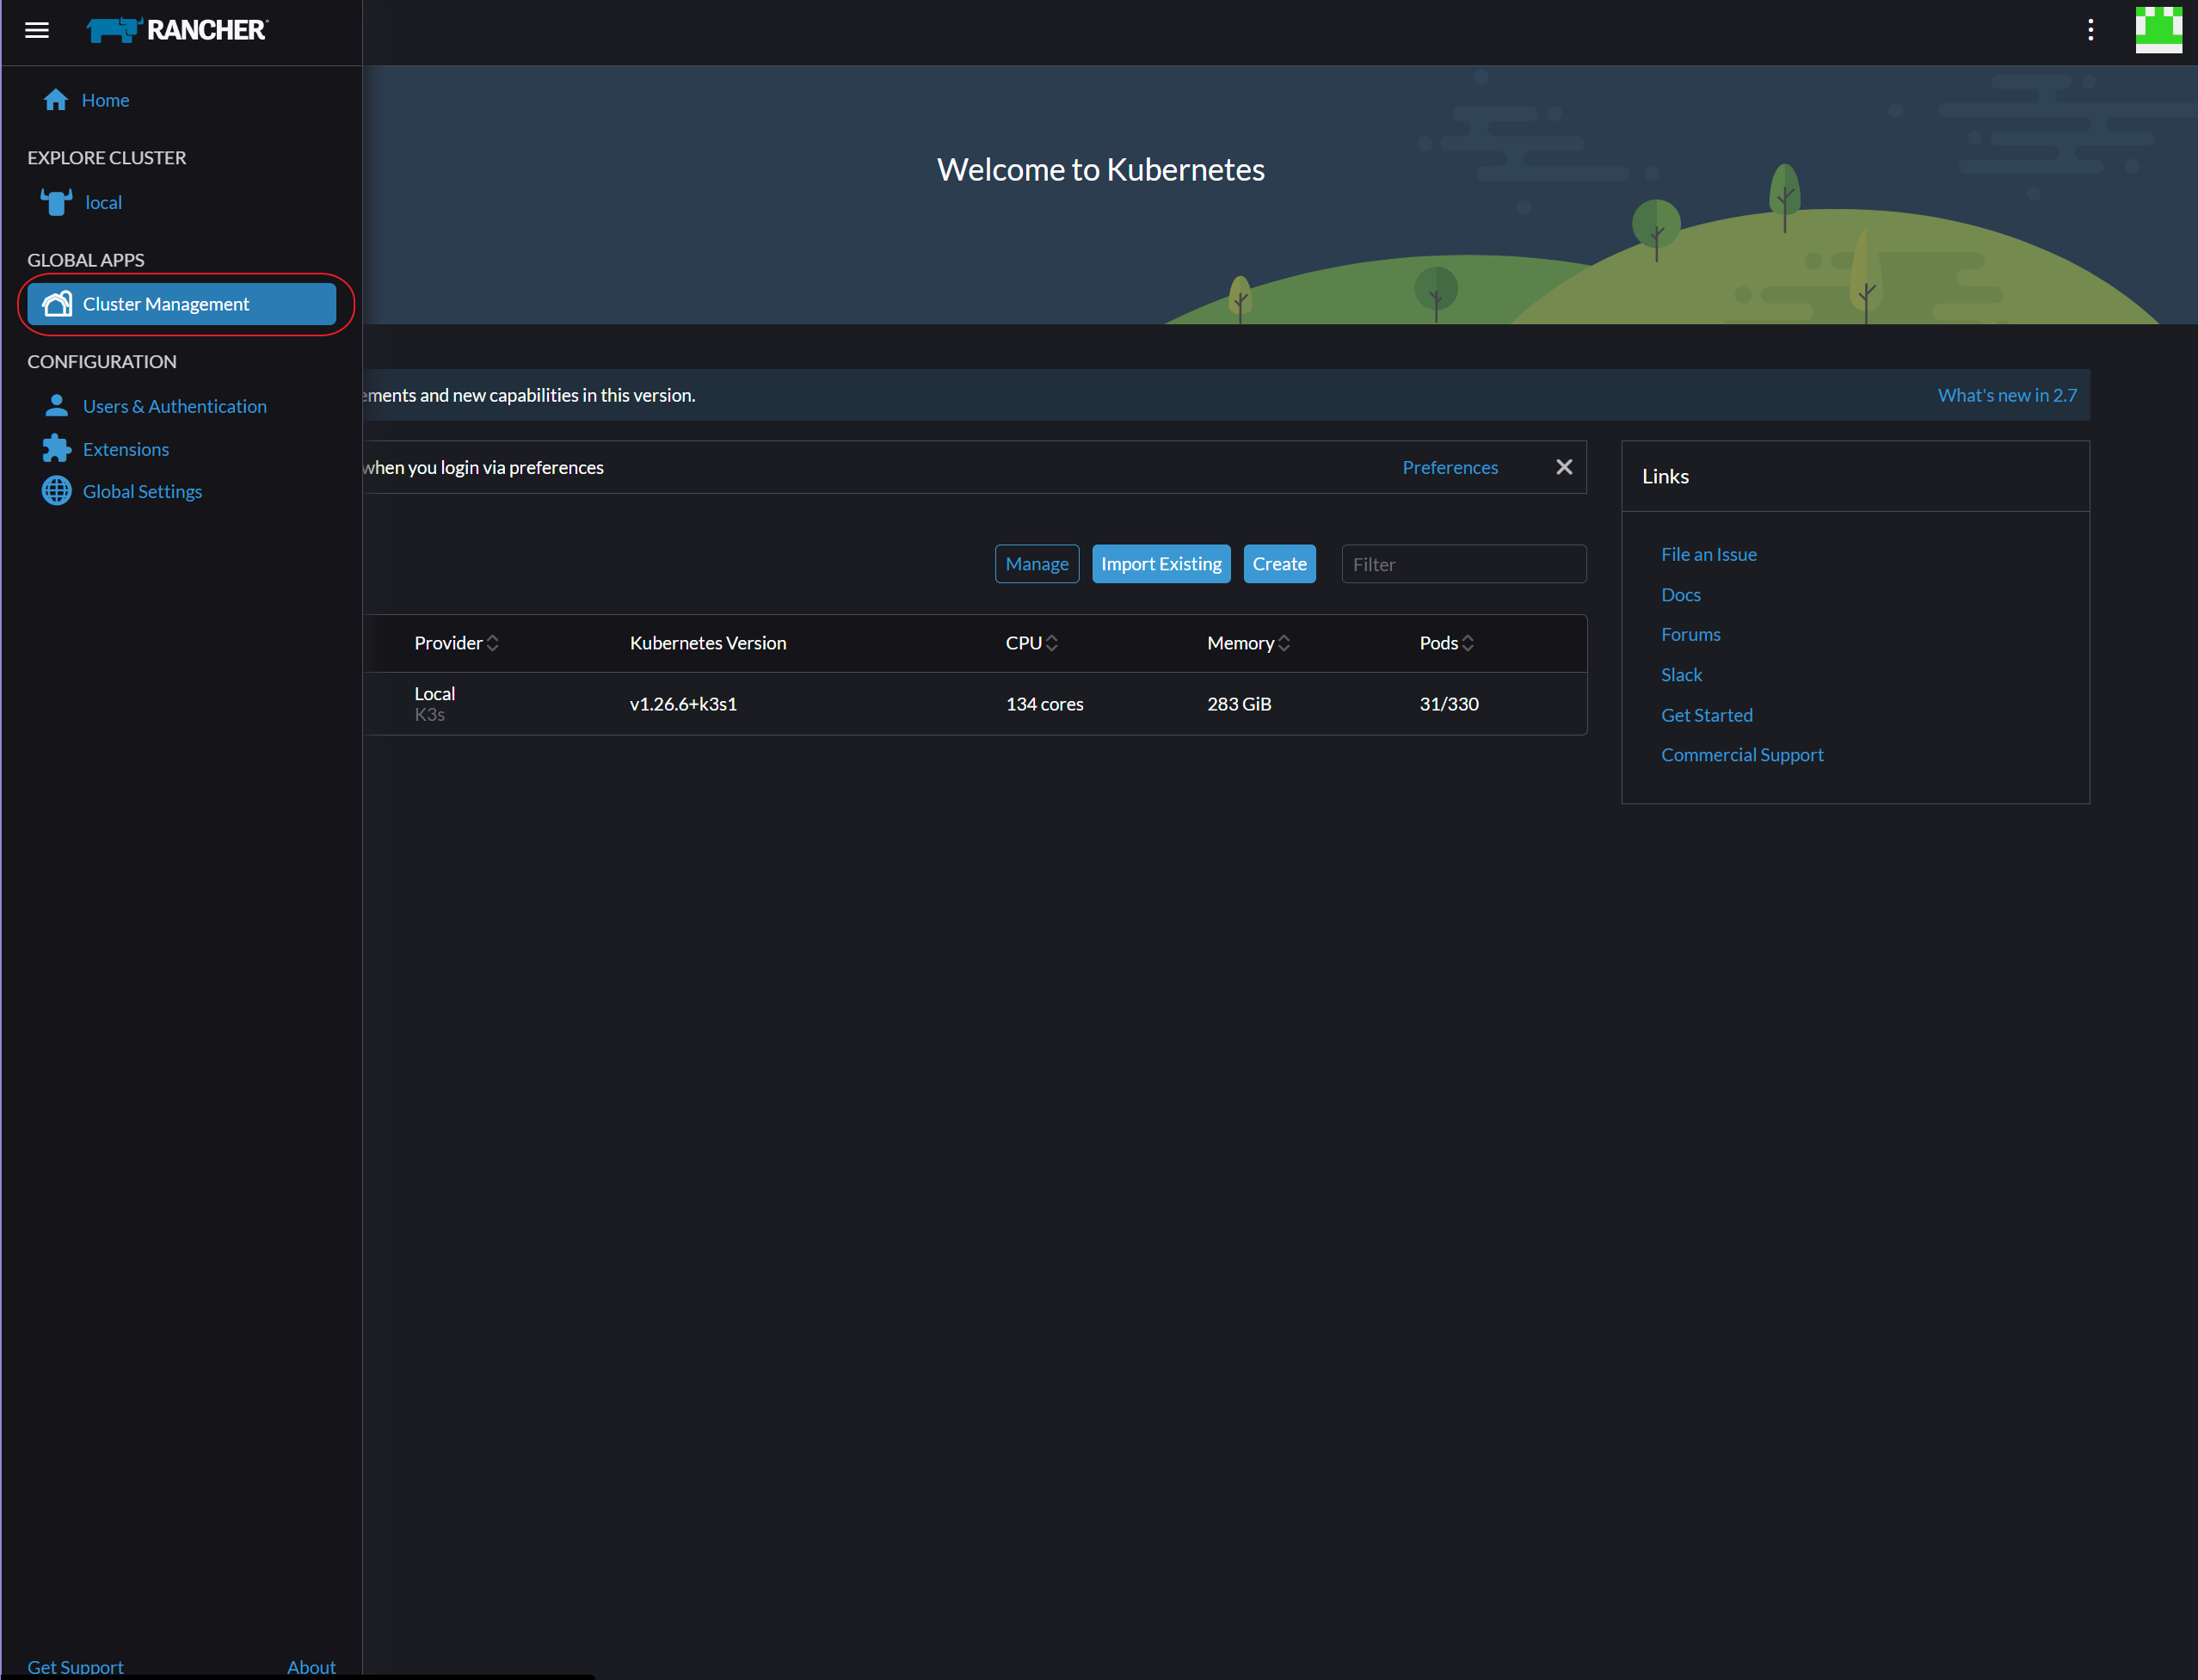
クラスタ管理に移動します。
-
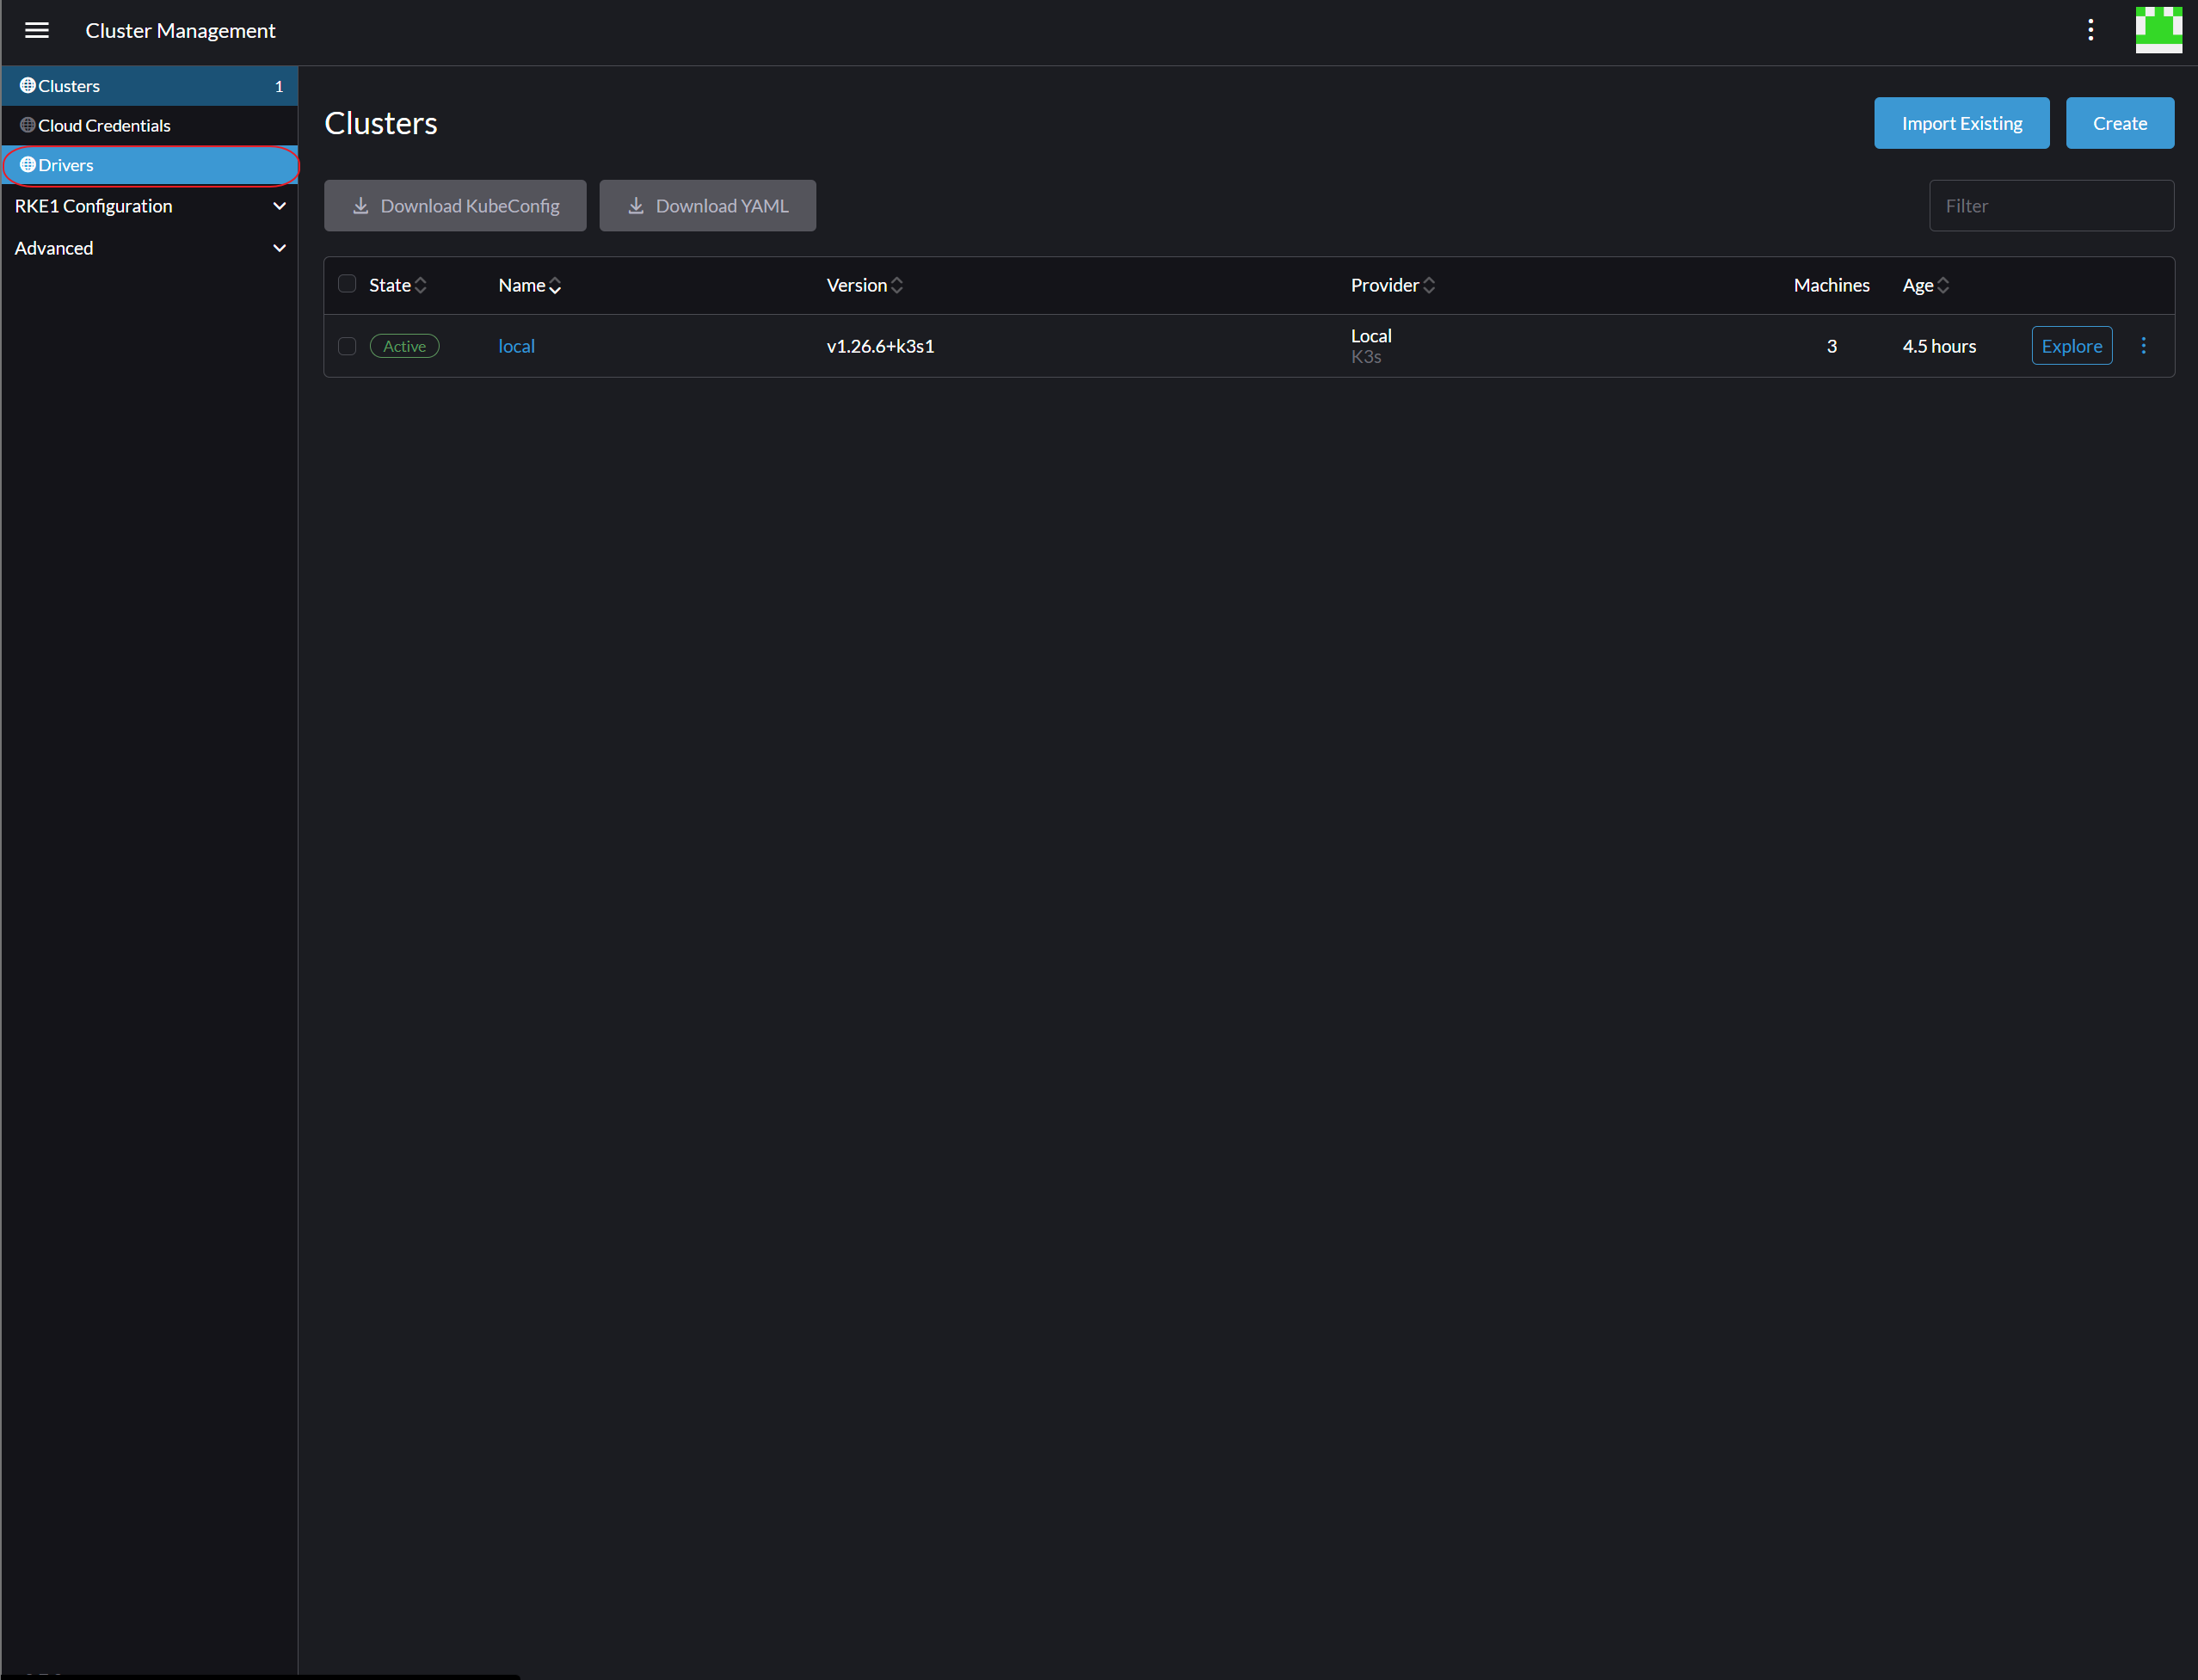
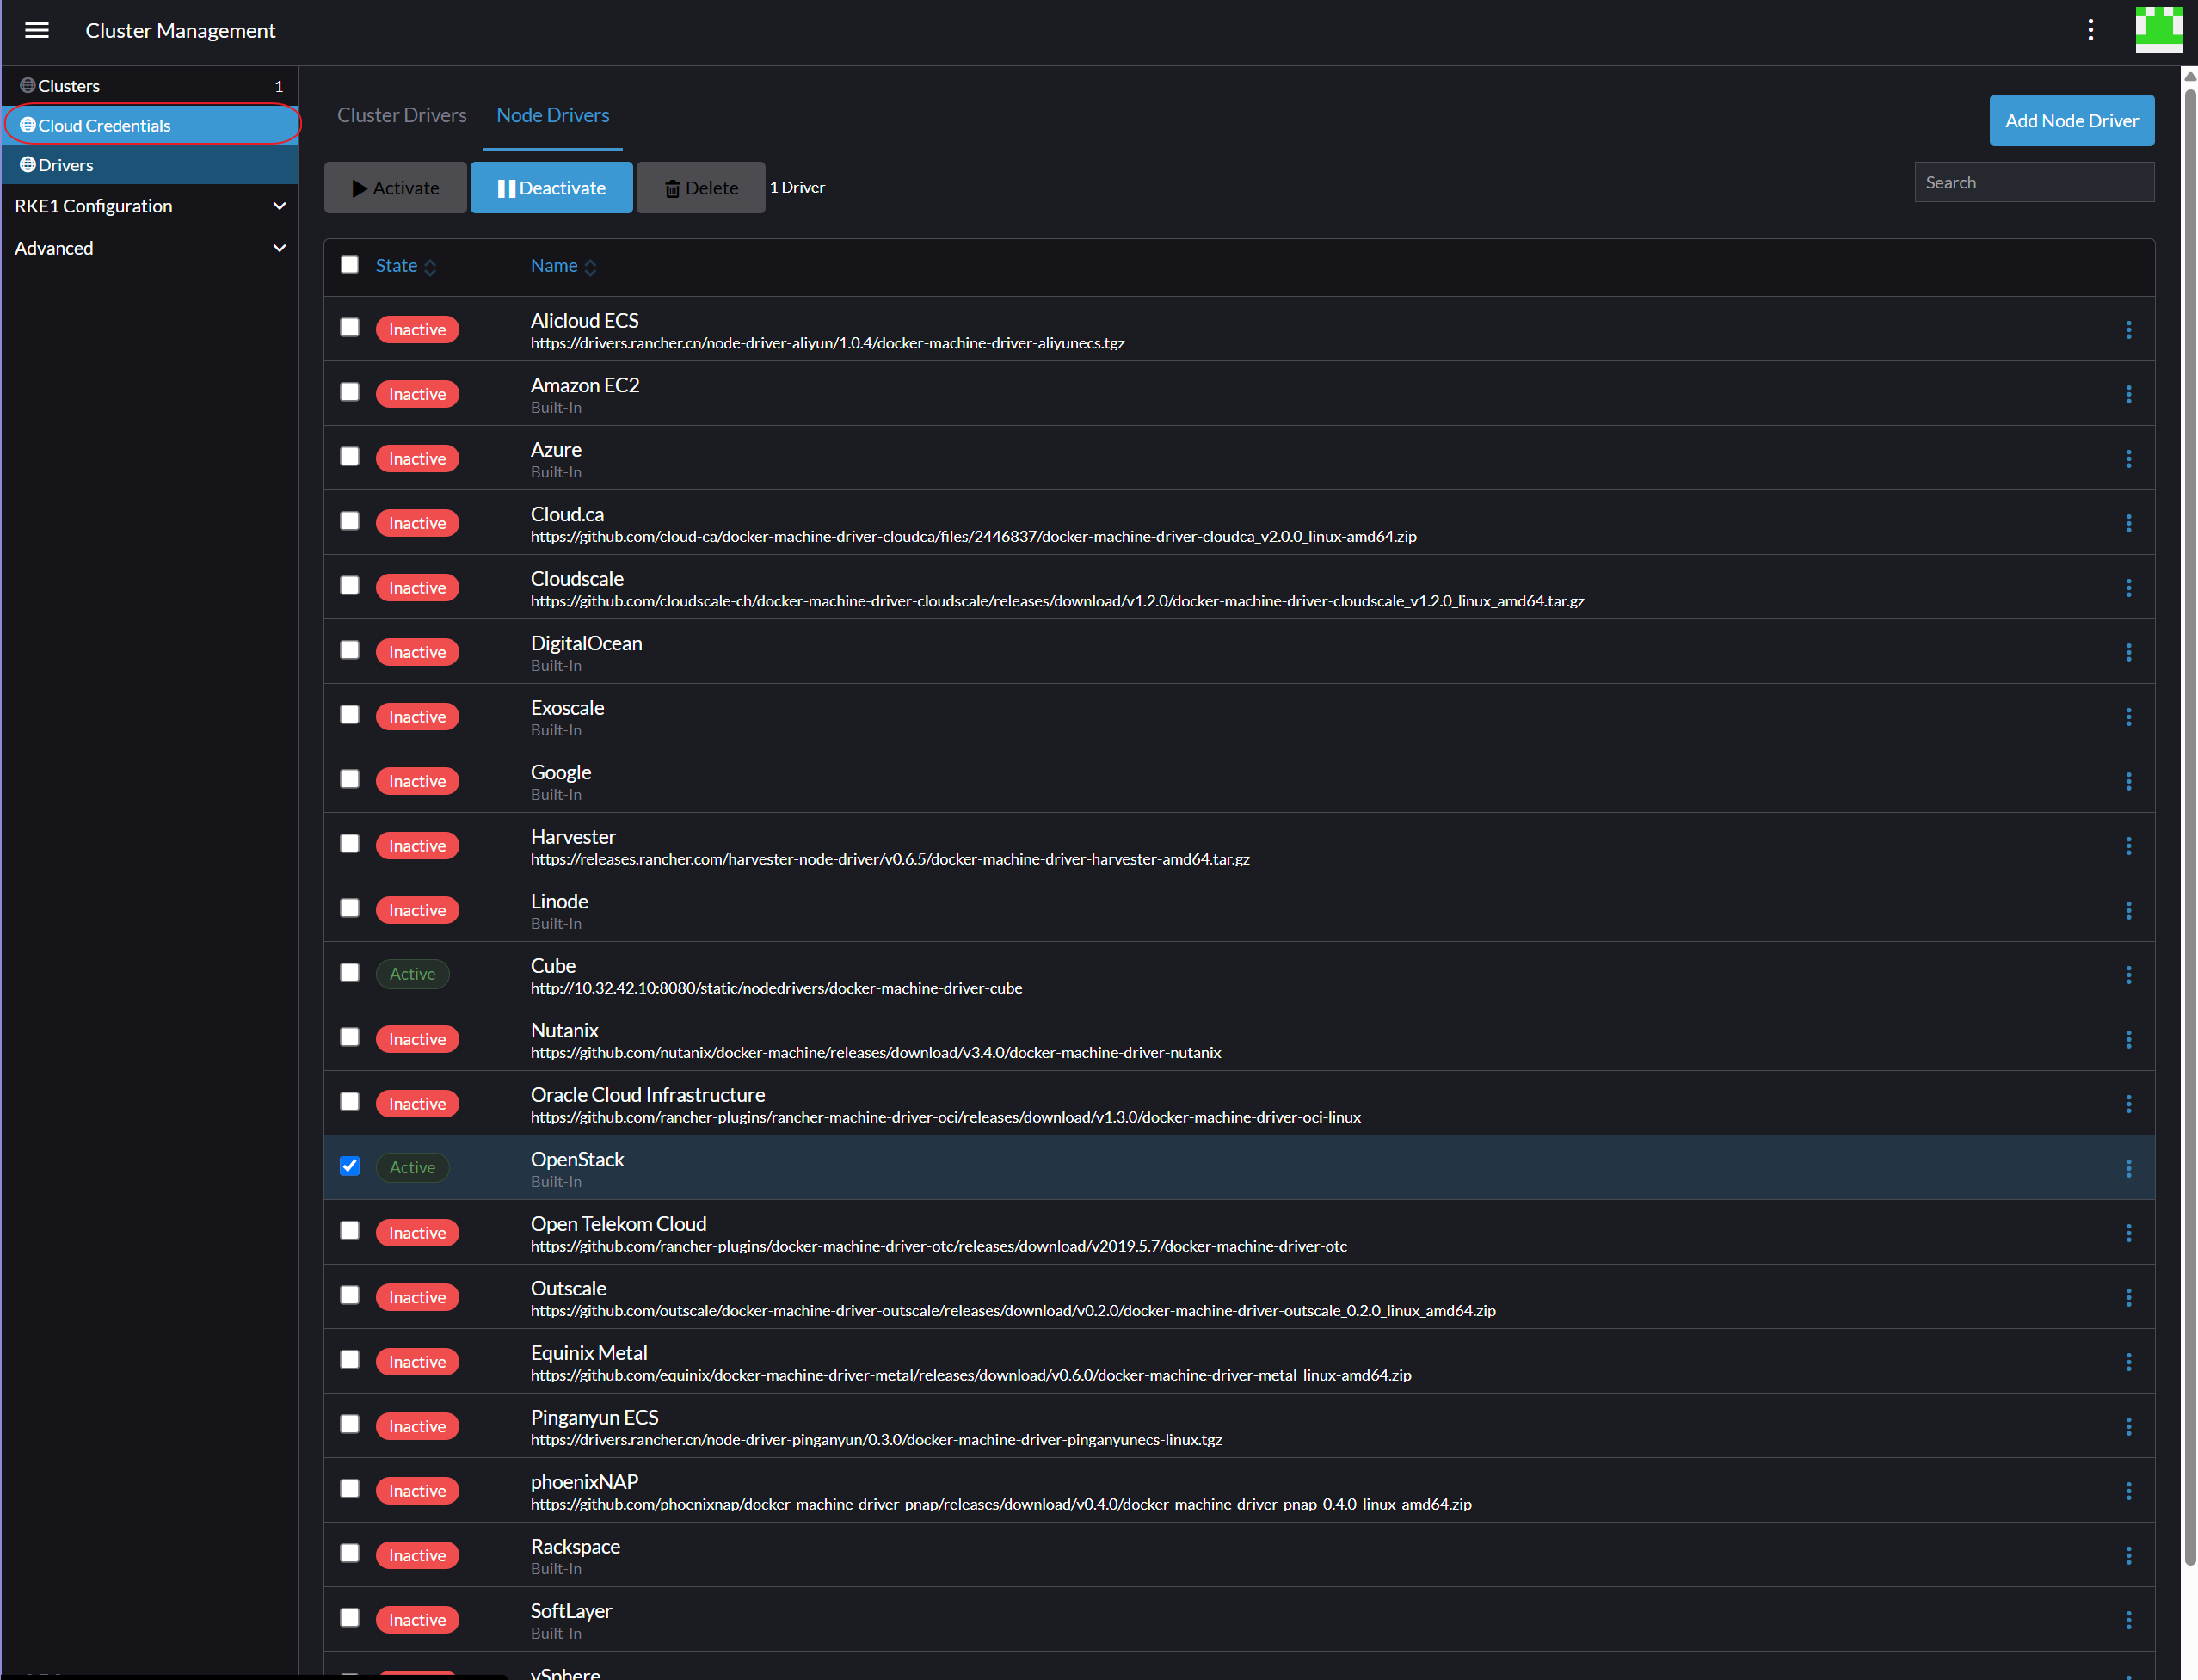
**「ドライバー」**に移動します。
-
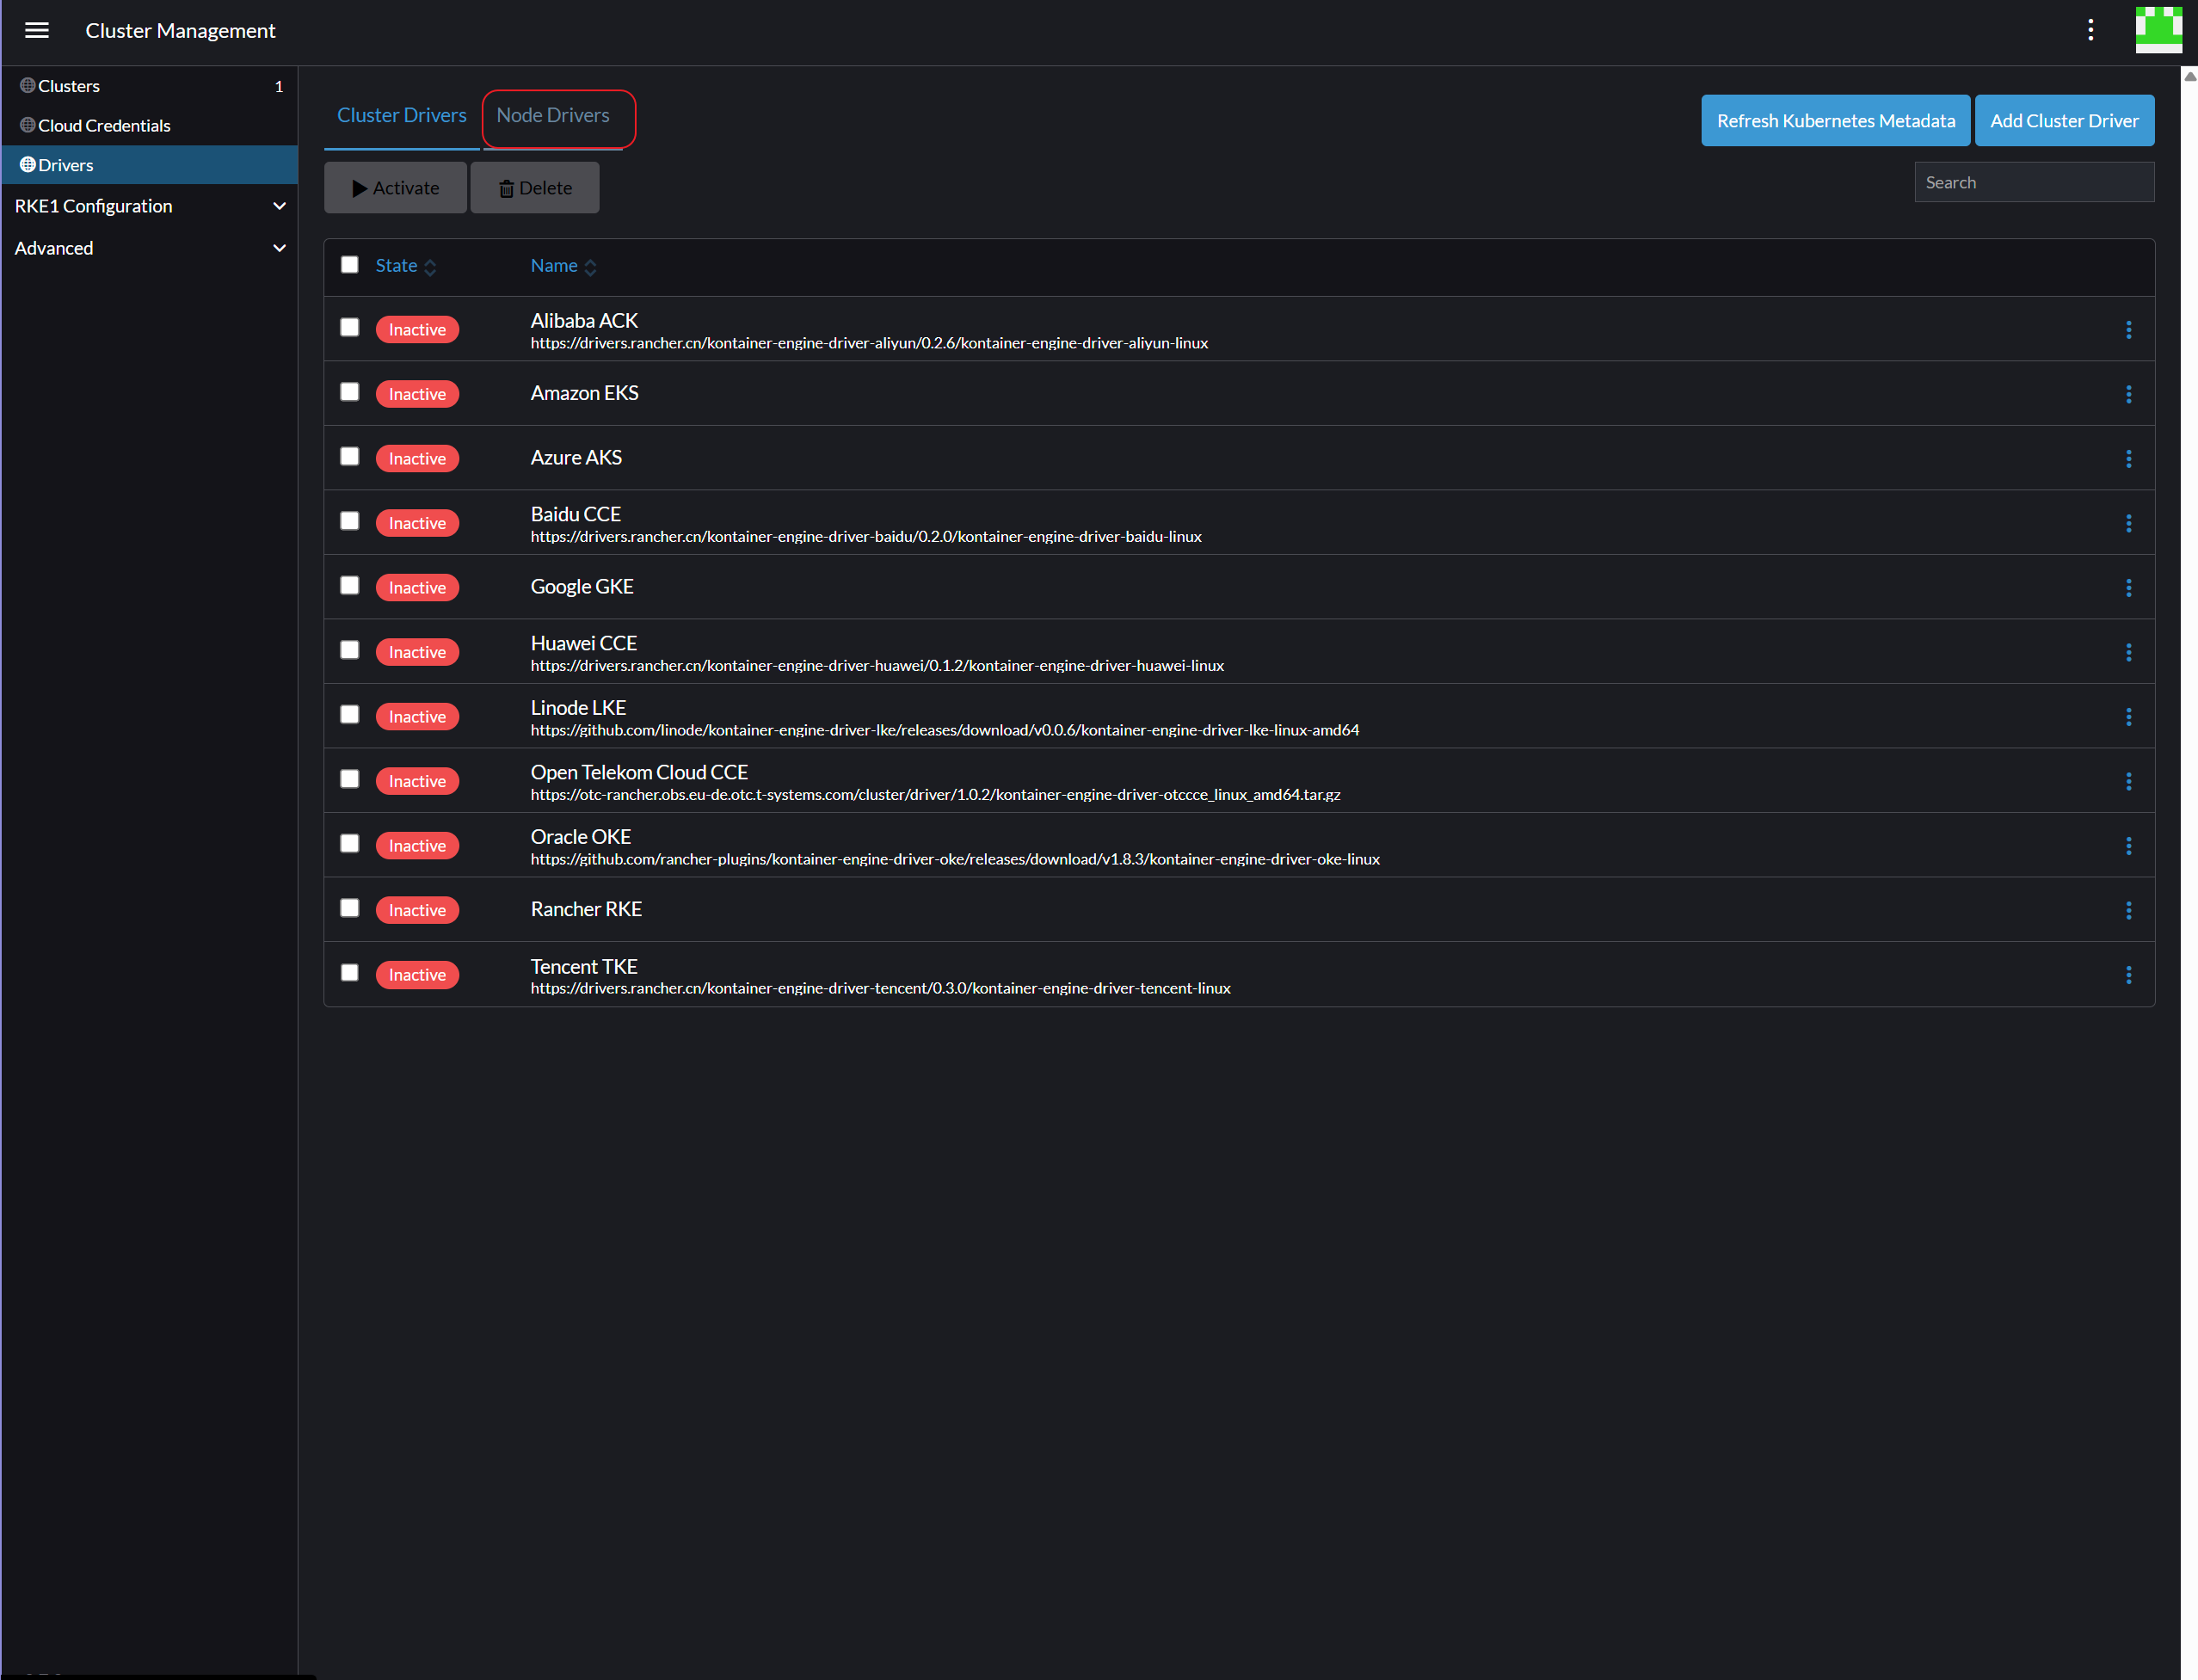
**「Node Drivers」**タブに切り替えます。
-
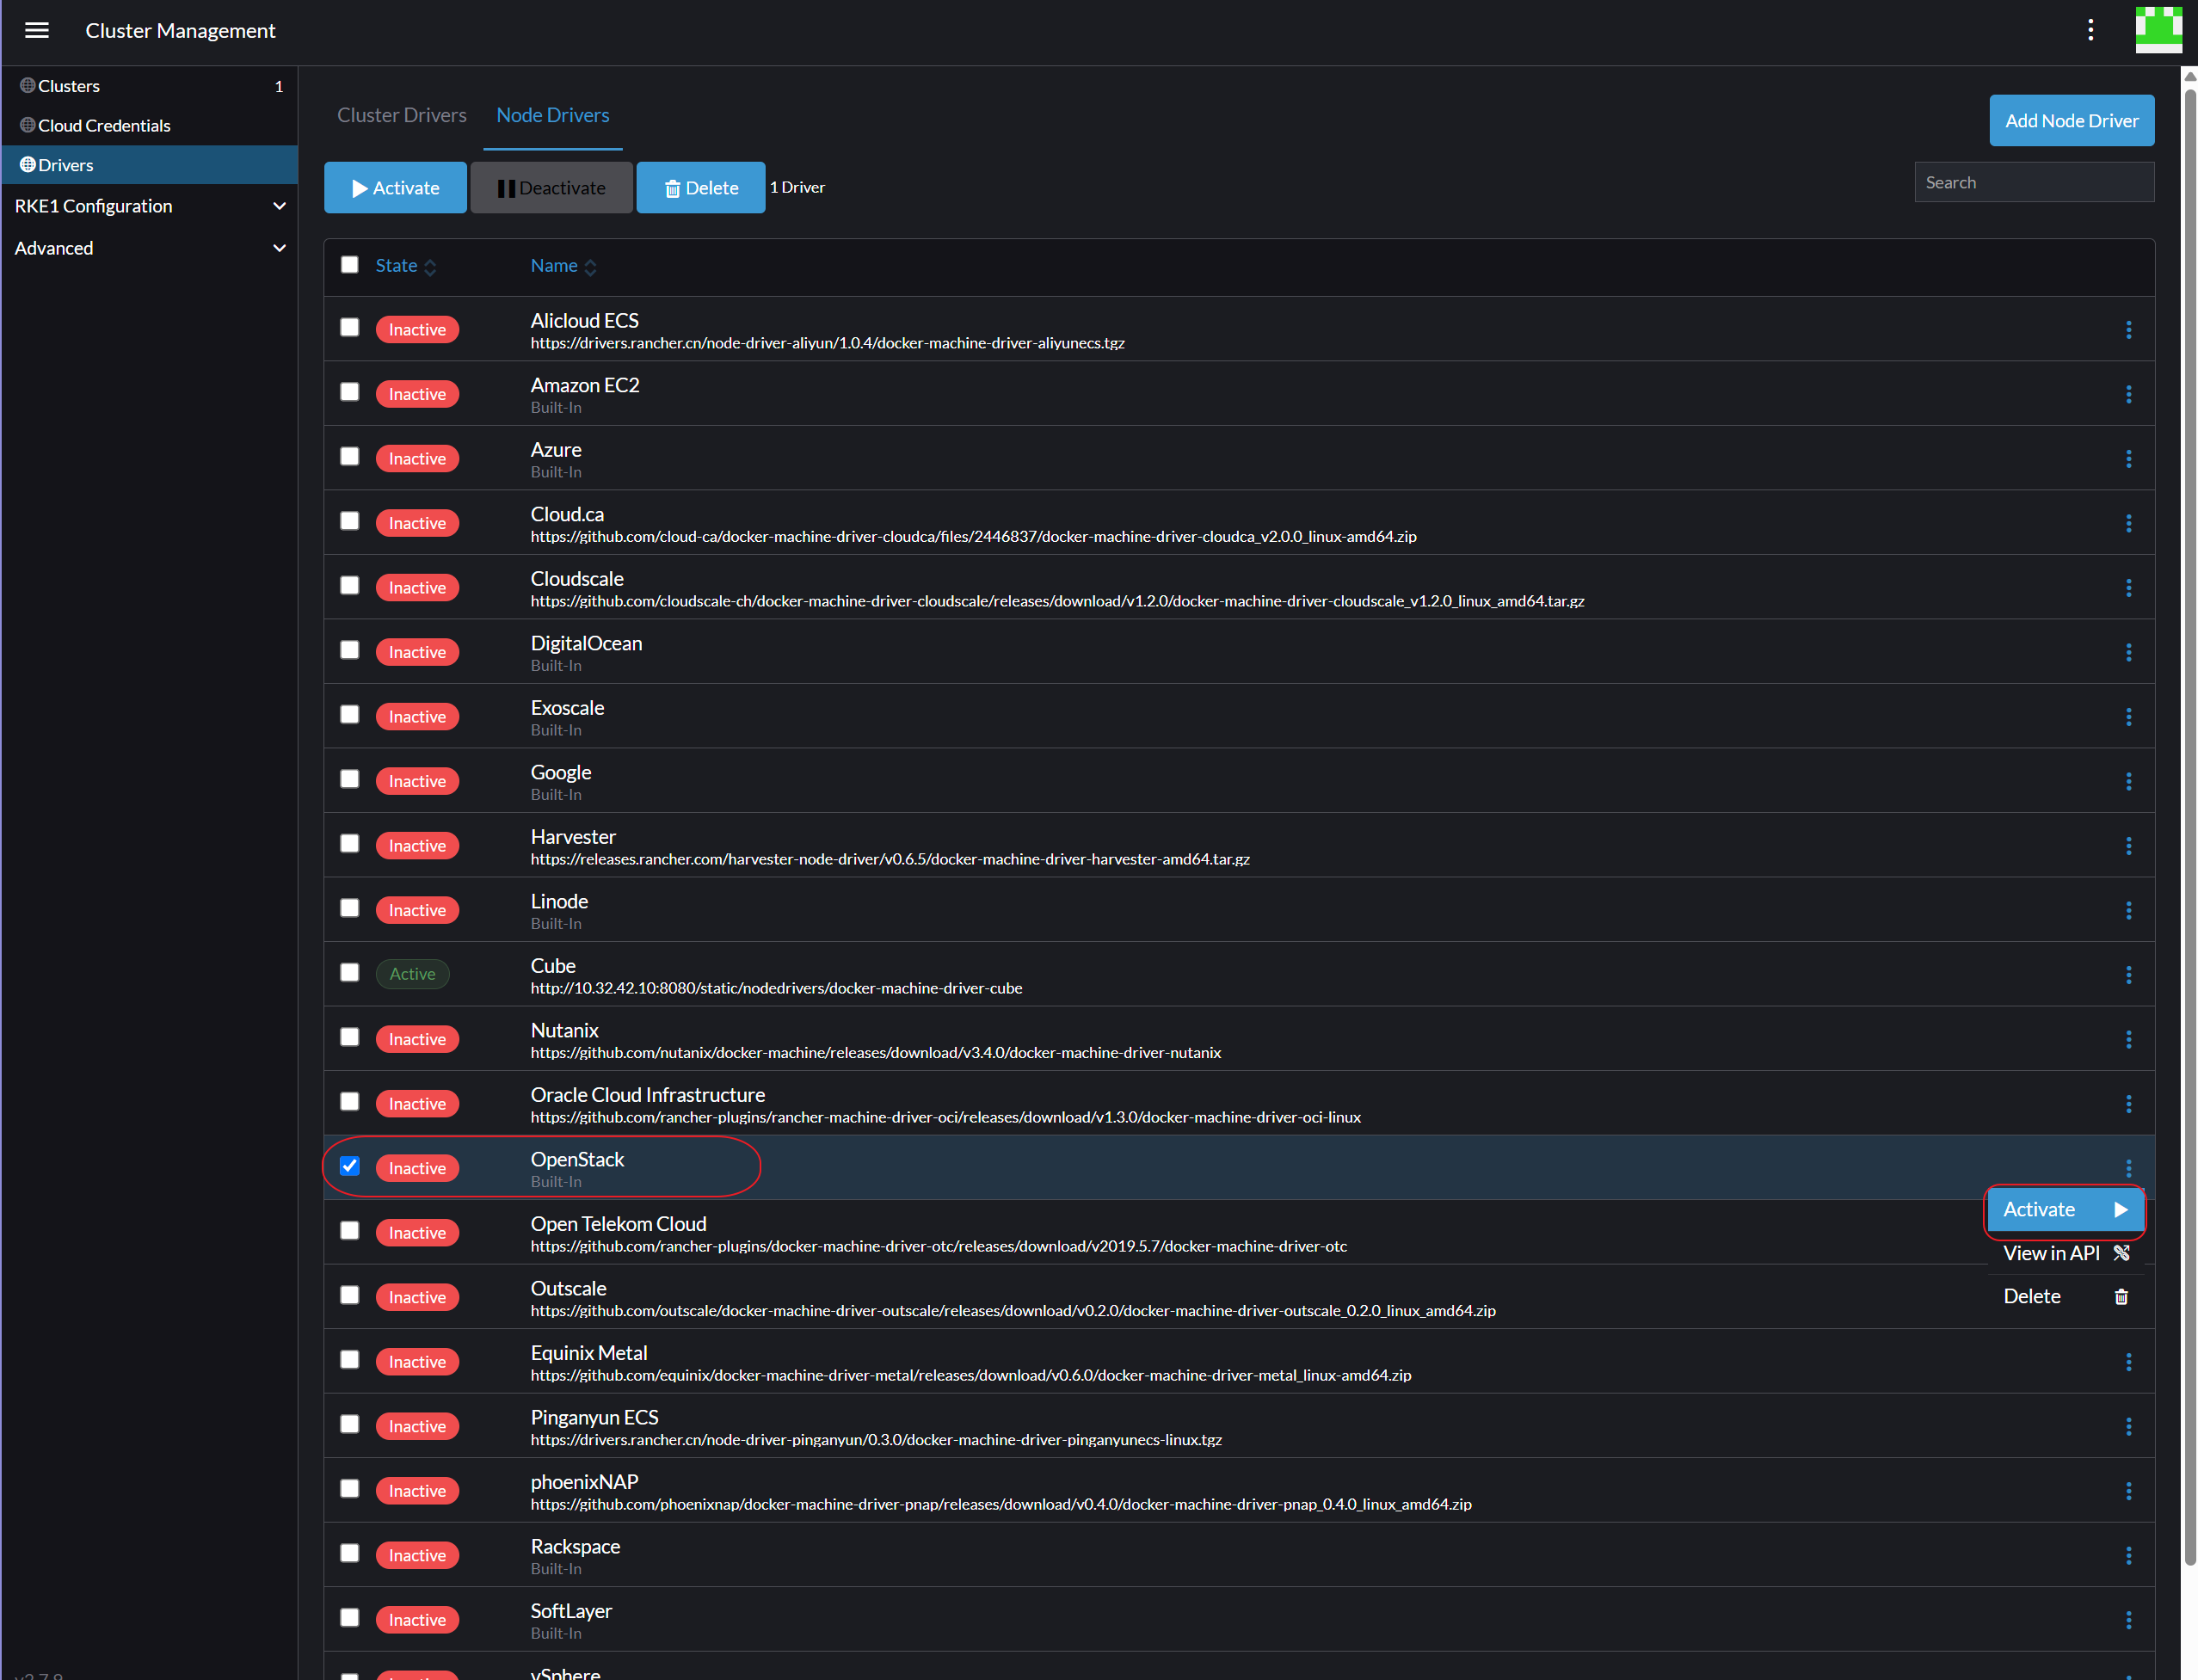
OpenStack を選択し、そのアクションオプションから Active を選択します。
-
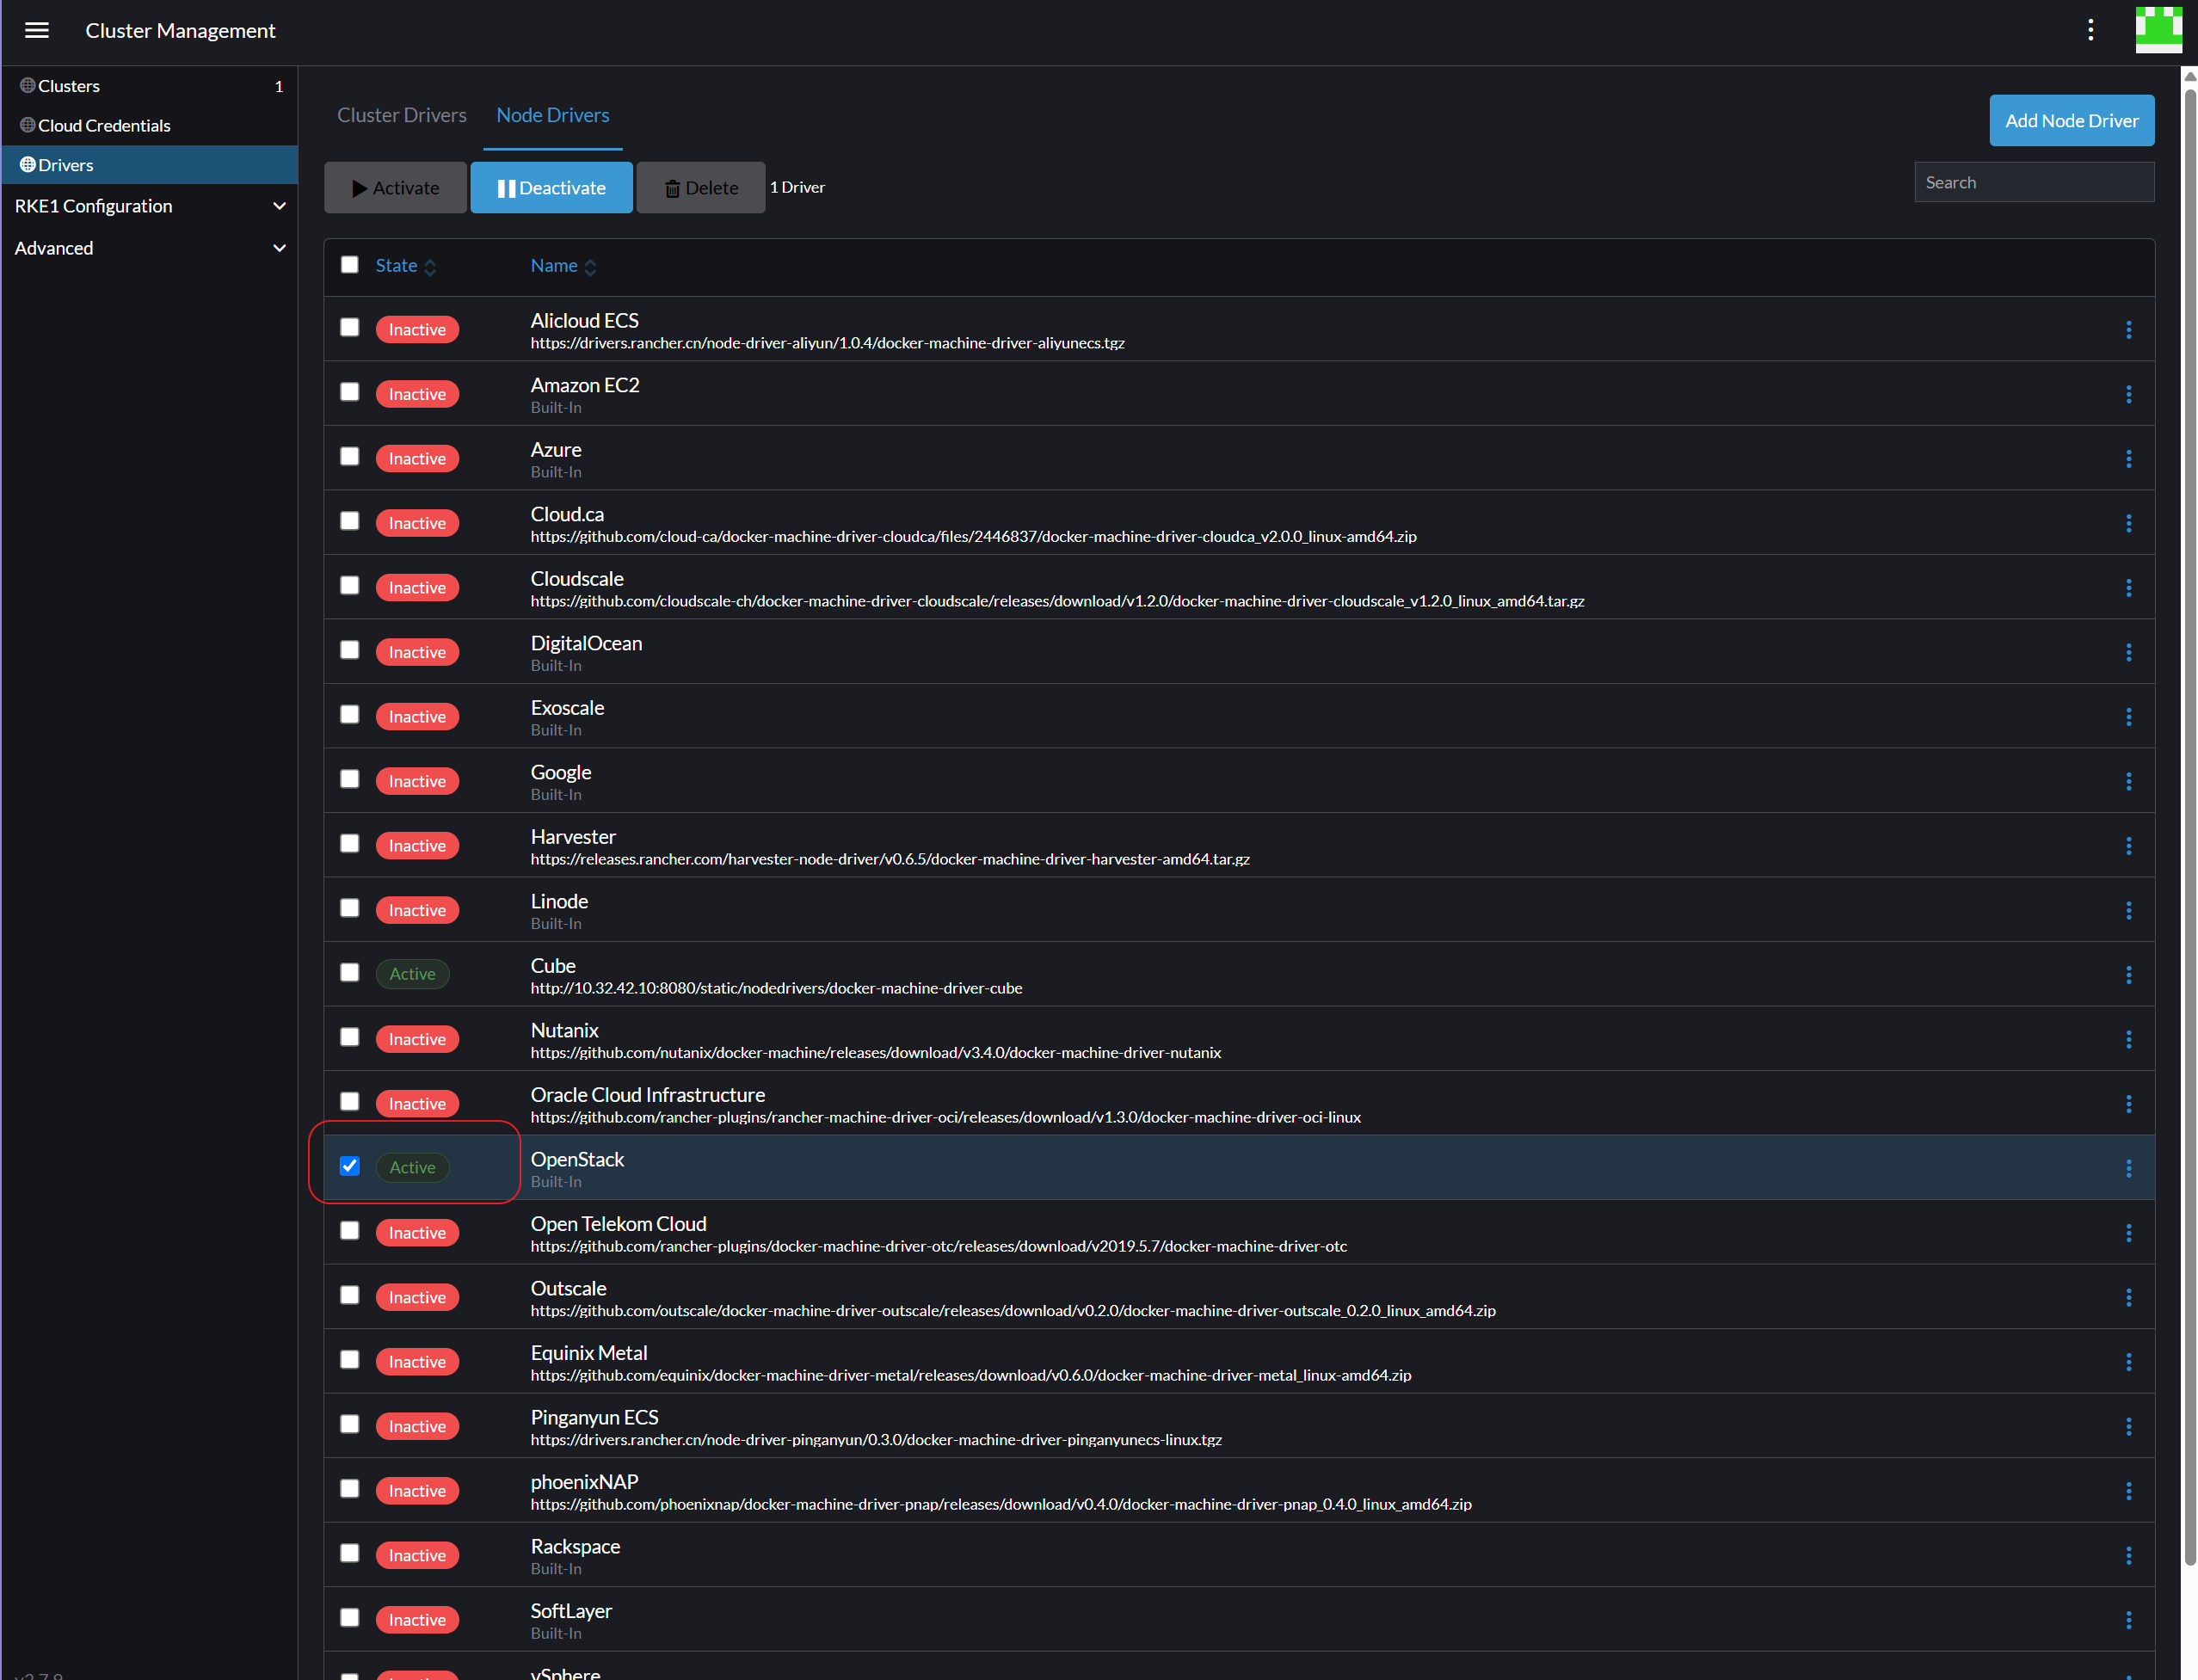
「State」列に「Active」と表示されていることを確認してください。
-
「クラウド認証情報」 に移動します。
-
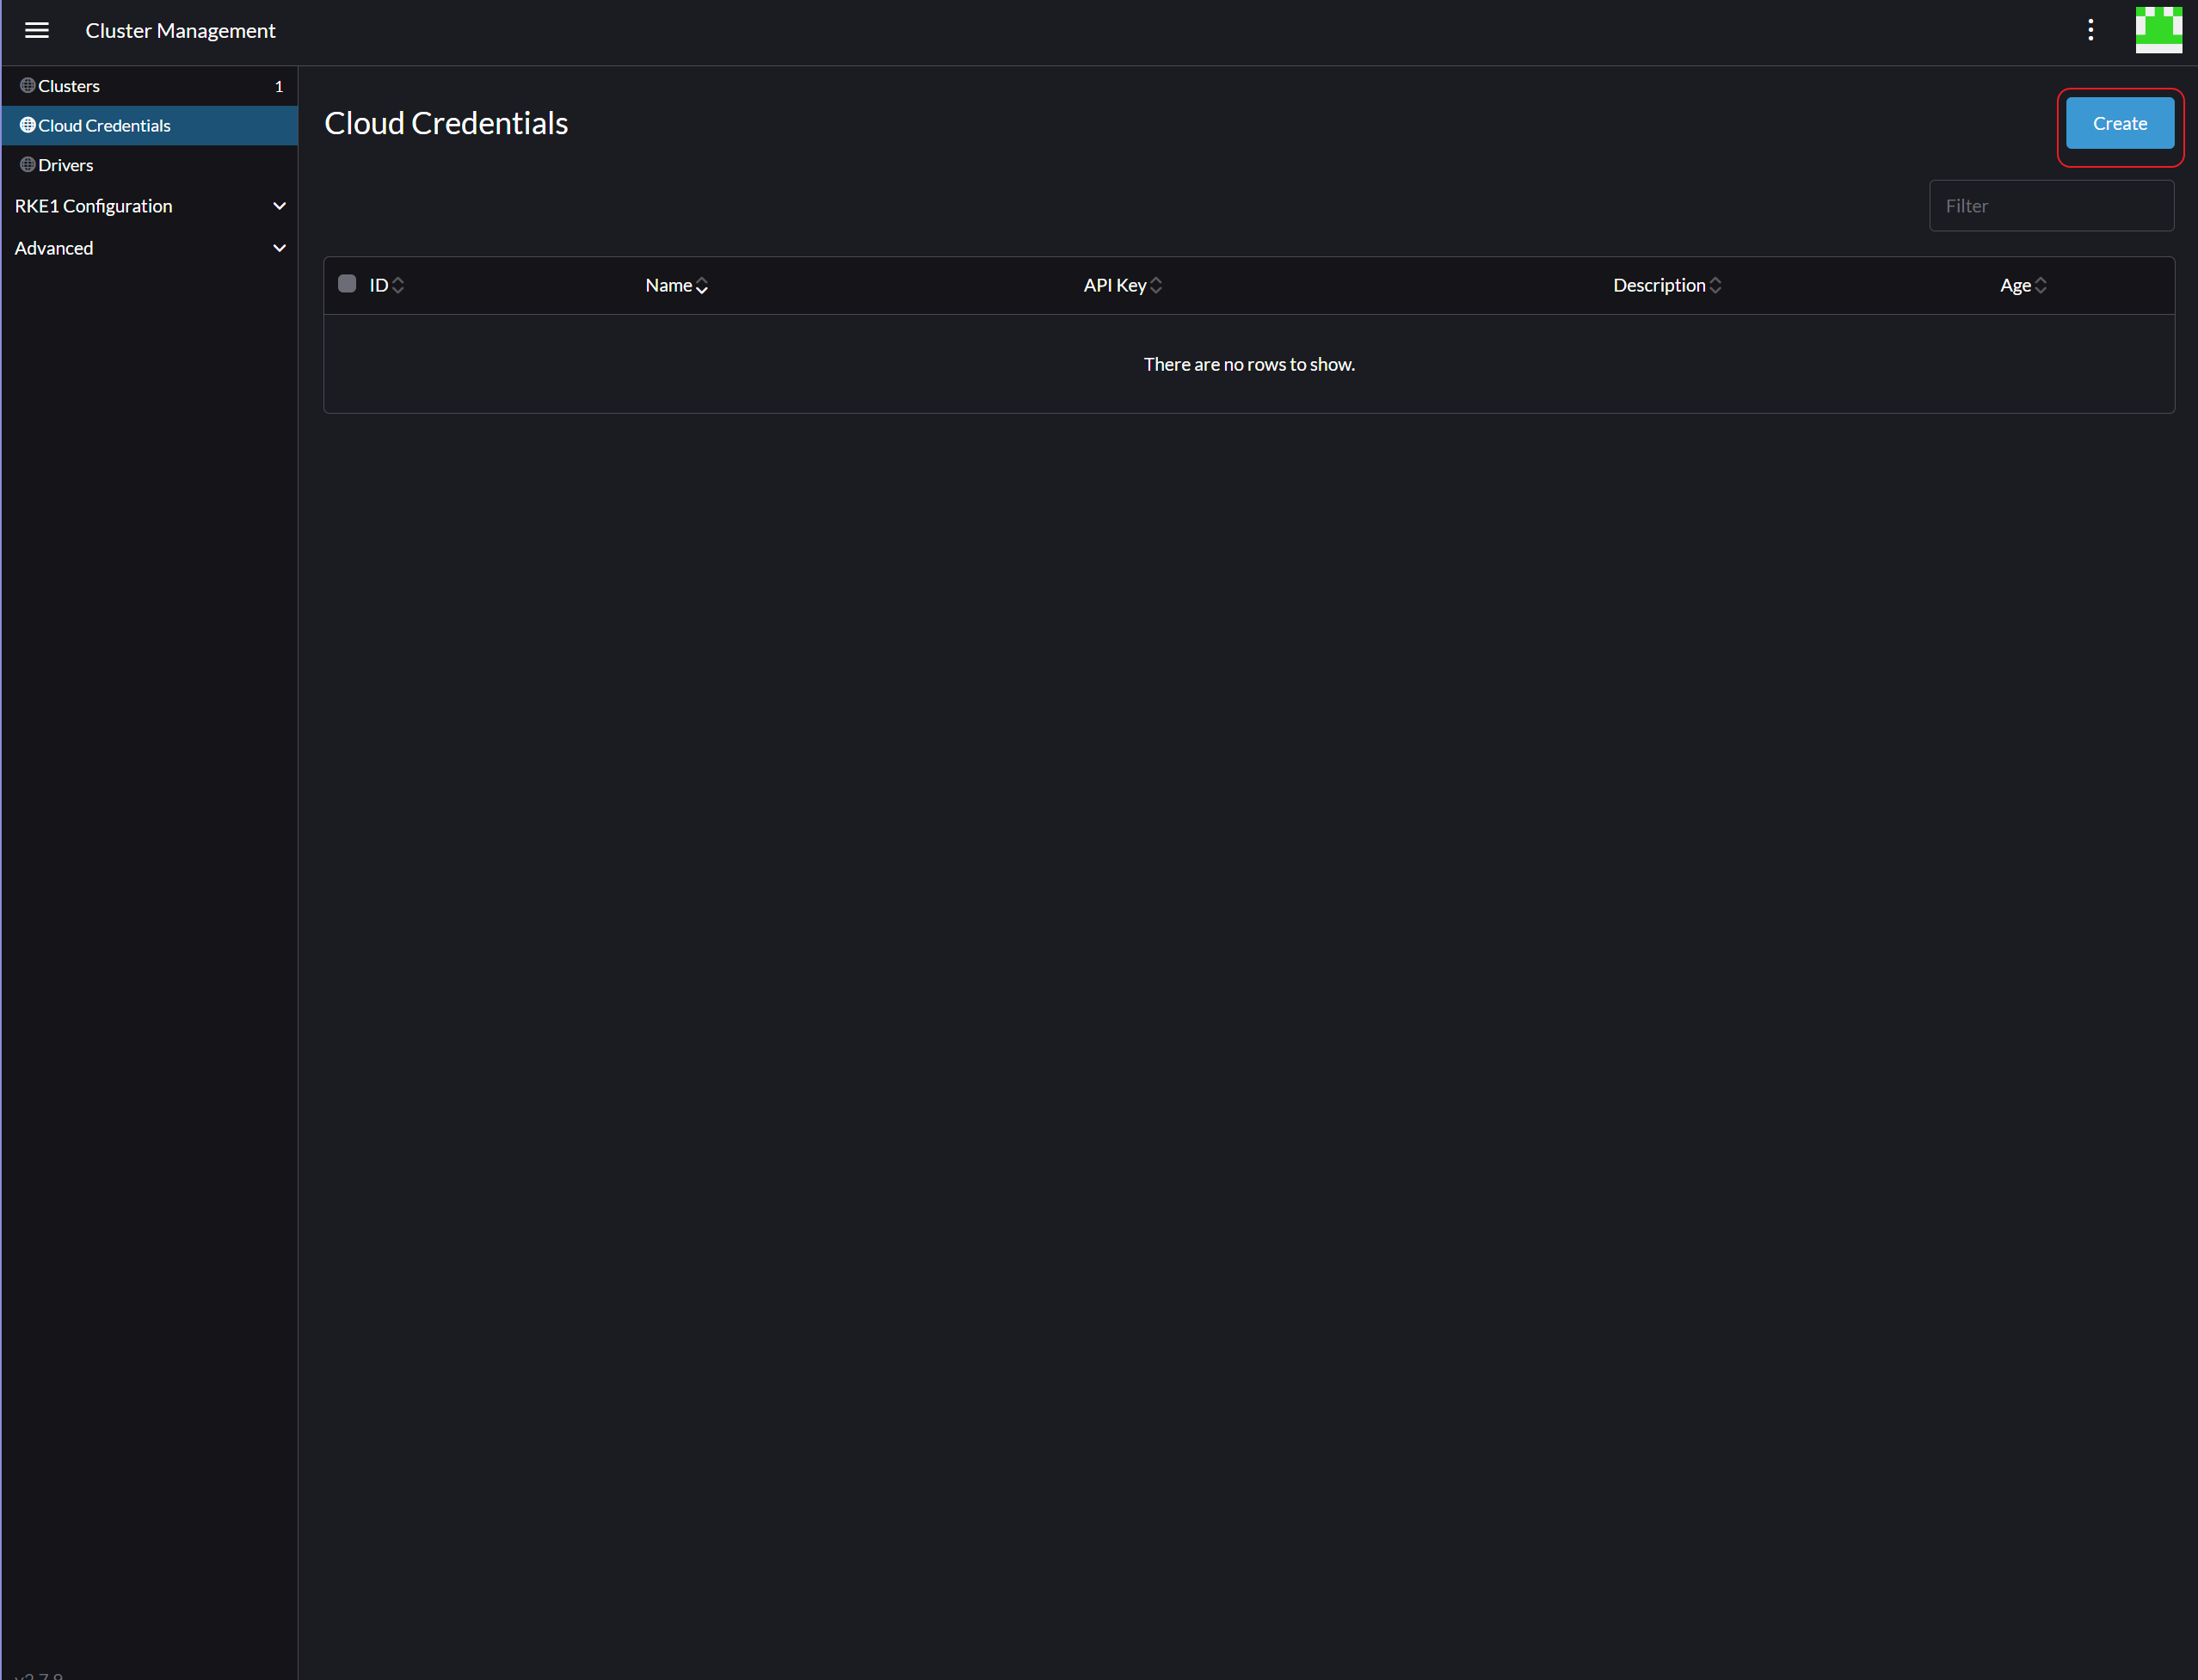
右上の隅にある**「作成」**をクリックします。
-
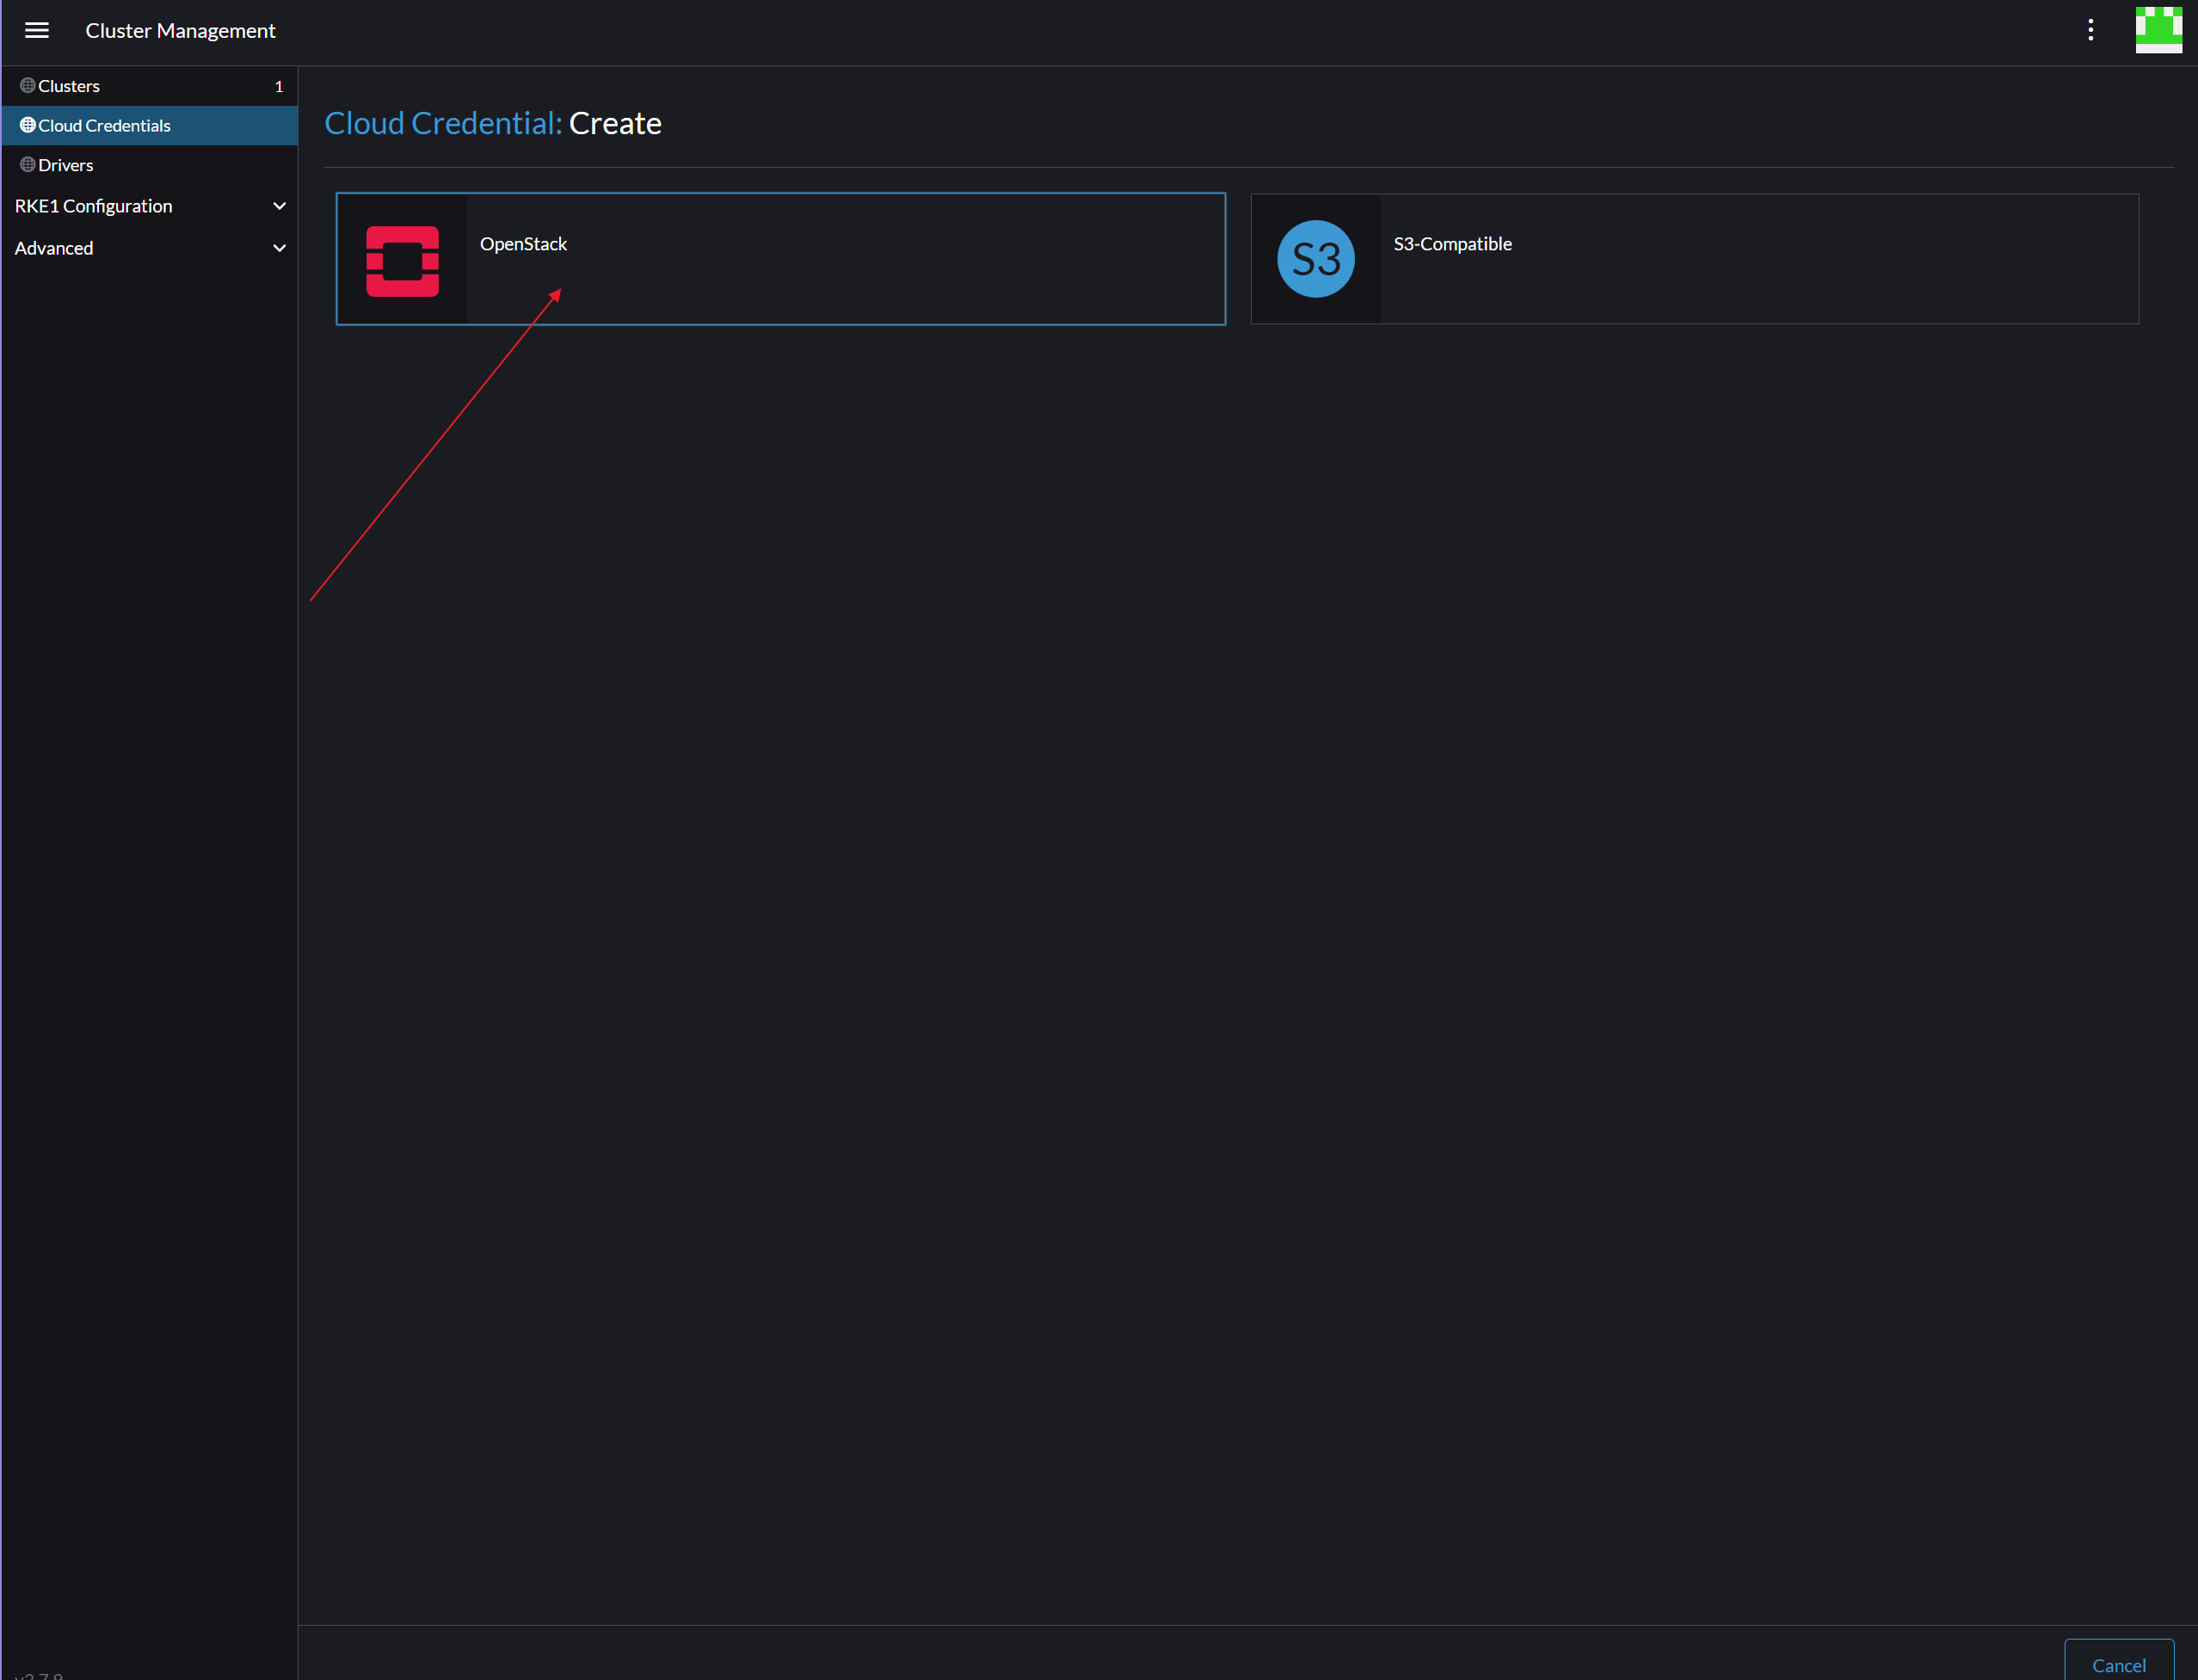
クラウド認証情報テンプレートとしてOpenStackを選択してください。
-
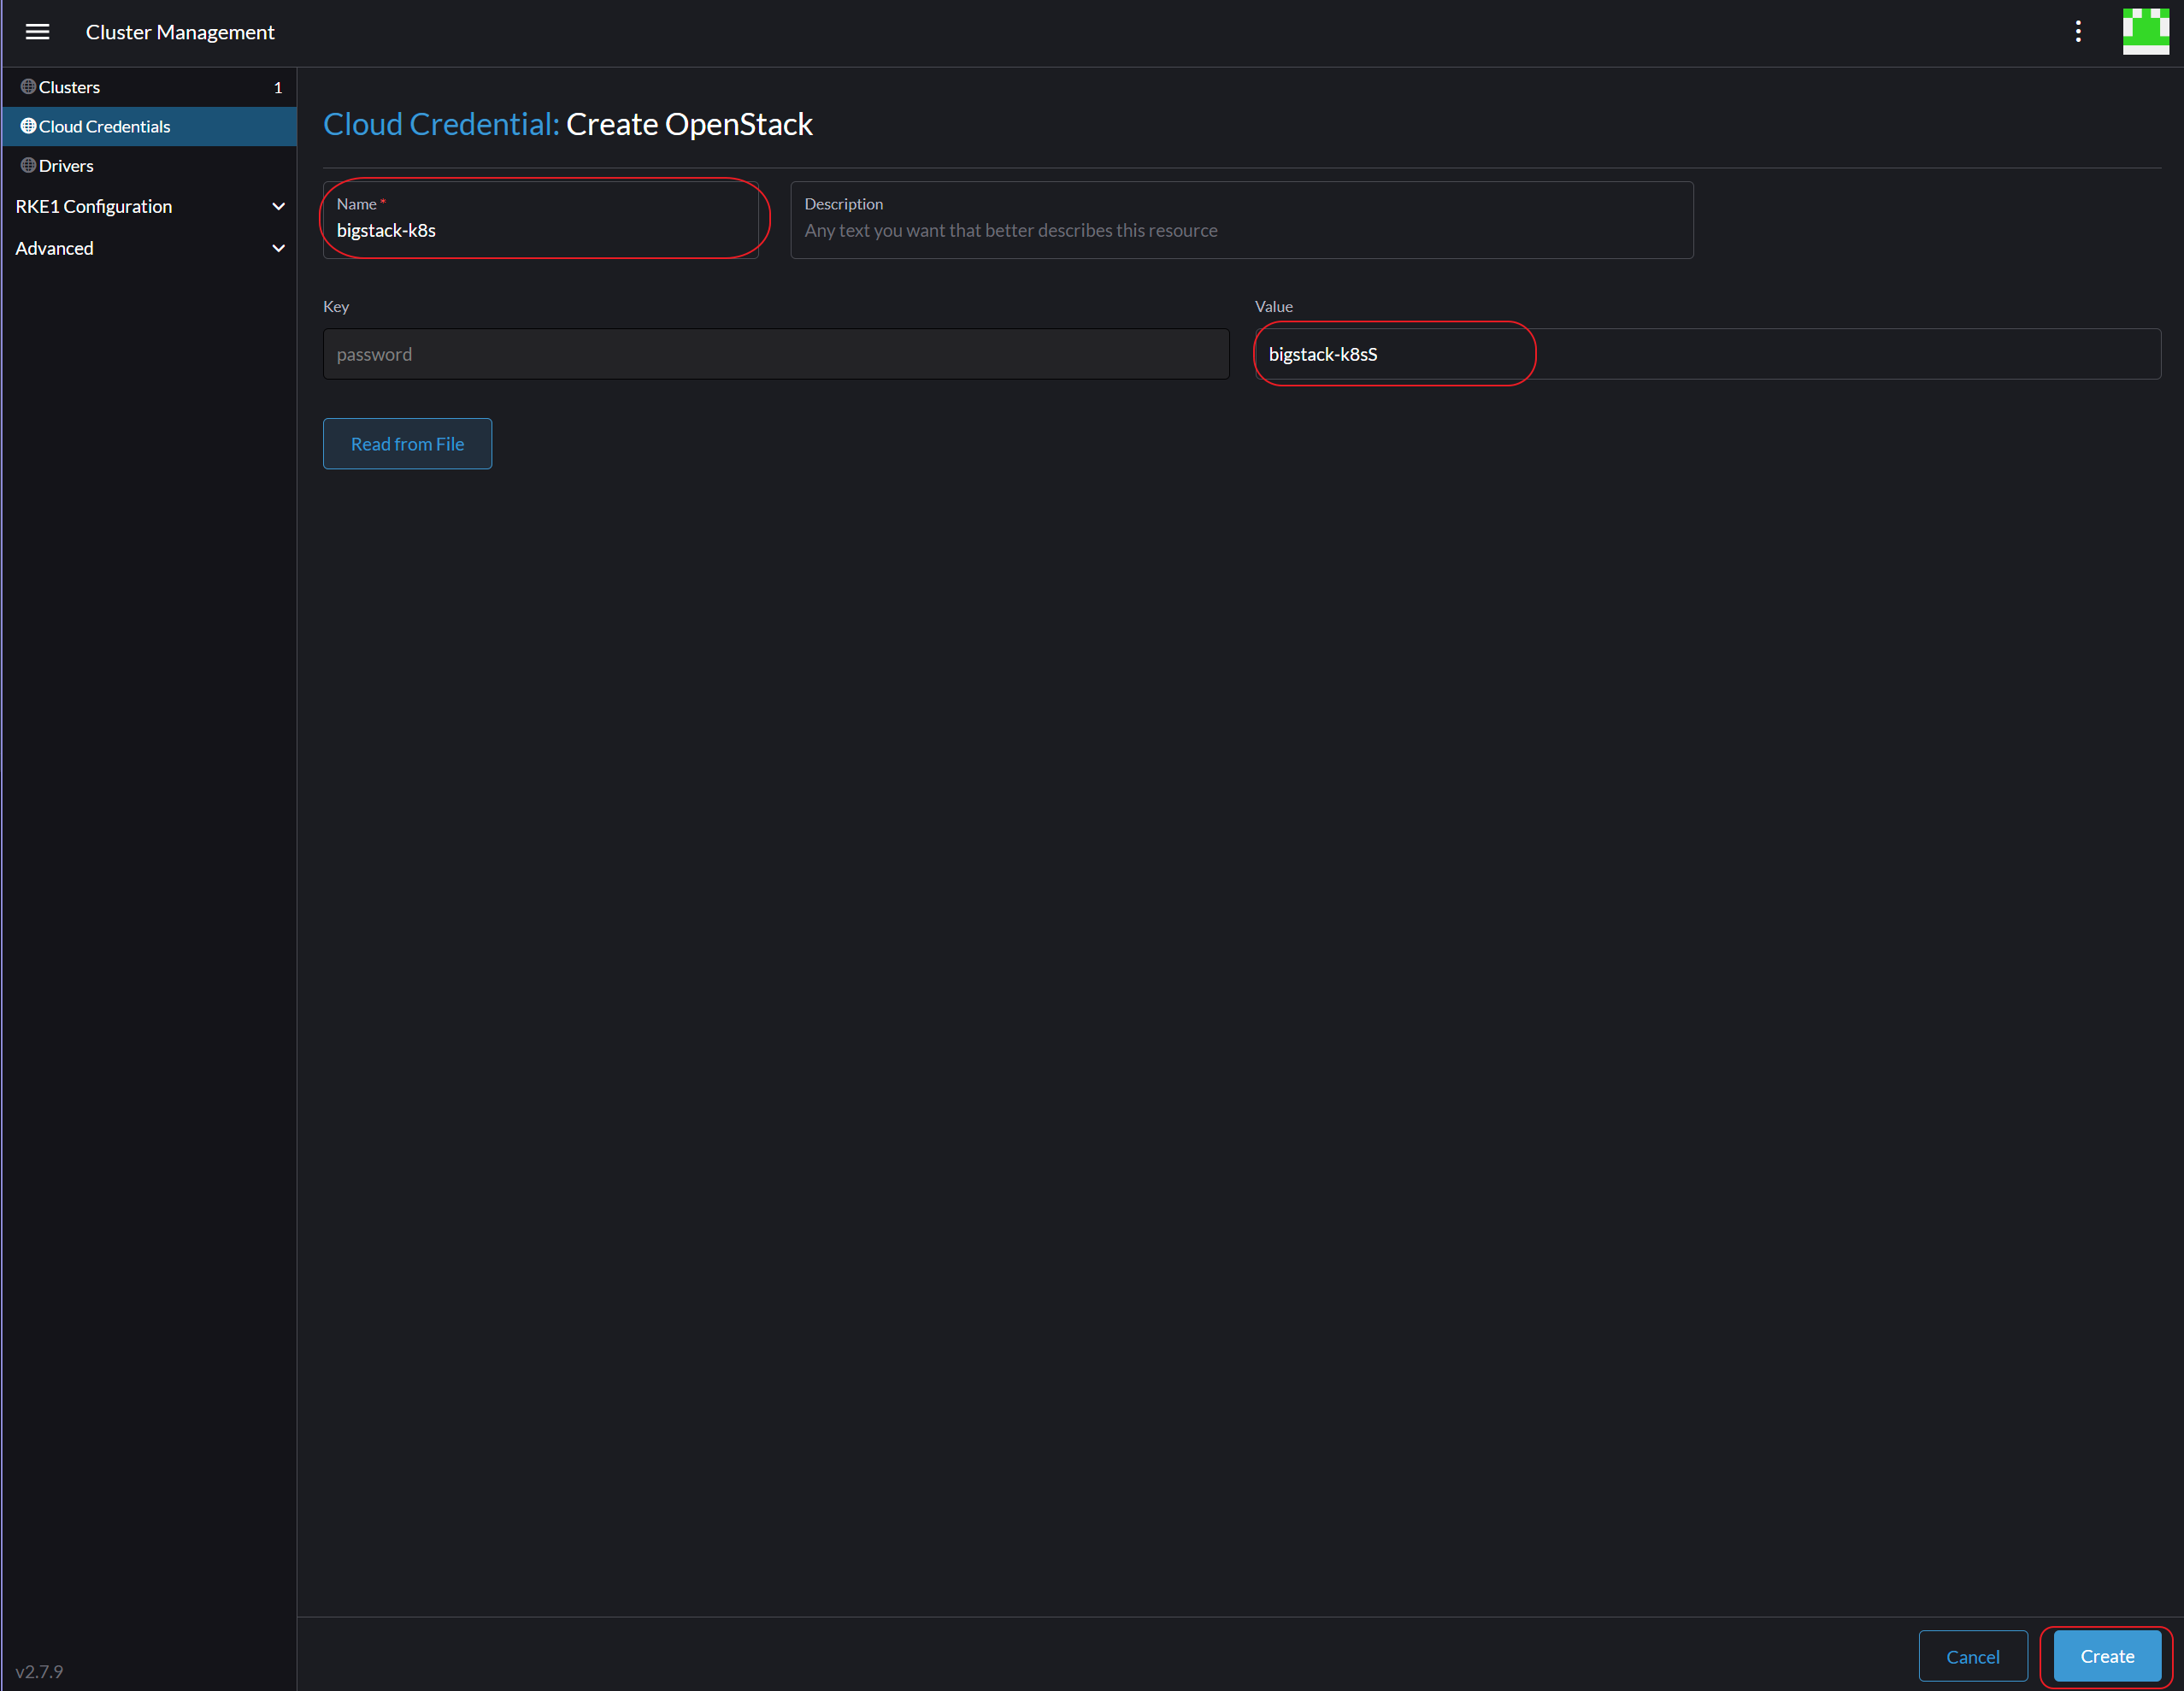
ユーザー名には「Cloud Credential Name」を、ユーザーパスワードには「password」の値をそれぞれ入力し、**「作成」**をクリックします。
クラスターを作成する
-
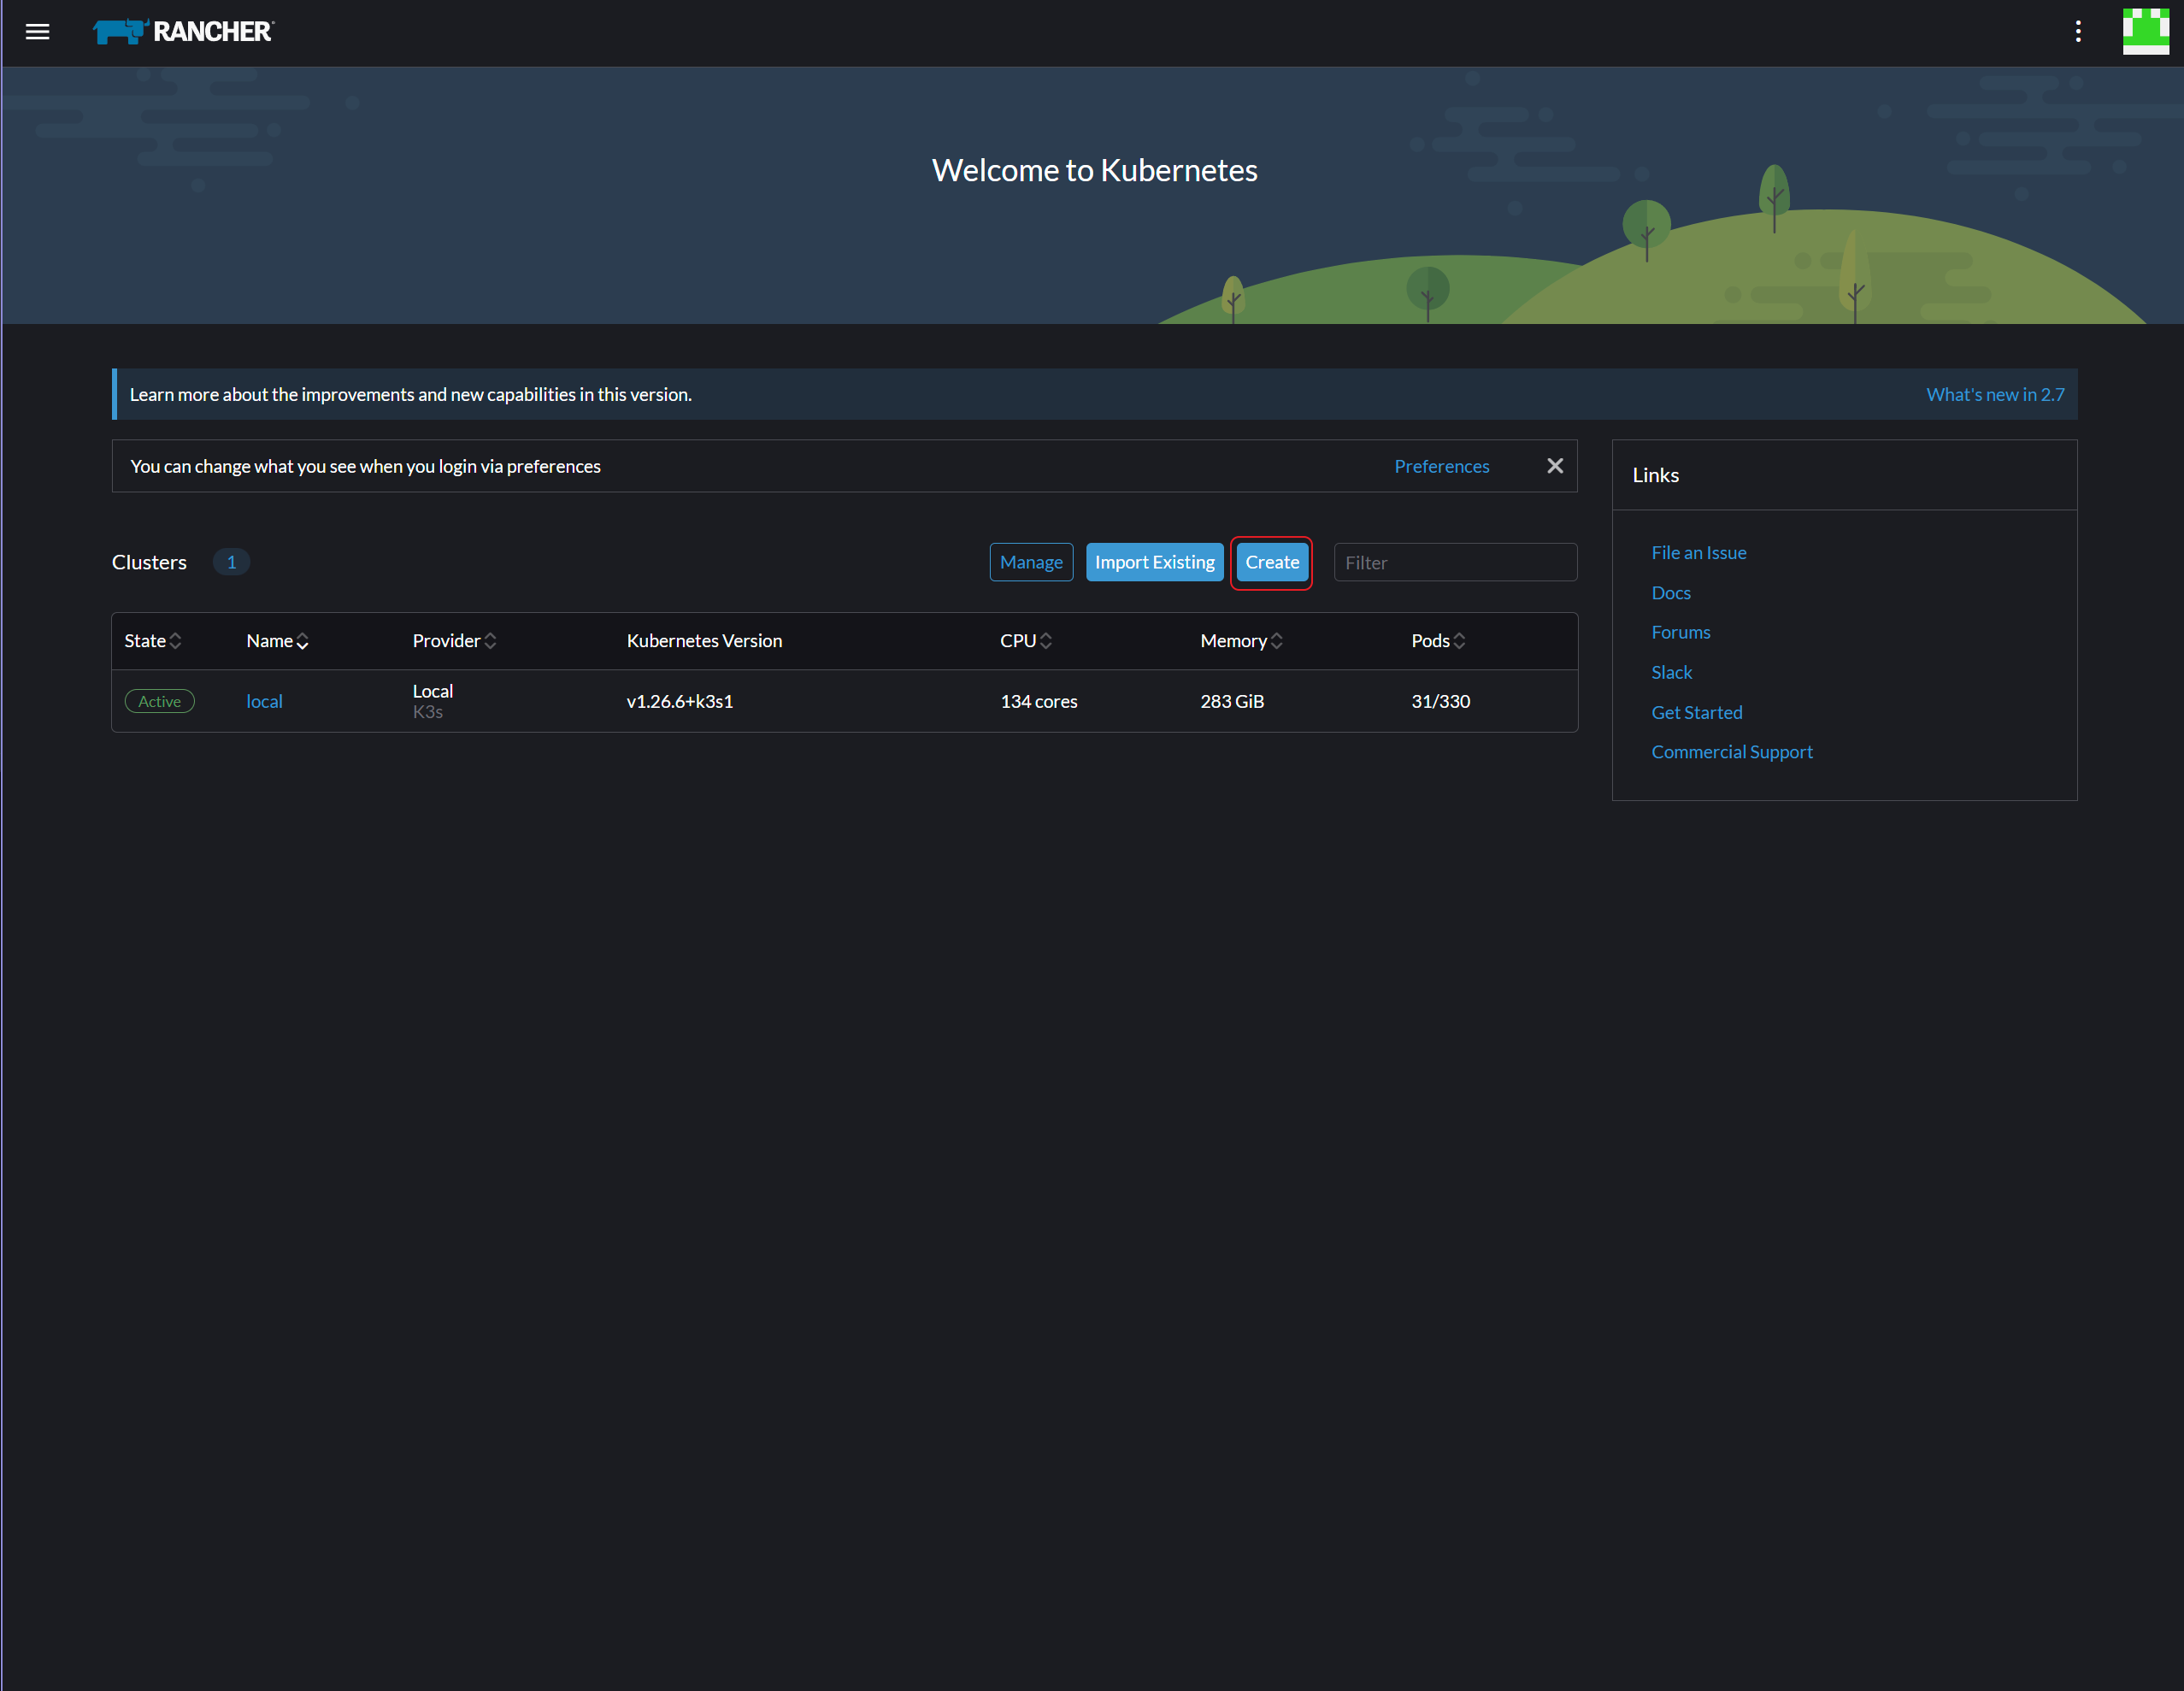
Rancherのホームページに戻り、**[作成]**をクリックします。
-
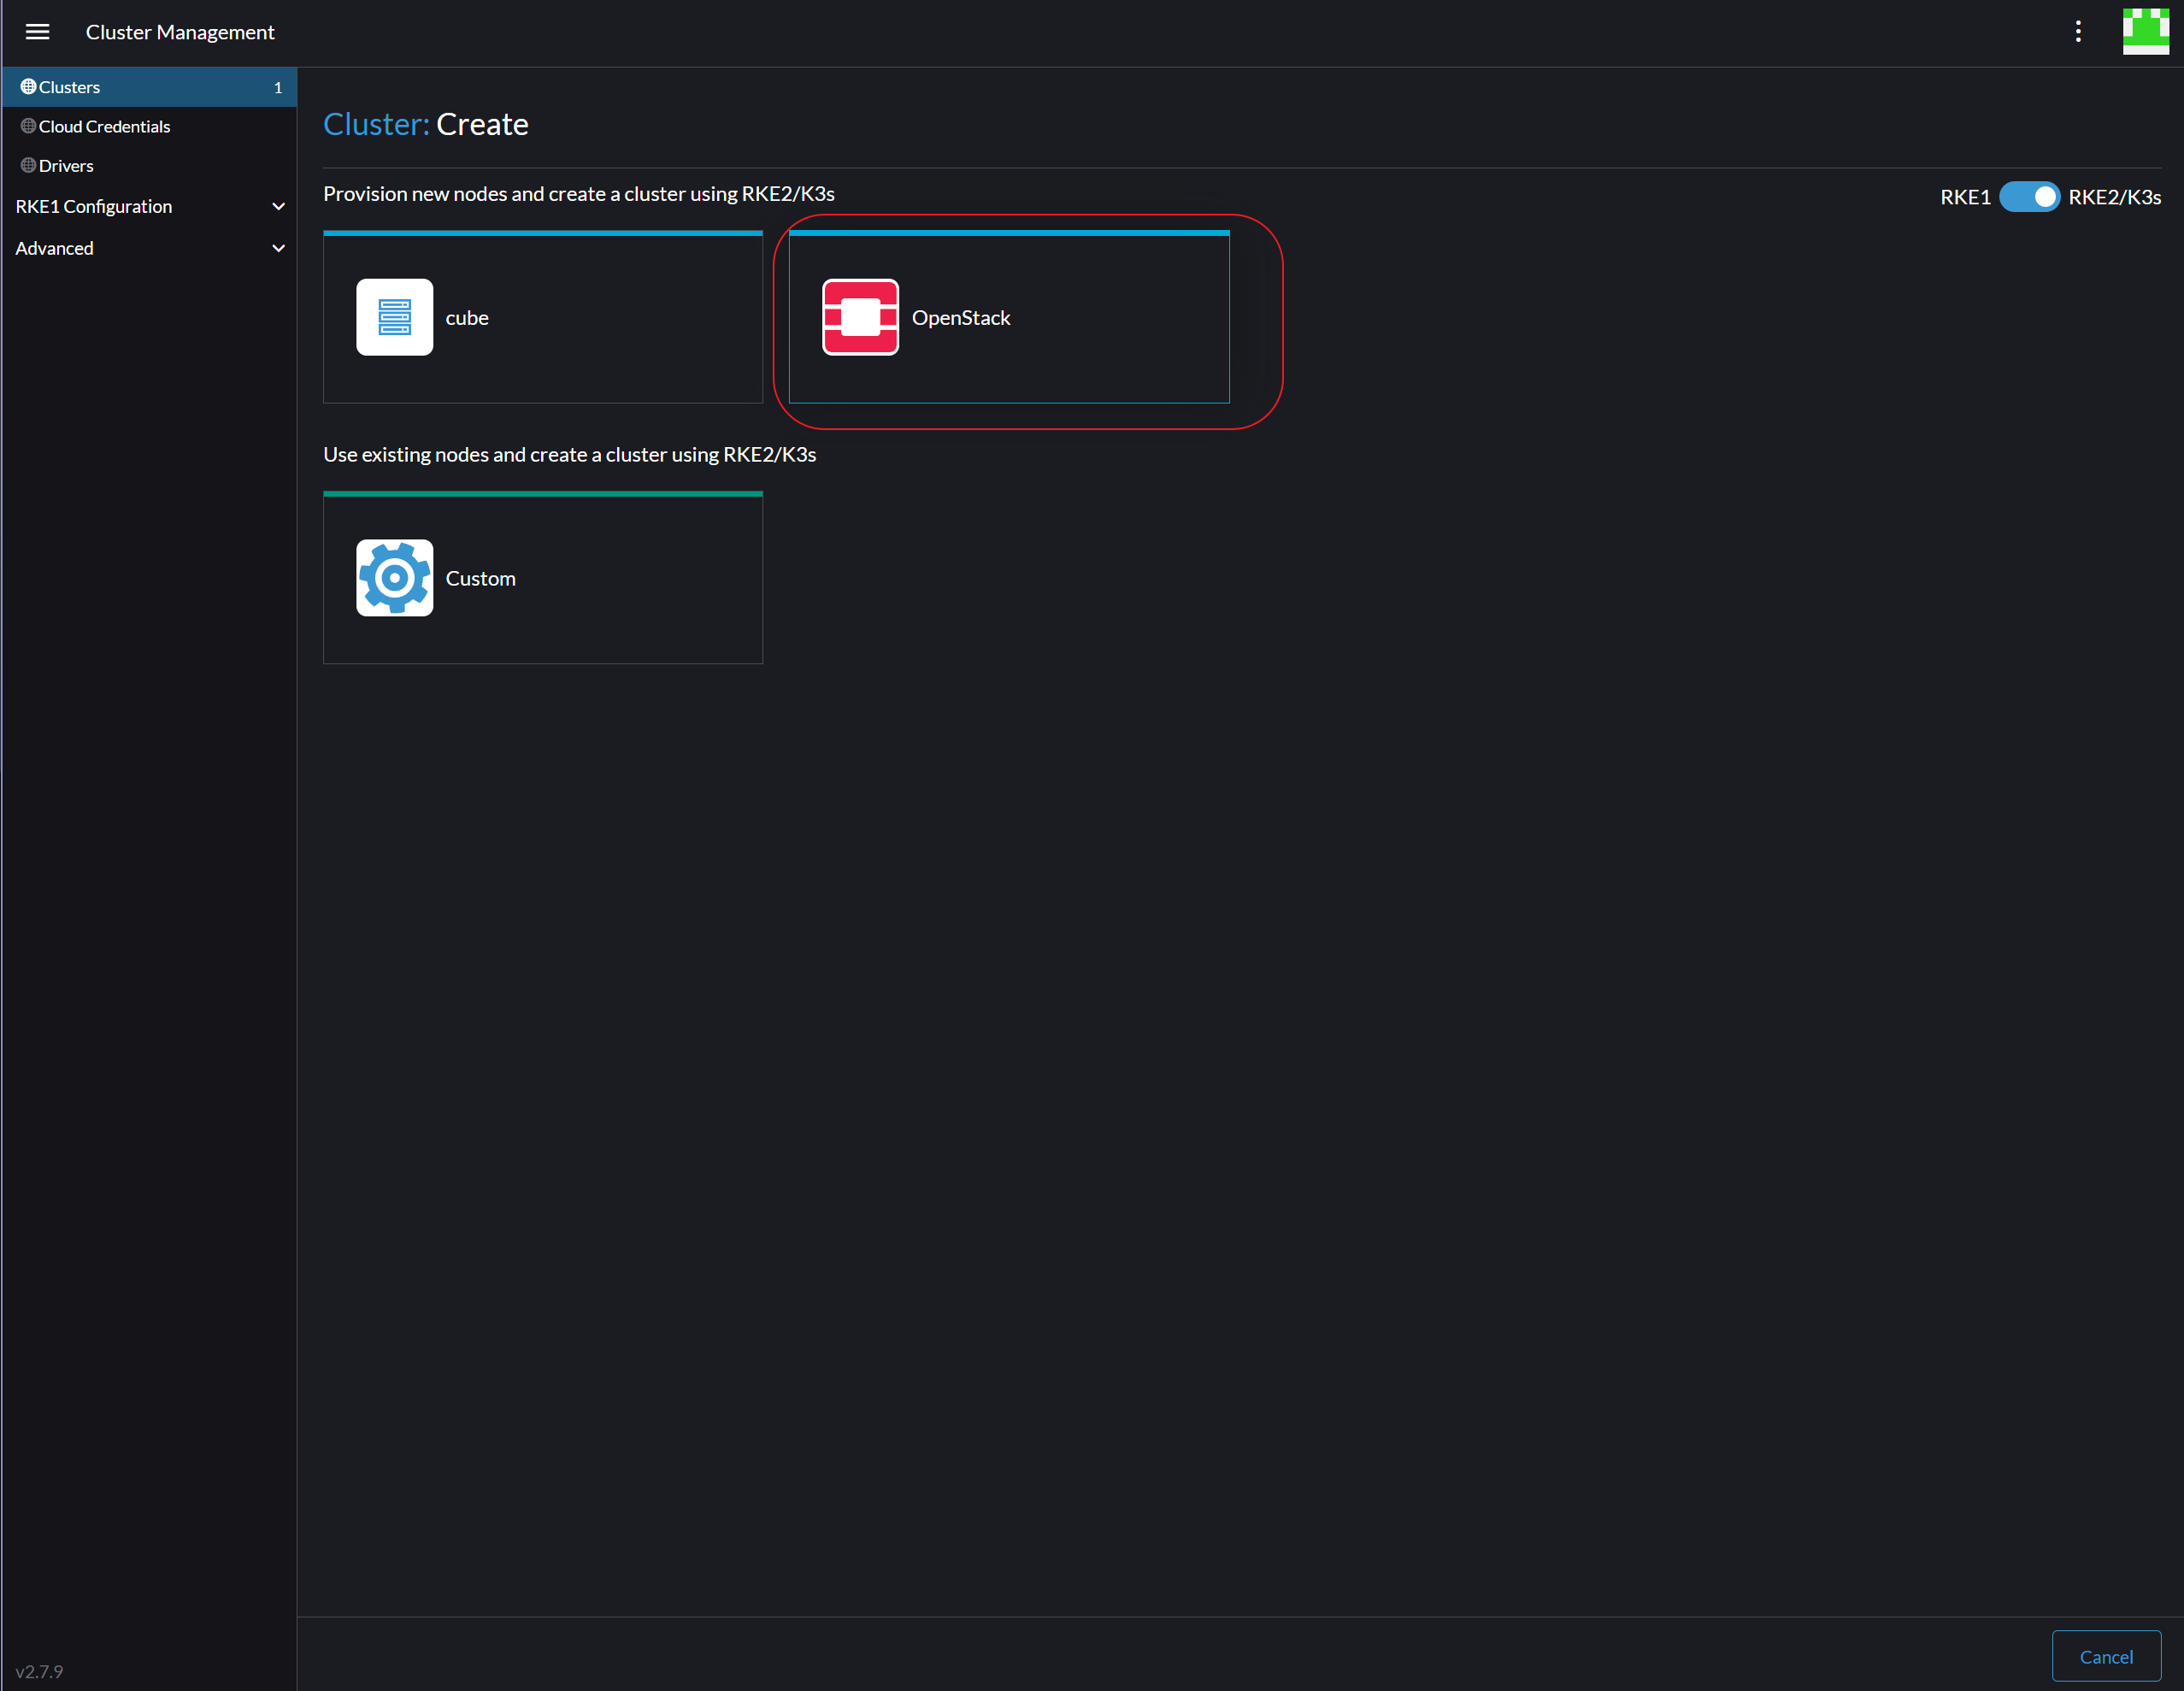
OpenStackをクリックします。
-
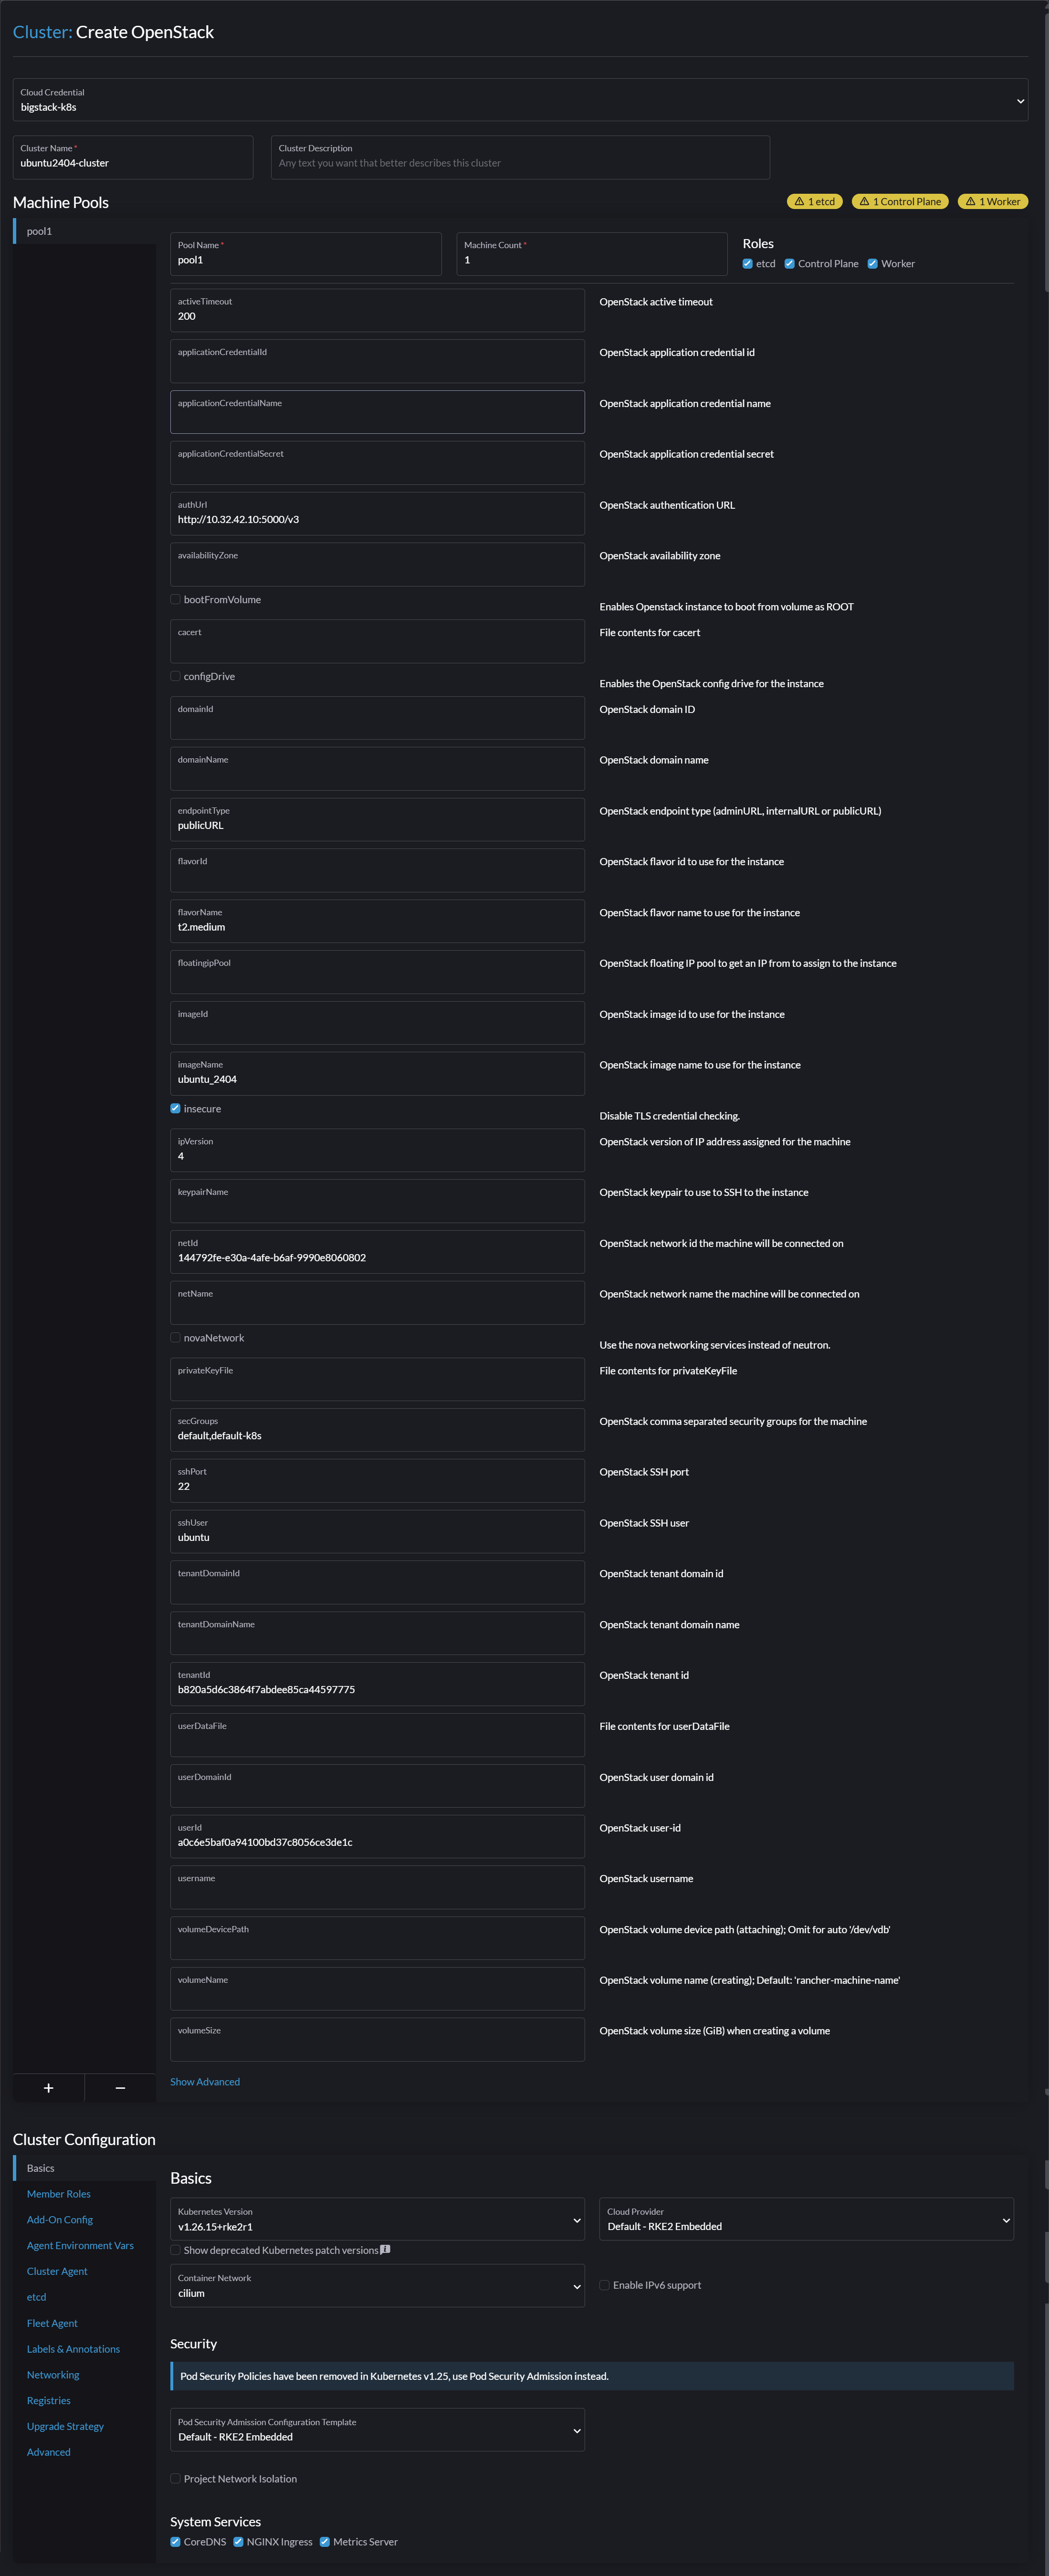
以下のクラスタ情報を入力してください:
- クラスタ名:任意の名前
- OpenStack アクティブタイムアウト:
200 - OpenStack 認証 URL:
http://<CUBECOS-VIP>:5000/v3 - OpenStack エンドポイントタイプ:
publicURL - OpenStack フレーバー名: t2.medium 以上(推奨)
- OpenStack イメージ名:
ubuntu_2404 - TLS 認証情報のチェックを無効にする:有効
- OpenStack 形式の IP アドレス:
4 - OpenStack ネットワーク ID:
private-k8s(プロジェクト bigstack-k8s 由来) - OpenStack セキュリティグループ:
default、default-k8s - OpenStackのSSHポート:
22 - OpenStackのSSHユーザー:
ubuntu - OpenStack テナント ID: プロジェクト「bigstack-k8s」の ID
- OpenStack ユーザー ID: ユーザー「bigstack-k8s」の ID
-
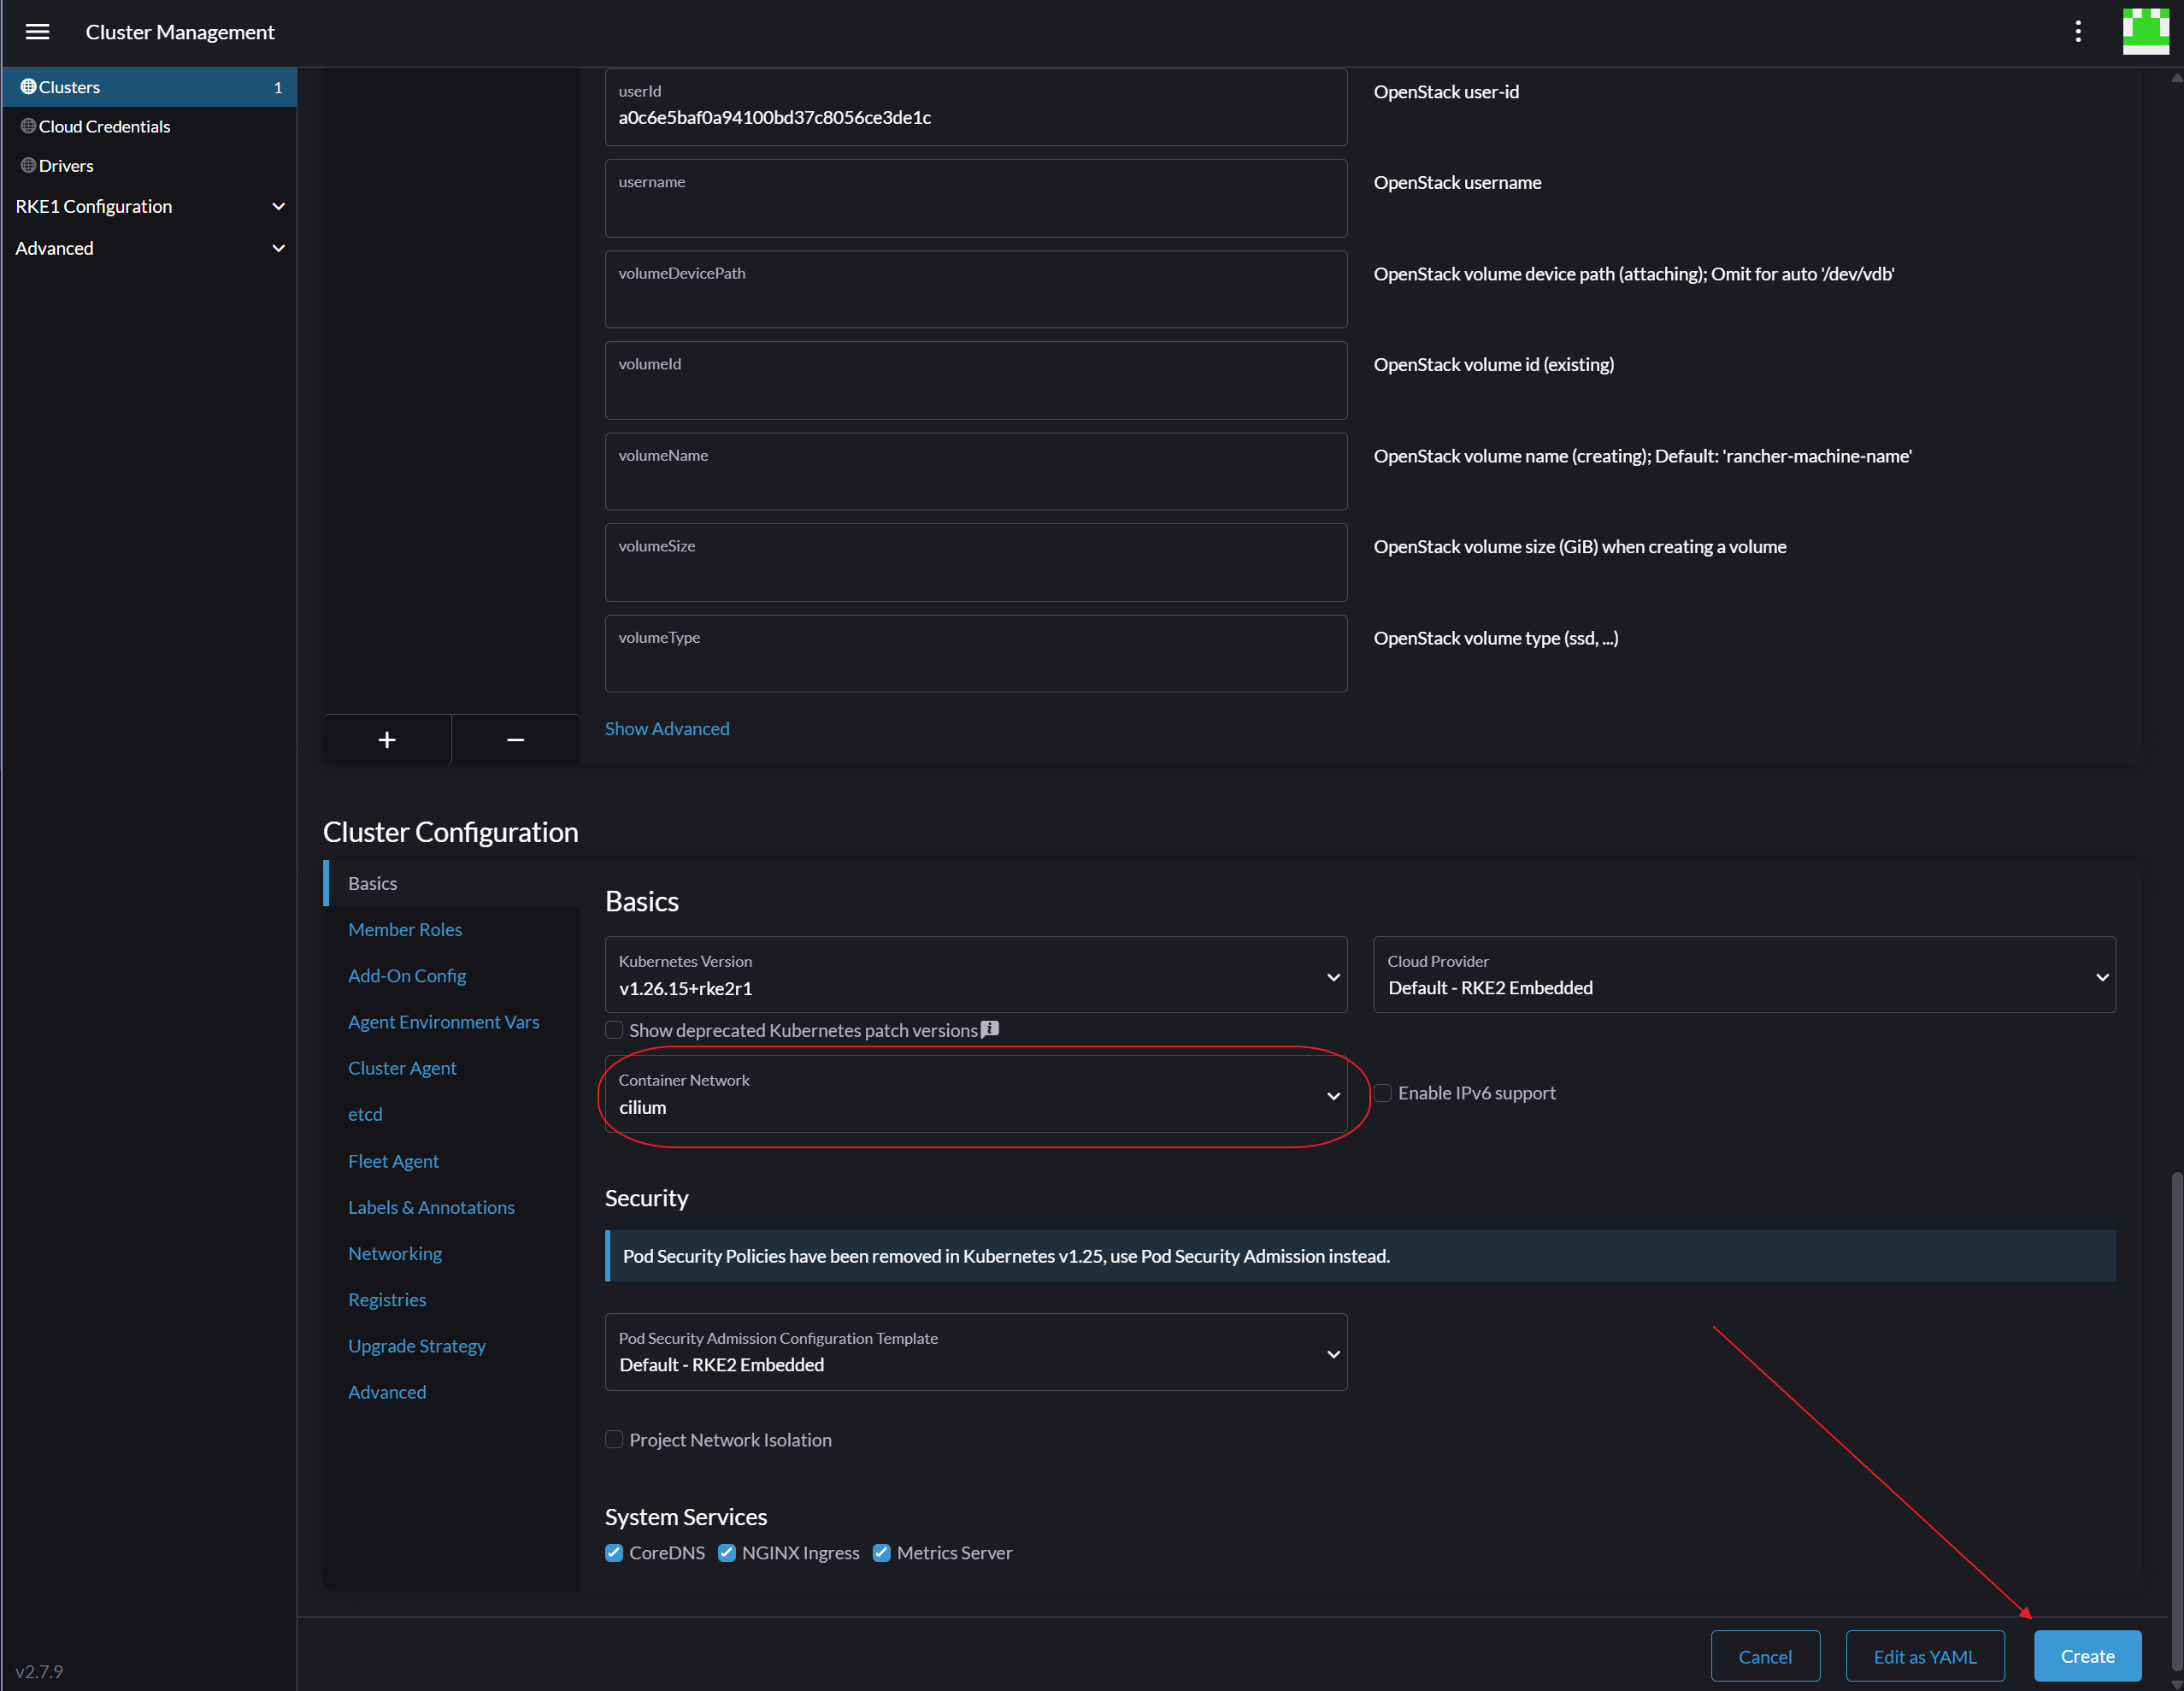
コンテナネットワークをciliumに変更し、**[作成]**をクリックします。
-
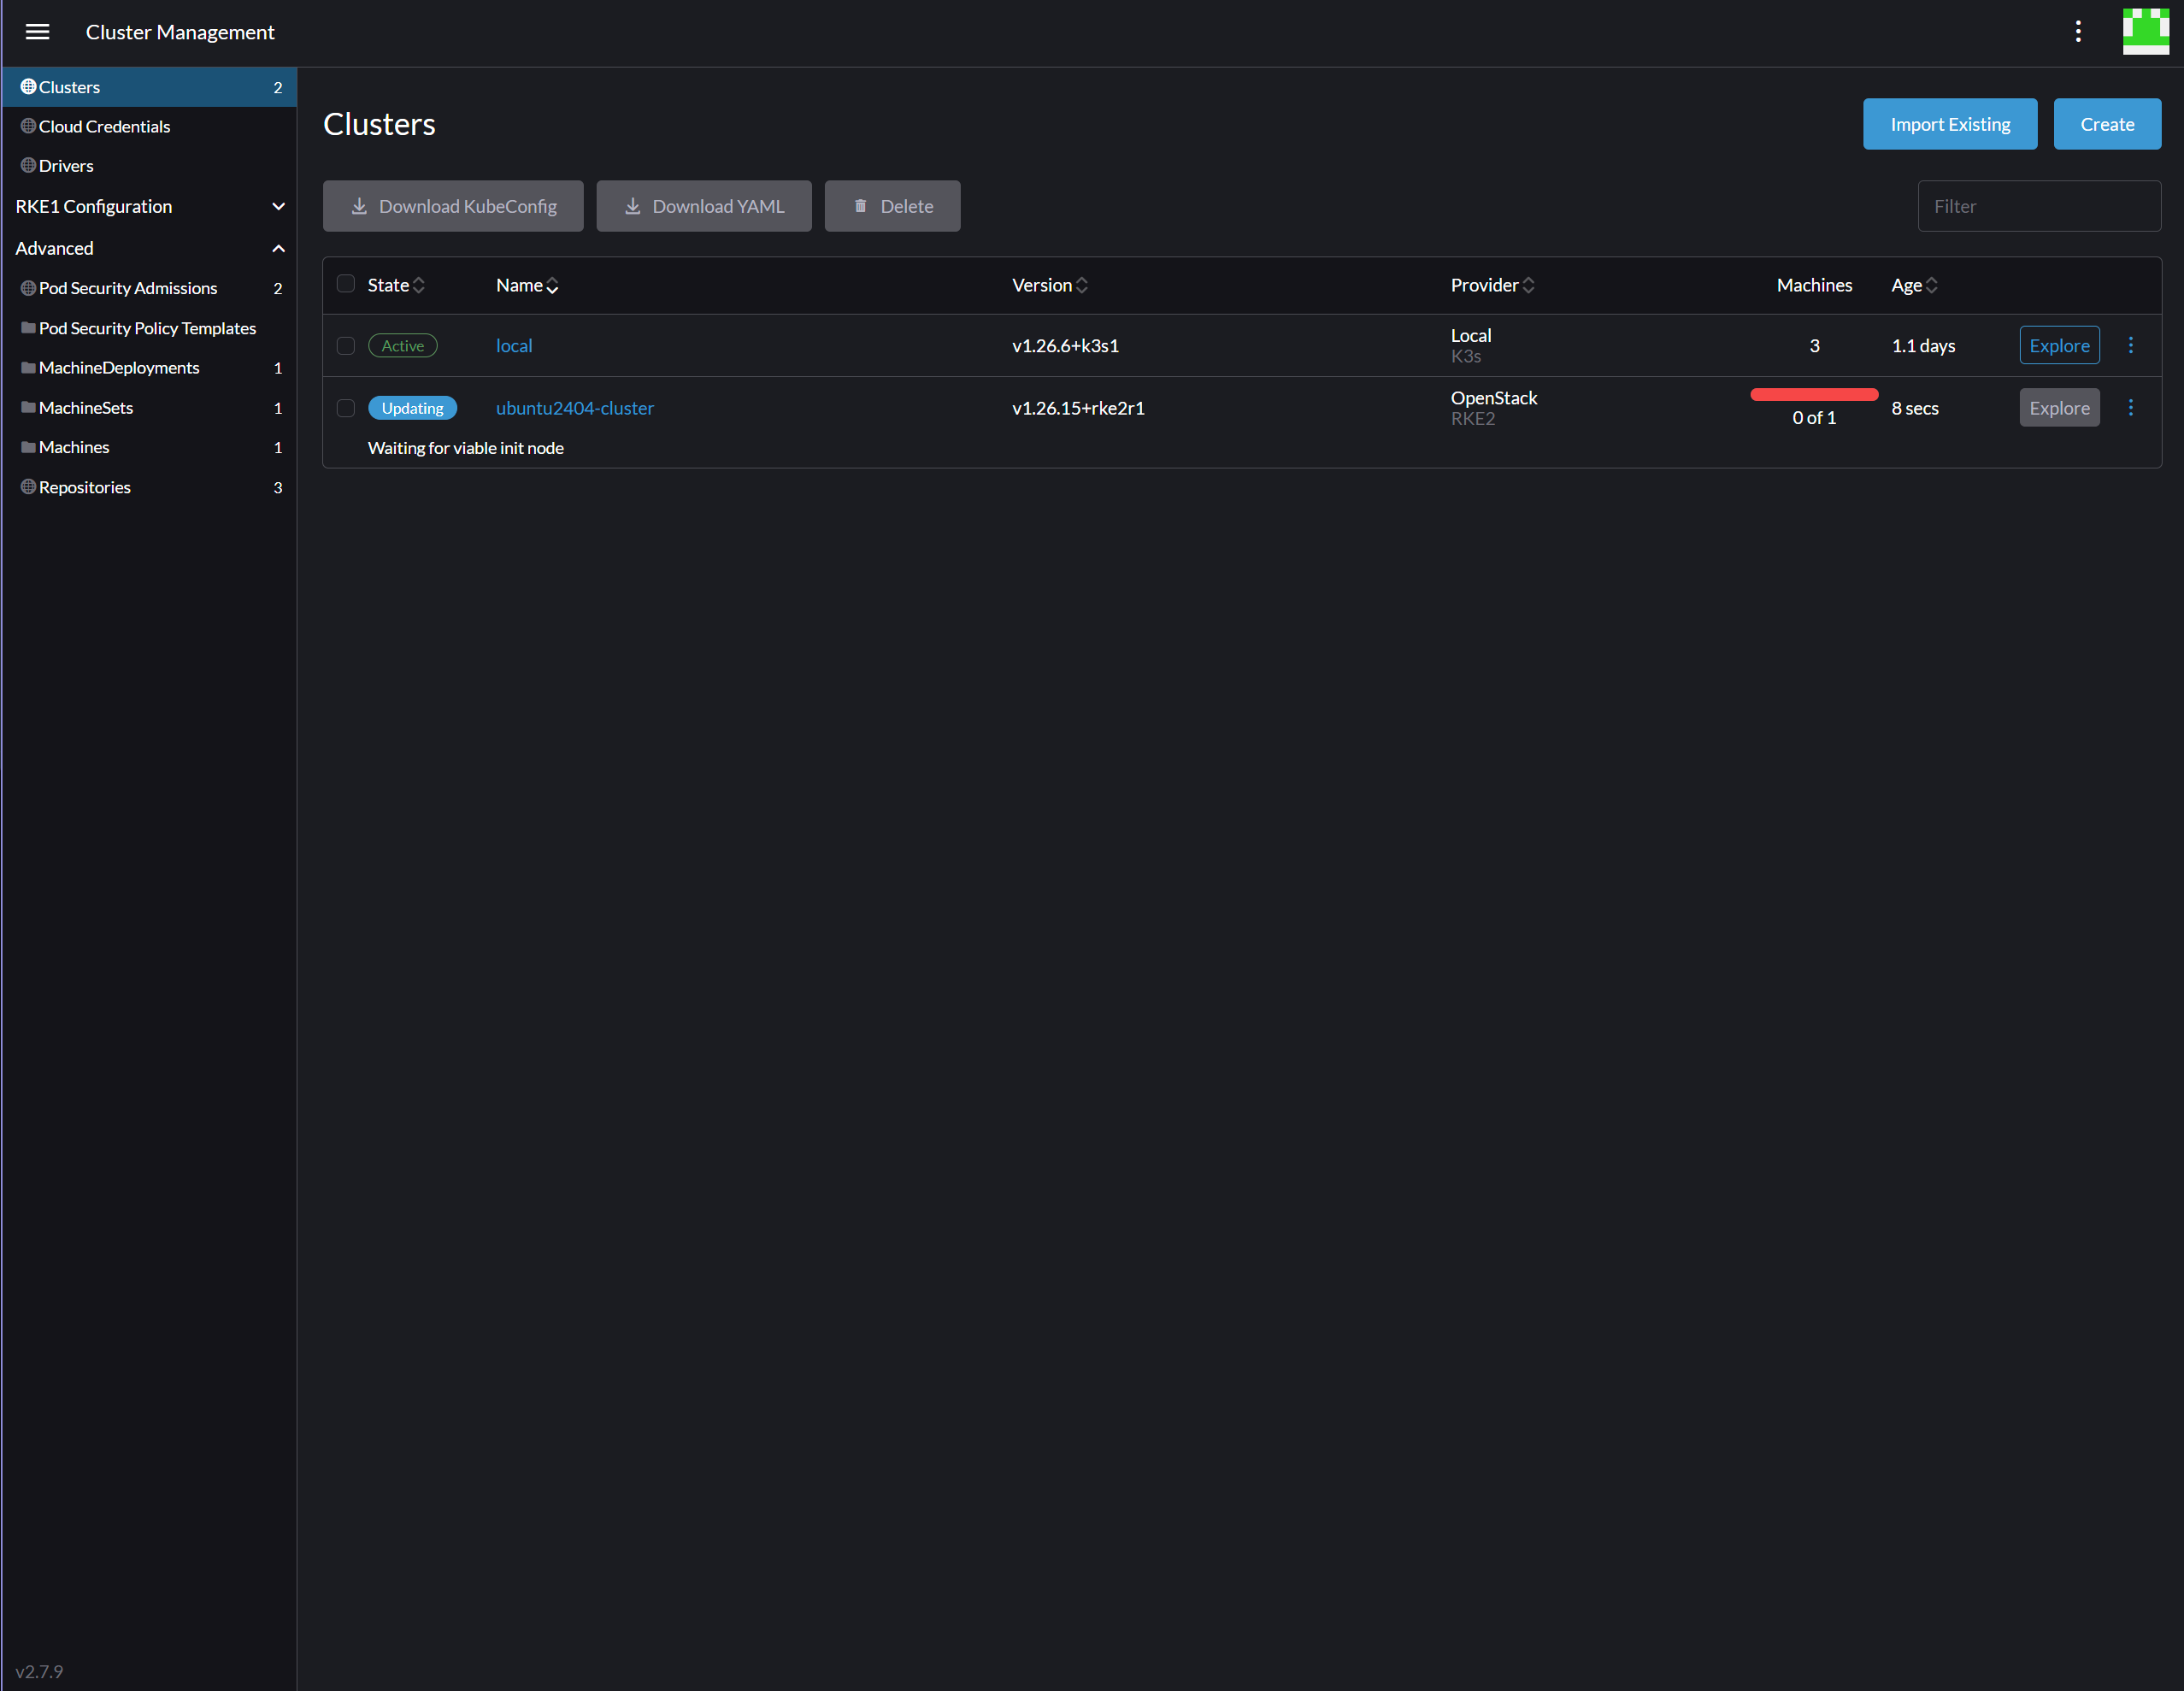
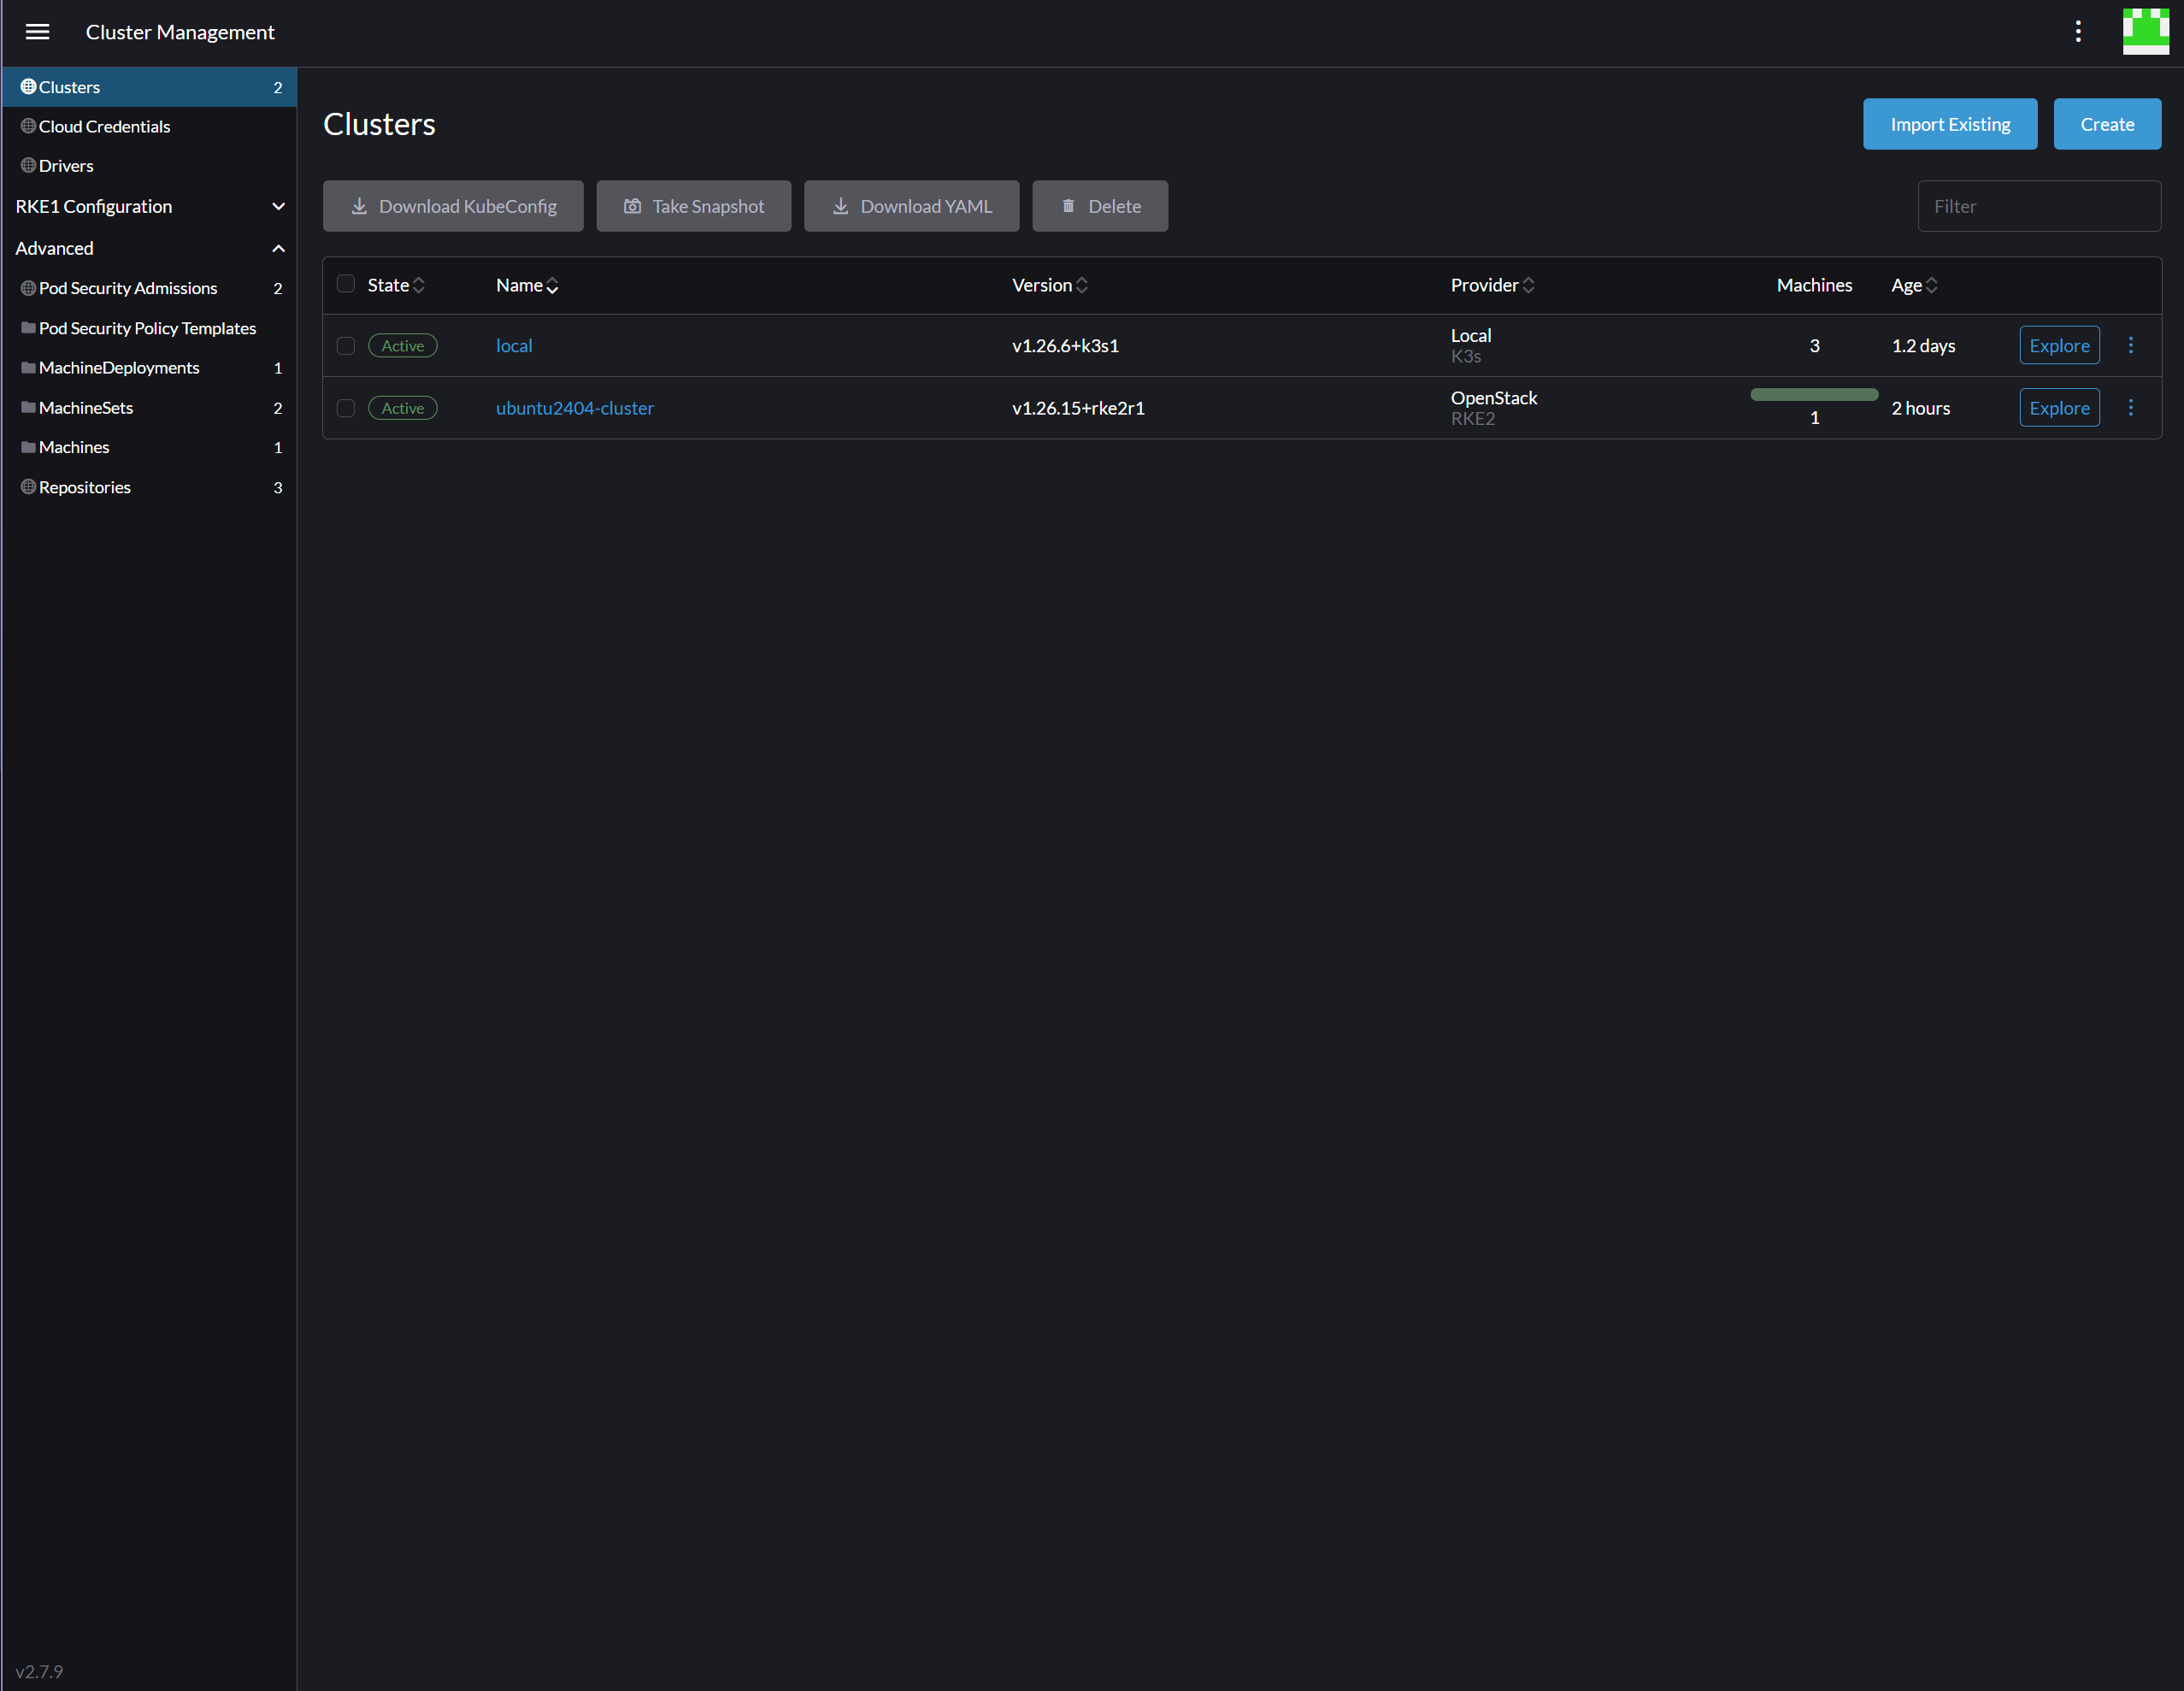
クラスタの状態が Active に変わるまでお待ちください。