# Compute Node (HCI) Removal Guide

> Removing a compute node is typically due to failure, maintenance, or decommissioning.
Ensure all workloads on the node have been migrated before removal.
This operation will formally detach the node and its resources from the cluster.

Removing a compute node is typically due to failure, maintenance, or decommissioning.
Ensure all workloads on the node have been migrated before removal.
This operation will formally detach the node and its resources from the cluster.

## Disable a compute host {#disable-a-compute-host}

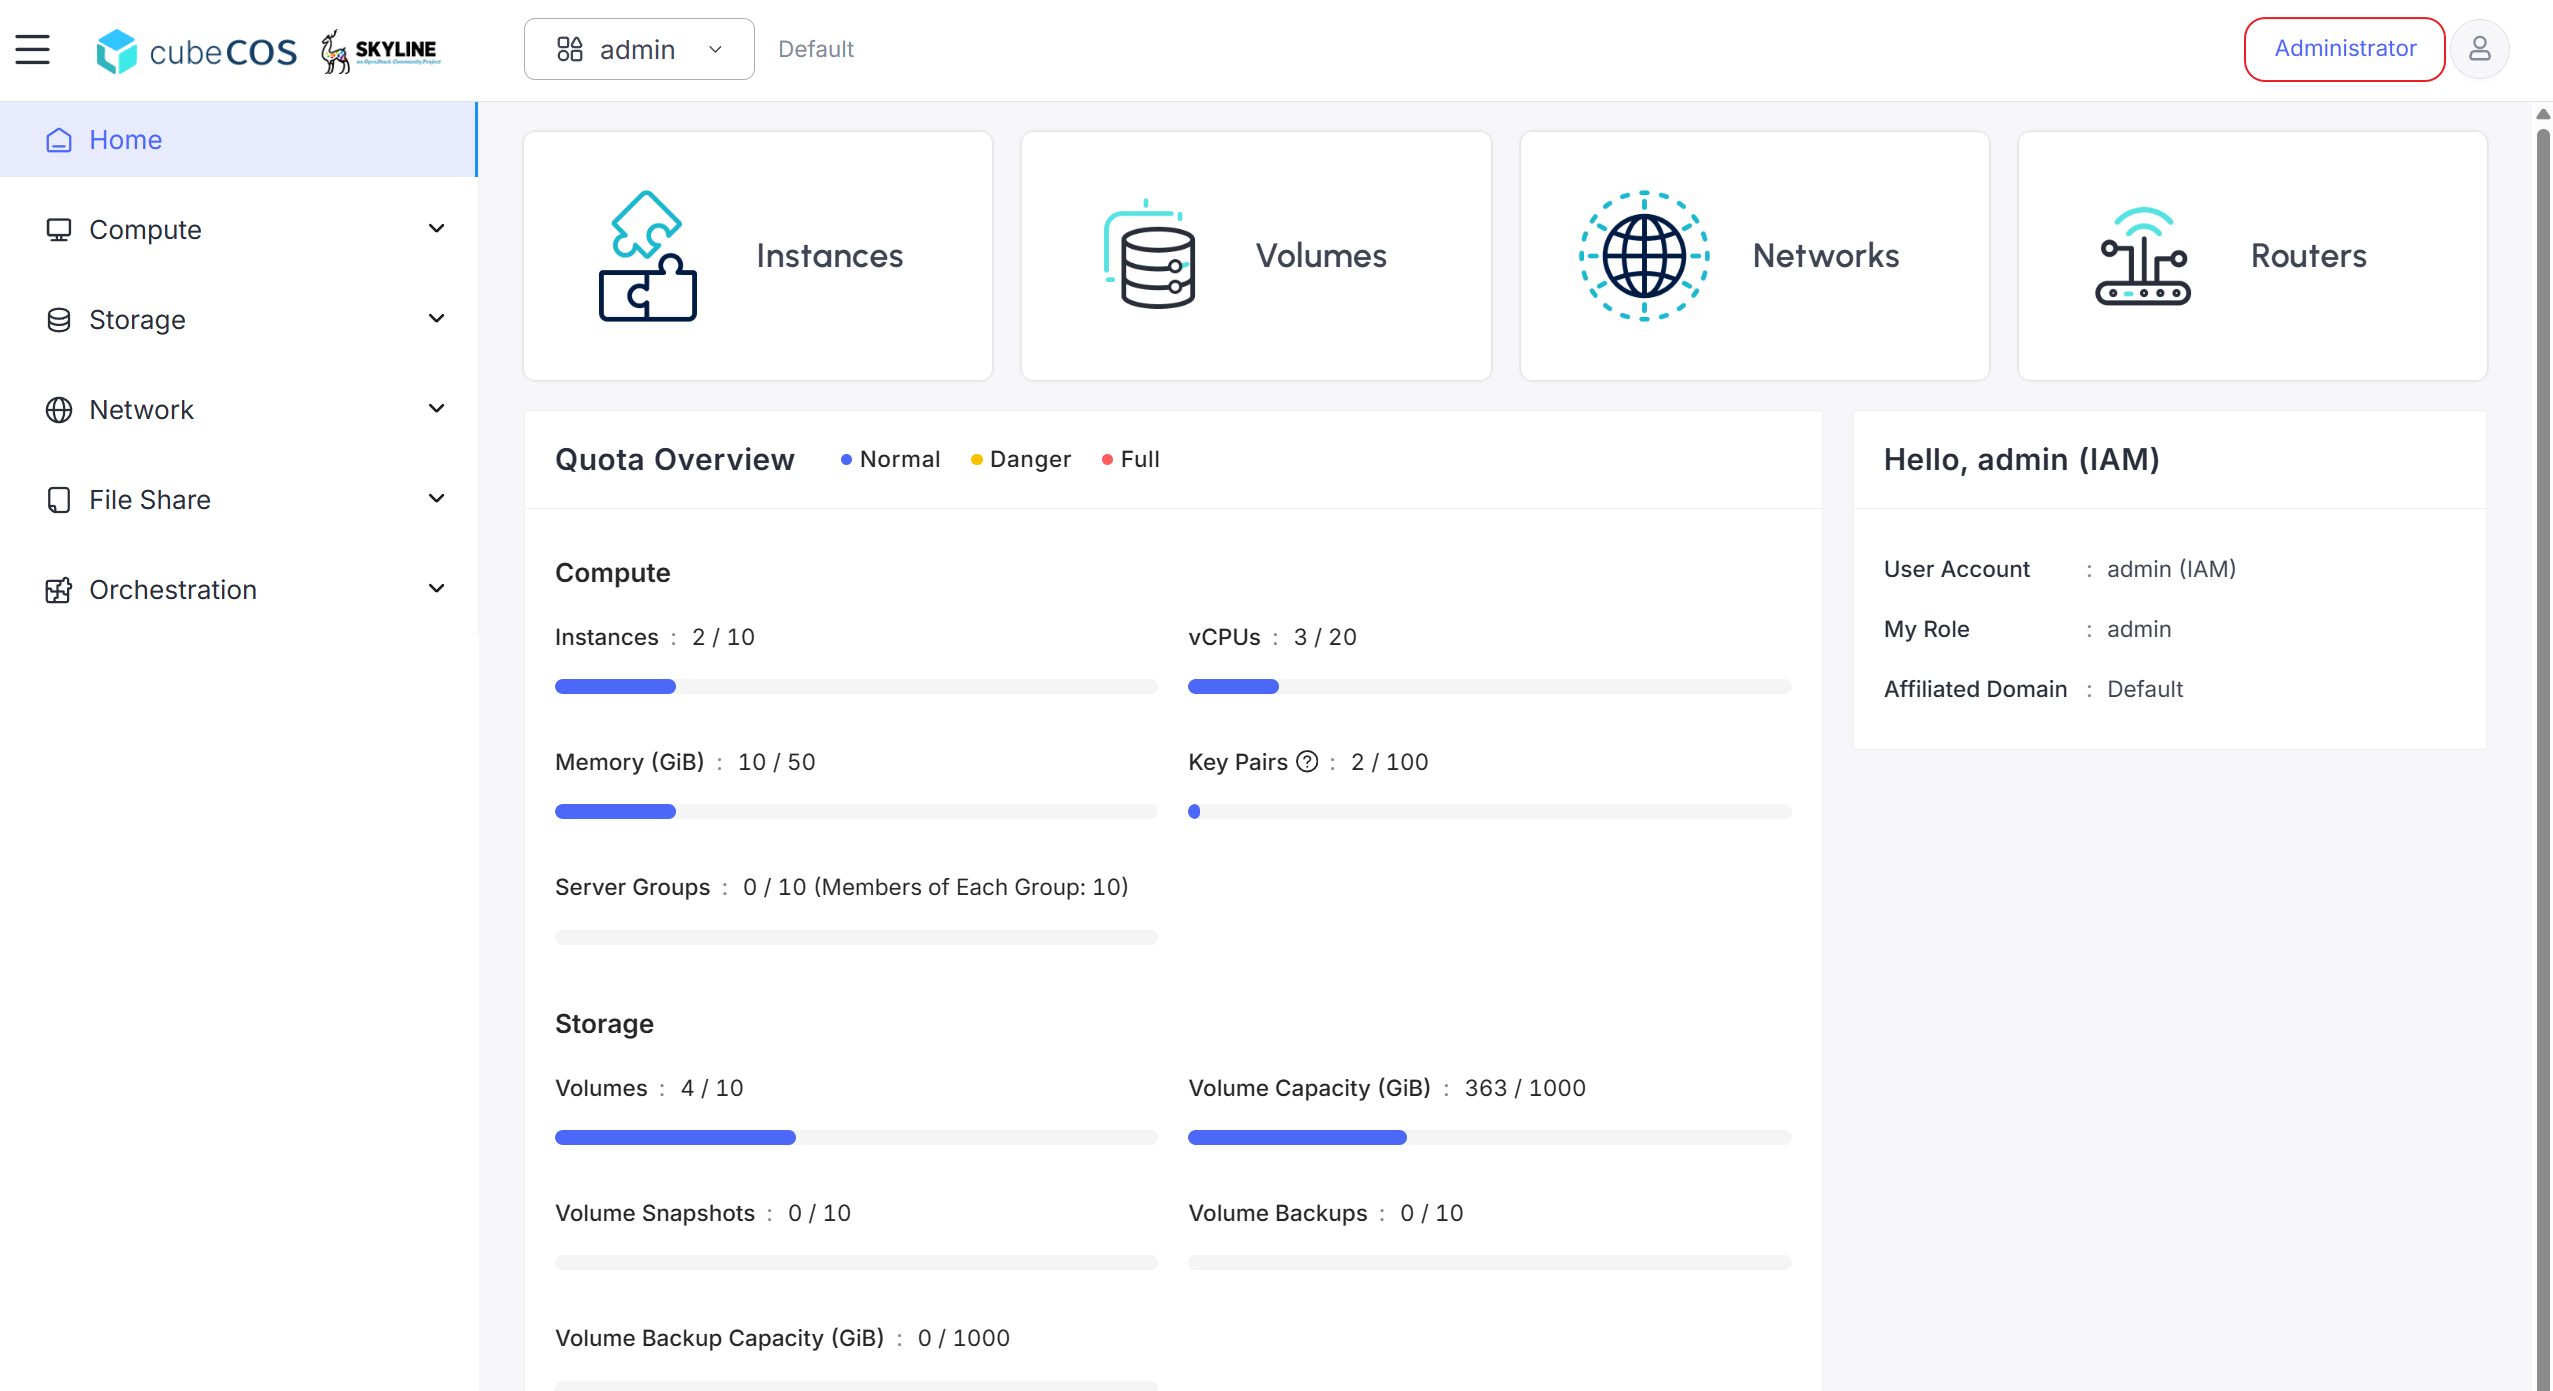
By default, the console displays the management view by project.

To access the administrator view, ensure your account has administrator privileges (the default admin account includes this access).

1. Click `Administrator` in the top-right corner of the console to switch to the administrative panel.

   ![/assets/identity/administration_1.png](/assets/identity/administration_1.png)

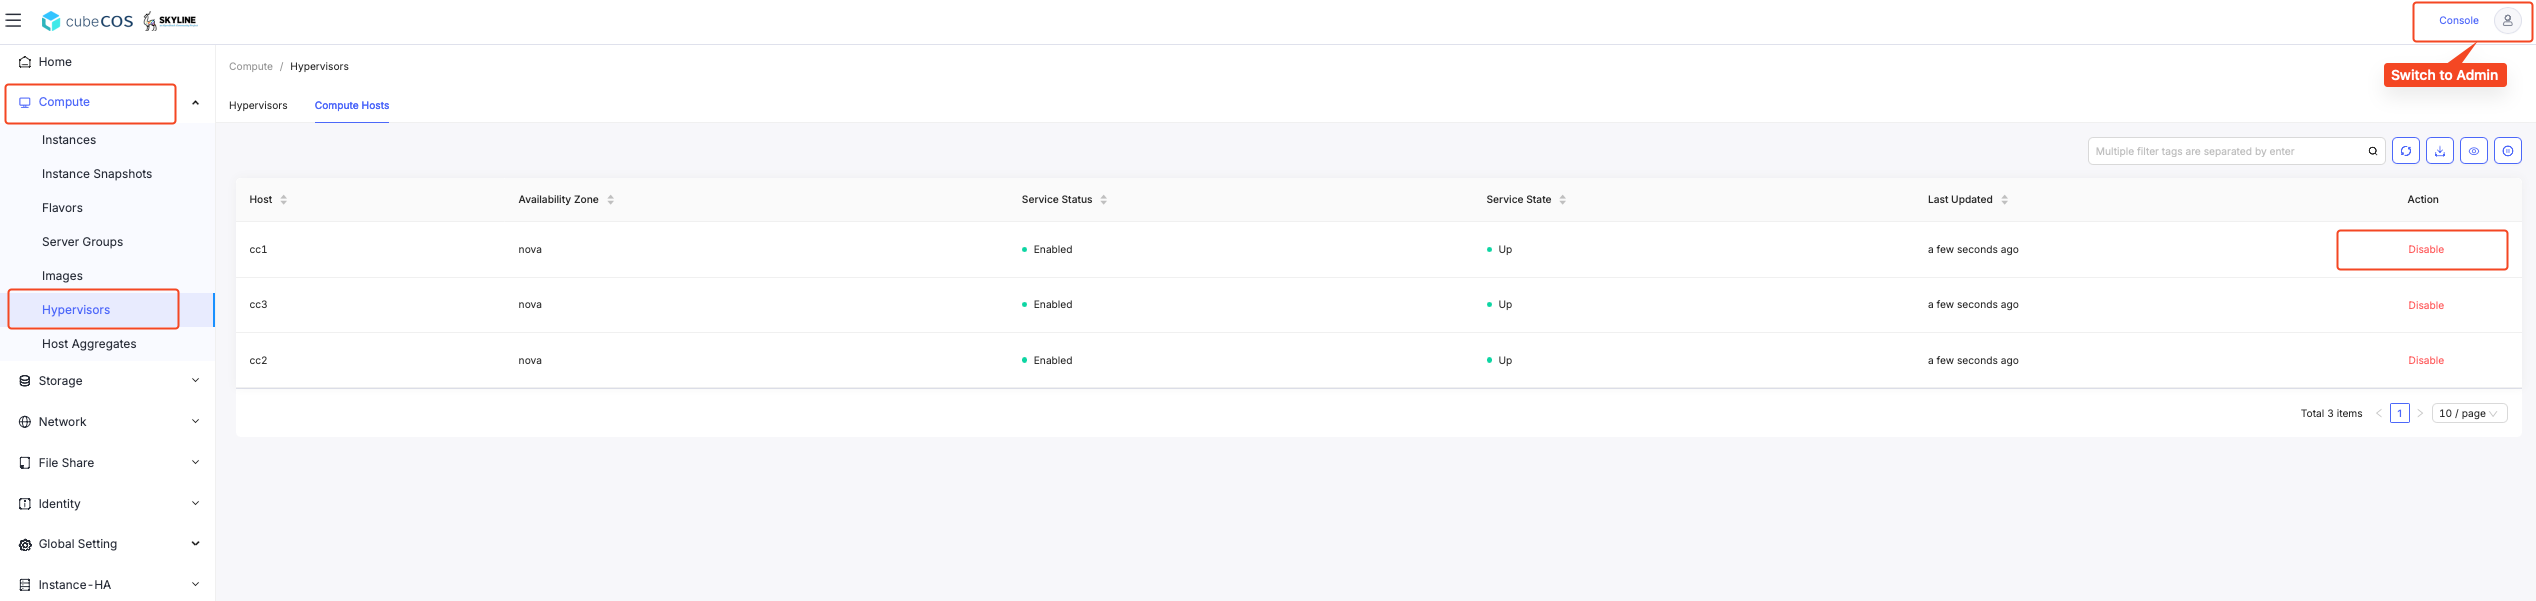
2. Navigate to `Admin > Compute > Hypervisors`. Look for the hostname you wish to remove and click on button `DISABLE`.

![/assets/maintenances/01-disable-1.png](/assets/maintenances/v3.0.0/01-disable-1.png)

3. Enter a reason for removal and click `DISABLE SERVICE`.

![/assets/maintenances/v3.0.0/02-disable-1.png](/assets/maintenances/v3.0.0/02-disable-1.png)

4. Verify that the compute service has been disabled successfully.

![/assets/maintenances/v3.0.0/03-disable-1.png](/assets/maintenances/v3.0.0/03-disable-1.png)

### Migrate instances from the disabled host {#migrate-instances-from-the-disabled-host}

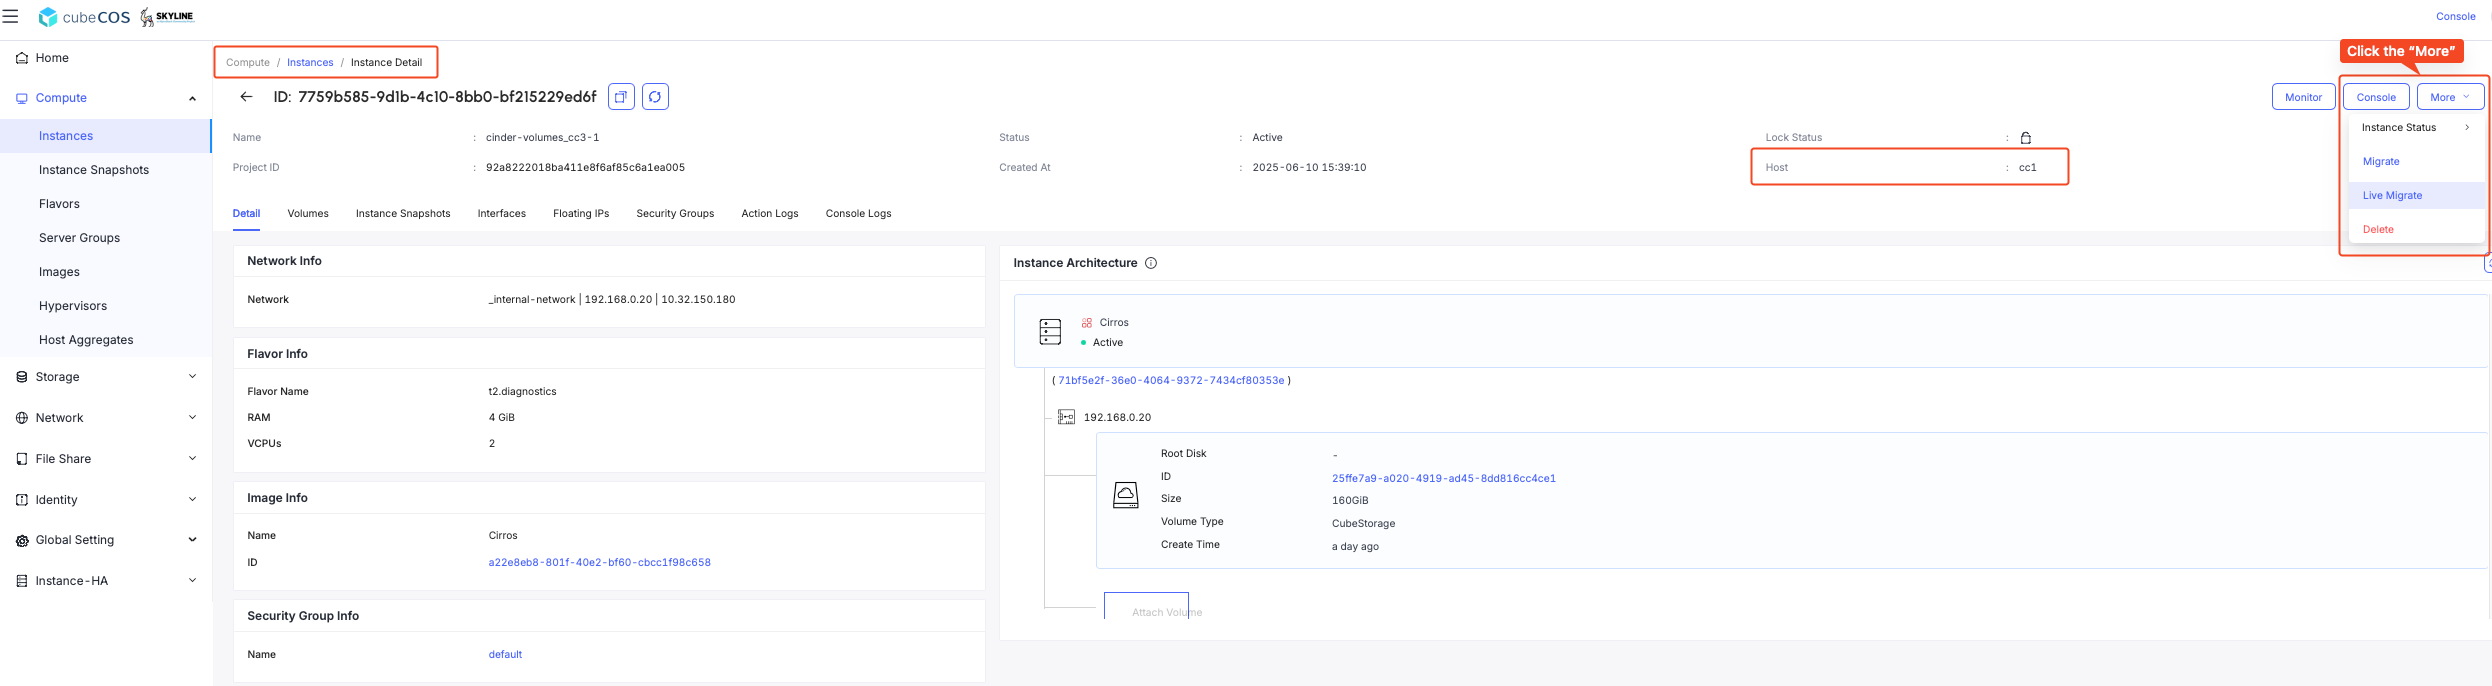
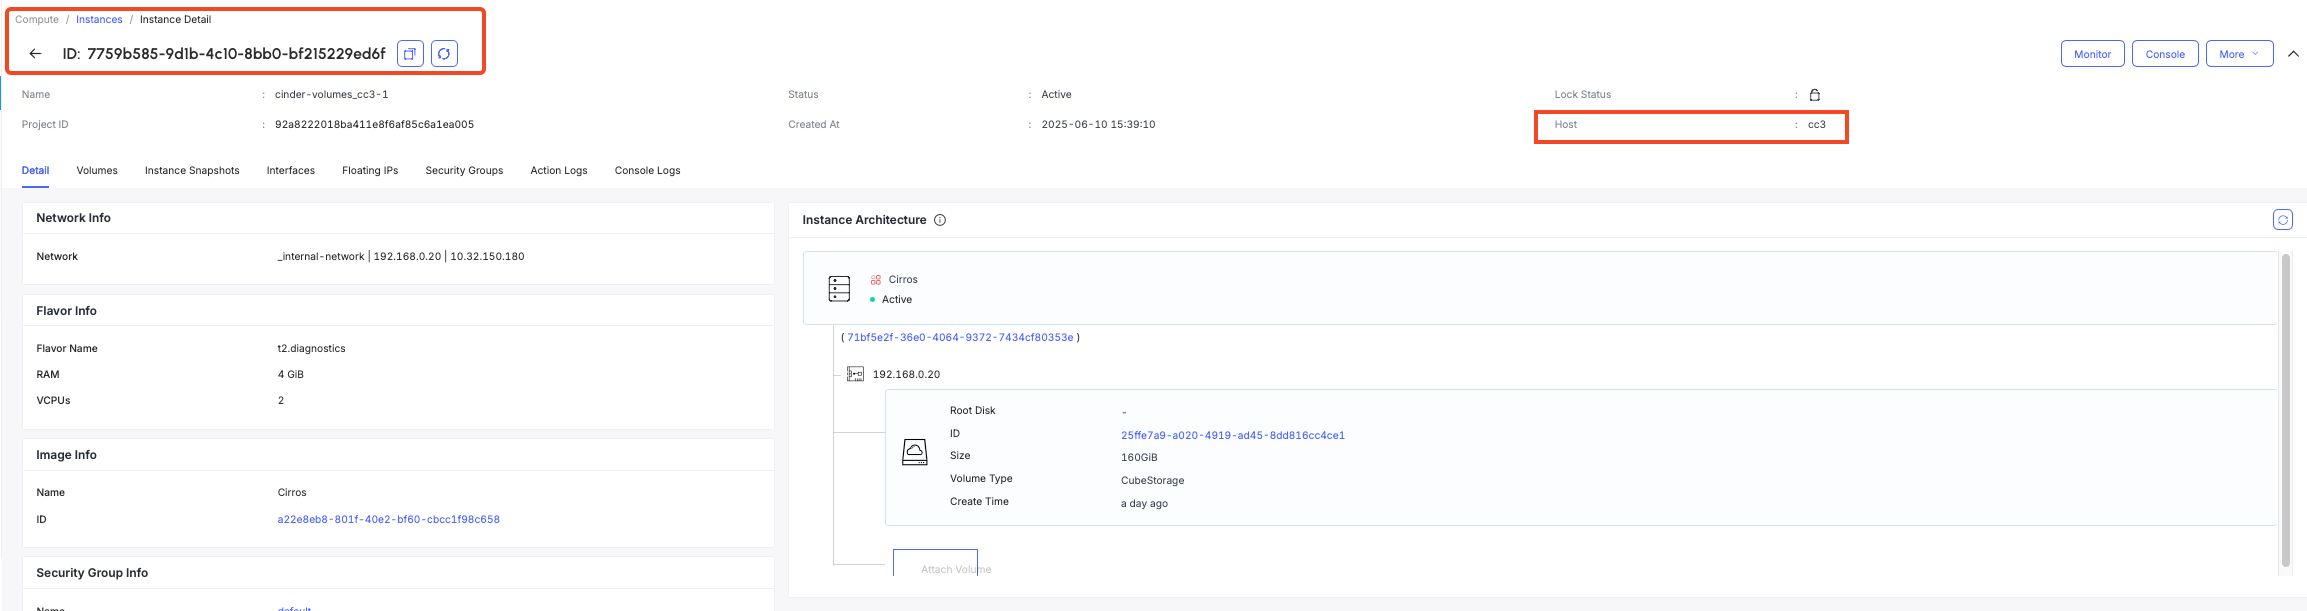
1. Navigate to `Admin > Compute > Instances > Instances Detail`
2. Hover over `More`
3. Click the `LIVE MIGRATE` from the dropdown menu.

![/assets/maintenances/v3.0.0/04-live-migrate-1.png](/assets/maintenances/v3.0.0/04-live-migrate-1.png)

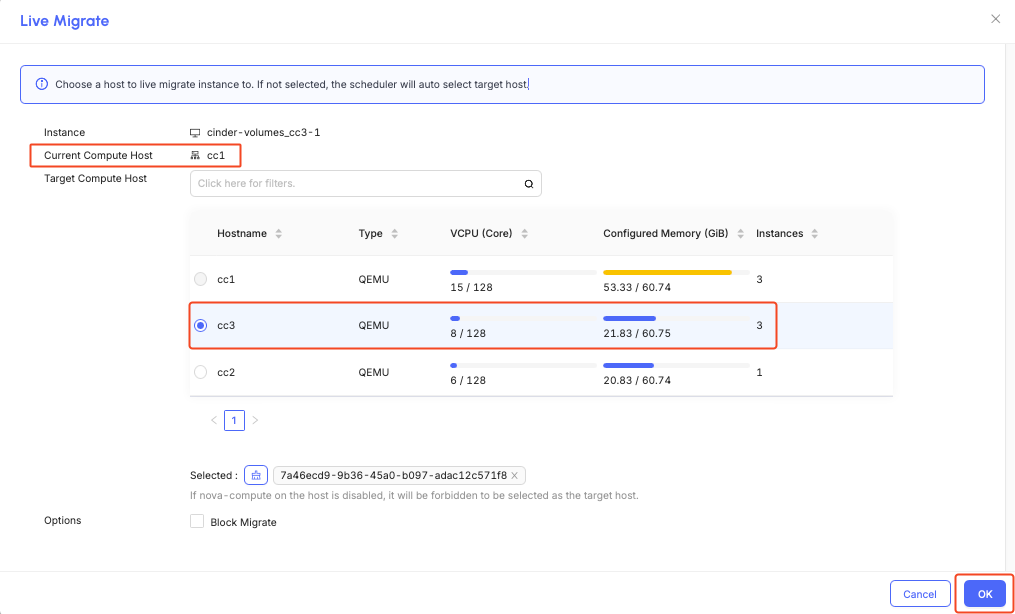
4. You can either select a preferred host for migration or allow the cluster scheduler to automatically choose one, then click OK to proceed.

![/assets/maintenances/v3.0.0/05-live-migrate-1.png](/assets/maintenances/v3.0.0/05-live-migrate-1.png)

5. Repeat the steps and migrate the rest of the instances.

![/assets/maintenances/v3.0.0/07-live-migrate-1.png](/assets/maintenances/v3.0.0/07-live-migrate-1.png)

## Verify the removal of a compute node {#verify-the-removal-of-a-compute-node}

1. Connect to the cluster VIP or any control node IP address.

```bash
$ ssh admin@192.168.1.x
Warning: Permanently added '192.168.1.x' (ECDSA) to the list of known hosts.
Password:
```

2. Remove the compute node with the `cluster > remove_node` command.

```bash
cc1> cluster
cc1:cluster> remove_node
1: compute01
2: compute02
3: compute03
Enter index: 1
this command is only applicable for compute or storage nodes
make sure its running instances have been properly terminated or migrated
shutdown the target host before proceeding
Enter 'YES' to confirm: YES
```

## Verify the compute node removal {#verify-the-compute-node-removal}

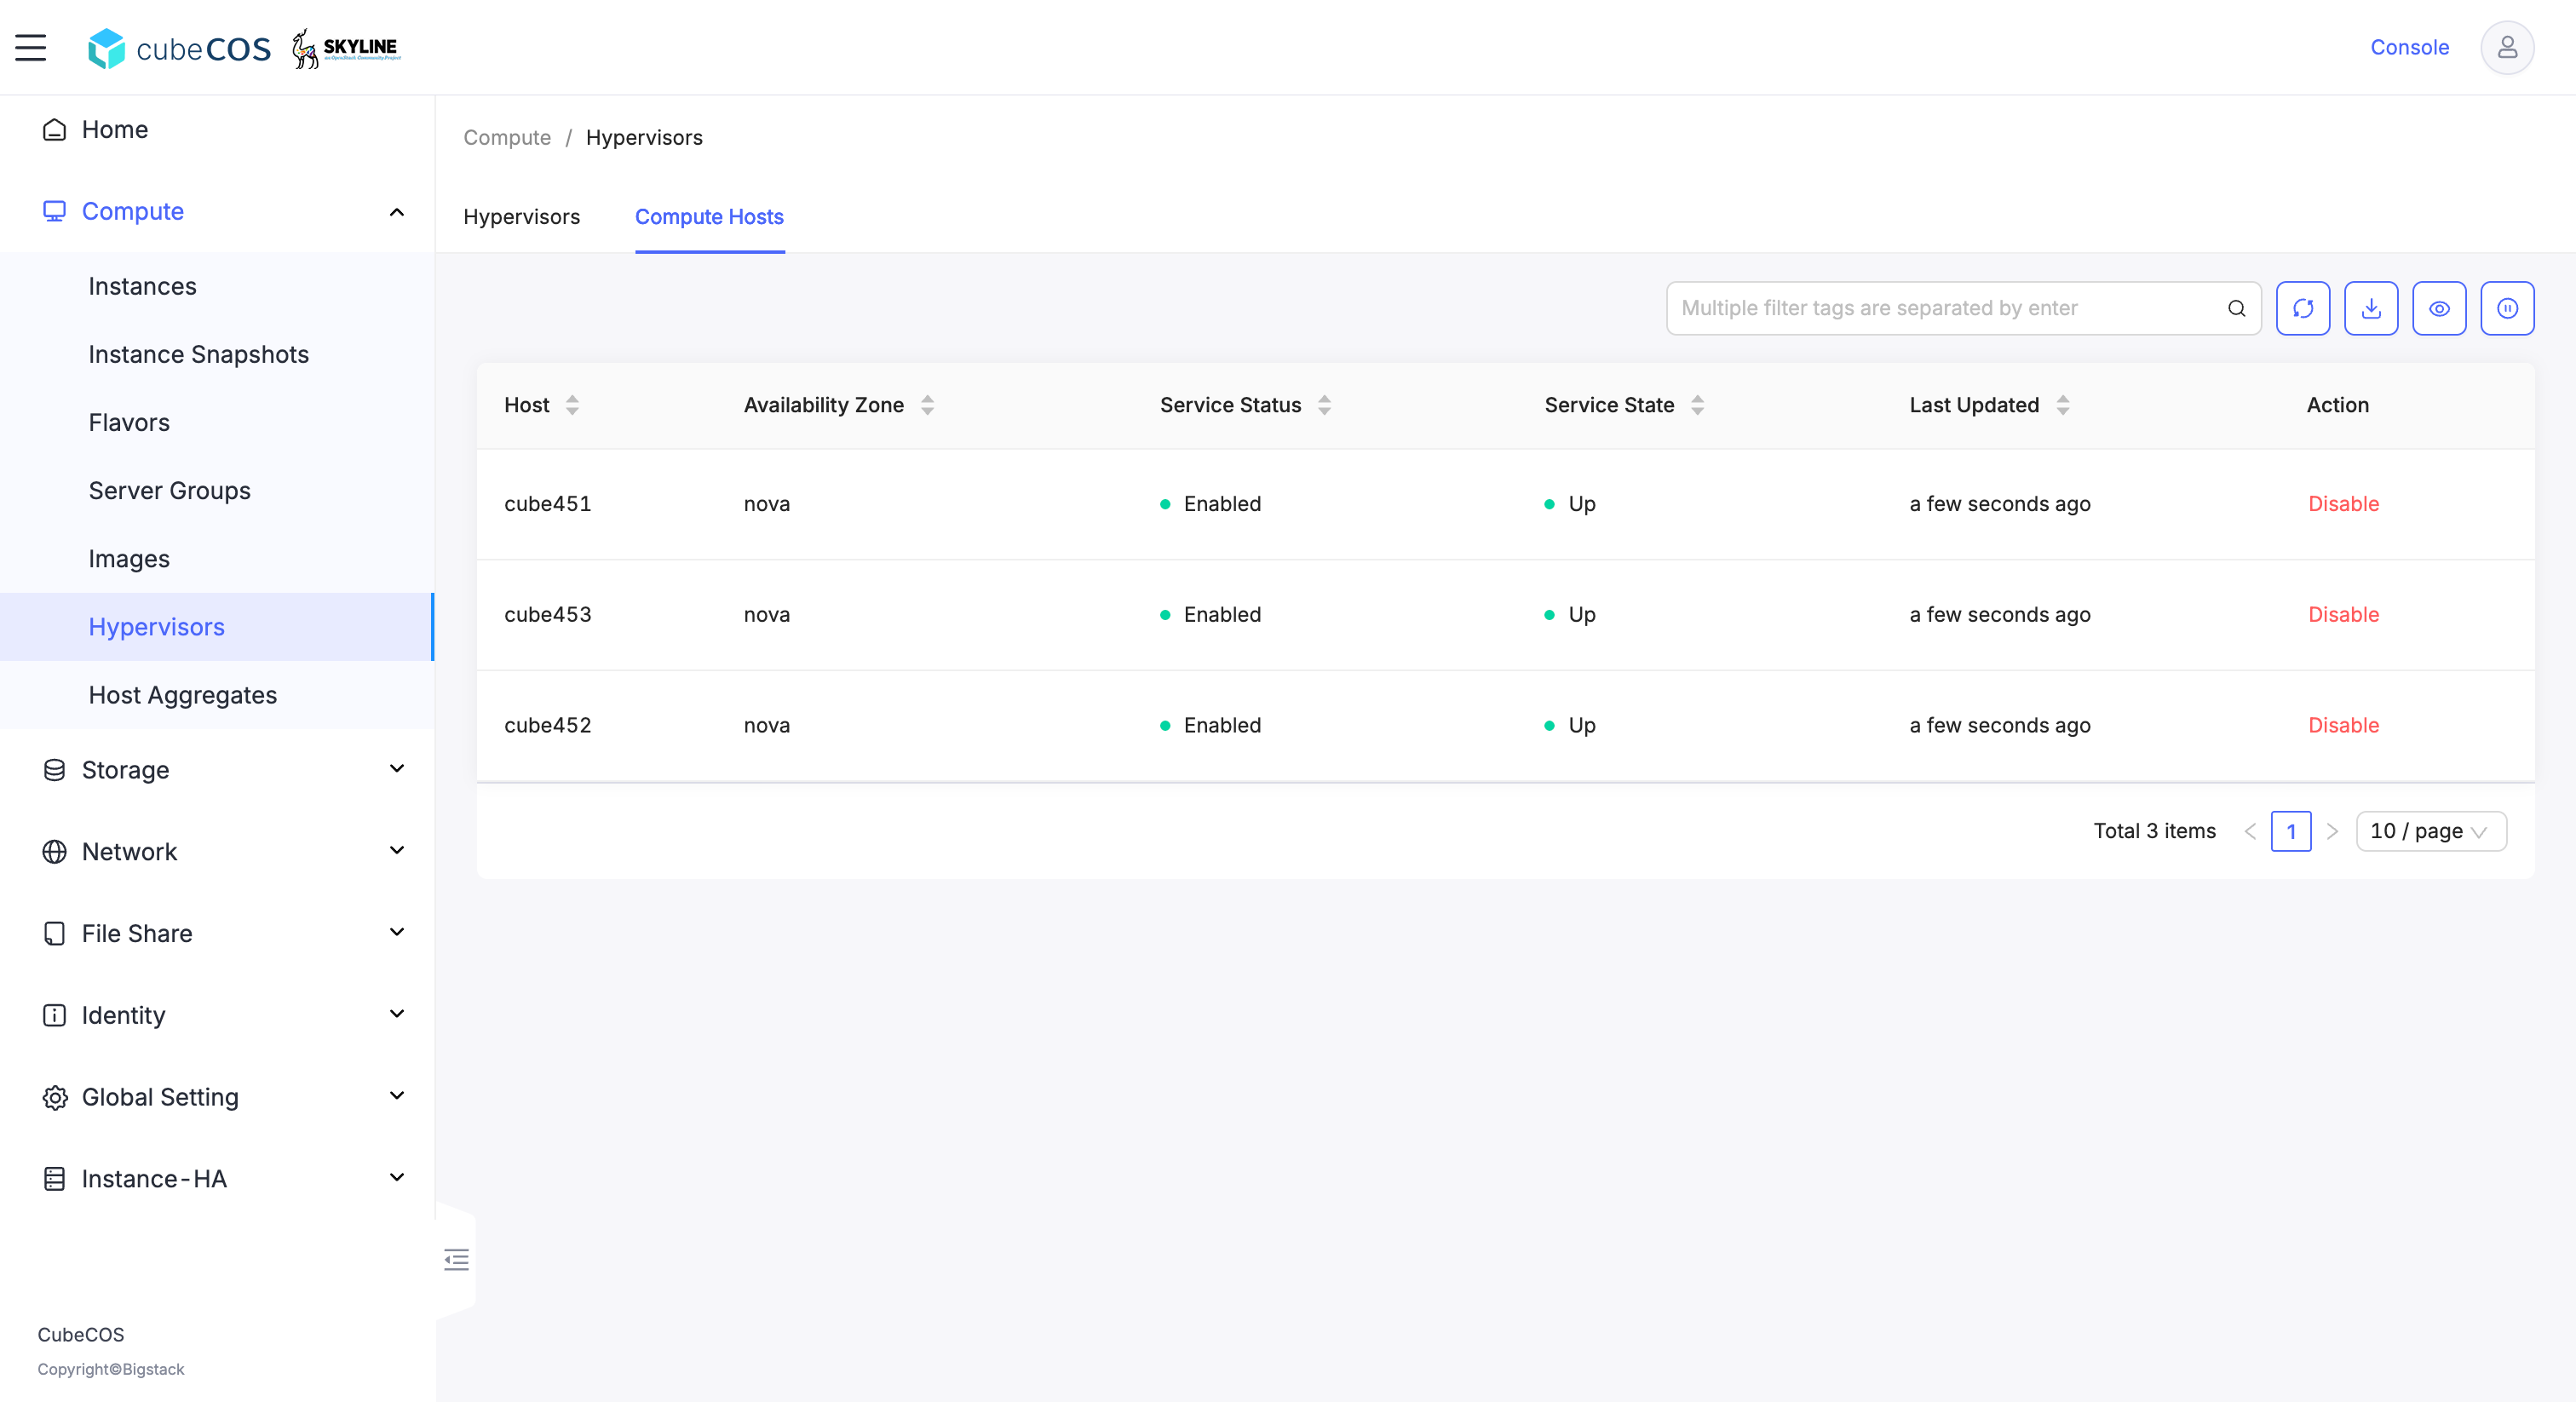
1. Navigate to `Admin > Compute > Hypervisors`
2. Click `Compute host` tab to verify that the compute node has been removed from the cluster.

![/assets/maintenances/07-live-migrate-1-300.png](/assets/maintenances/07-live-migrate-1-300.png)